
Bread and Pastry Recipes
Pletýnka Bun
8 buns
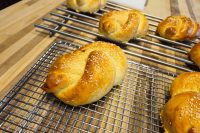
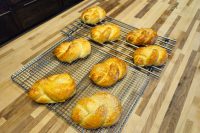
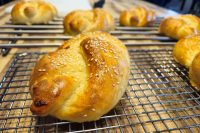
I absolutely love making the Pletýnka Bun, a traditional braided bread from the Czech Republic that is super easy and fun to prepare. Even if you think it might be intimidating to braid dough, you only use one single strand made from bread flour, active dry yeast, warm milk, and room temperature butter to create these beautiful, uniquely shaped rolls before proofing and baking them to a nice golden color. Read More
Bread and Pastry Recipes
Before You Start
Let’s talk about important parts of the recipe before you start…
Welcome to my favorite Pletýnka Bun recipe
I am so excited to share my Pletýnka Bun recipe with you. This braided bread from the Czech Republic is super easy and fun to prepare, and tastes very unique. While the thought of a braid may sound intimidating, it is actually very easy in this case because you use only one strand! I use simple ingredients like bread flour, active dry yeast, warm milk, and room temperature butter to make a rich, soft dough. After I knead the dough and let it go through the proofing stage, shaping it is a breeze. Just coat them with a simple brushing mixture, place them on a baking sheet, and bake until they reach a beautiful golden color. Let’s get baking!
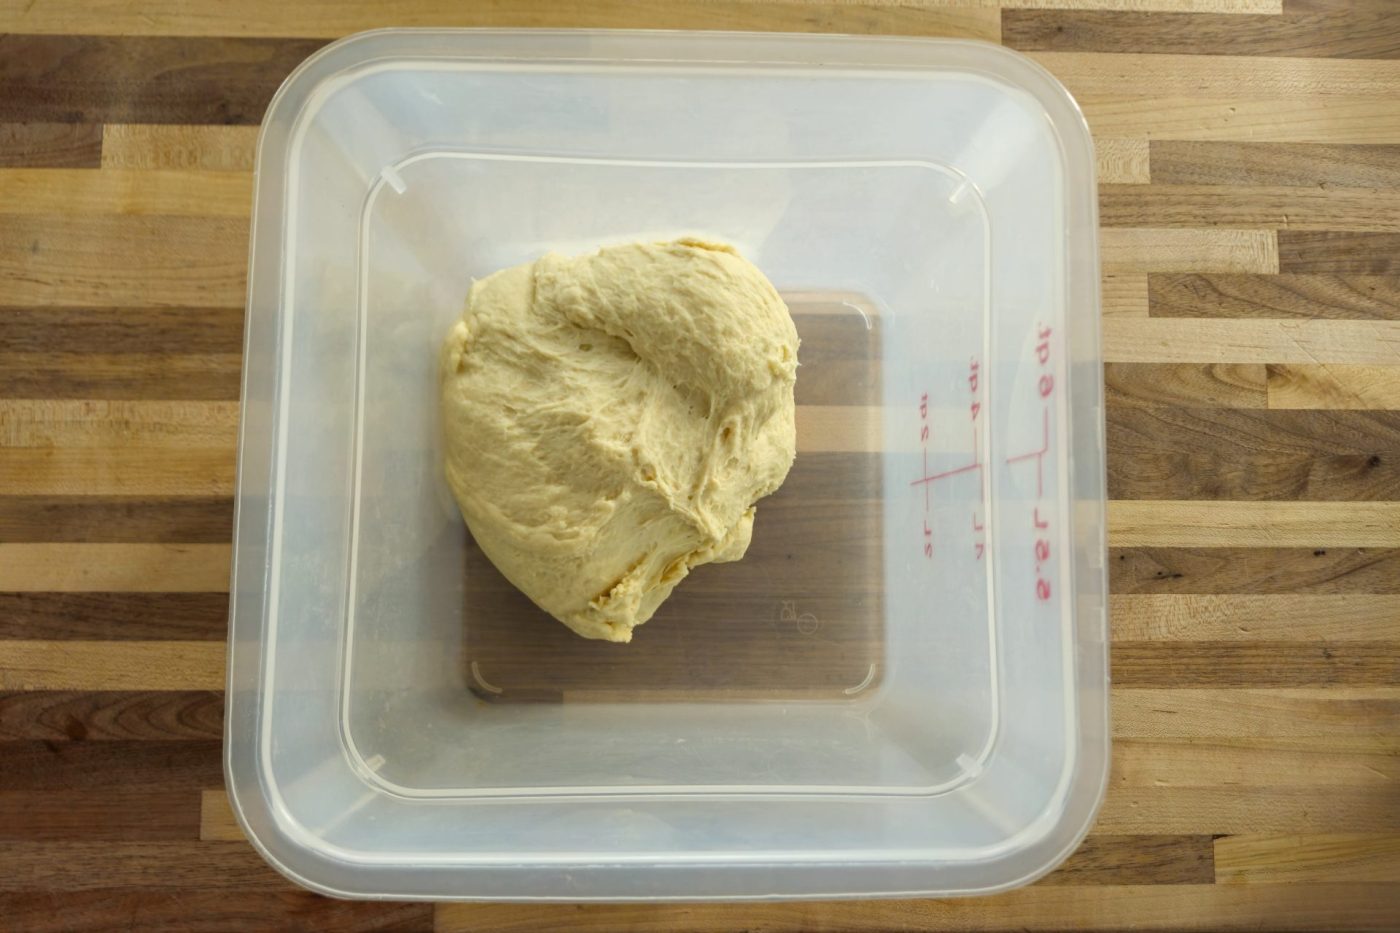
Preparing and Kneading the Pletýnka Bun Dough
When I start making the Pletýnka Bun, the foundation is always a perfectly prepared dough. I begin by combining bread flour, active dry yeast, granulated sugar, and salt in a kitchen mixer with a hook attachment. I stir these shortly with a hand whisk just enough to combine all ingredients, usually about fifteen to thirty seconds. Then, I add the warm milk, which should be between 80 to 90 degrees Fahrenheit, and the room temperature butter cut into small pieces. I knead at low speed until all ingredients are partially incorporated, which takes about one to two minutes. Then I increase the speed to medium-high and knead until the compact dough is formed, usually another two to three minutes. This careful process ensures the bread flour and active dry yeast activate properly with the warm milk and room temperature butter.
The Crucial Rising and Proofing Stages
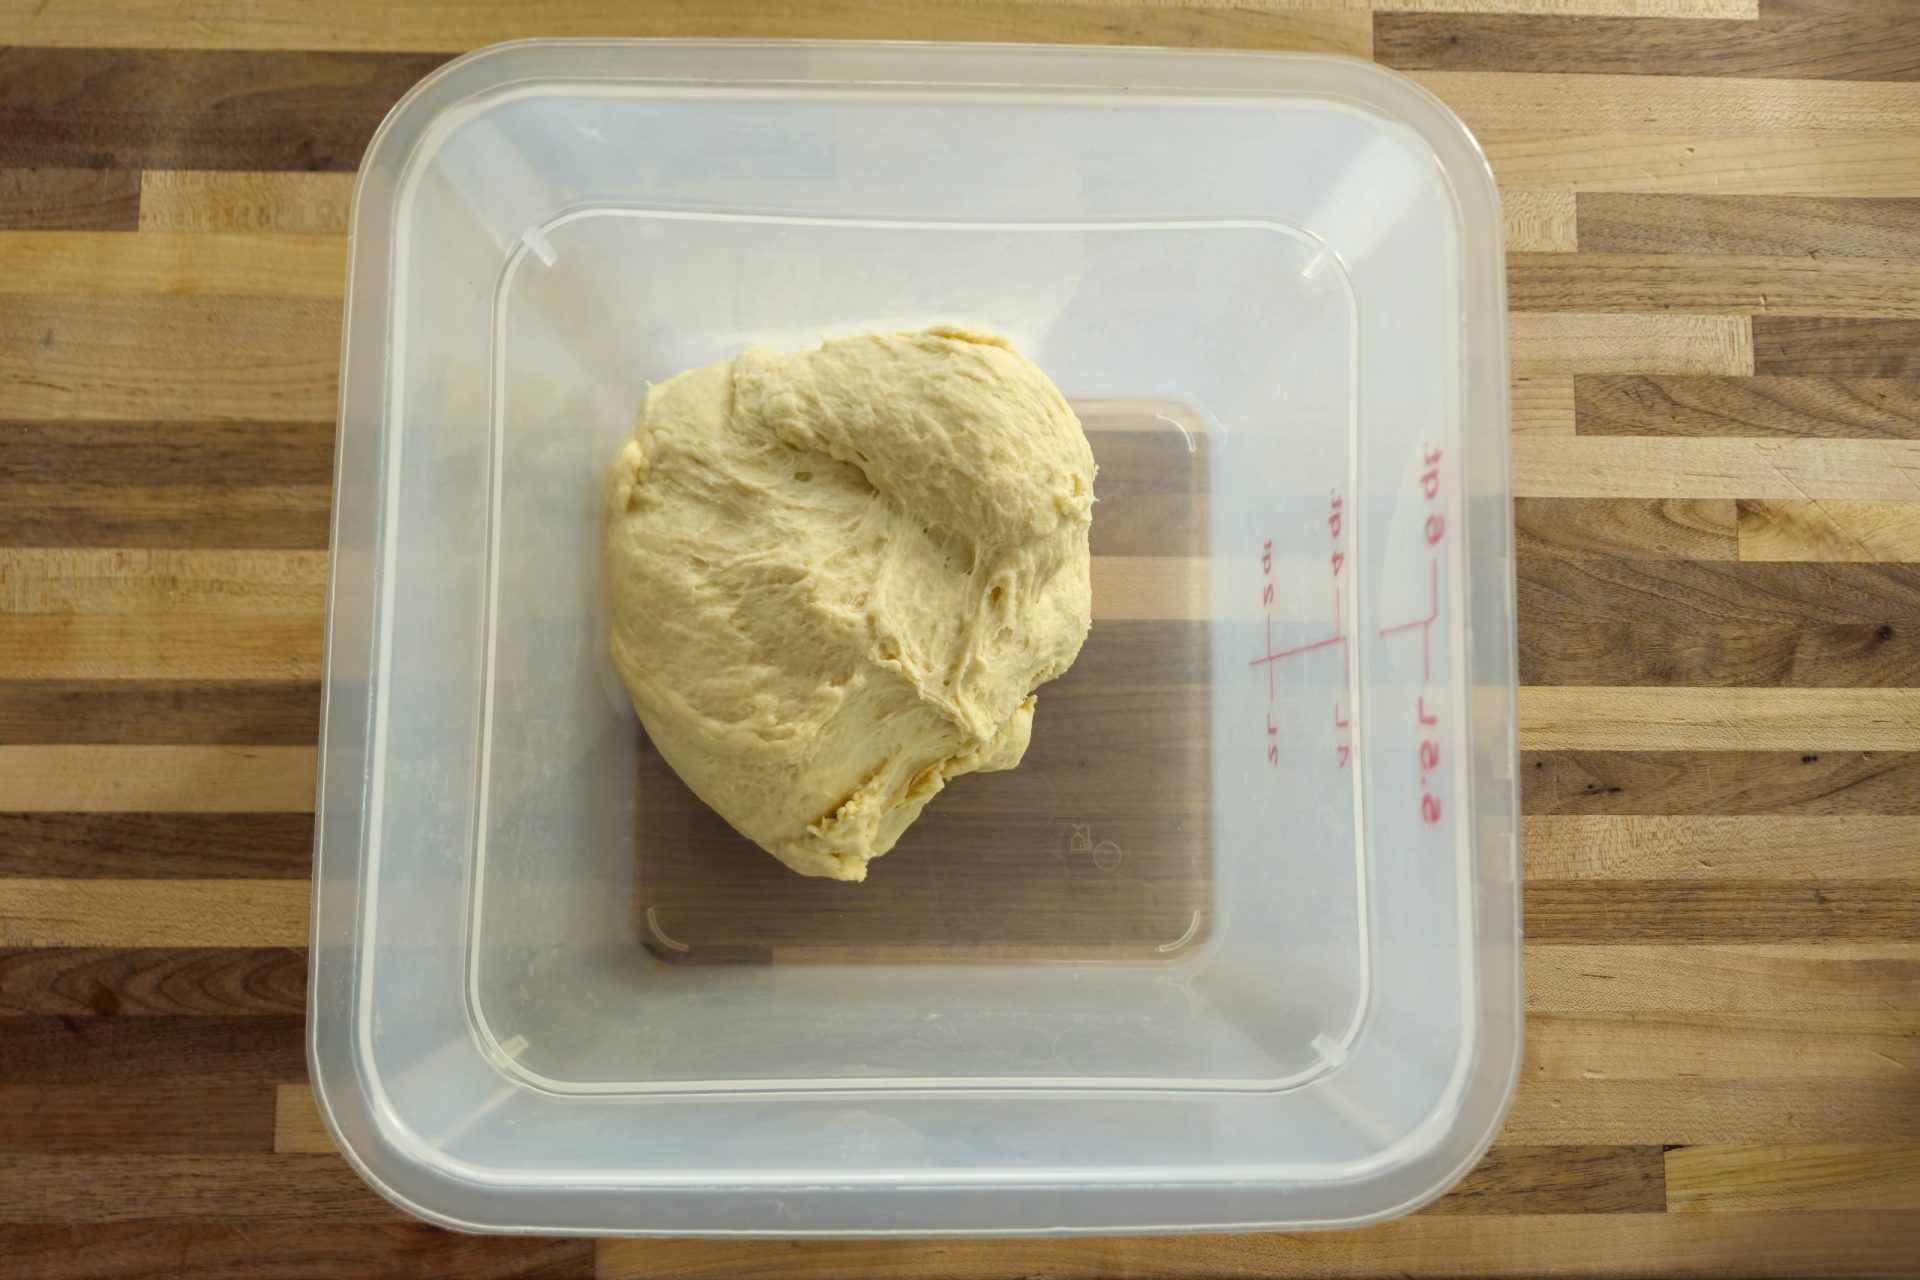
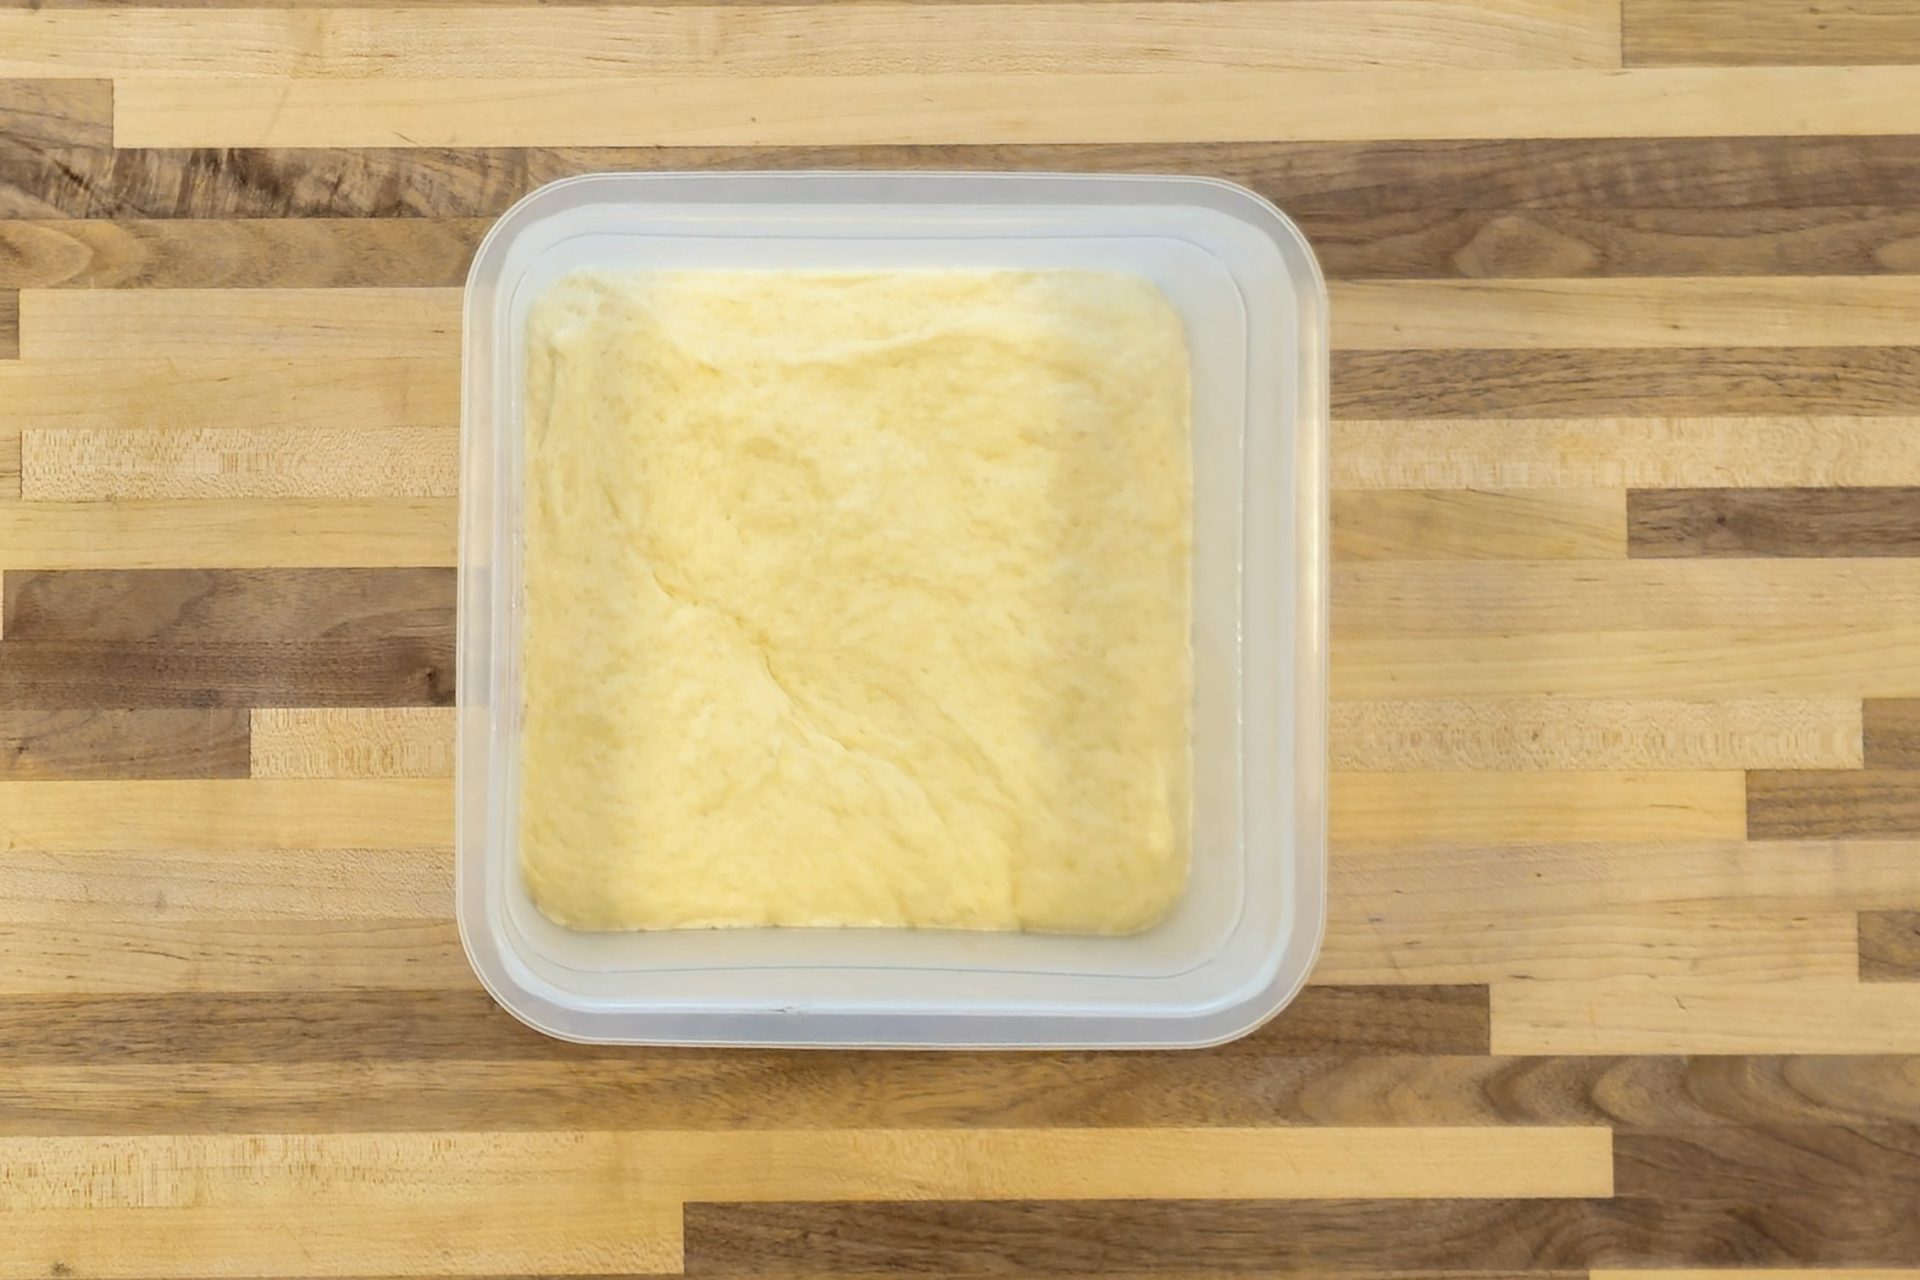
Rising and proofing are essential for a light and airy Pletýnka Bun. After I knead the dough, I remove the bowl from the kitchen mixer and cover it with a plate or plastic wrap. I let it rise in a warm place for about two hours, or at room temperature for about three to four hours until it has at least doubled in size. Later in the recipe, after shaping, we do a second proofing on the baking sheet. I let the shaped rolls proof in a warm place until doubled in size, usually about thirty minutes to one hour. You can increase the proofing time until they triple in size for an airier consistency, but do not go over three times the size to avoid over-proofing. As a modification that is not part of the recipe, you could let the dough sit in a warm, turned-off oven with a bowl of hot water for extra humidity to speed up the rise, but remember this is a modification that is not part of the recipe. I usually stick to the recipe’s exact resting environment to ensure the active dry yeast works perfectly before baking to a golden color.
Pre-shaping the Dough into Compact Balls
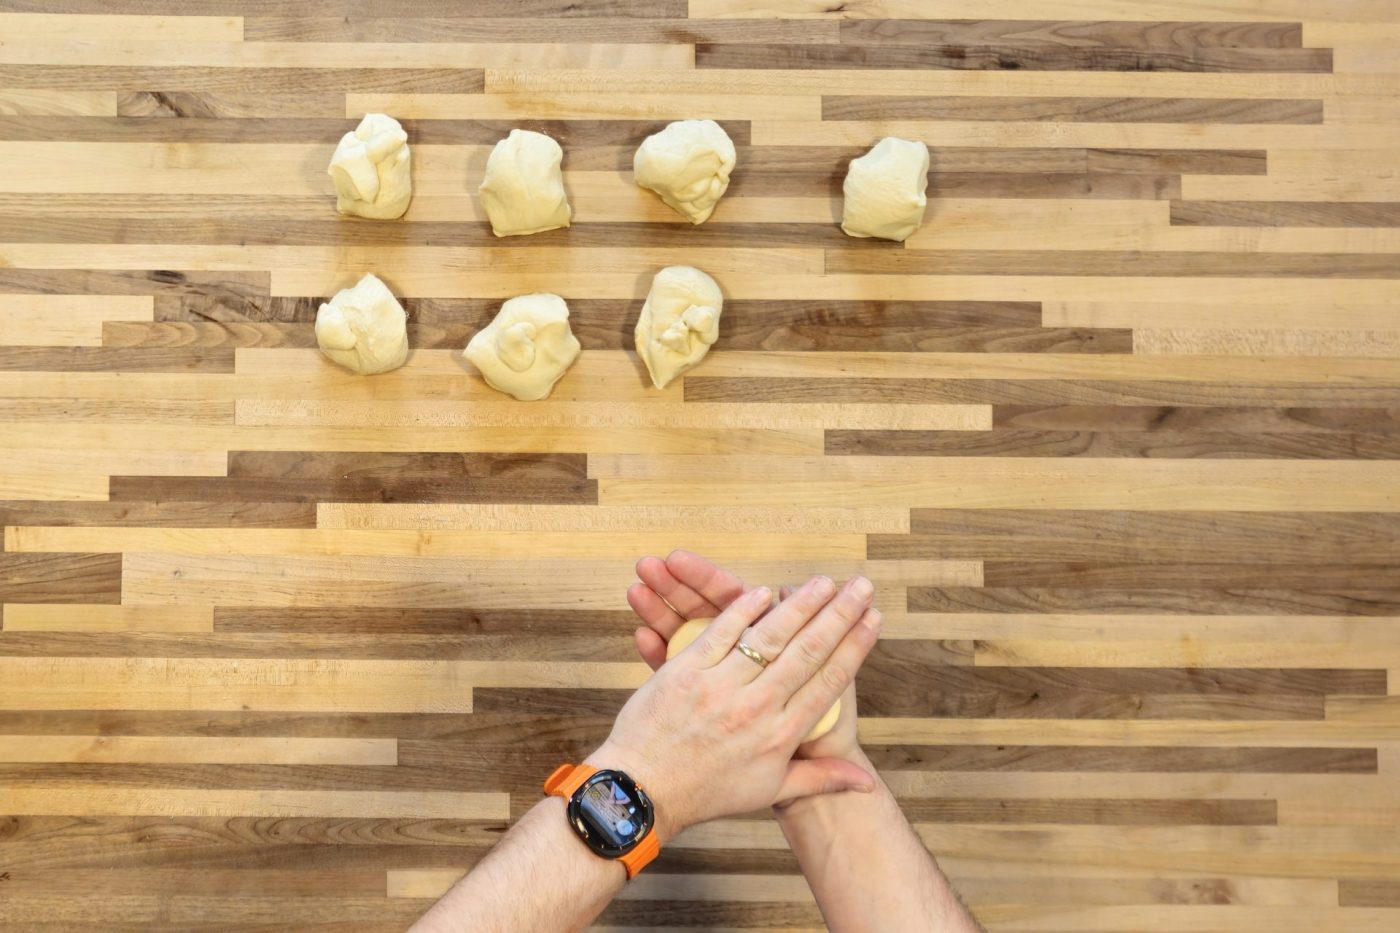
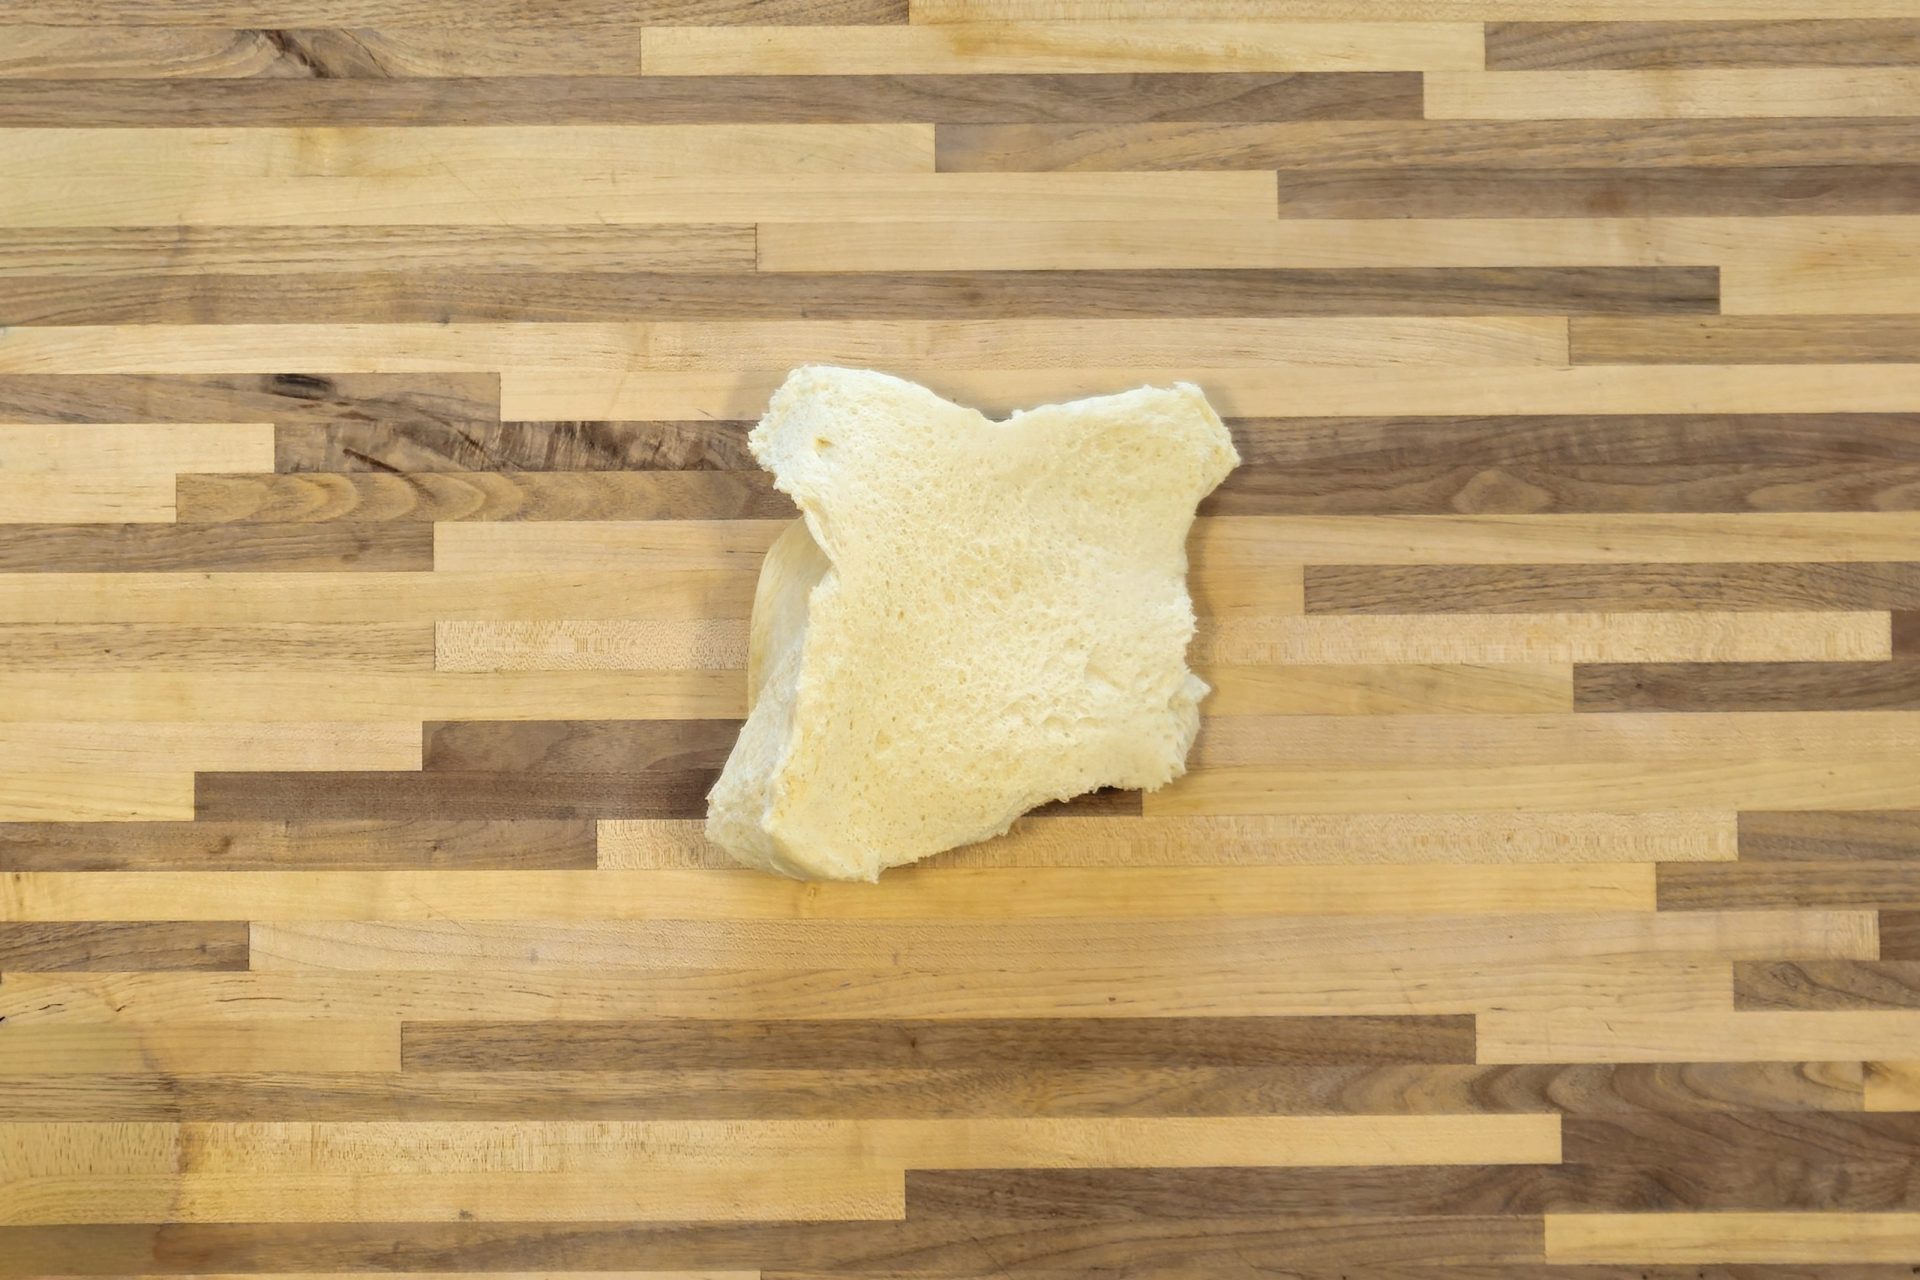
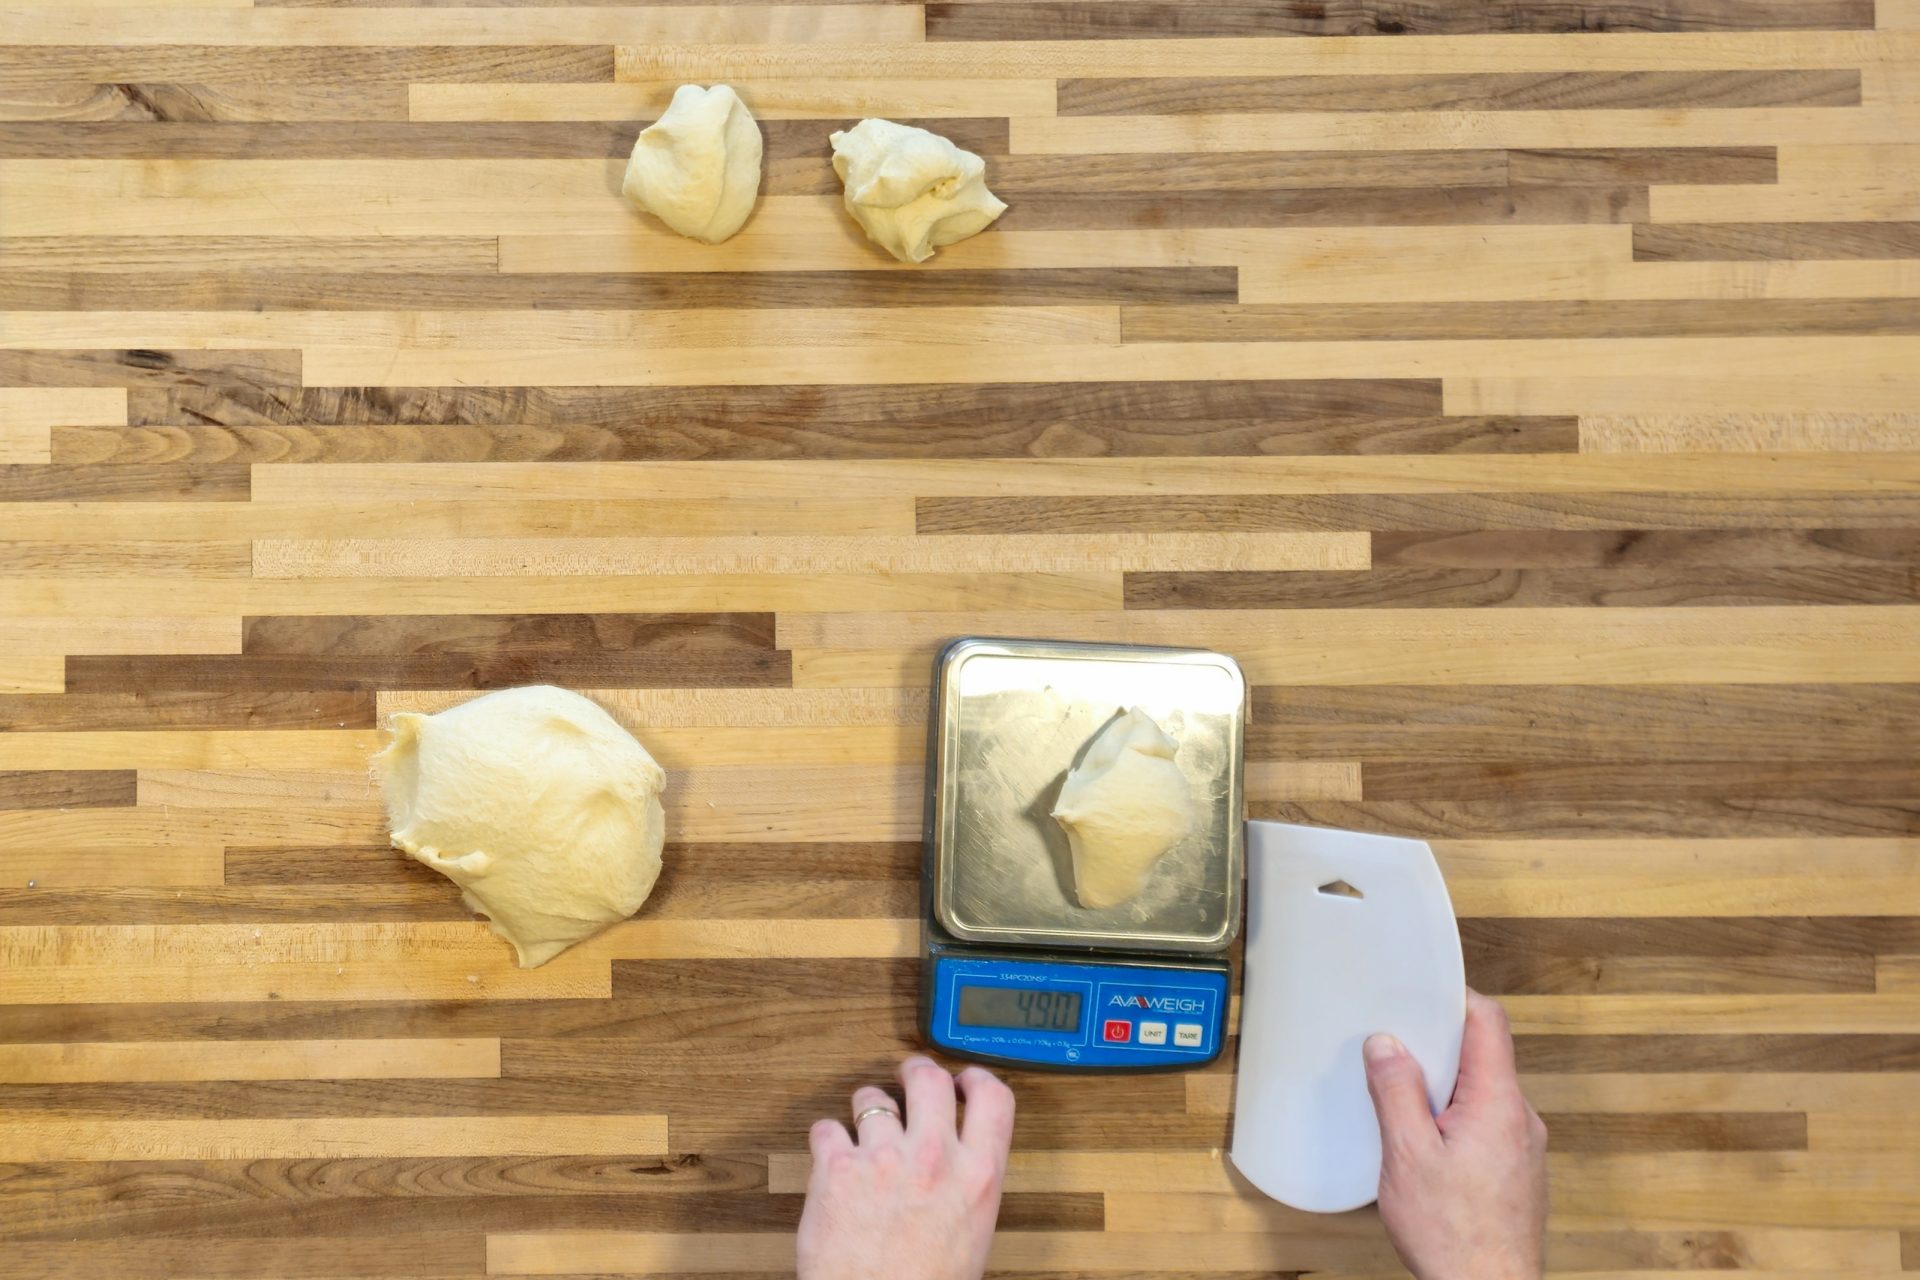
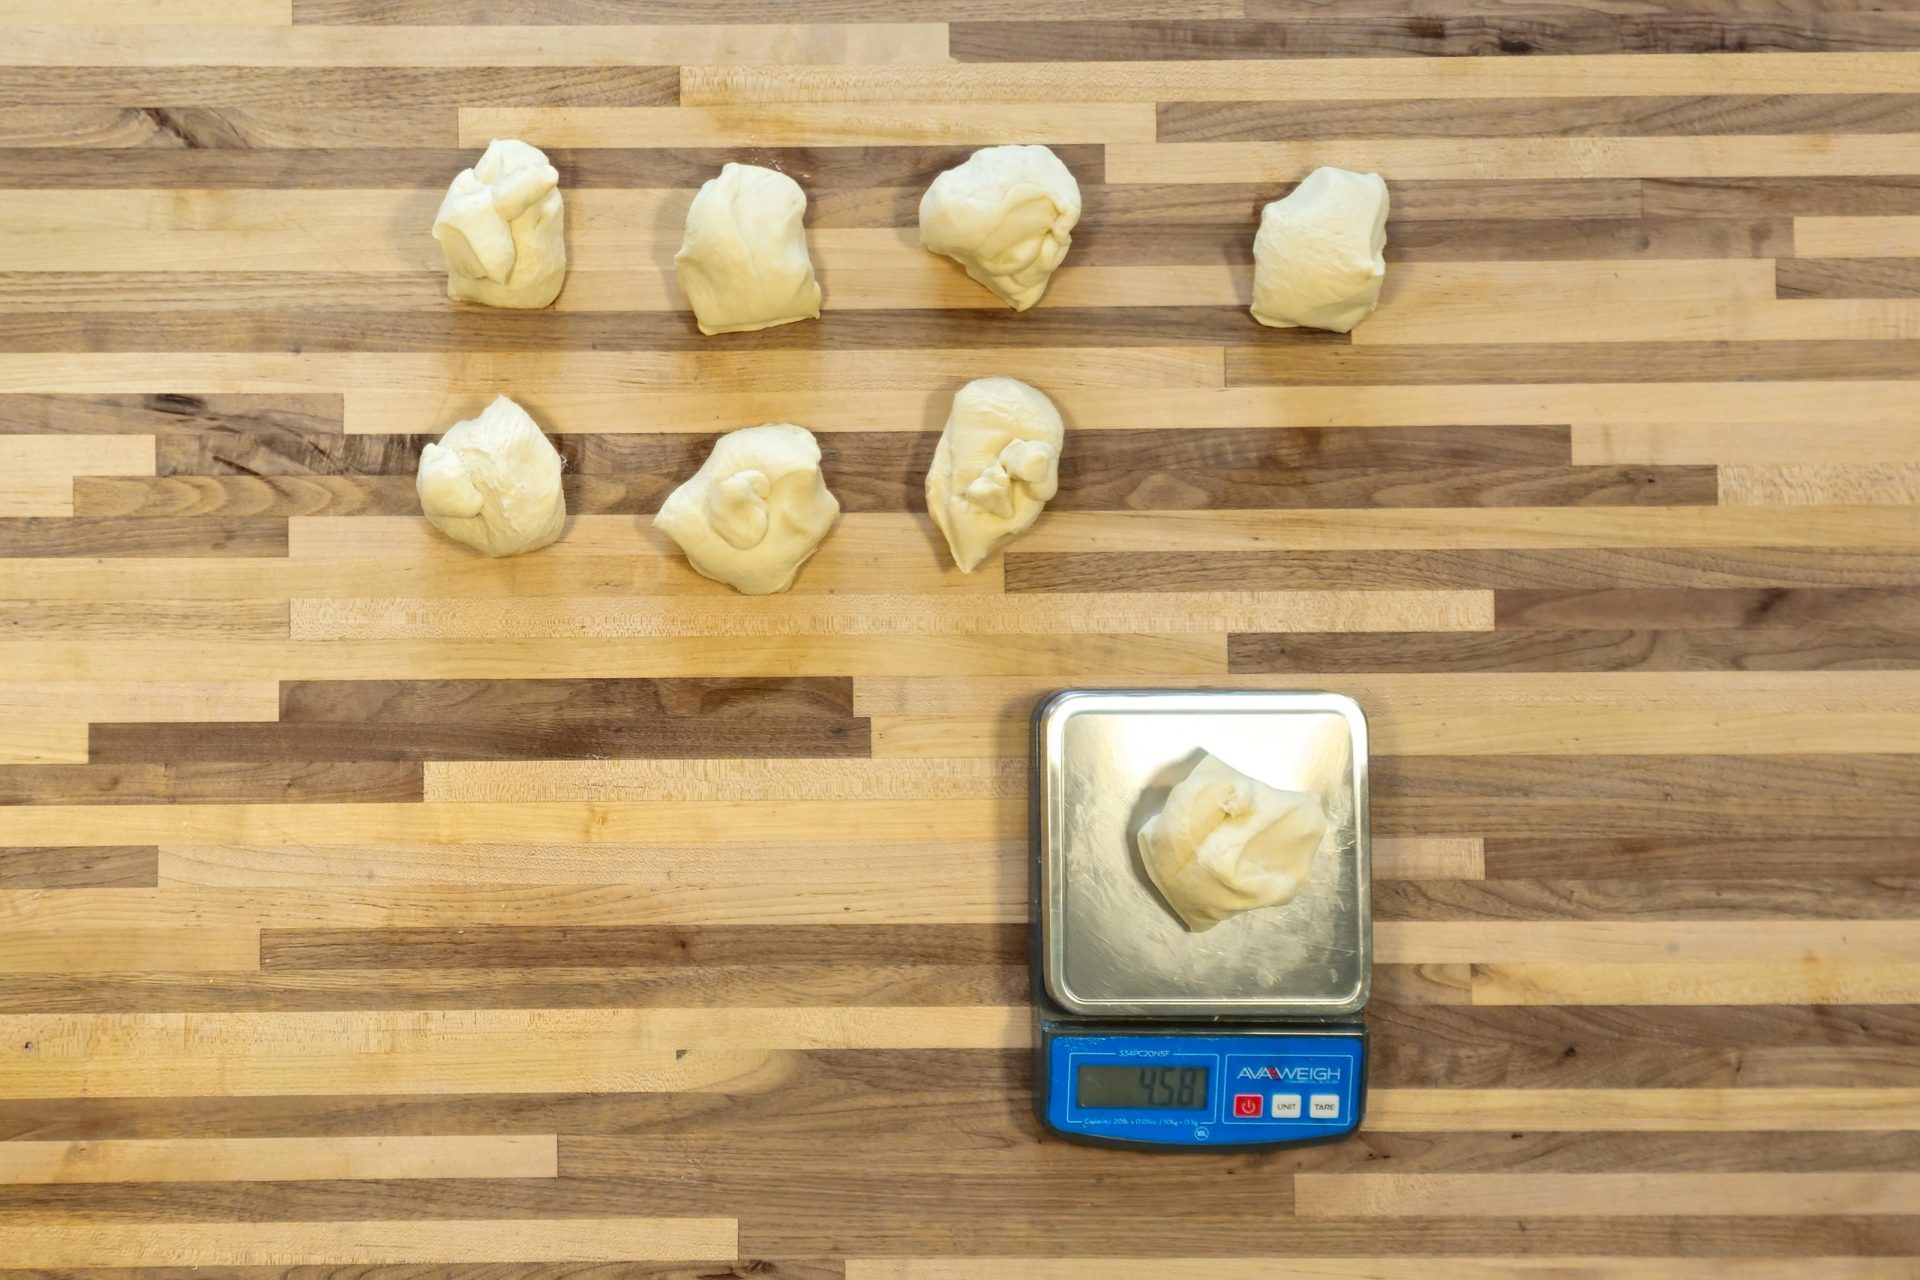
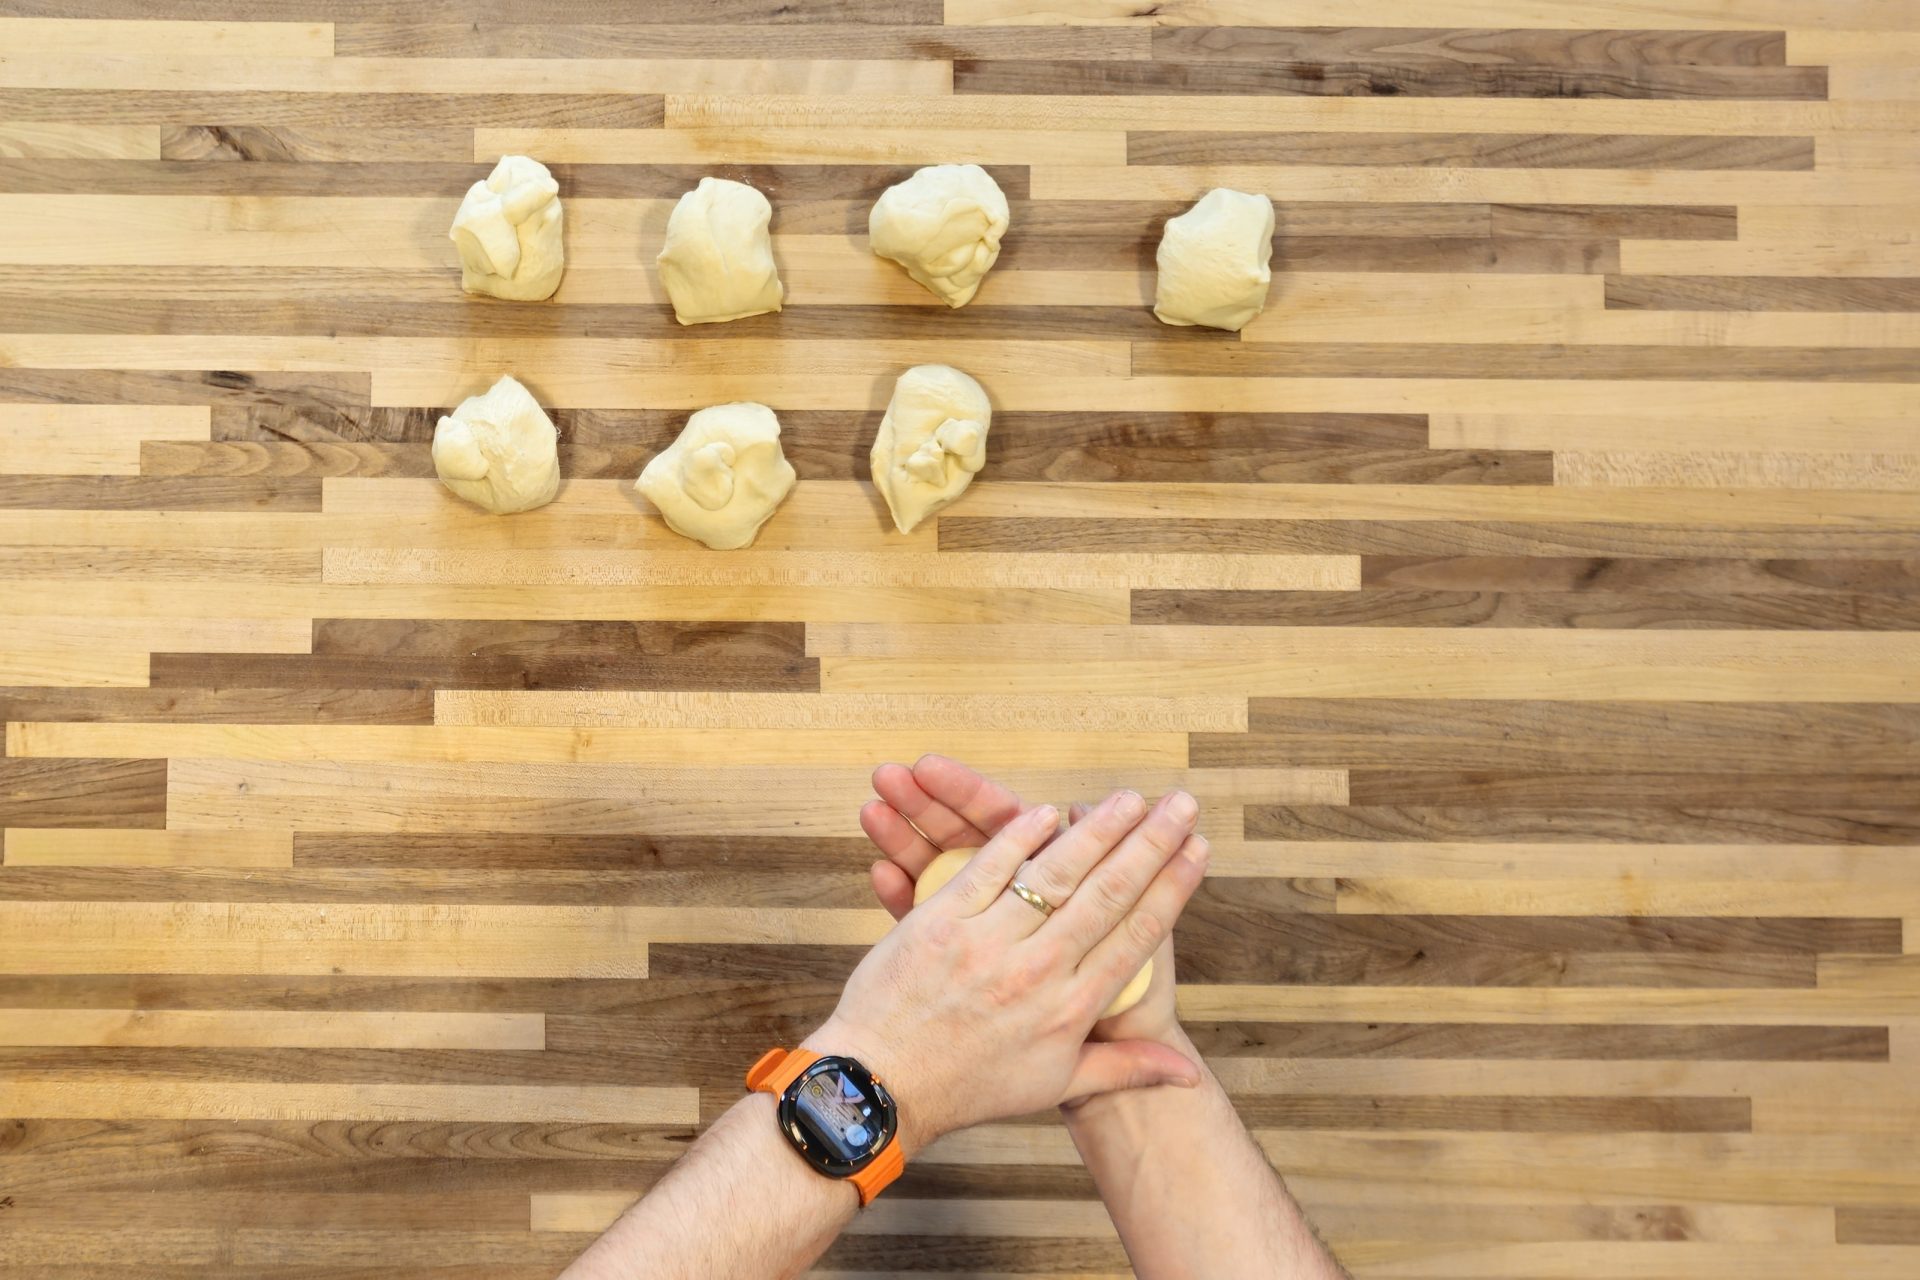
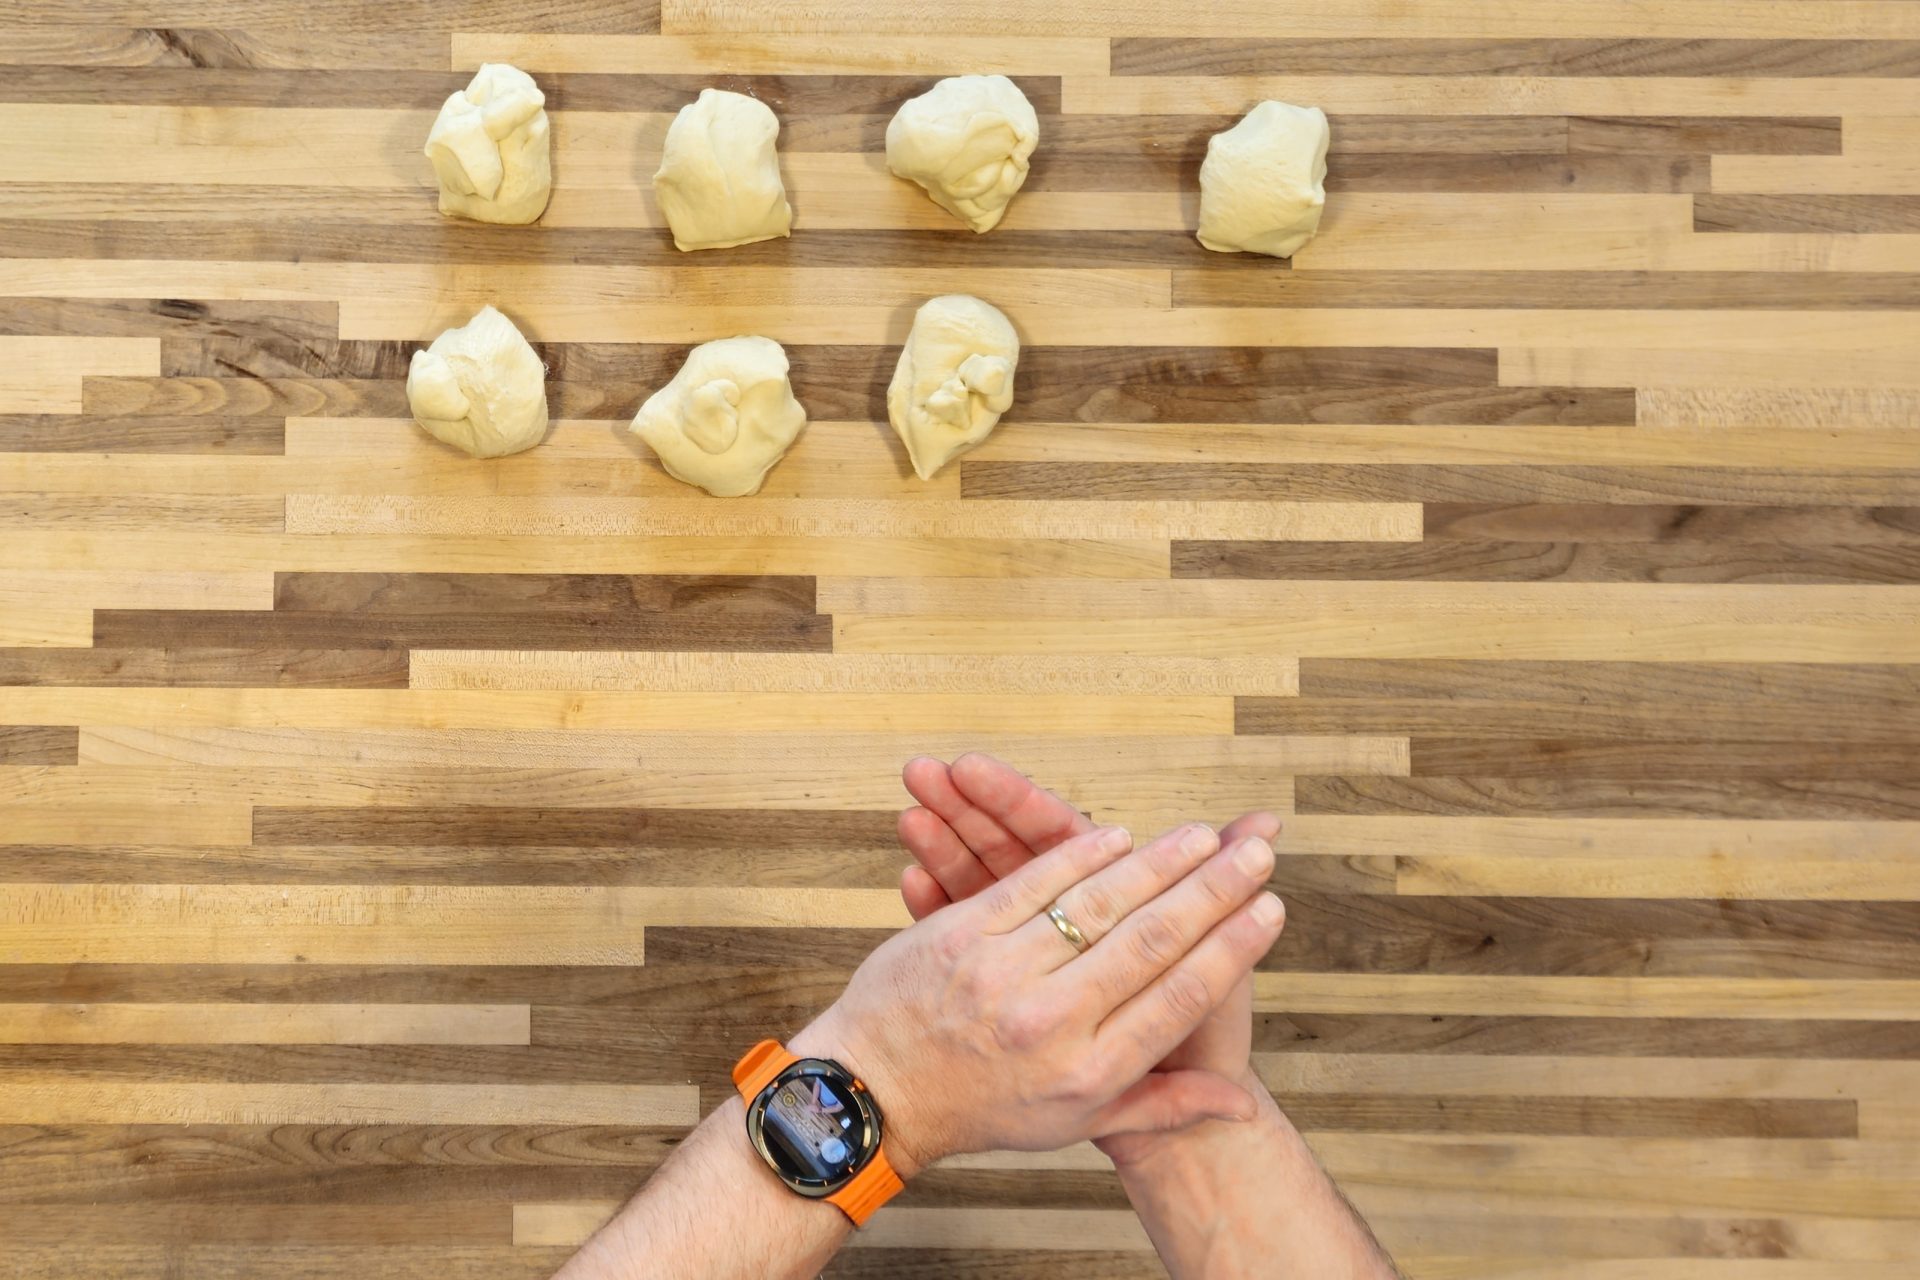
Before attempting to braid the Pletýnka Bun, I pre-shape the dough into compact balls to make the final rolling much easier. I place the risen dough on a perfectly clean surface, making absolutely sure there is no flour on it. Because the dough includes room temperature butter, it will not stick. I separate the dough into eight even pieces, about five ounces each, using a bowl scraper and scale. I form each piece of dough into compact dough balls simply using my hands. Then, I cover the balls with a dish towel and let them rest for about five to ten minutes. This resting period is incredibly helpful before rolling out the strands.
Mastering the One-Strand Braid Technique
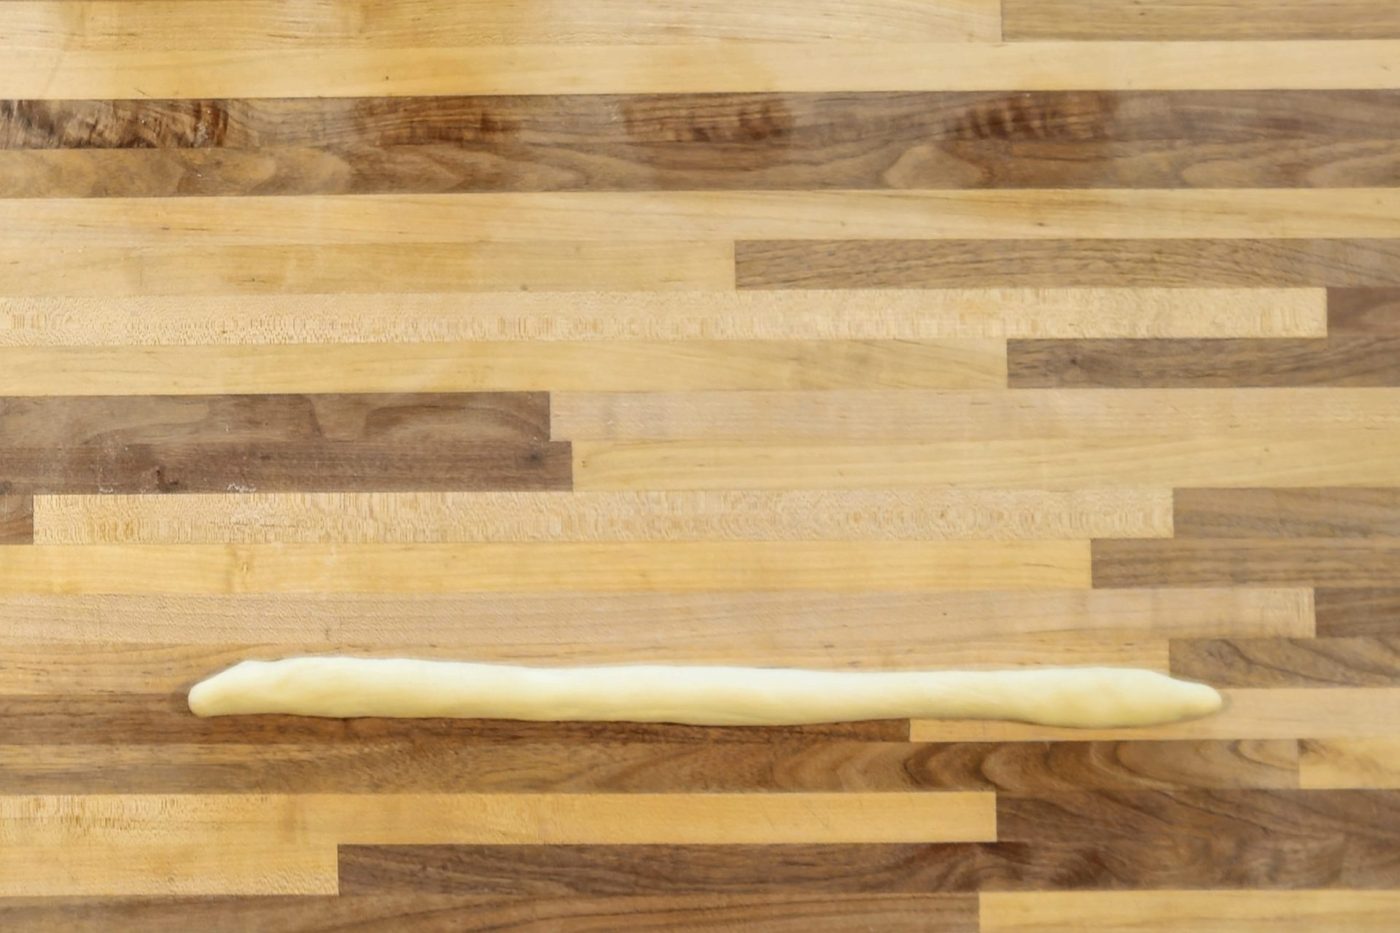
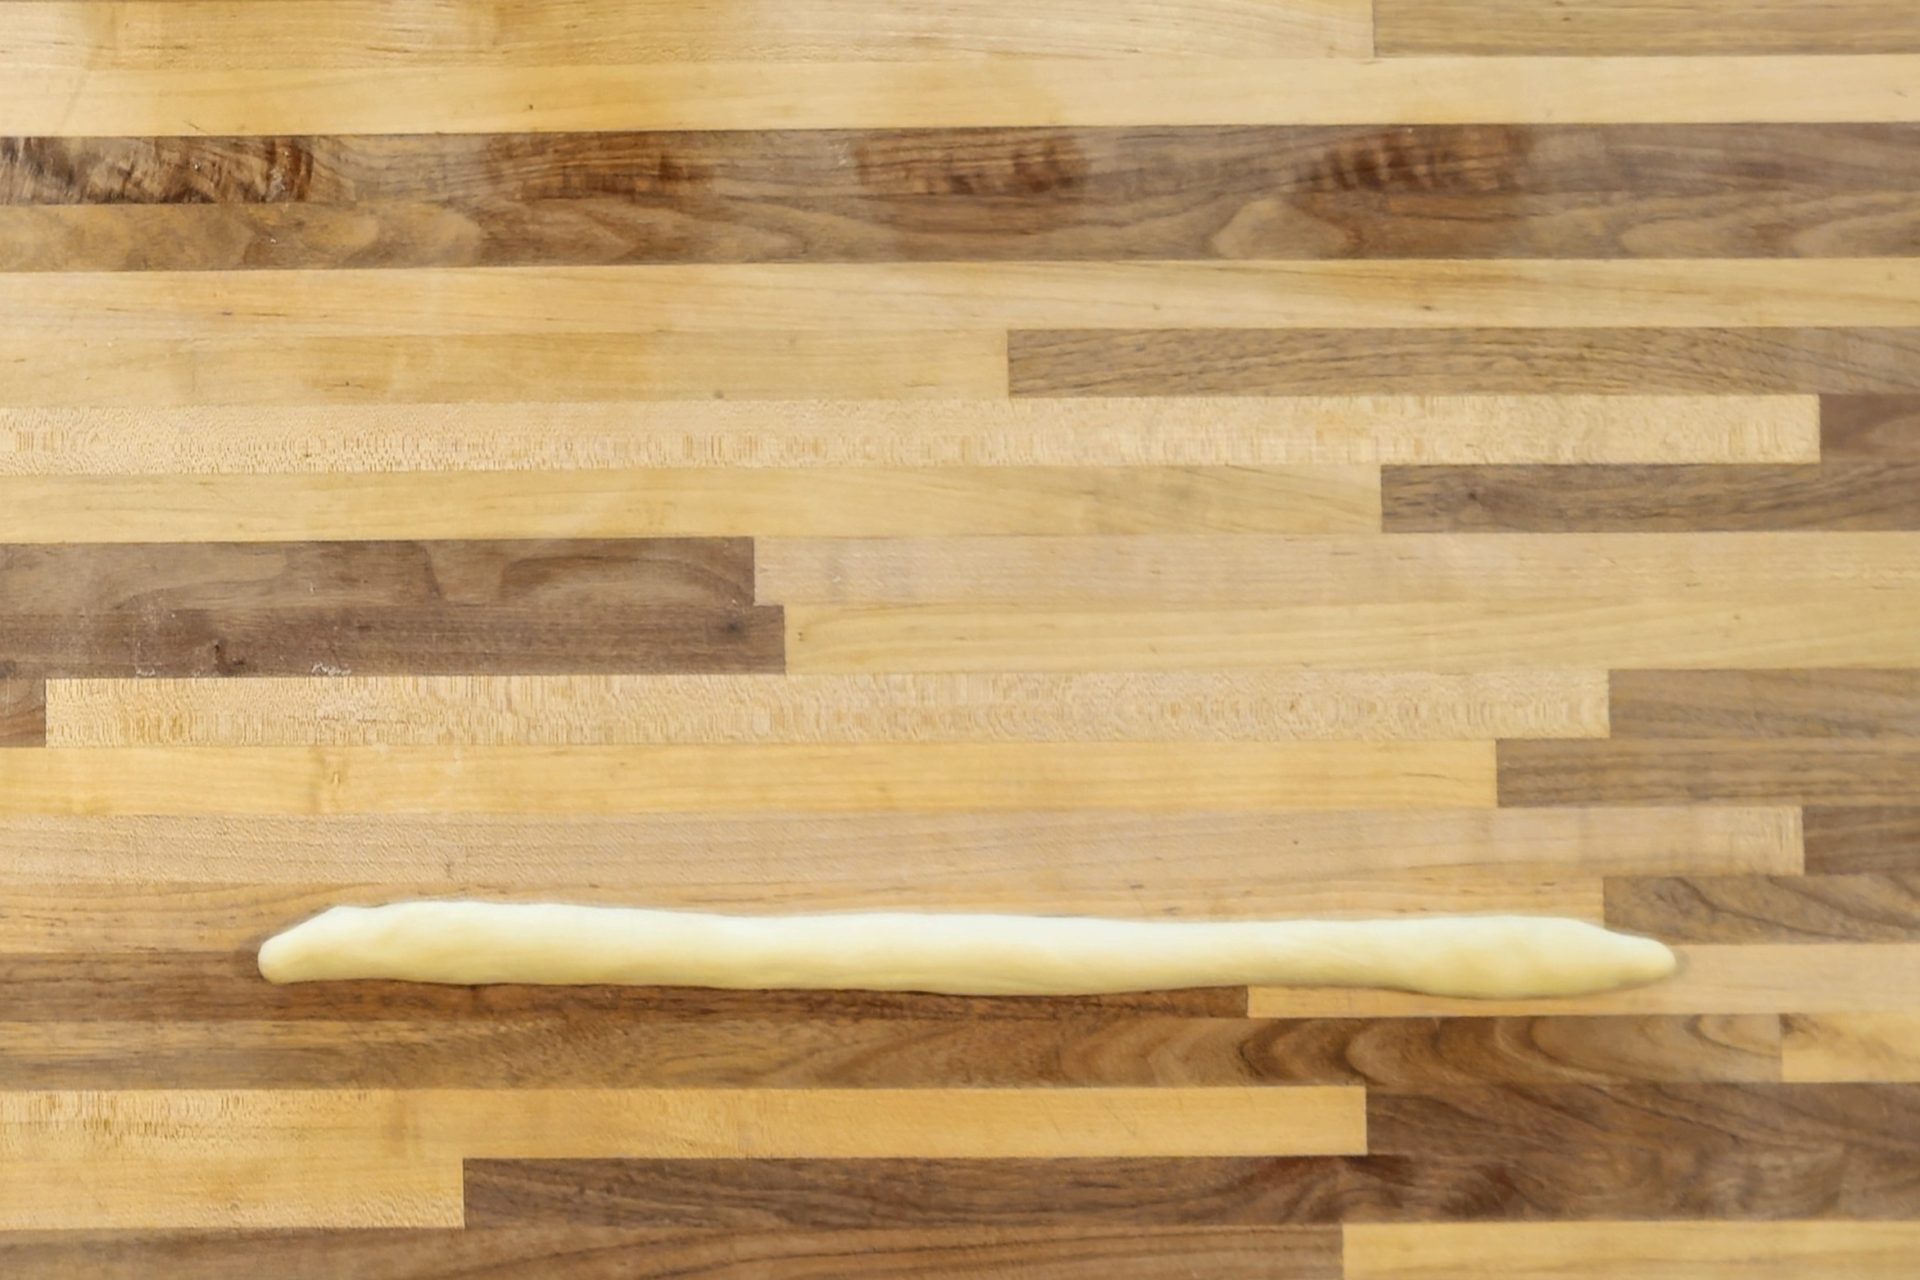
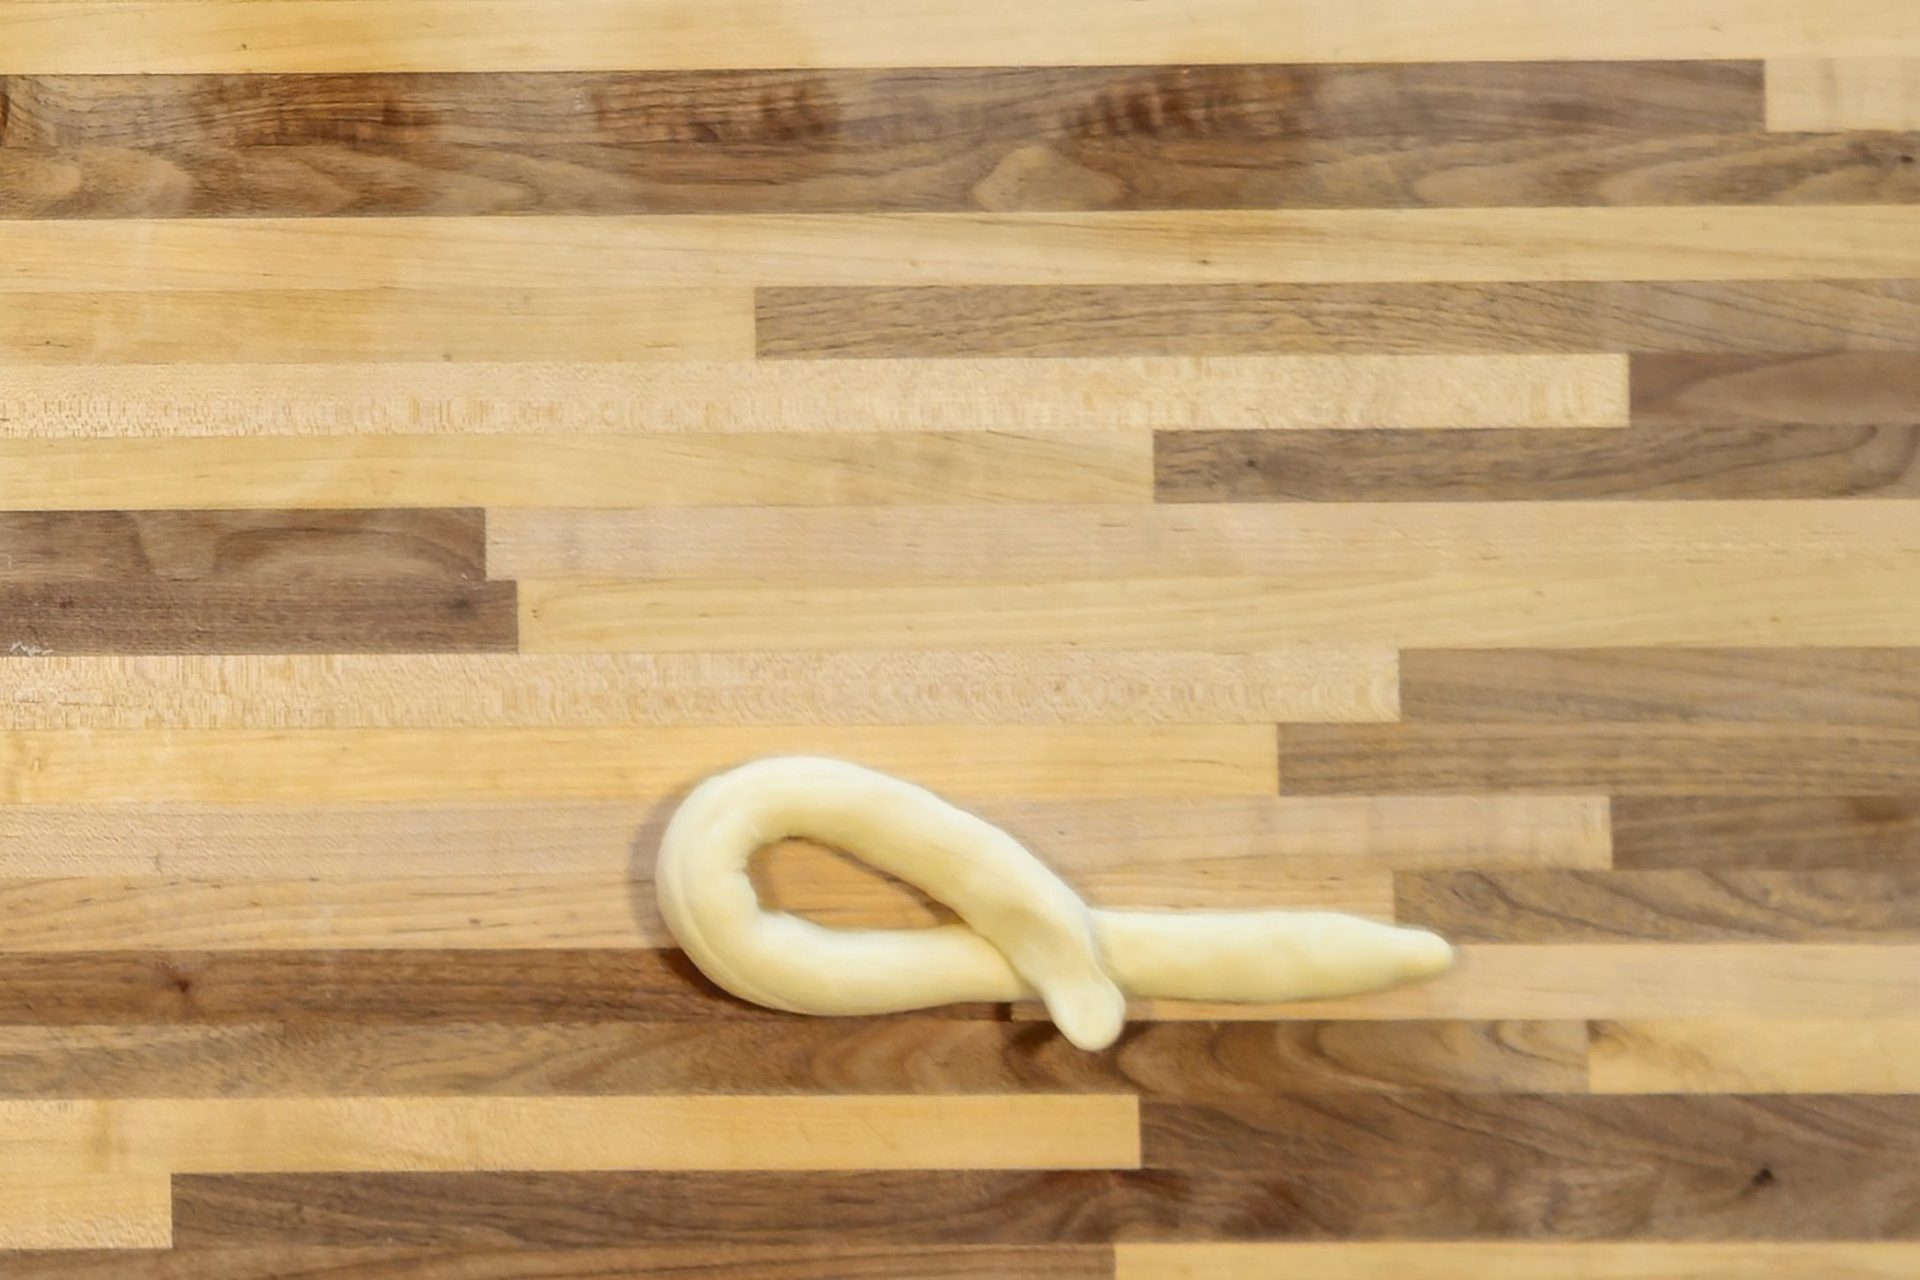
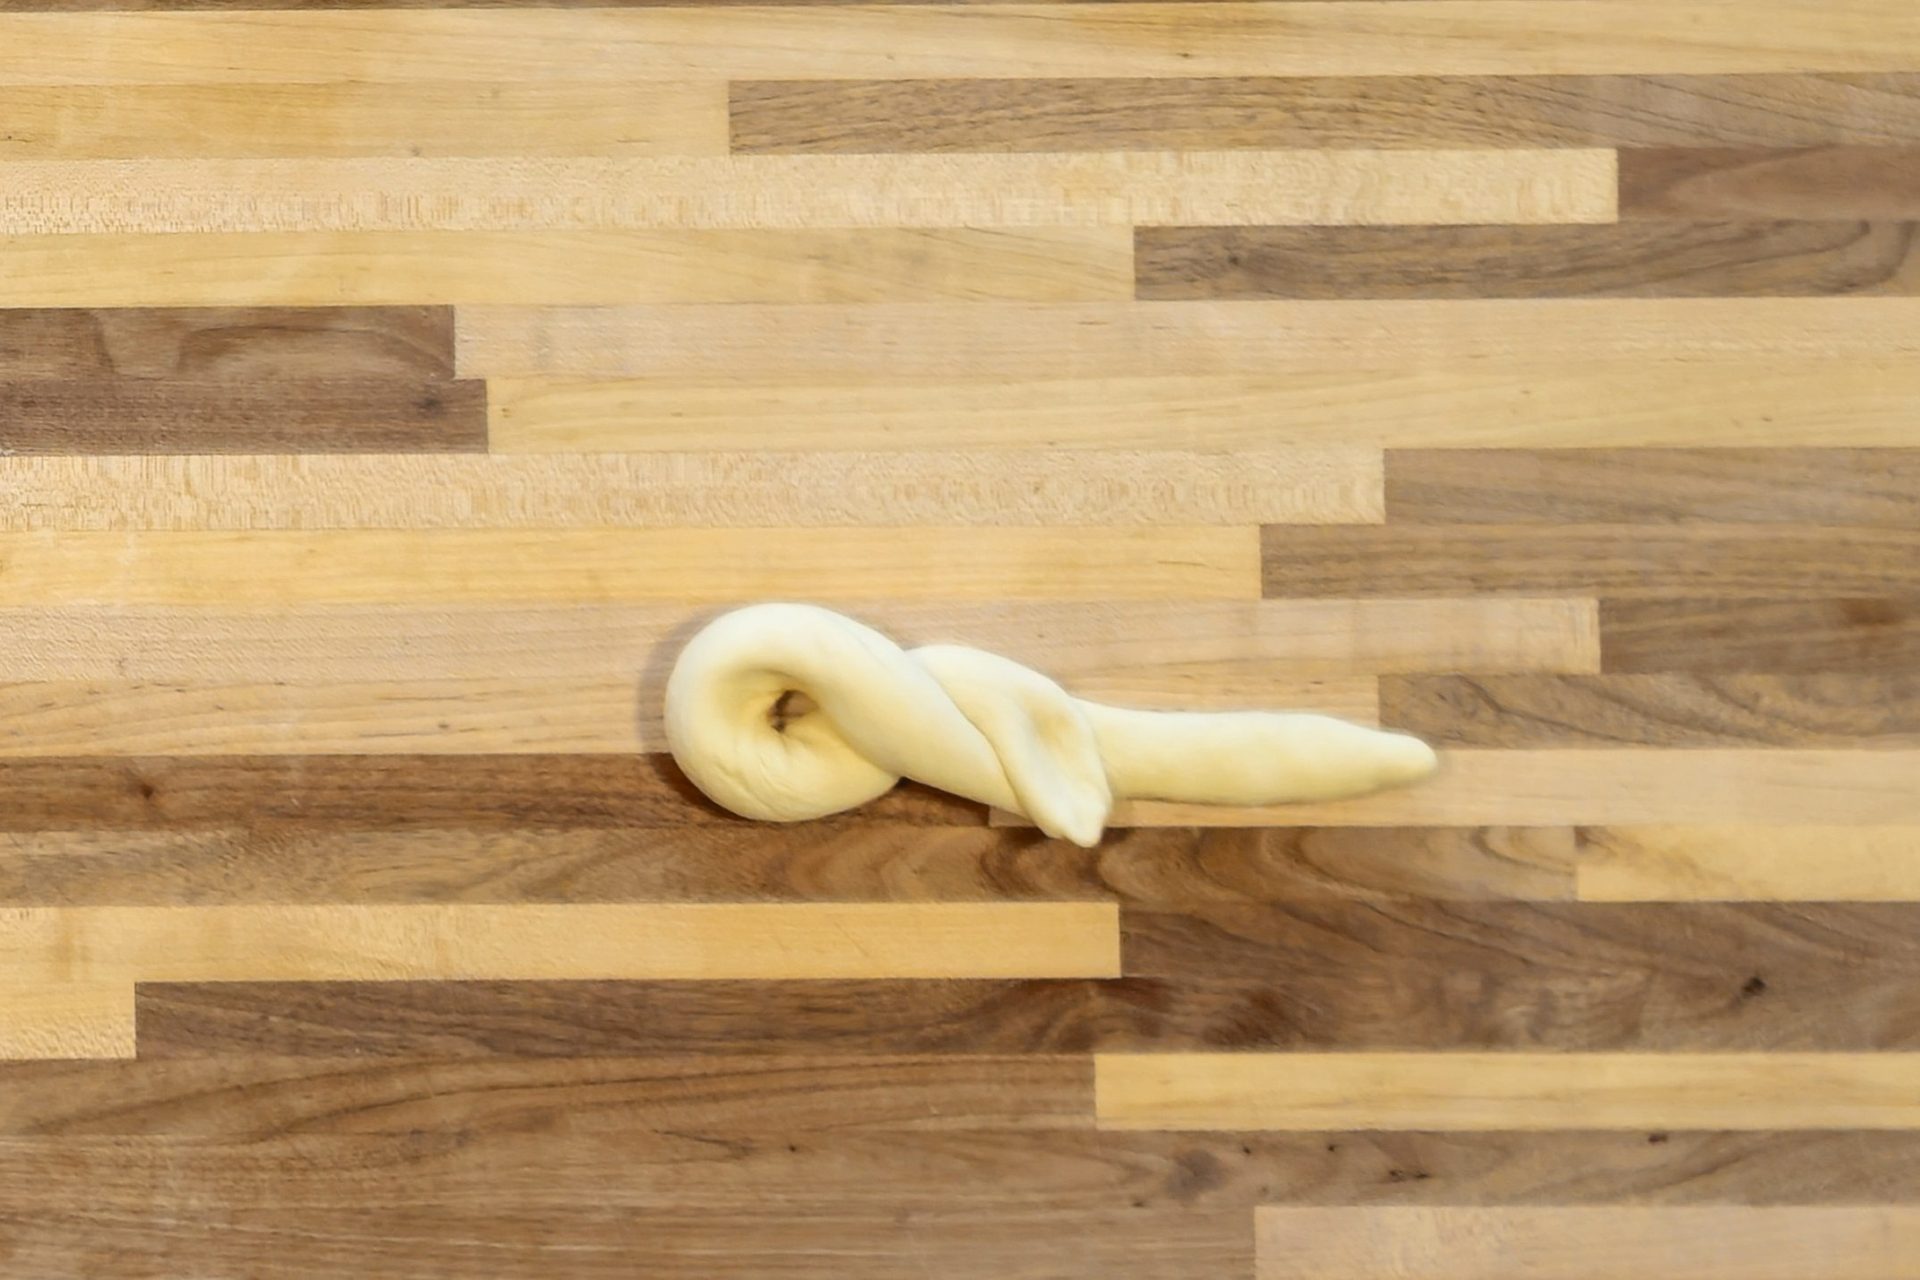
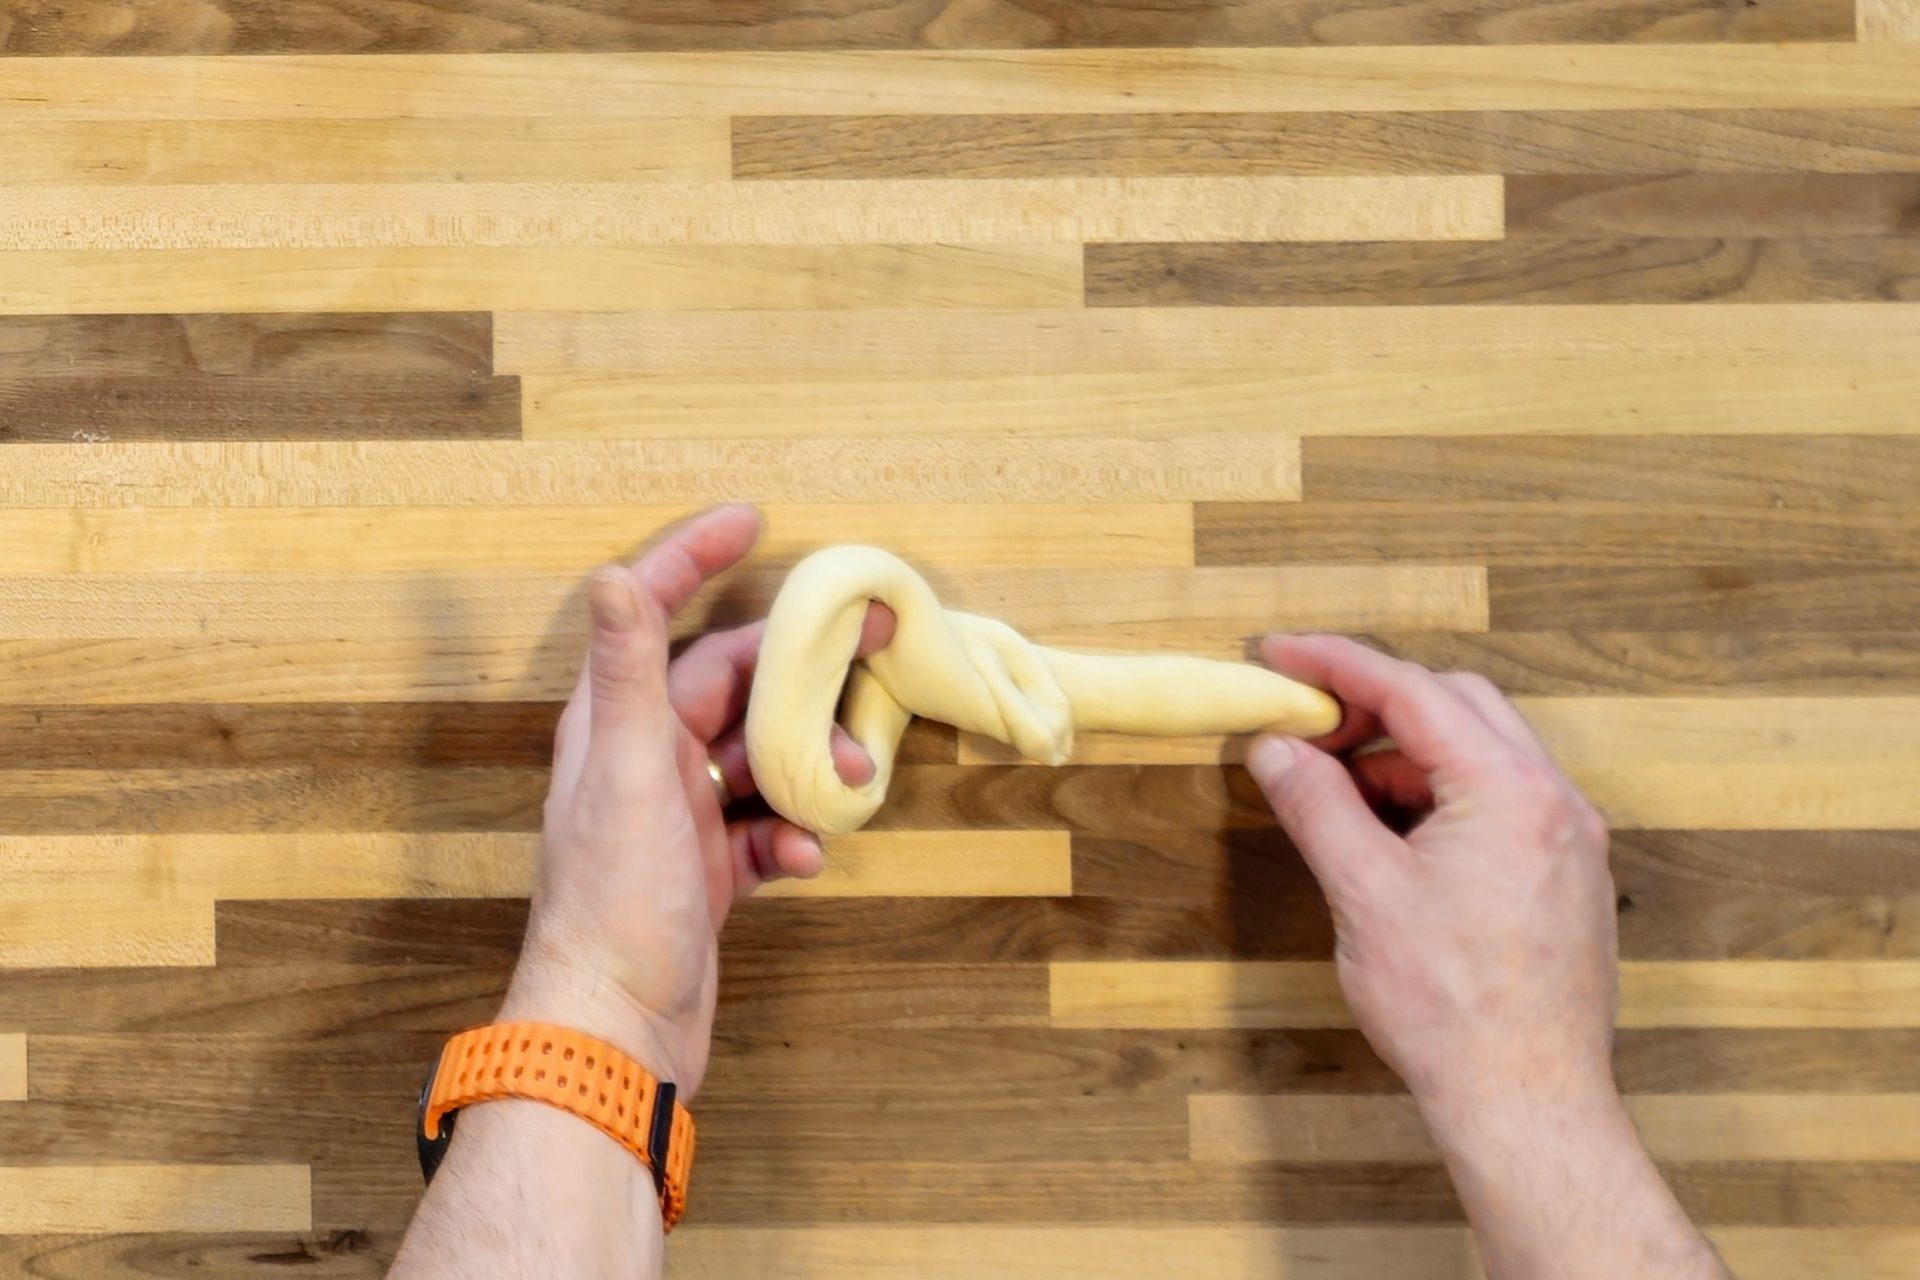
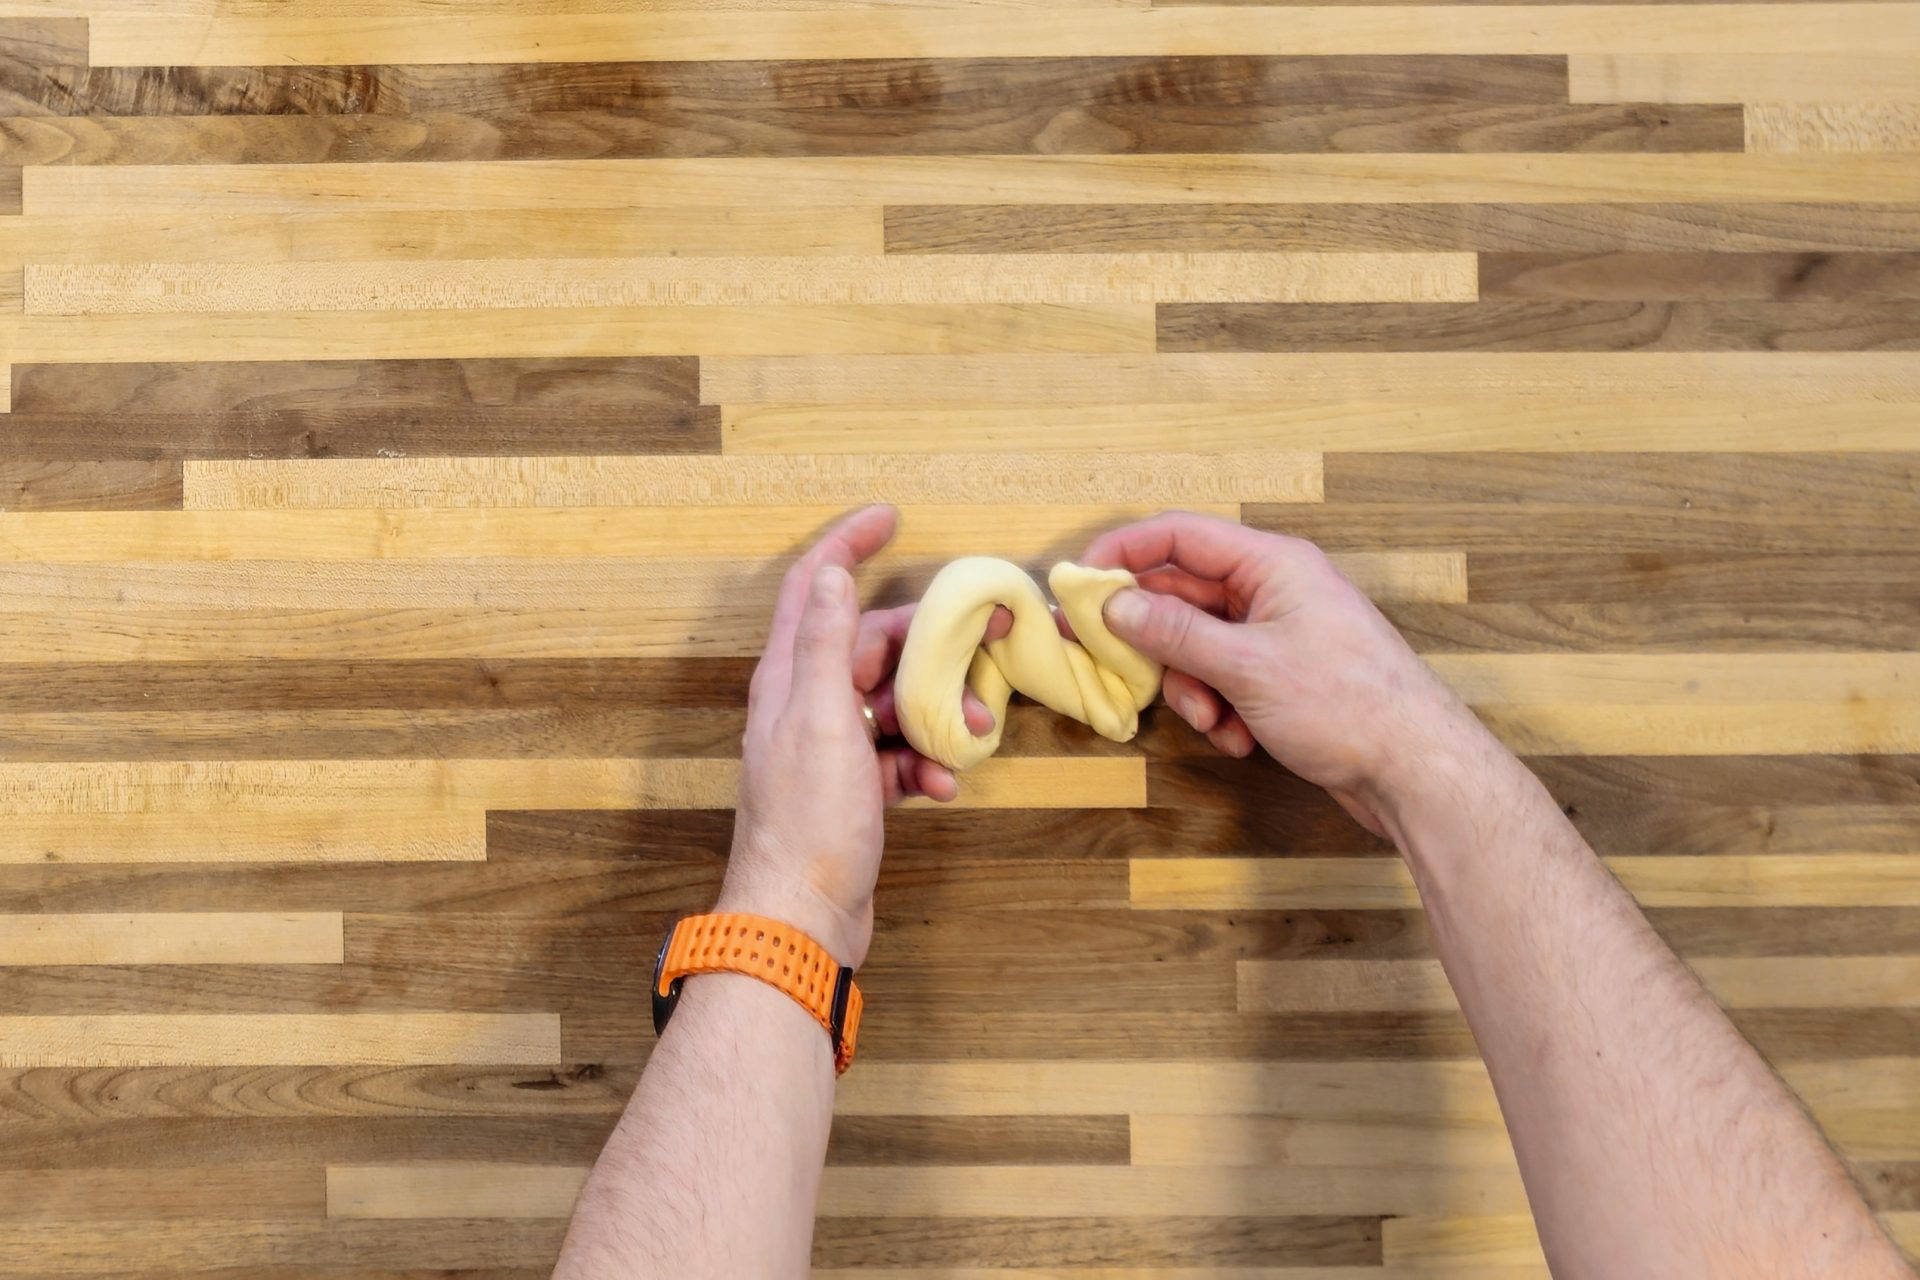
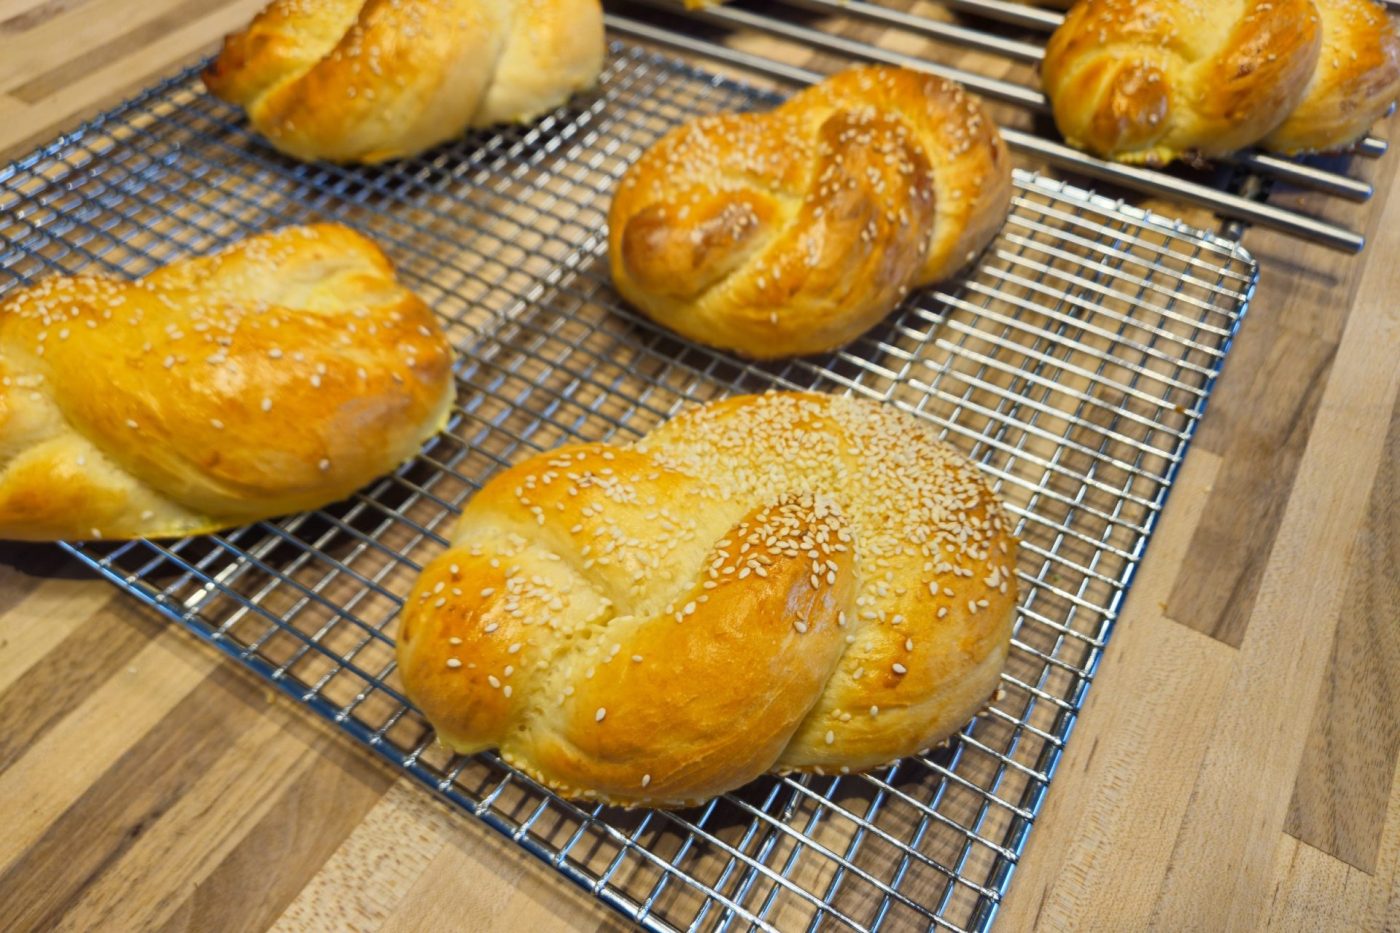
The shaping of the Pletýnka Bun is what makes it so unique and fun! I shape the buns one by one on a clean, unfloured surface. I roll each piece into a strand, a long rope shape, with a thickness of about half to three-quarters of an inch and a length of twelve to sixteen inches. To braid, I take the left end of the strand and fold it halfway into the center, directing it away from my body, and connect the fold by lightly pressing it together with my right hand to create an eye on the left side. I keep my finger on that spot to hold the connection. Then I twist the eye on the left away from my body using my left hand. Finally, I pull the right side of the strand all the way through the eye using my right hand. It creates a beautiful woven look without the hassle of multiple strands!
Applying the Brushing Mixture and Baking to a Golden Color
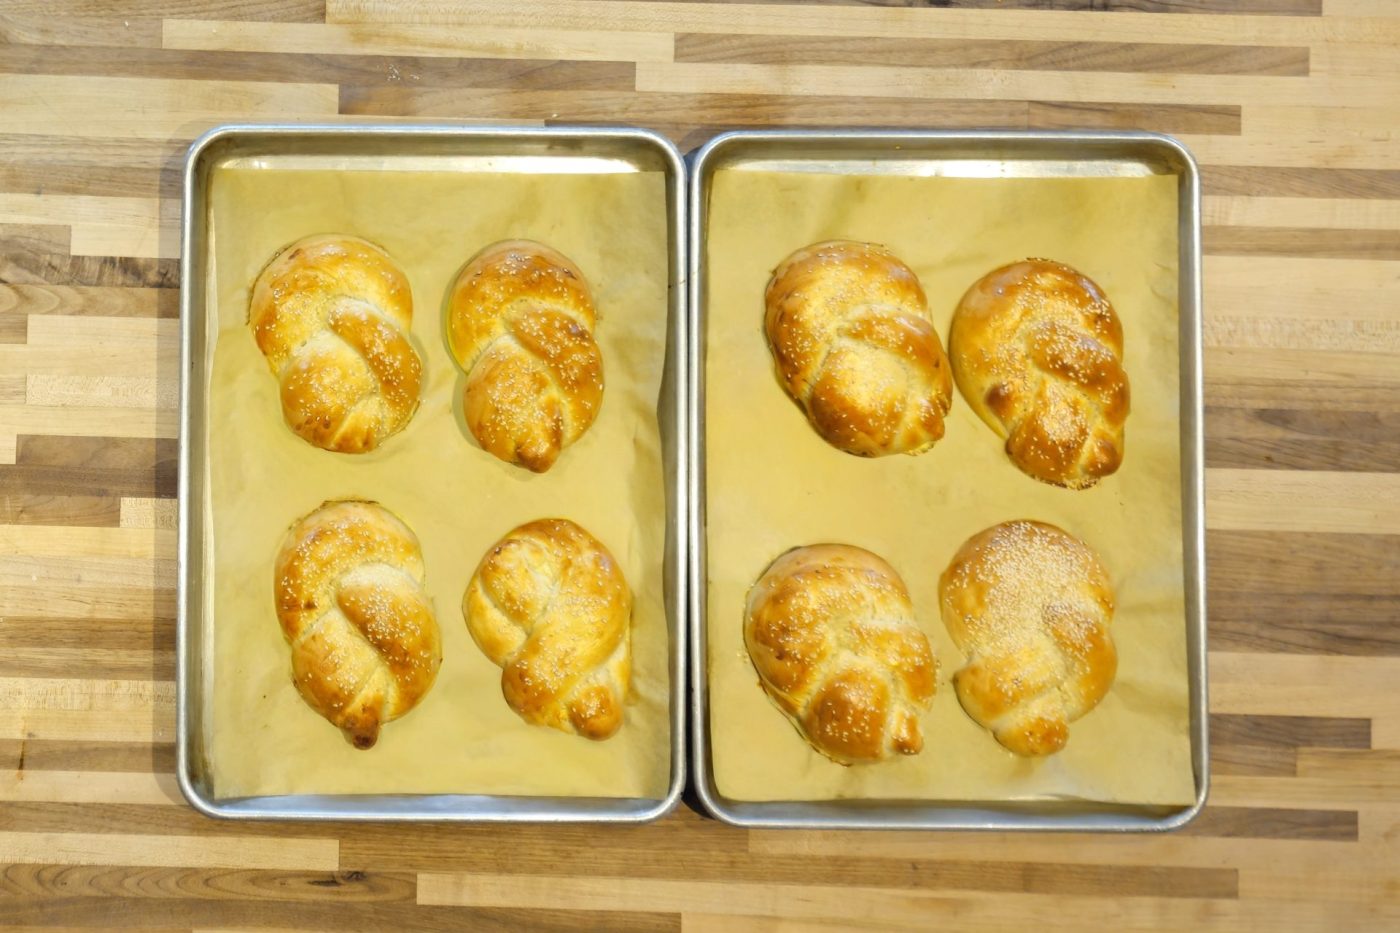
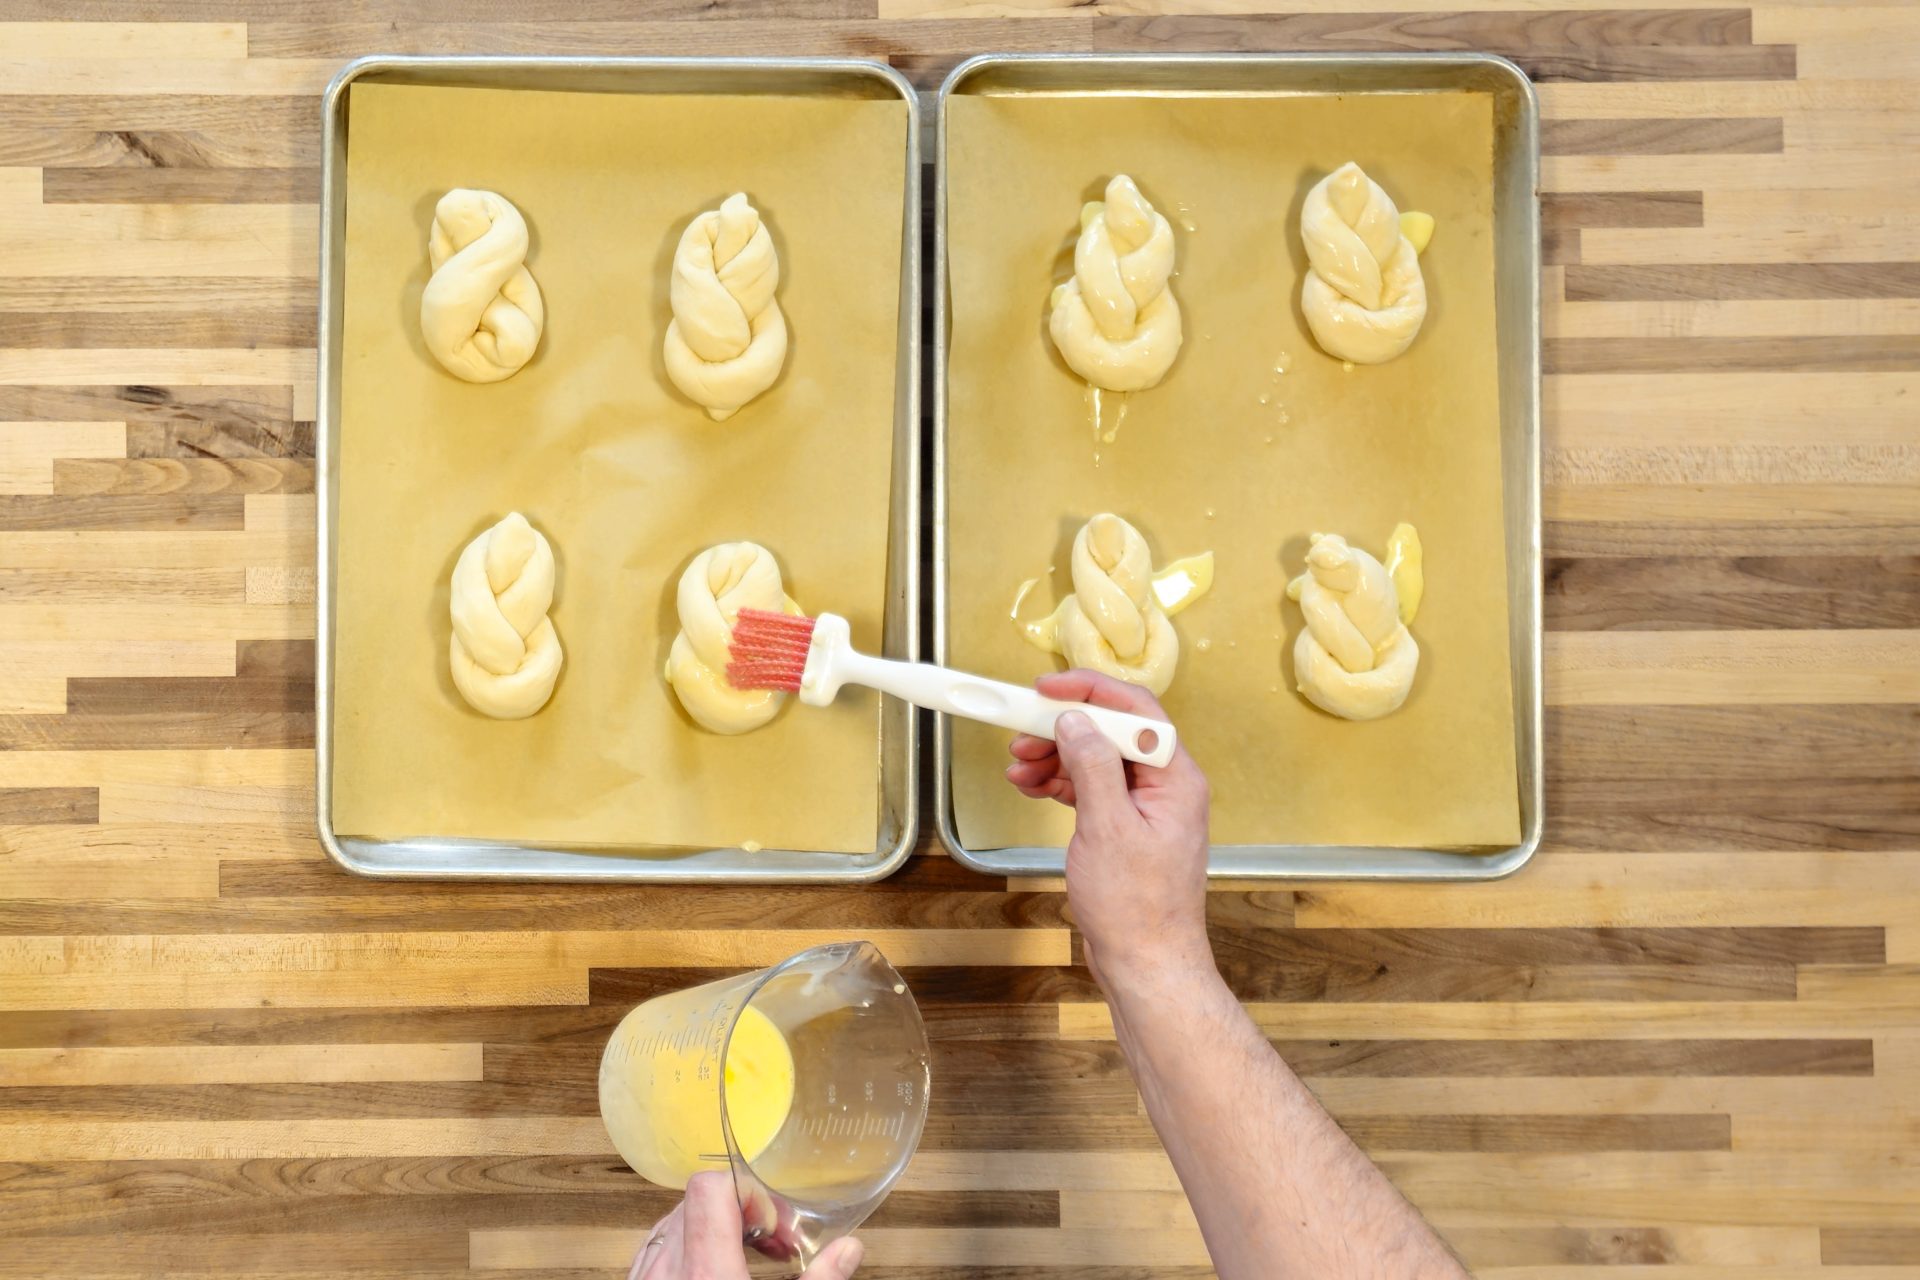
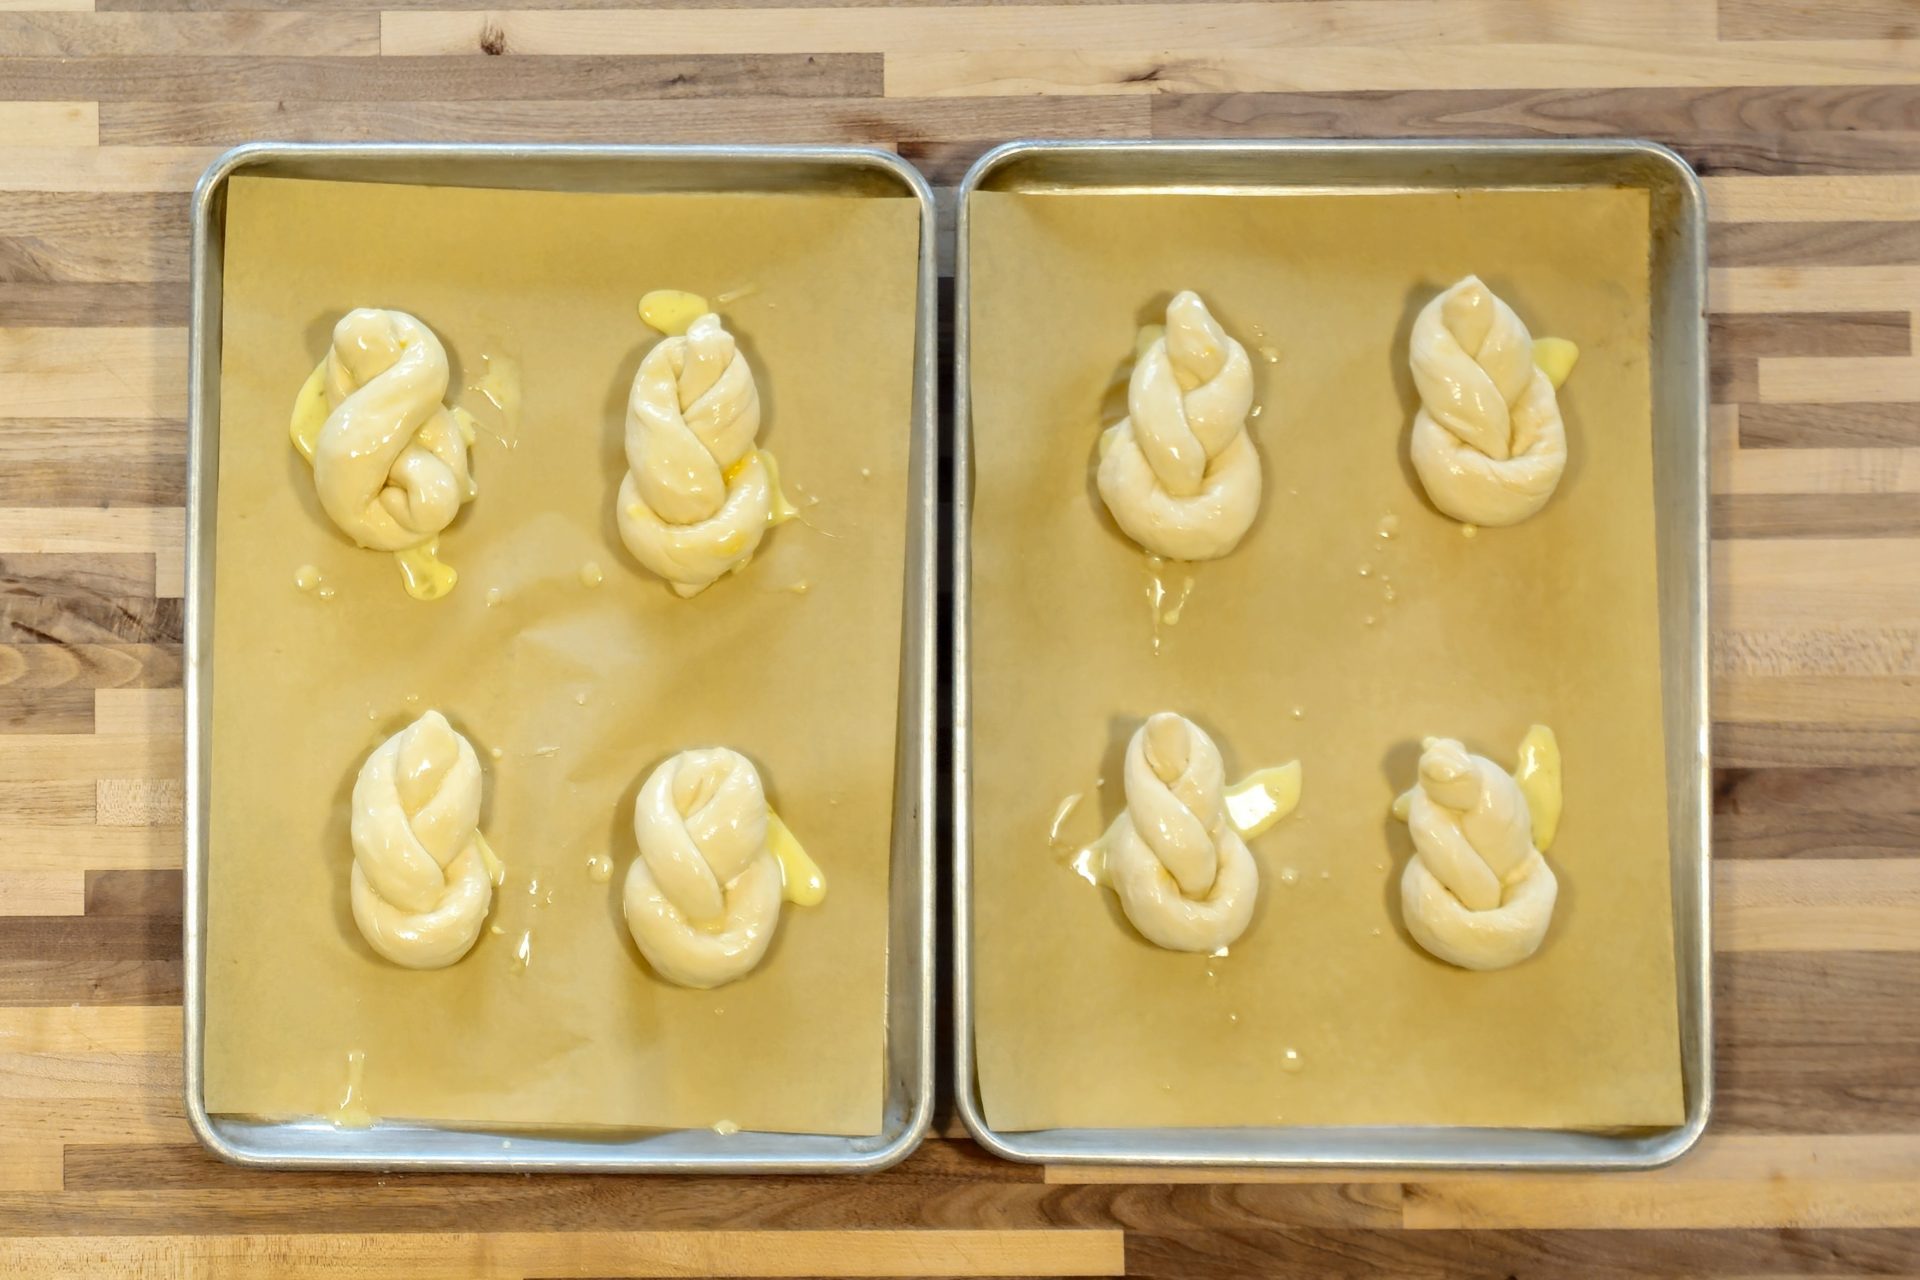
The final steps ensure the Pletýnka Bun looks as good as it tastes. I prepare a brushing mixture by briefly hand-whisking one egg with one quarter cup of milk. I brush all the buns with this brushing mixture before the final proofing on the baking sheet. After they have proofed, I gently brush all the buns again with the remaining brushing mixture right before baking. At this point, you can optionally sprinkle them with toppings like sesame seeds, crushed pepper flakes, poppy seeds, sunflower seeds, or large salt crystals. I bake them in a preheated oven at 420 degrees Fahrenheit until a nice golden color is reached, which usually takes about twelve to fifteen minutes. I always rotate the baking sheet in the middle of baking and test with a toothpick to ensure the inside is perfectly baked before moving them to a cooling rack.
Pletýnka Bun
Ingredients:
Click any ingredient to learn moreDough:
3 ¾ cups of bread flour (or all-pourpose flour)
1 TBSP of active dry yeasts
1 TSP of granulated sugar
2 TSP of salt
1 ¾ cups of milk - warm, about 80 to 90°F (preheat in a kettle or microwave)
4 TBSP of butter - room temperature (½ stick soft, cut into small pieces)
Brushing Mixture:
1 egg
¼ cup of milk
Optionally, Sprinkle With:
Optionally: sesame seeds (adjust if needed)
Optionally: crushed pepper flakes (dried) (adjust if needed)
Optionally: poppy seeds (adjust if needed)
Optionally: sunflower seeds (adjust if needed)
Optionally: large salt crystals (adjust if needed, do not use if you are going to freeze or refrigerate the buns; it will make them soggy)
Nutrition per 1 Serving:(recipe split into 8 servings)
EstimatedCalories 312
Protein 10.4 g
Fat 9.1 g
Saturated fat 4.9 g
Carbohydrate 46.6 g
Sugars 3.8 g
Fiber 1.8 g
Sodium 478 mg
Cholesterol 44 mg
Estimated. Worked out from the ingredients above using the United States Department of Agriculture’s FoodData Central reference data. An estimate, not a measurement — brands, sizes and how much of a marinade actually ends up on the plate all move it.
Directions:
1.Dough:
Let’s start preparing the Pletýnka Bun by making the dough.
1.1.
Place into a kitchen mixer with a hook attachment:
3 ¾ cups of bread flour
1 TBSP of active dry yeast
1 TSP of granulated sugar
2 TSP of salt
Shortly stir with a hand whisk just enough to combine all ingredients (about 15 – 30 seconds).
1.2.
Add:
1 ¾ cups of lukewarm milk
4 TBSP of butter
Knead at low speed until all ingredients are partially incorporated (about 1 – 2 minutes).
1.3.
Then increase the speed to medium-high and knead until the compact dough is formed (usually another 2 – 3 minutes).
2.Rising the Dough:
2.1.
Remove the bowl from the kitchen mixer and cover it with a plate or plastic wrap.
3.Pre-shape the Dough into Compact Balls:
3.1.
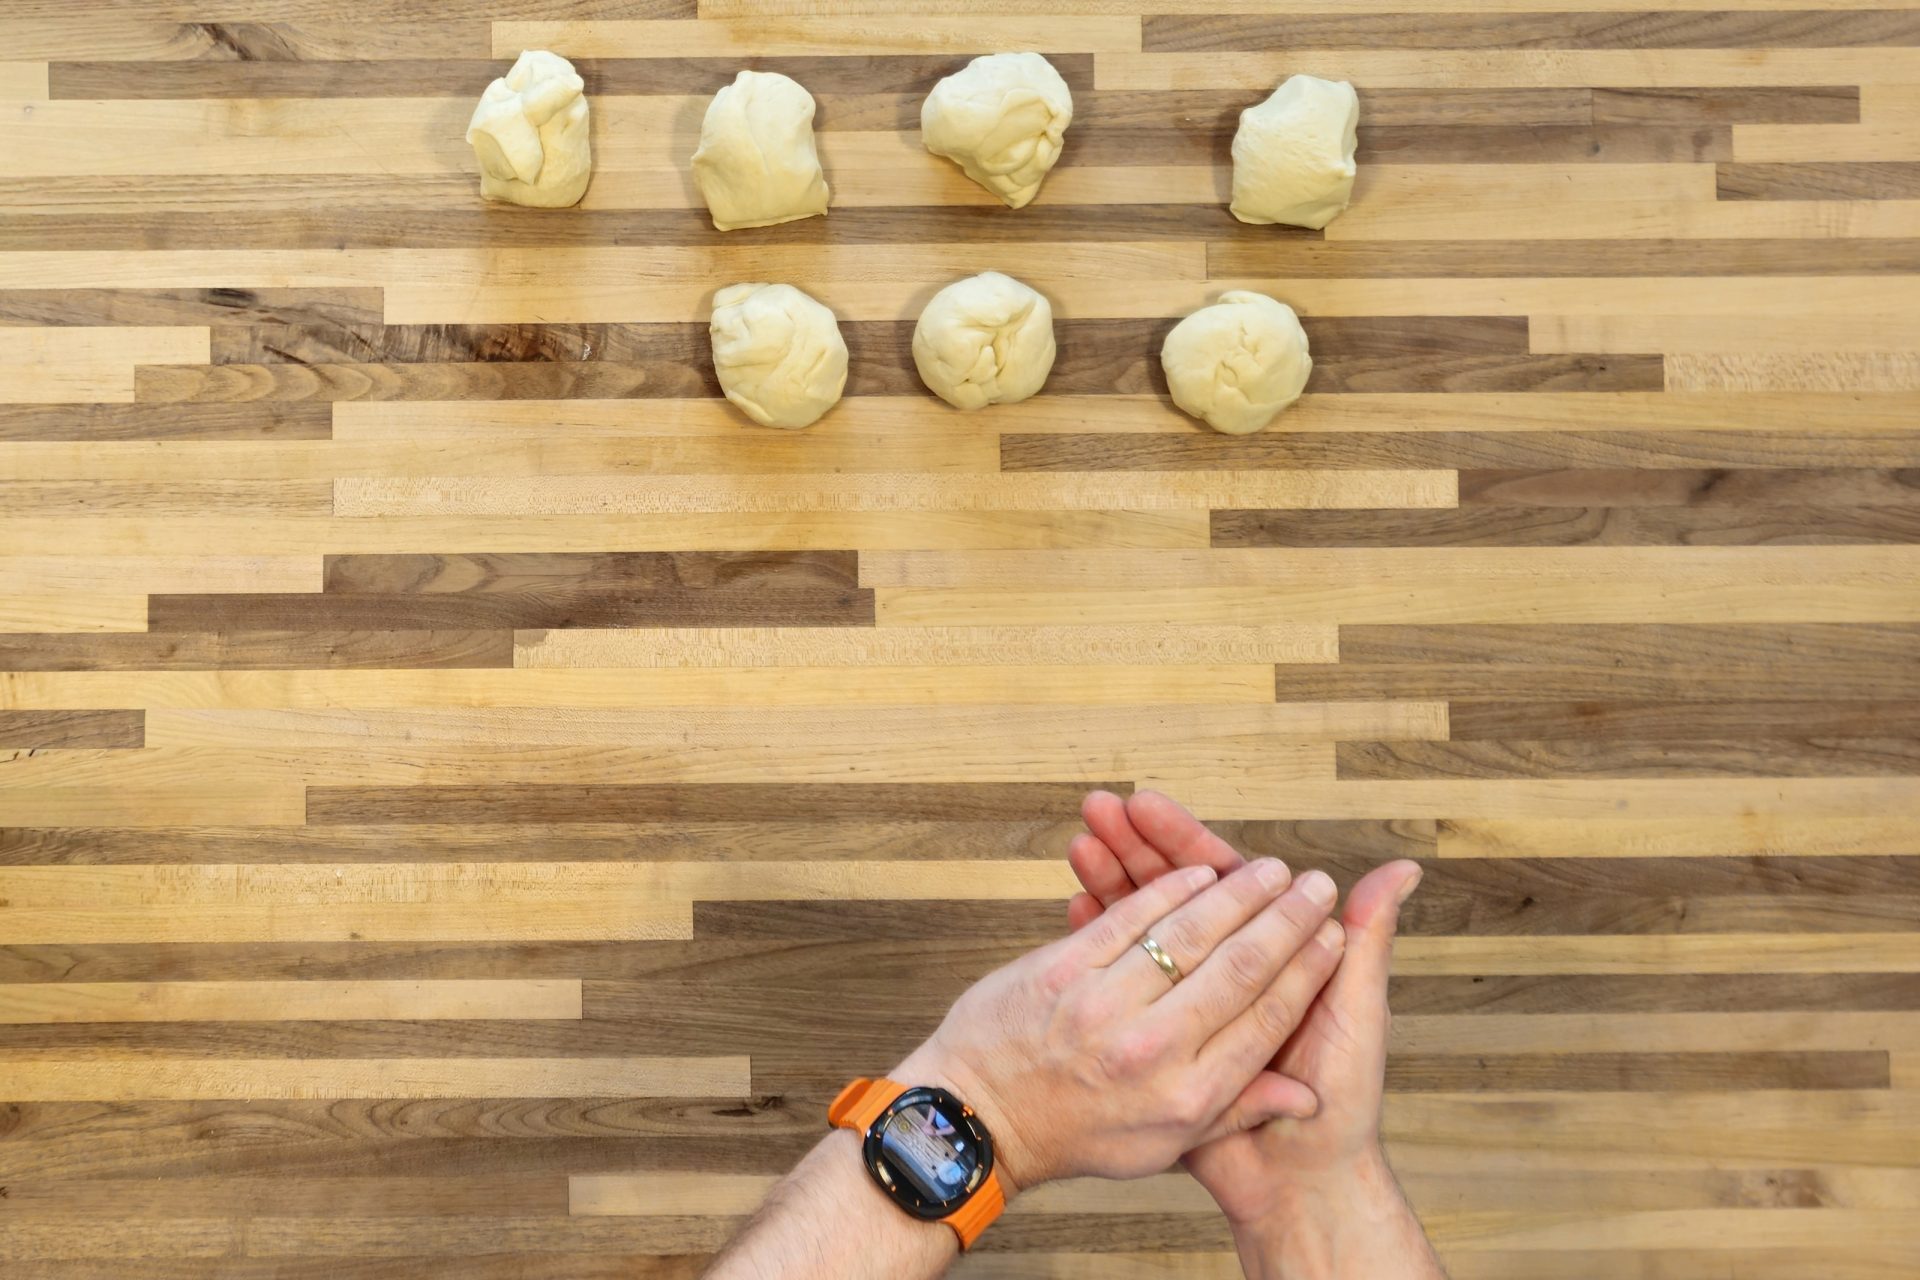
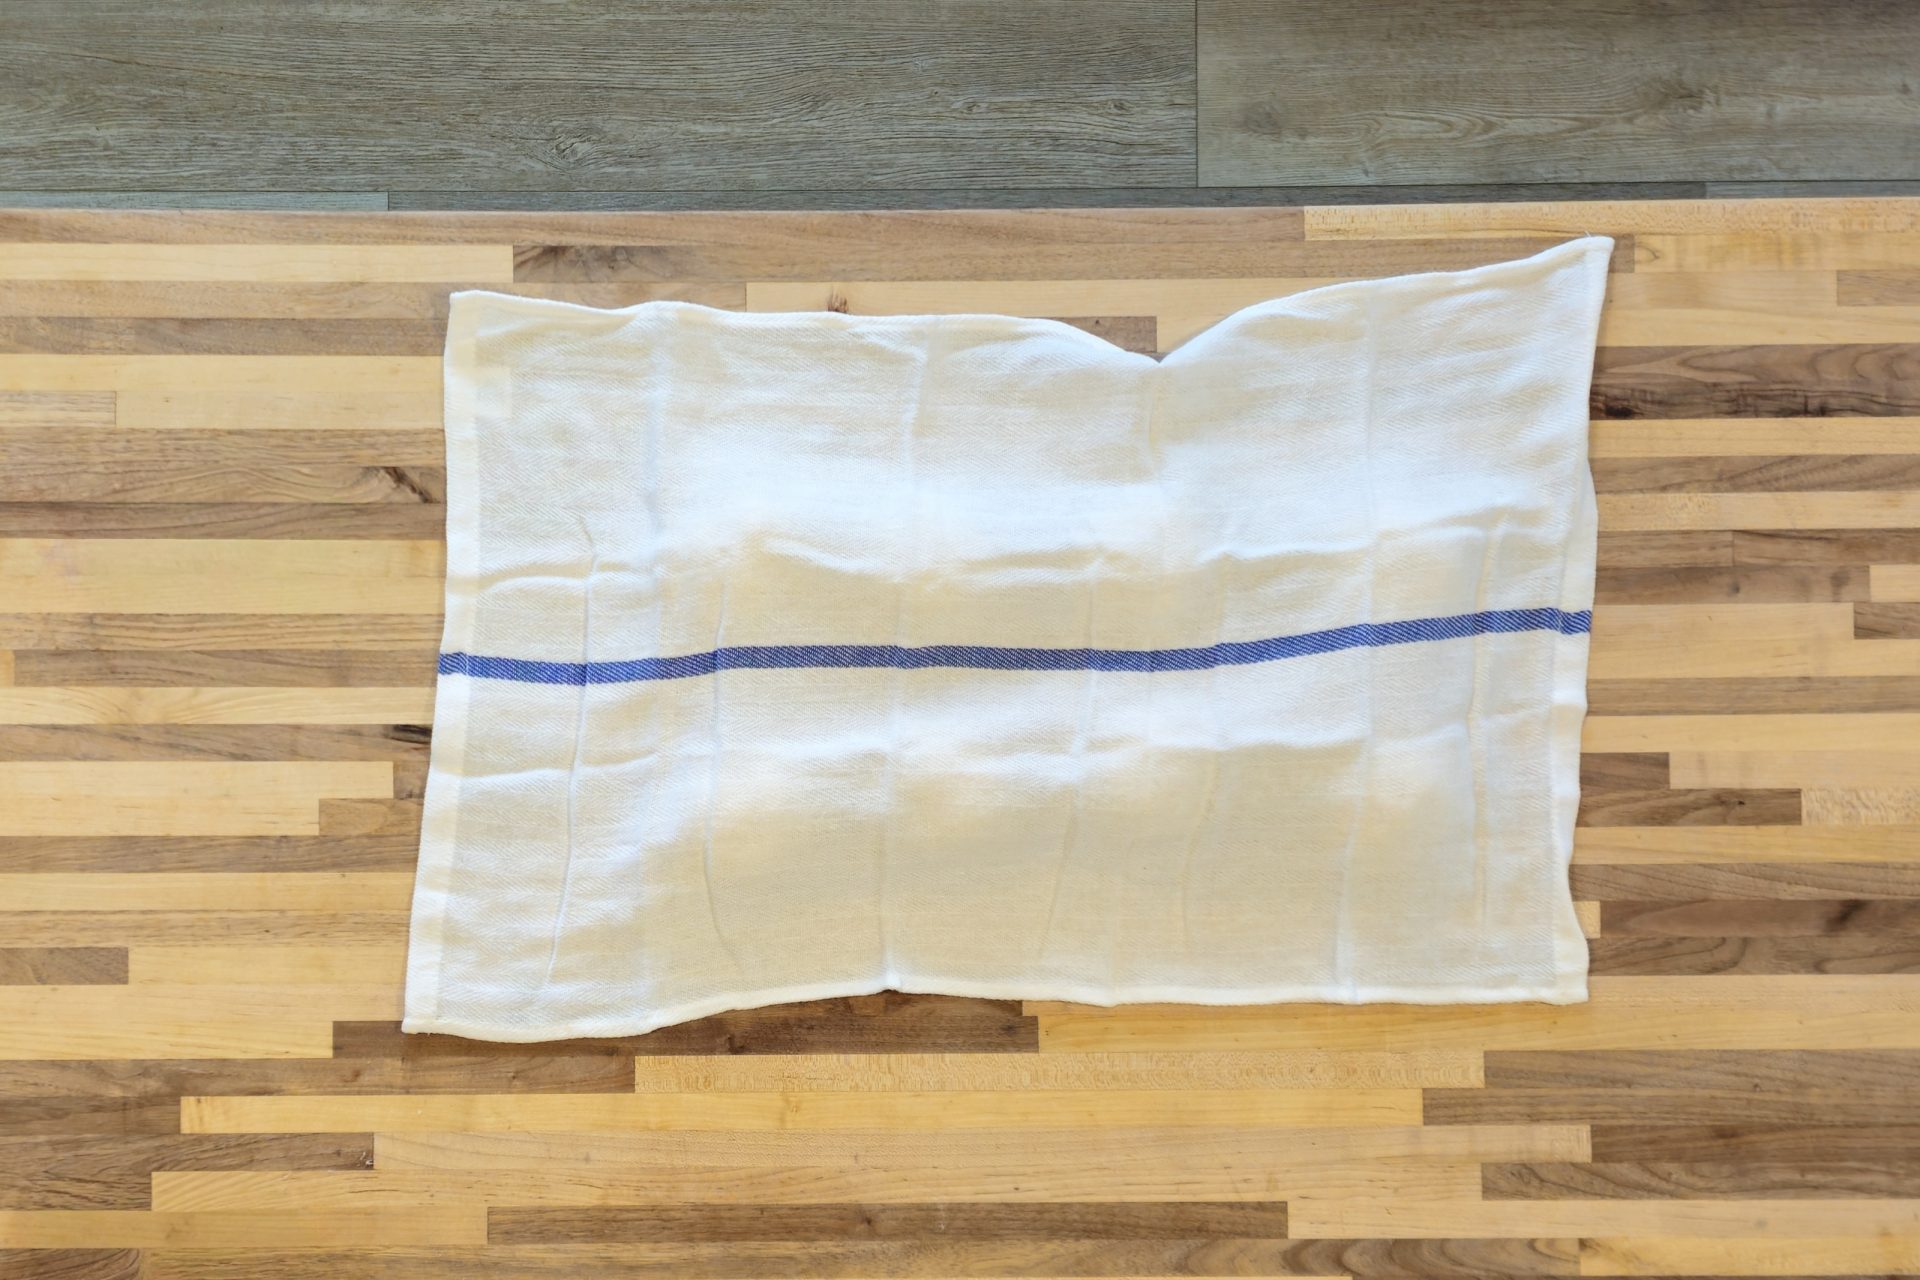
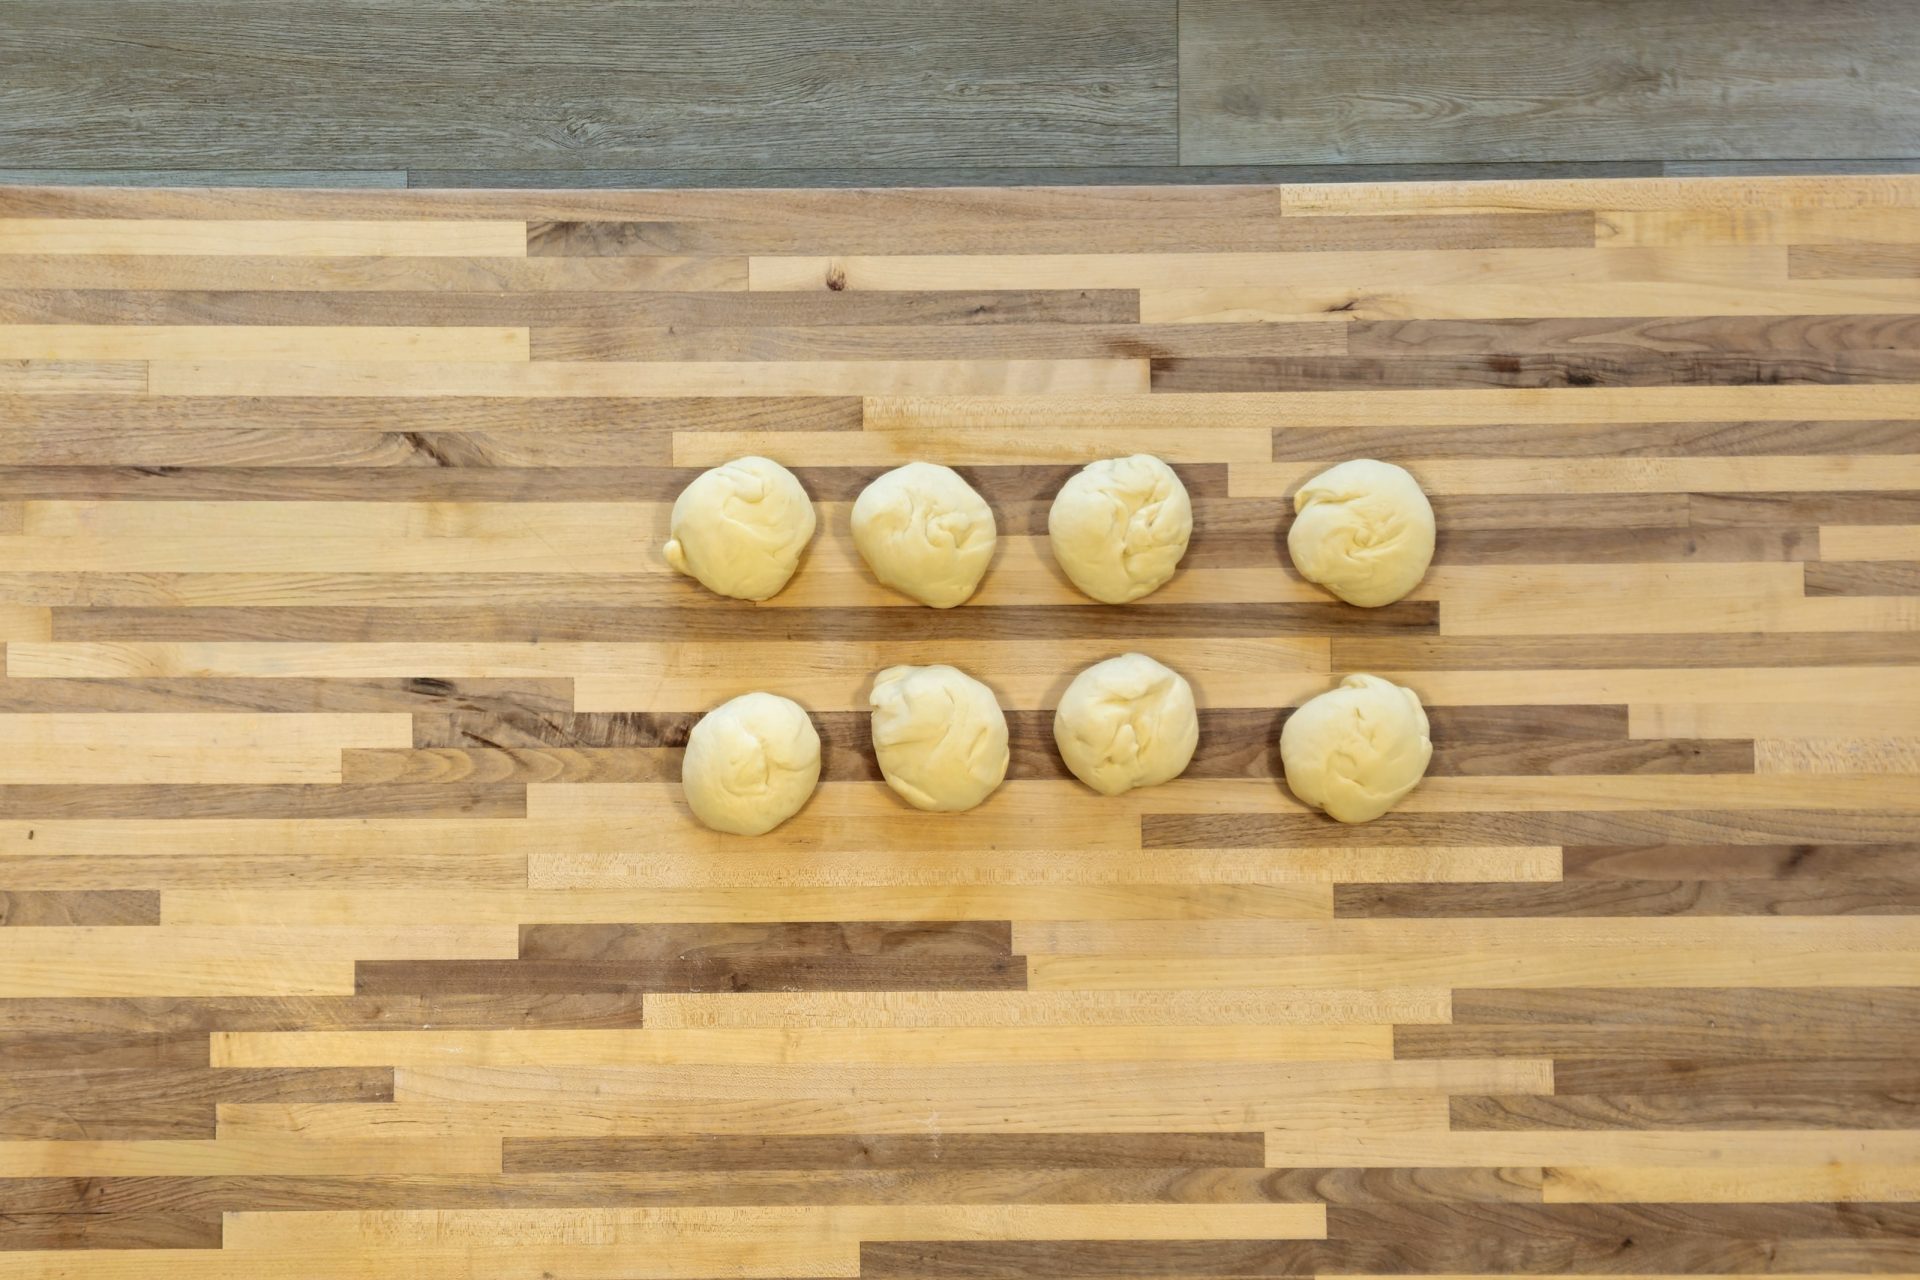
4.Set Oven to Preheat:
4.1.
Set oven to preheat at 420°F.
5.Pletýnka Bun Shaping:
Before you proceed:
- Shape pletýnka buns one by one on a clean surface (do NOT flour the surface).
- Make sure that the surface is perfectly cleaned (no residue of food, ingredients, etc.).
- Since the dough includes butter, it will not stick to the surface. If it occasionally does, use your bowl scraper to release your dough.
5.1.
Roll each piece into a strand – a long rope shape — with a thickness of about ½ – ¾” and a length of 12” – 16”.
5.2.
Braid the pletýnka bun from one strand in the following order:
5.2.1.
Take the left end of the strand and fold it halfway into the center (direction away from your body), and then connect the fold by lightly pressing it together with your right hand. This creates an “eye” on the left side.
Important: Keep the finger that presses it together on that spot to hold the connection.
5.2.3.
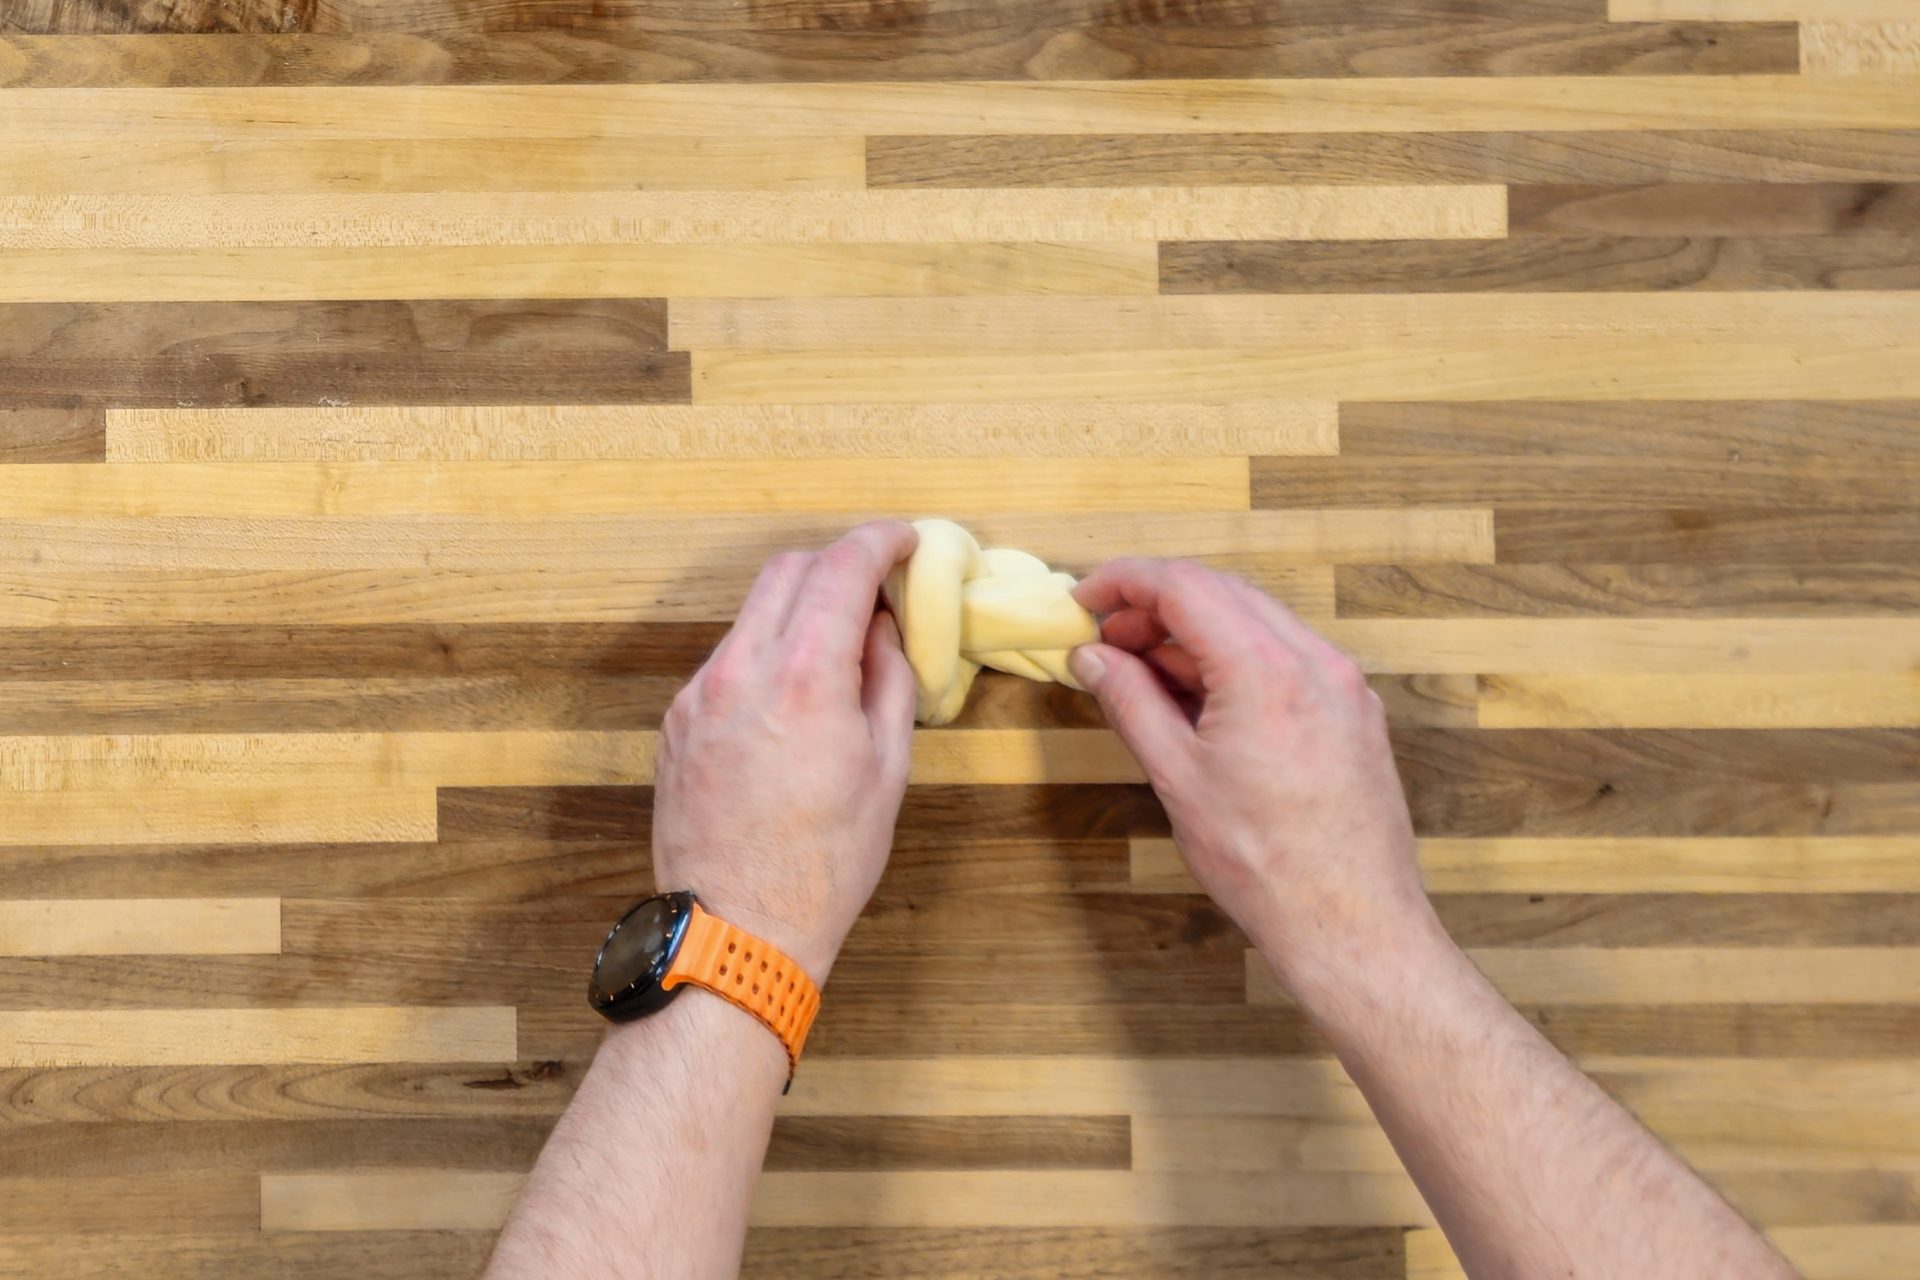
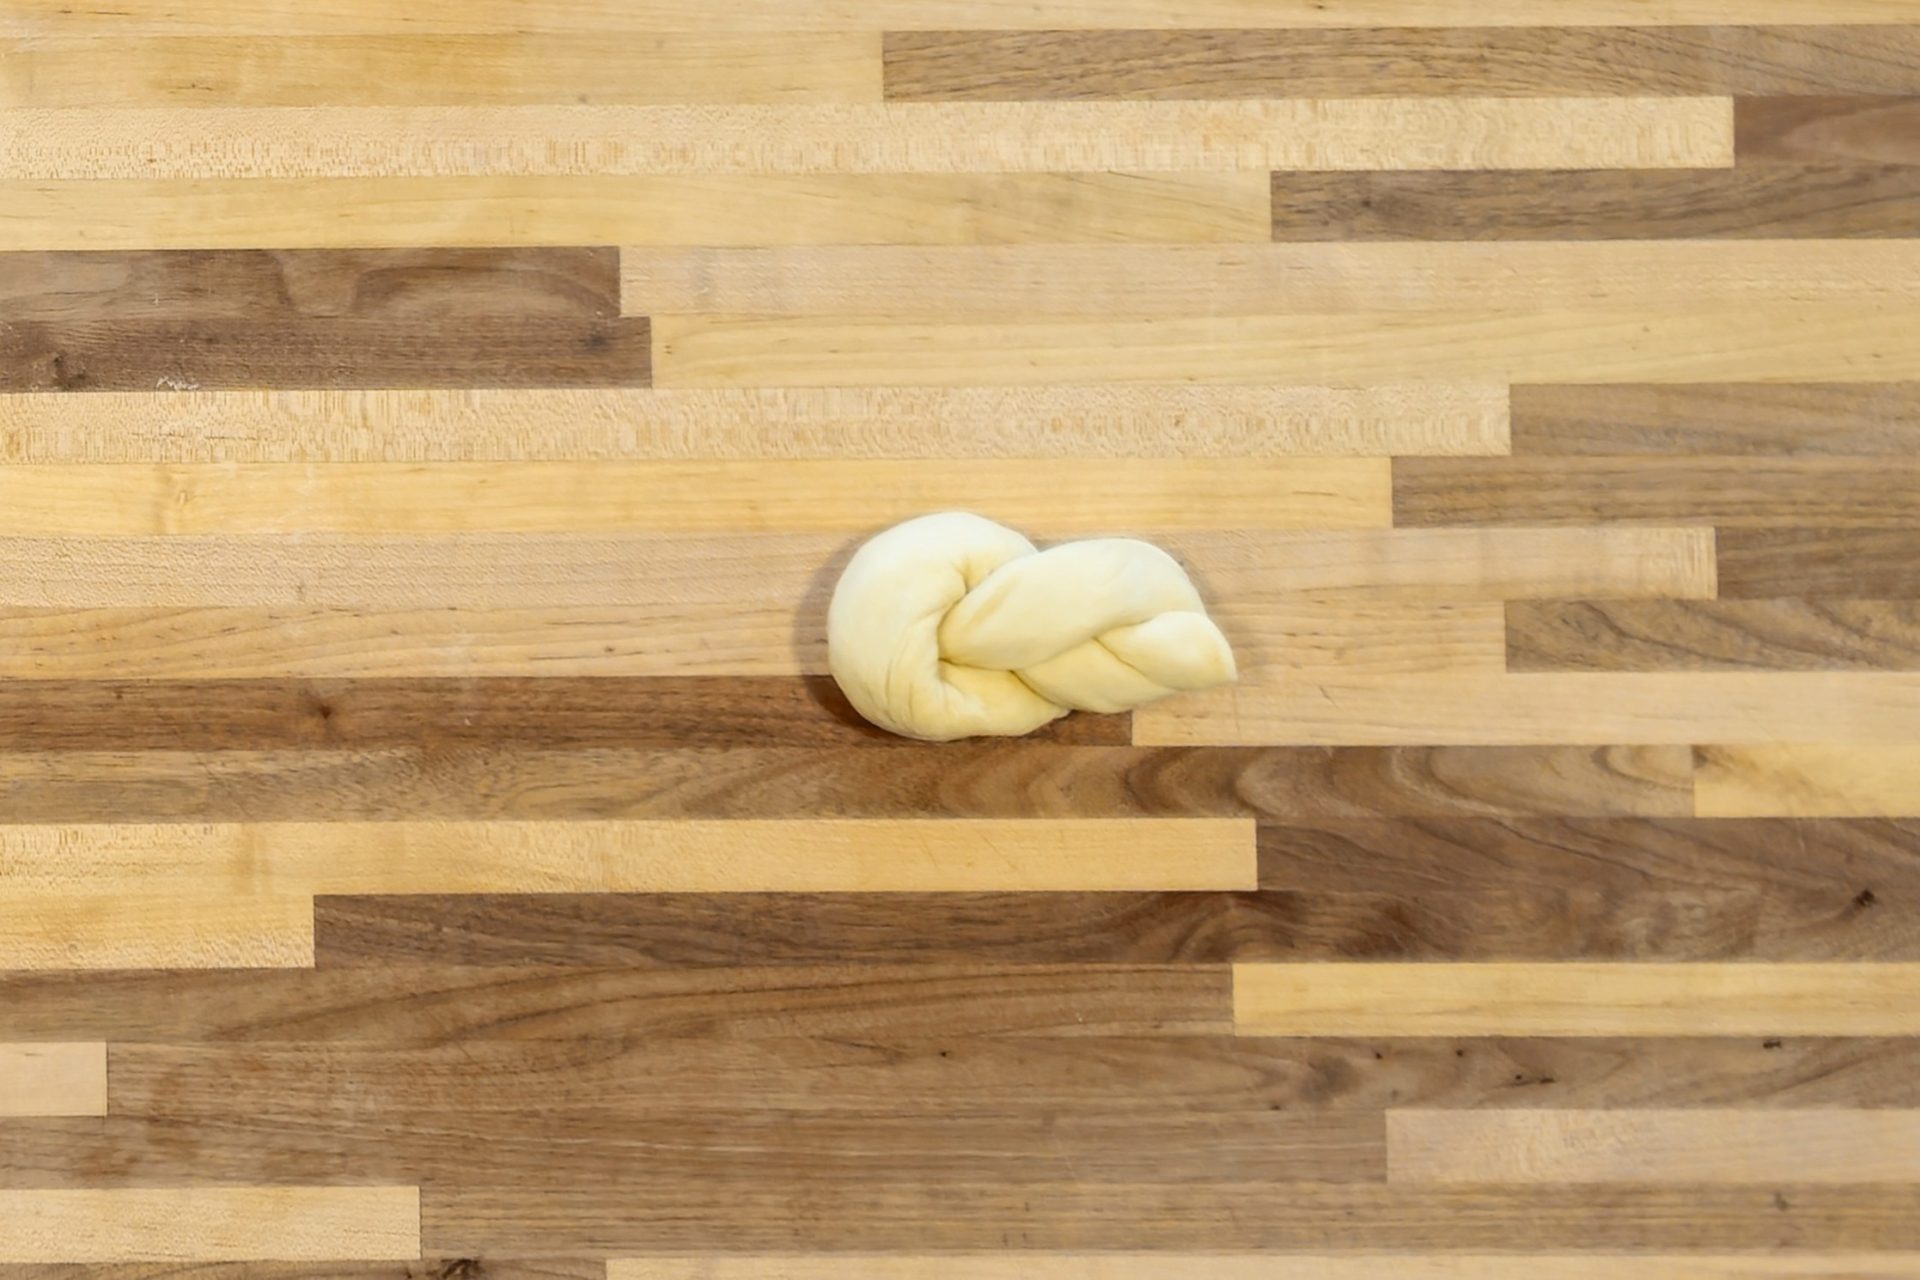
5.2.4.
Place the pletýnka on the baking sheet and then process the same way with the remaining dough (after you are completely done, you should have 4 pletýnka buns on each baking sheet).
Important: Try to keep an even distance to make sure that they do not touch.
6.Proofing:
6.1.
6.2.
Then let it proof in a warm place until it has about doubled in size (usually about 30 minutes to 1 hour).
Tip:
- Optionally, you can increase the proofing time until the pletýnka buns triple in size – that way, you will reach an airier consistency that is close to a hoagie bun.
- But do not go crazy with the expansion, if you go over 3x the original size, you would be risking over-proofing, and the buns will expand too much and become too flat.
6.3.
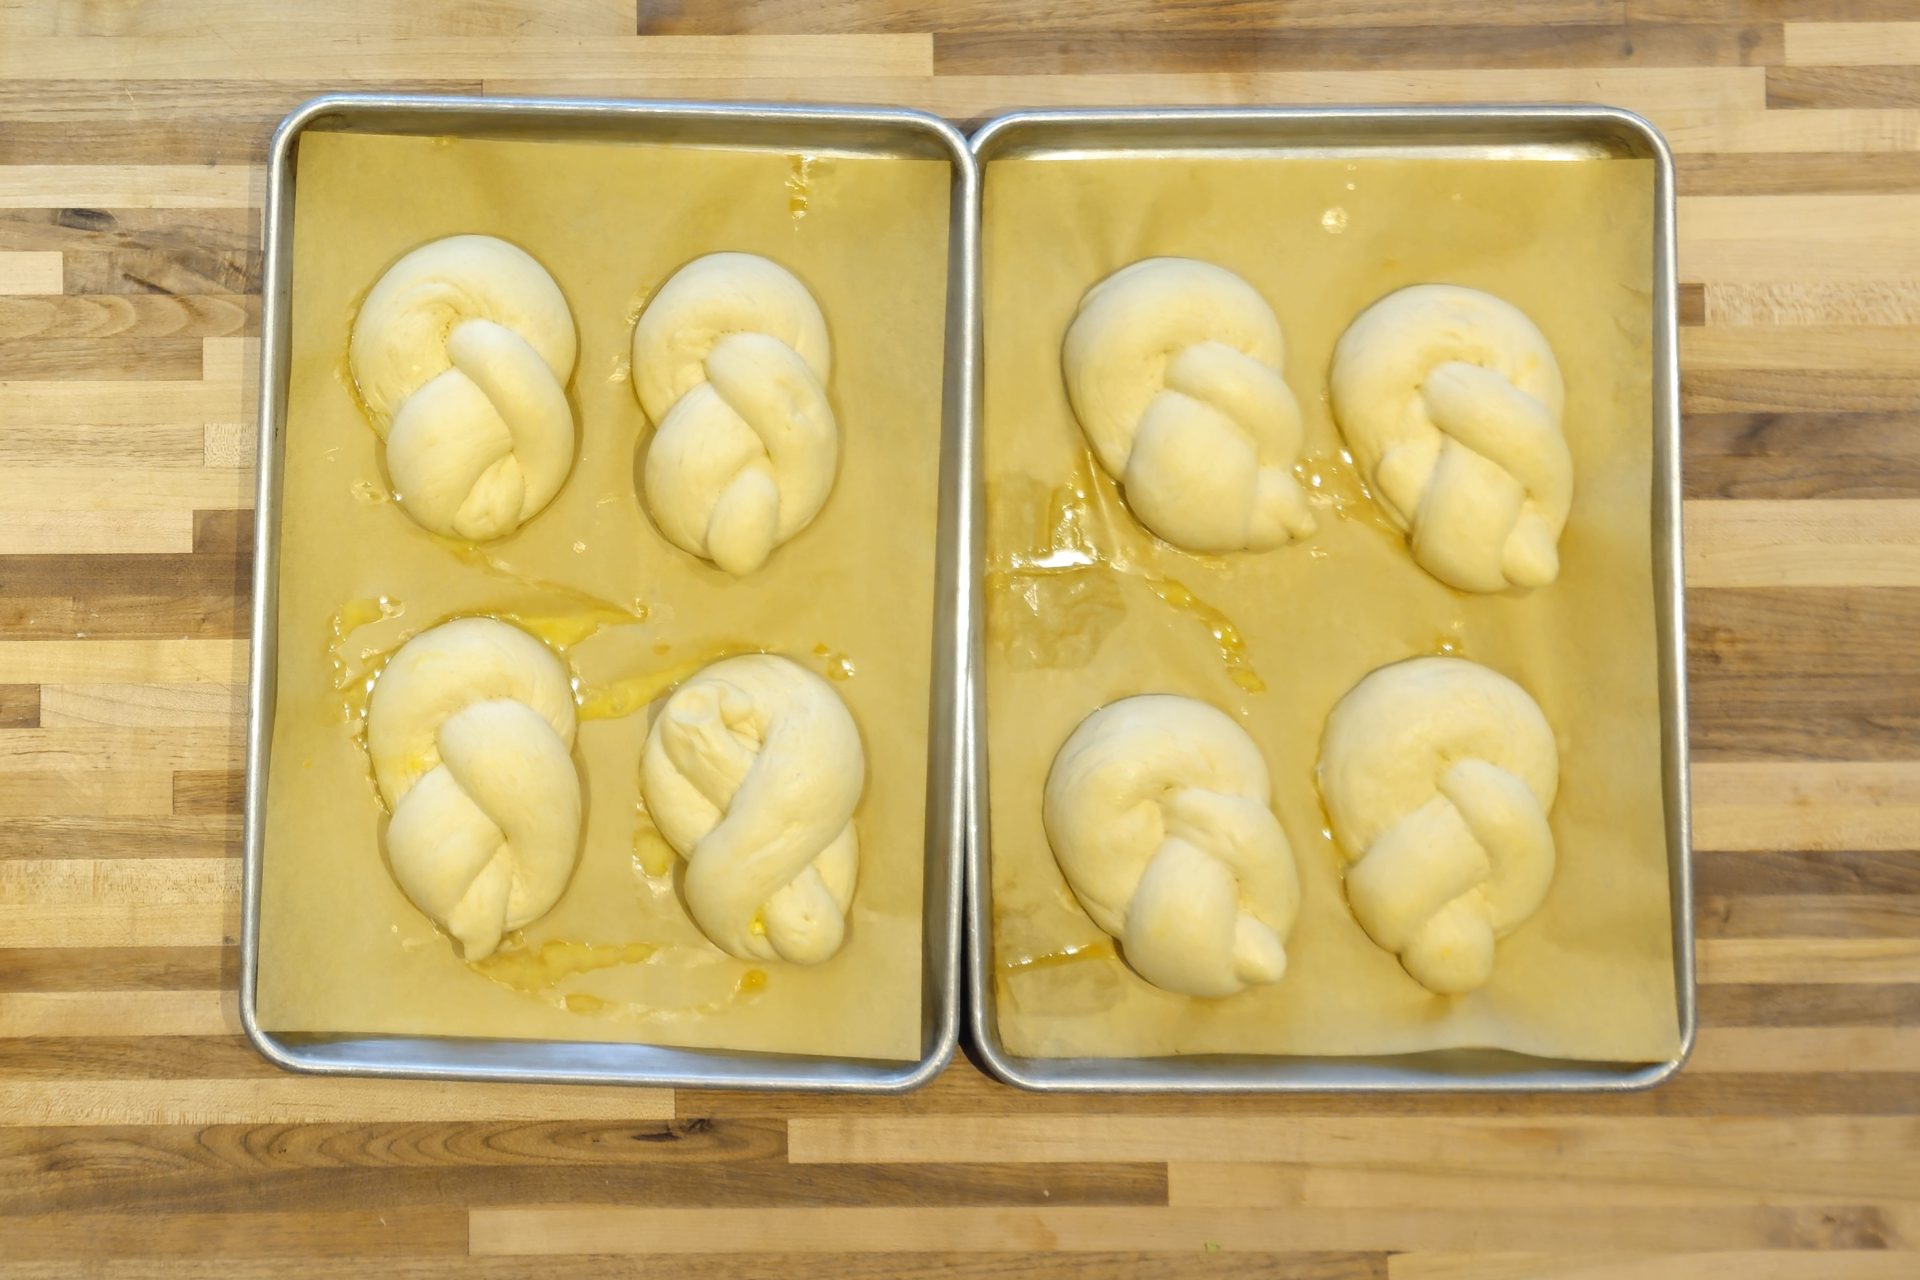
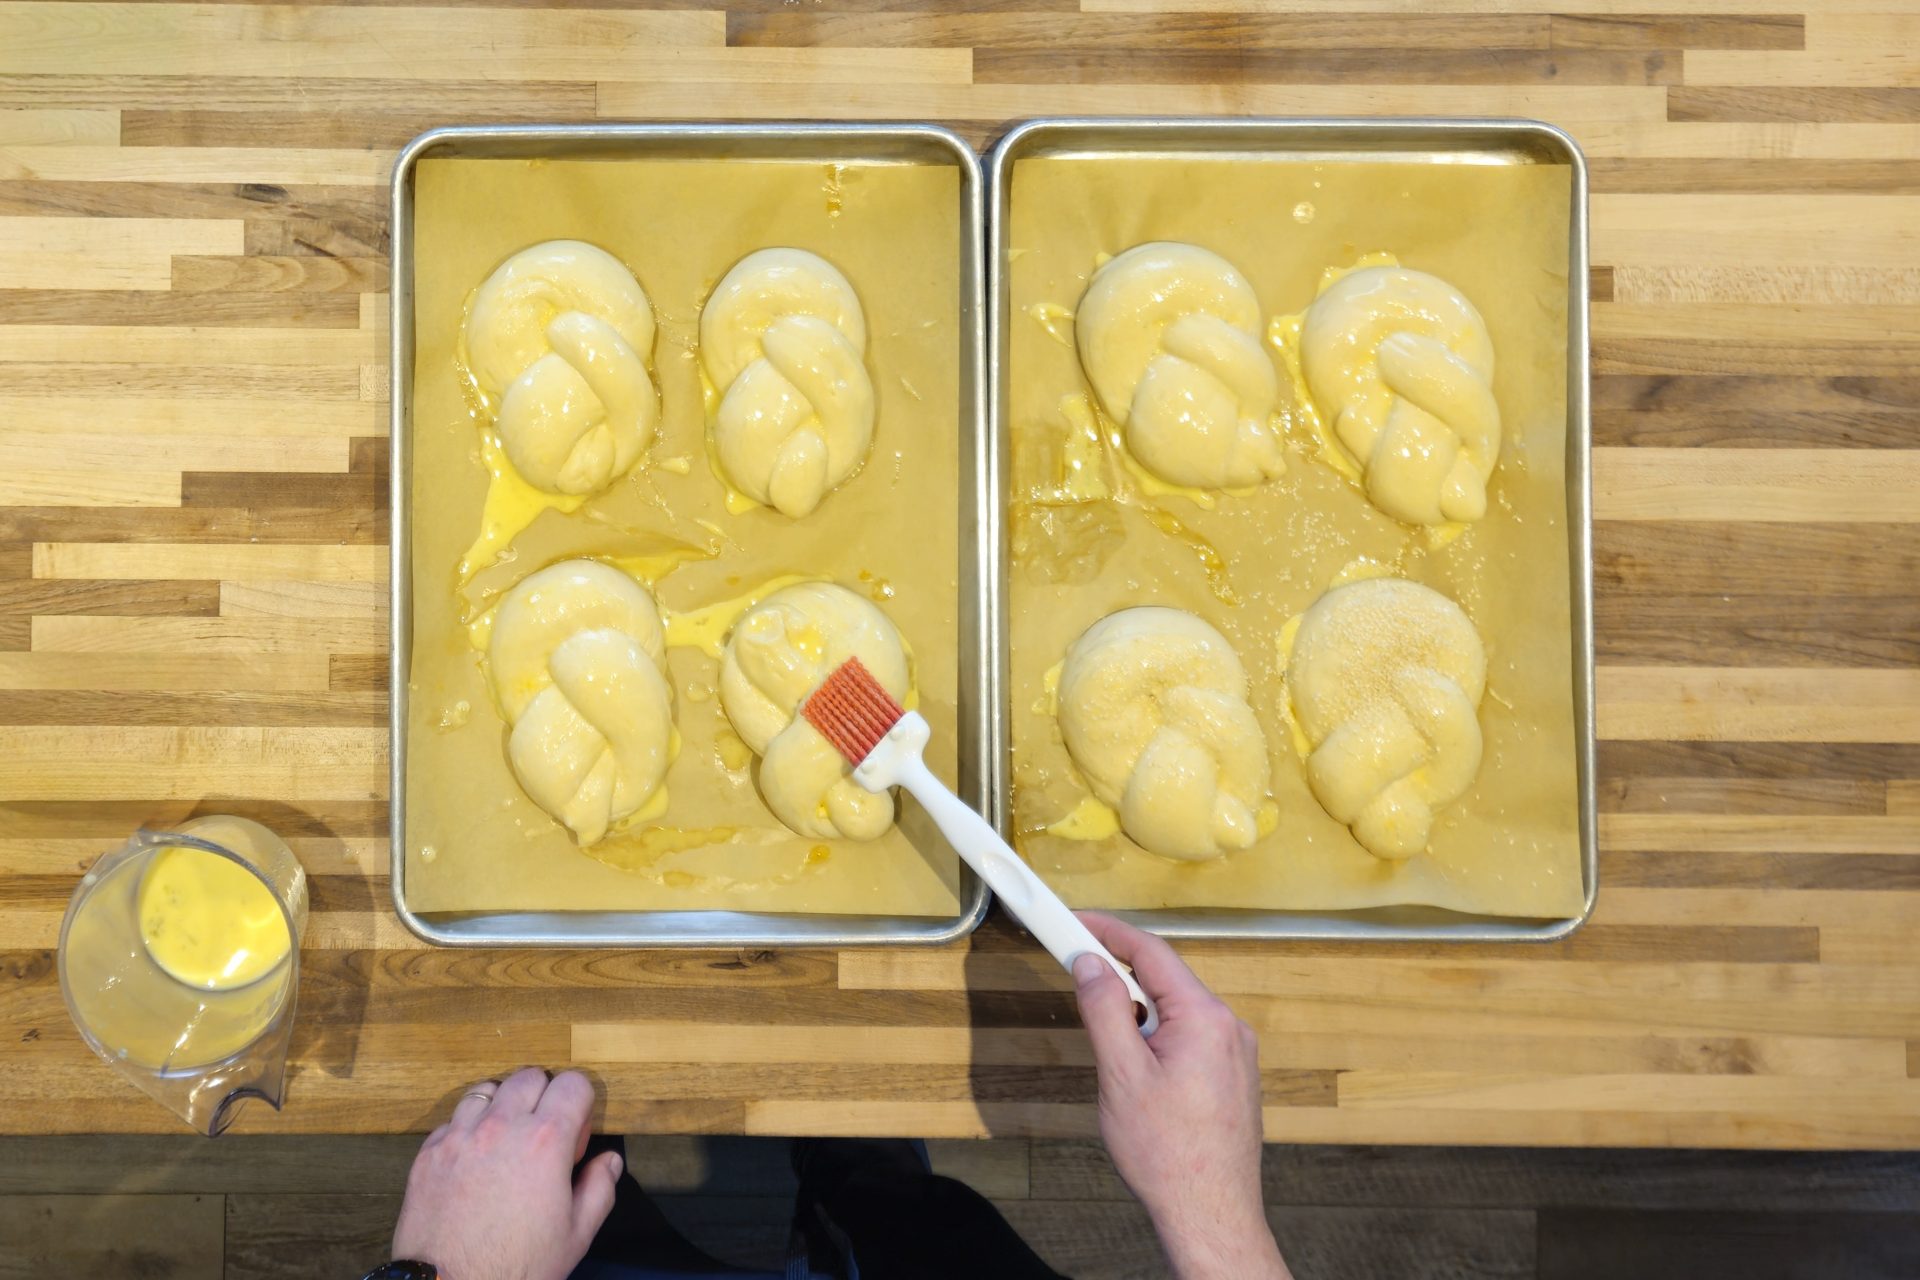
6.4.
Optionally, sprinkle with sesame seeds, crushed pepper flakes, sea salt, or poppyseeds.
6.5.
7.Baking Pletýnka Bun:
7.1.
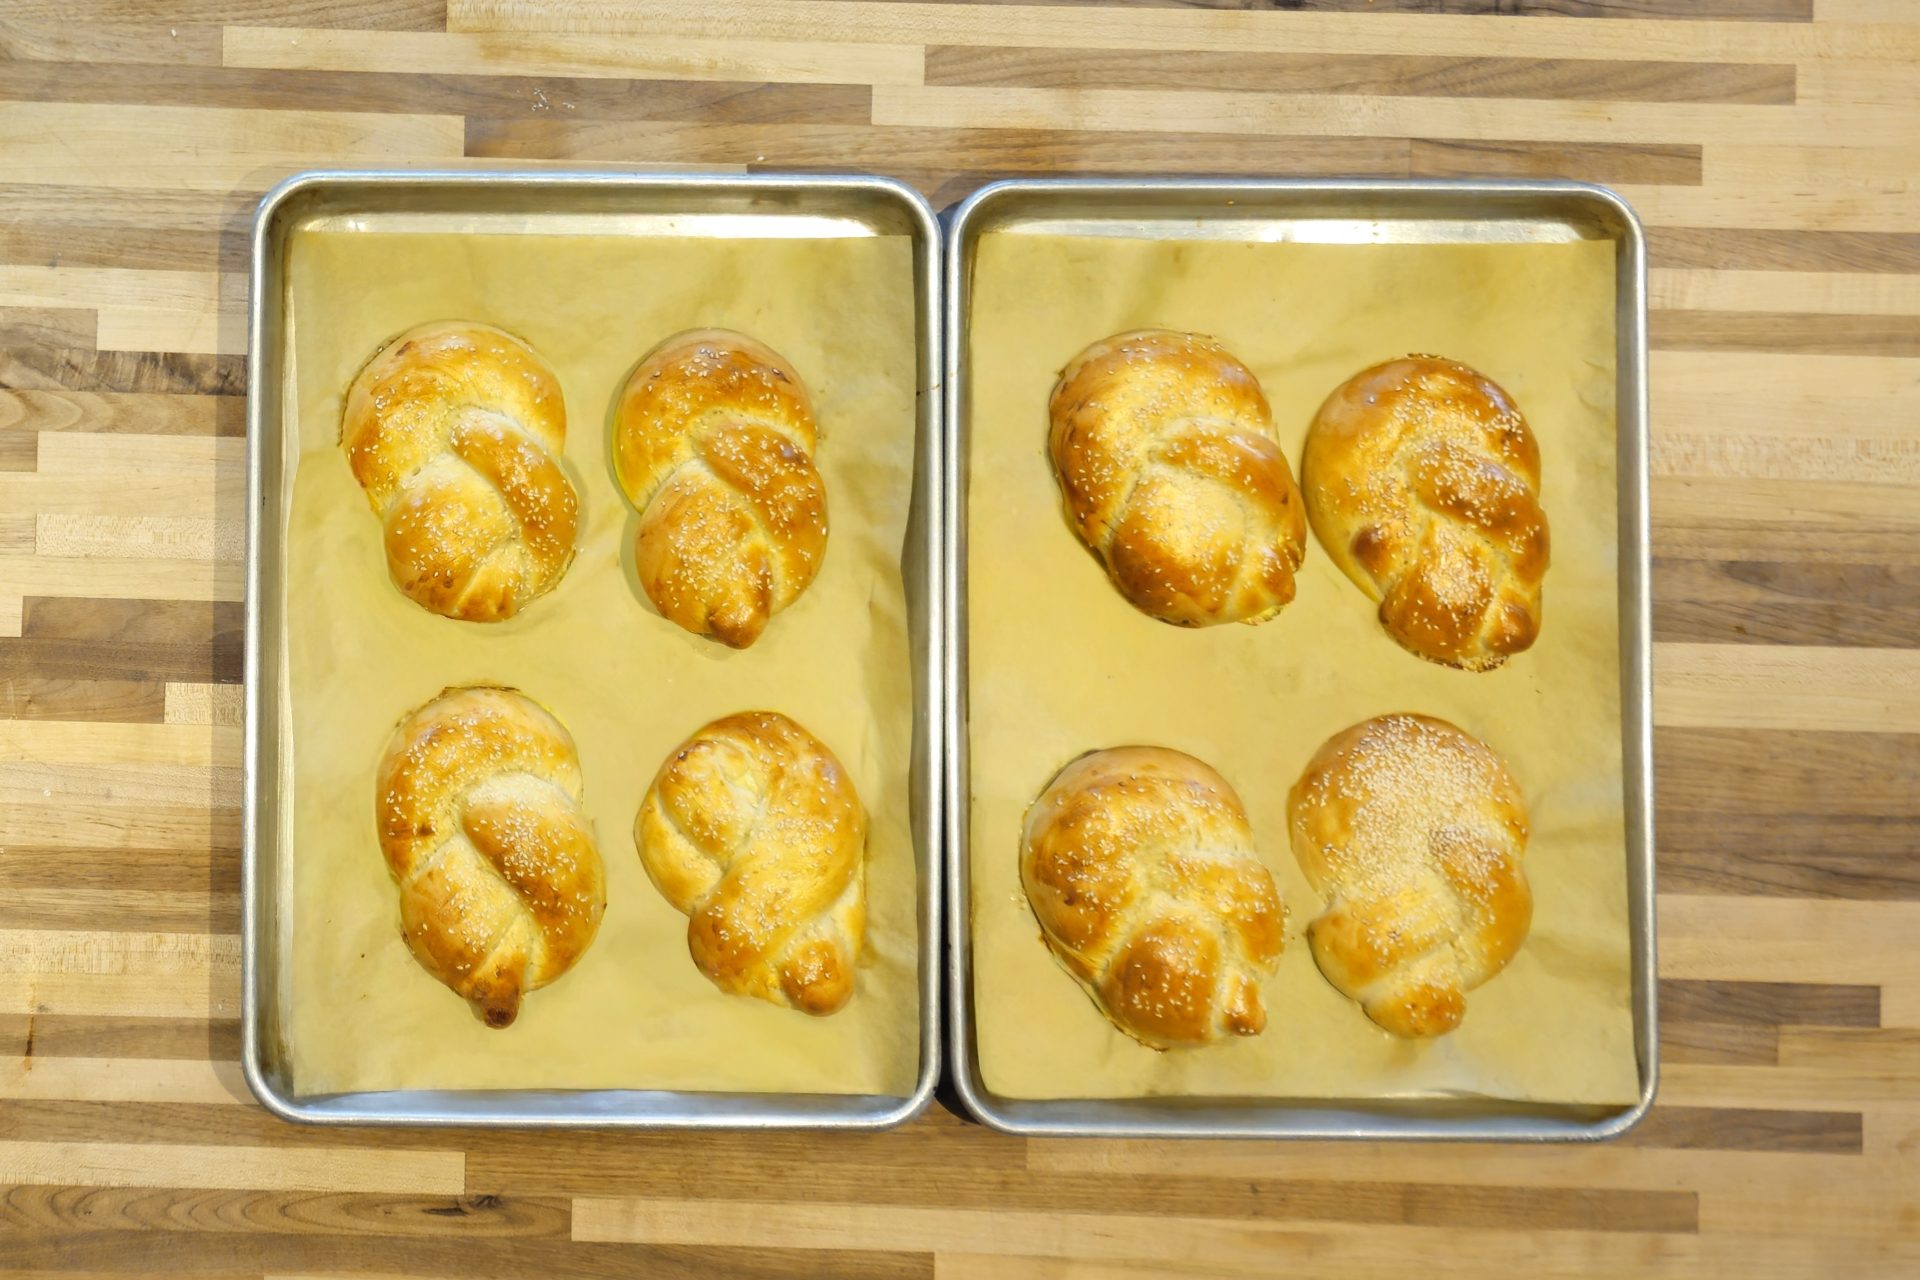
7.2.
Rotate the baking sheets in the middle of baking.
7.3.
Test with a toothpick.
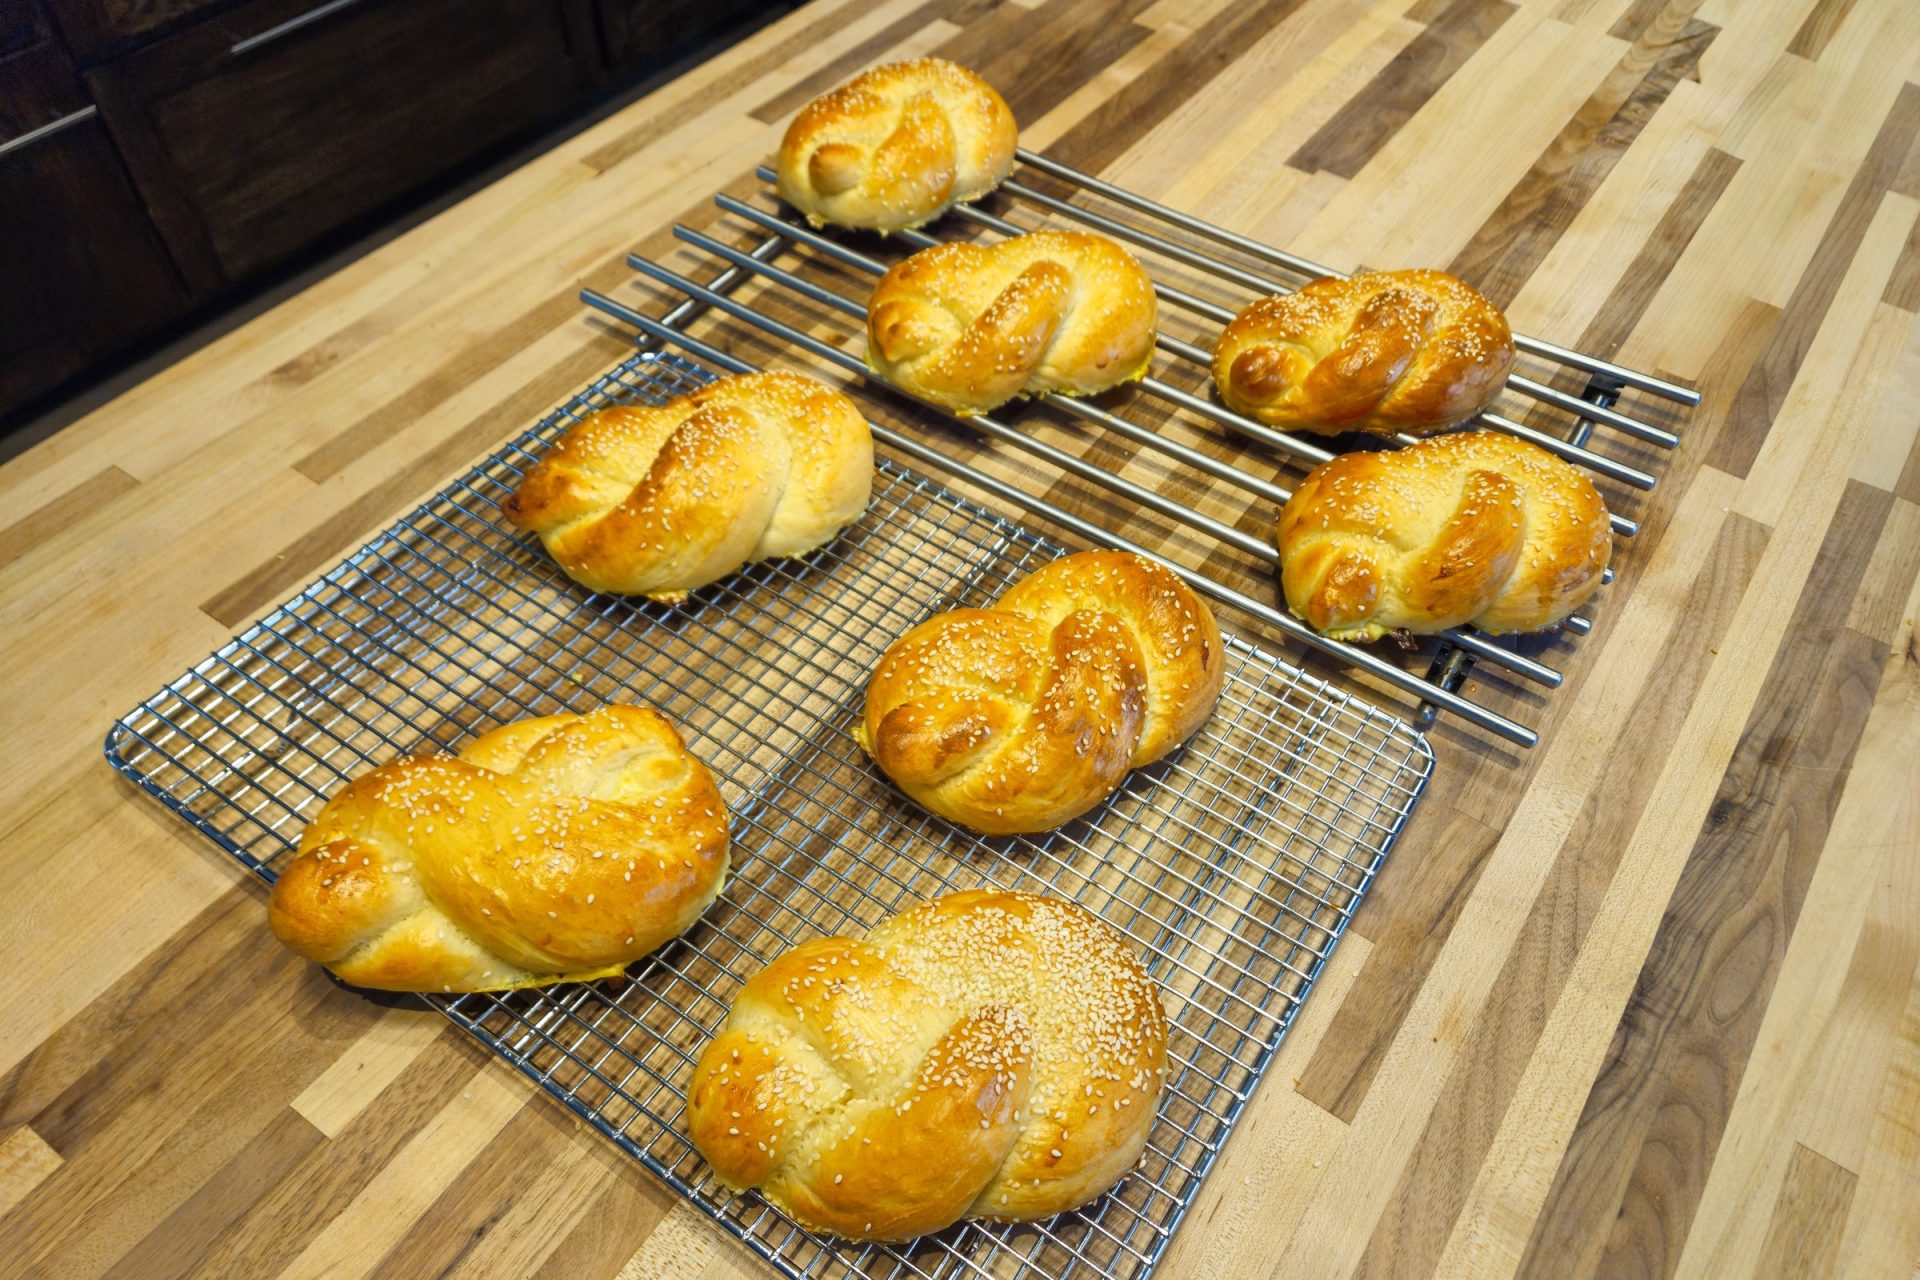
Tip:
You can bake more pletýnka buns than you need and freeze them for later usage (they stay great in the freezer for up to a half year). Defrost in only two hours.
Popular questions
How do I properly shape a Pletýnka Bun if I have never braided bread before?
Shaping the Pletýnka Bun is actually very easy because you only use one single strand of dough! After you knead your dough made of bread flour, active dry yeast, warm milk, and room temperature butter, and let it rise, roll a five-ounce piece into a twelve to sixteen-inch rope. Take the left end of the strand and fold it halfway into the center, pressing it to create an eye. Twist that eye away from your body, and then simply pull the right side of the strand all the way through the eye. Once you place it on the baking sheet, let it undergo proofing, apply your brushing mixture, and bake it to a beautiful golden color!
Share
Click on the icons below to share "Title of the item to share"