
Bread and Pastry Recipes
Czech Rolls Rohliky Recipe
12 rolls
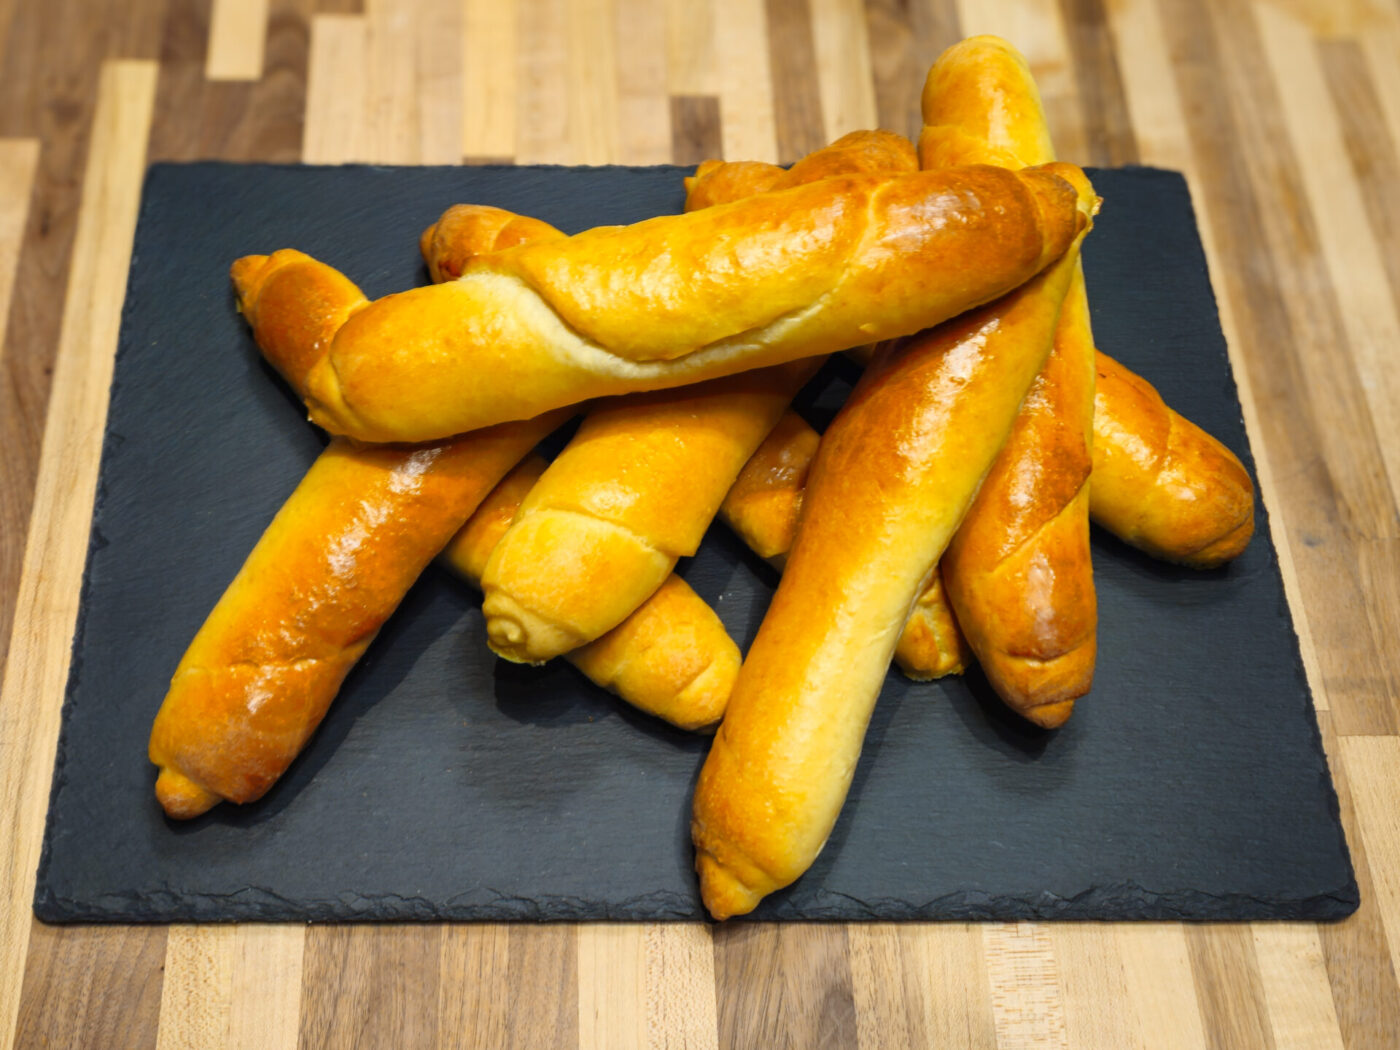
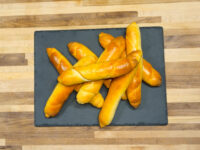
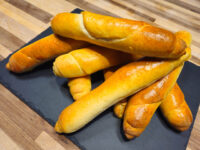
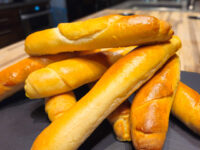
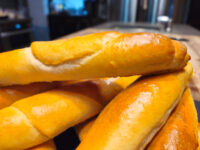
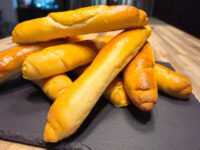
This traditional recipe creates a very original pastry that is a staple in the Czech and Slovak Republics. If you haven't tried them, you're in for a treat. The reason everyone loves these Czech rolls (rohliky) is simple: the bread dough has a nice buttery flavor, and the center is incredibly soft and fluffy. The flavor is soft but also very unique and memorable, which is why I wanted to share my personal homemade rohliky recipe. This is the perfect guide to making this classic Czech bread at home. Read More
Bread and Pastry Recipes
Vegetarian
Before You Start
Let’s talk about important parts of the recipe before you start…
My Traditional Czech Rolls (Rohliky) Recipe
Hello! I’m sharing one of my favorite recipes with you today: my Czech Rolls Rohliky Recipe. These bread rolls, known as rohliky in Czech, are a unique and beloved pastry. They have a wonderfully soft, buttery flavor and a pillowy, soft center that’s just irresistible. This traditional recipe is one I’ve perfected to bring that authentic taste right to your kitchen. We’ll be making a simple yeast dough using bread flour, active dry yeasts, and oil, which creates that classic texture. Baking these homemade rohliky is a wonderful experience, and I’ll guide you through every step, from making the bread dough to shaping the iconic crescent bread rolls. Let’s get started on this classic Czech bread!
Mixing the Bread Dough for Czech Rolls (Rohliky)
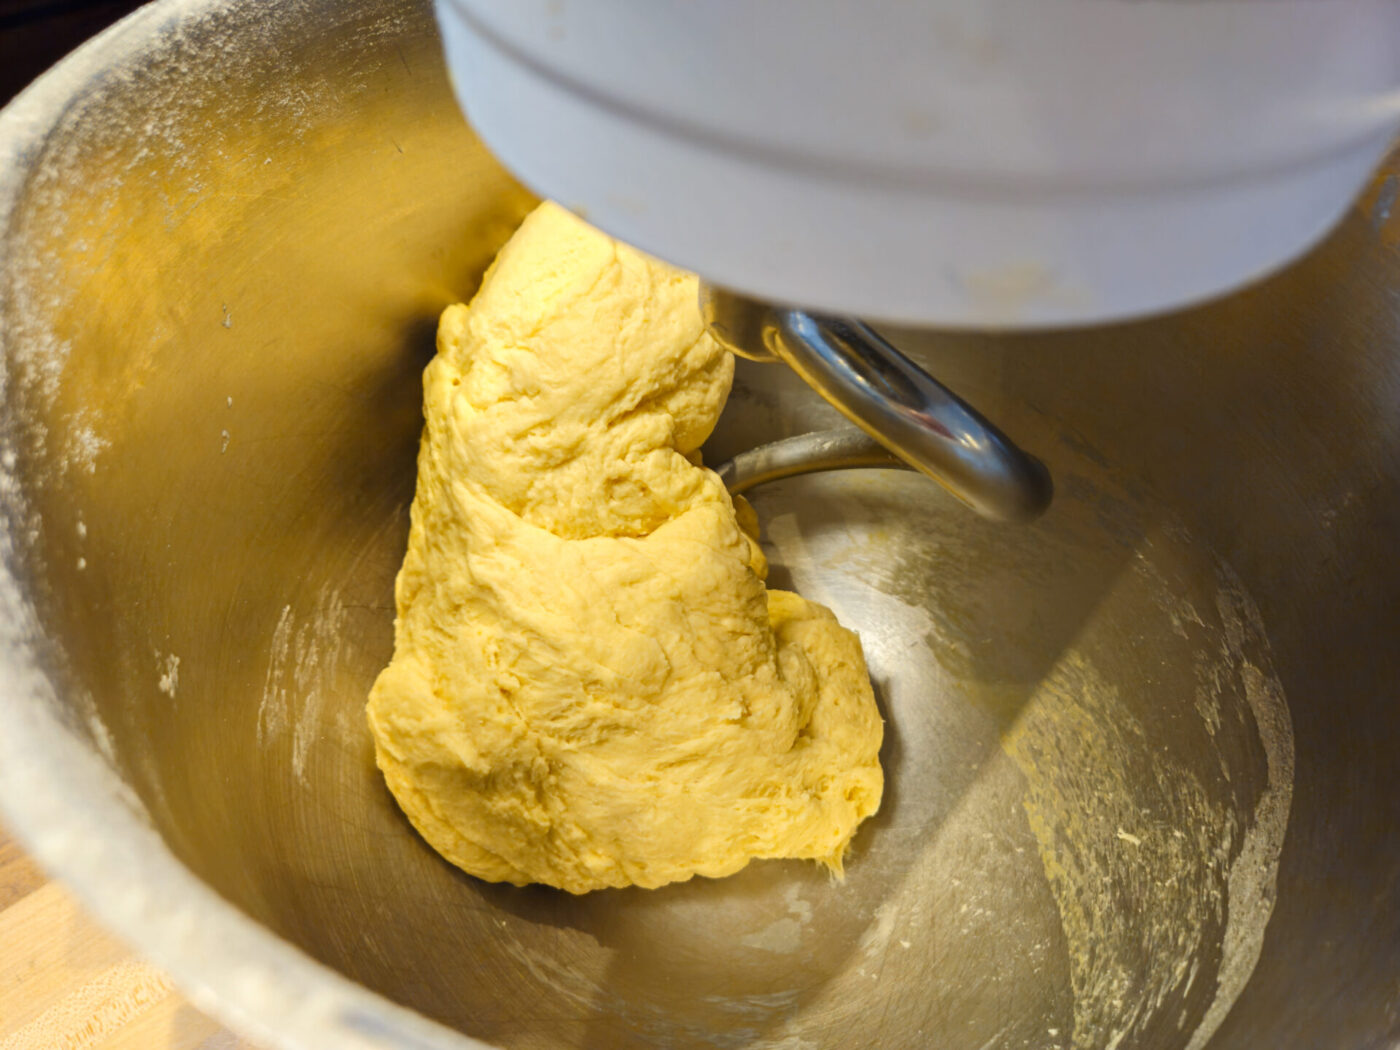
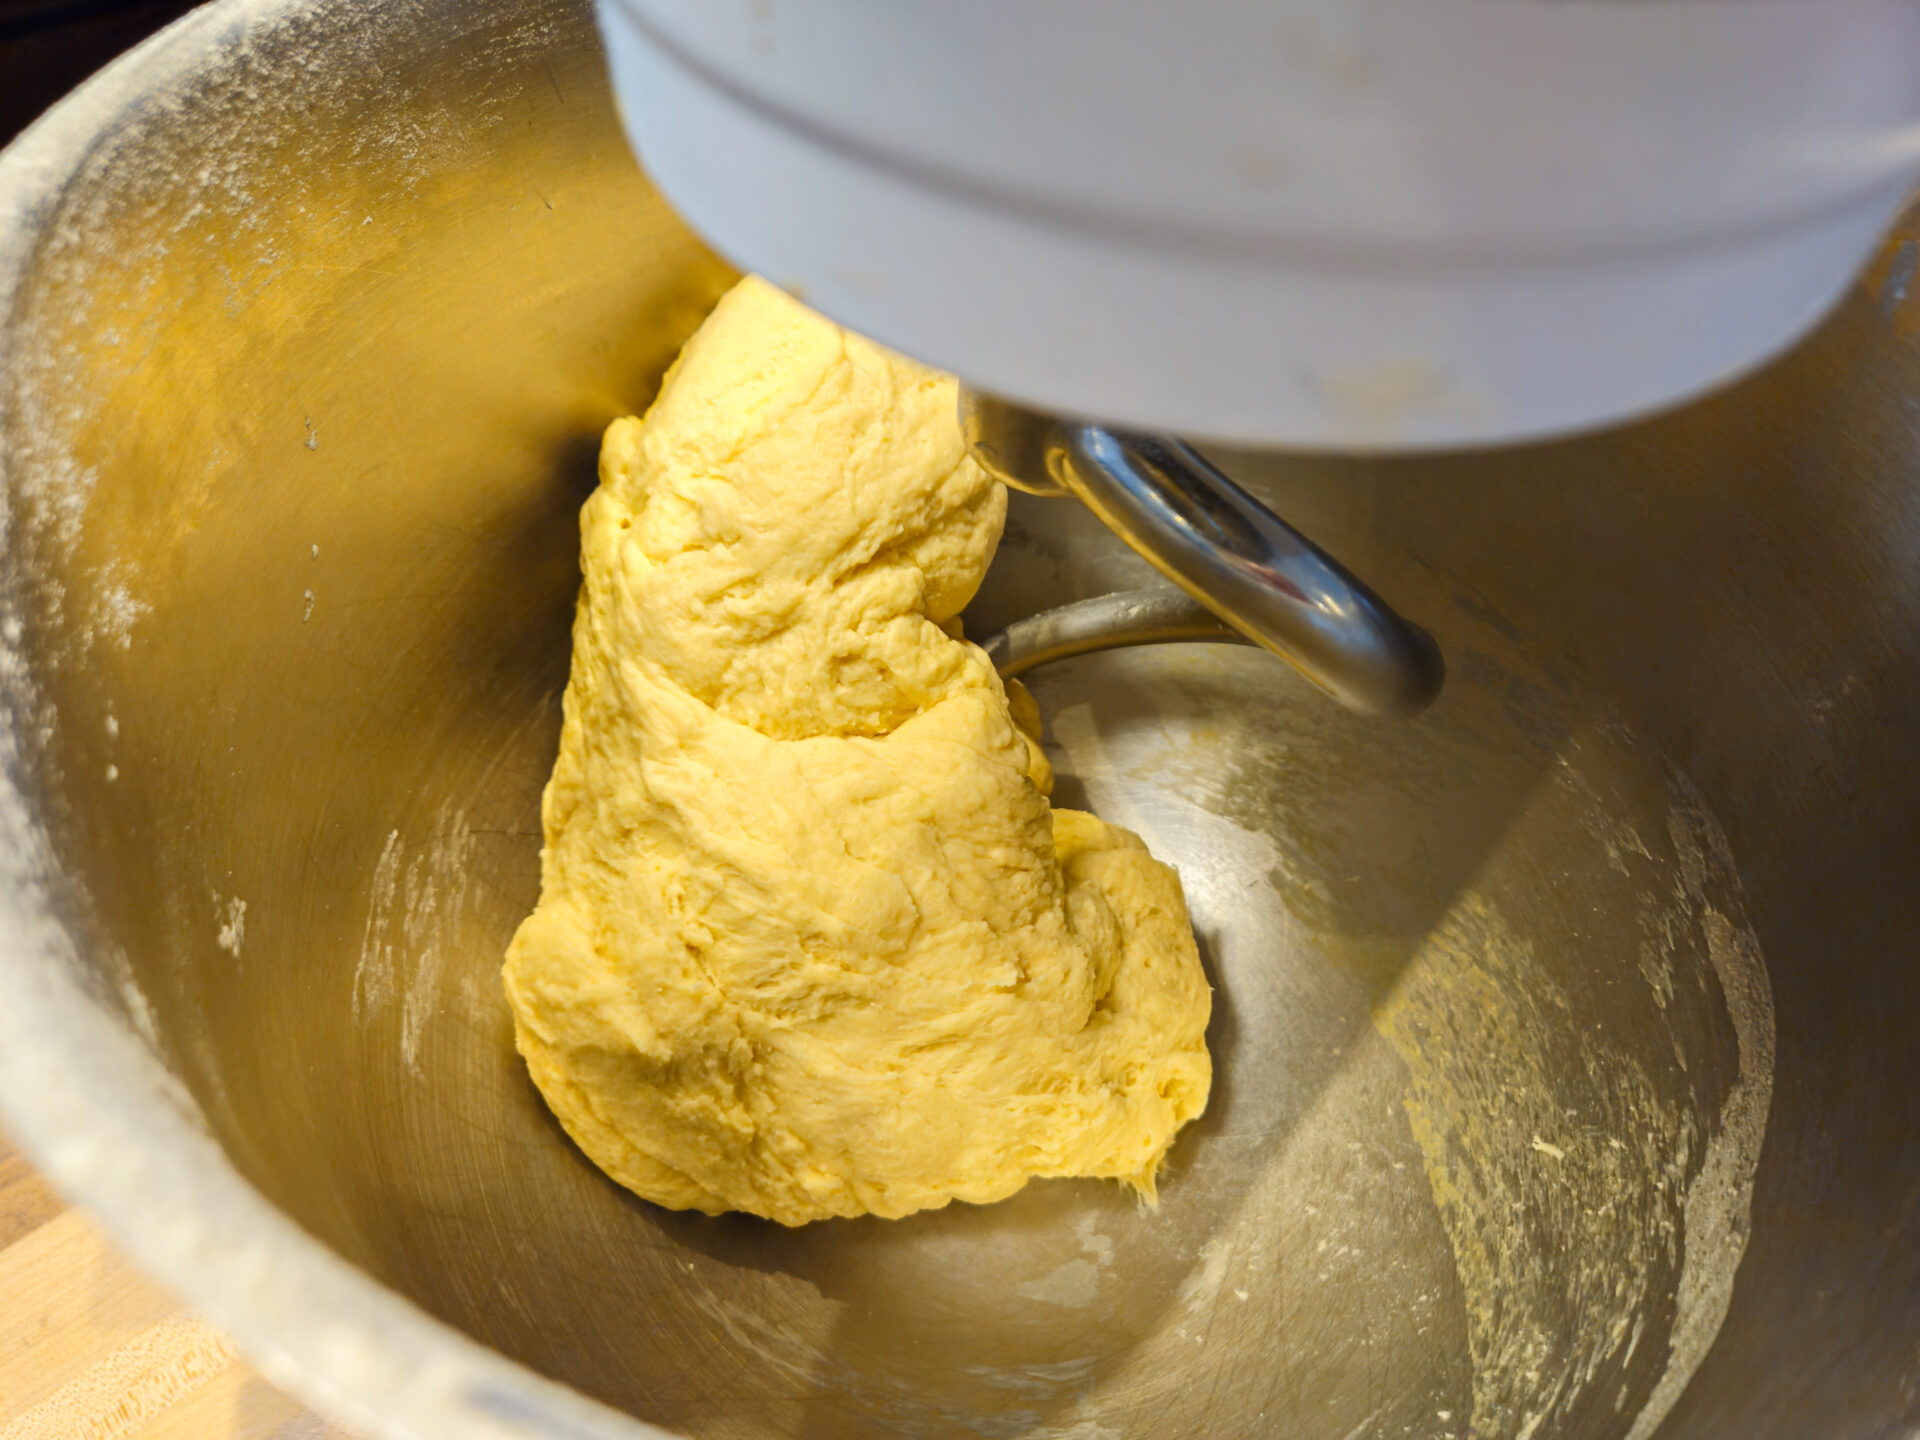
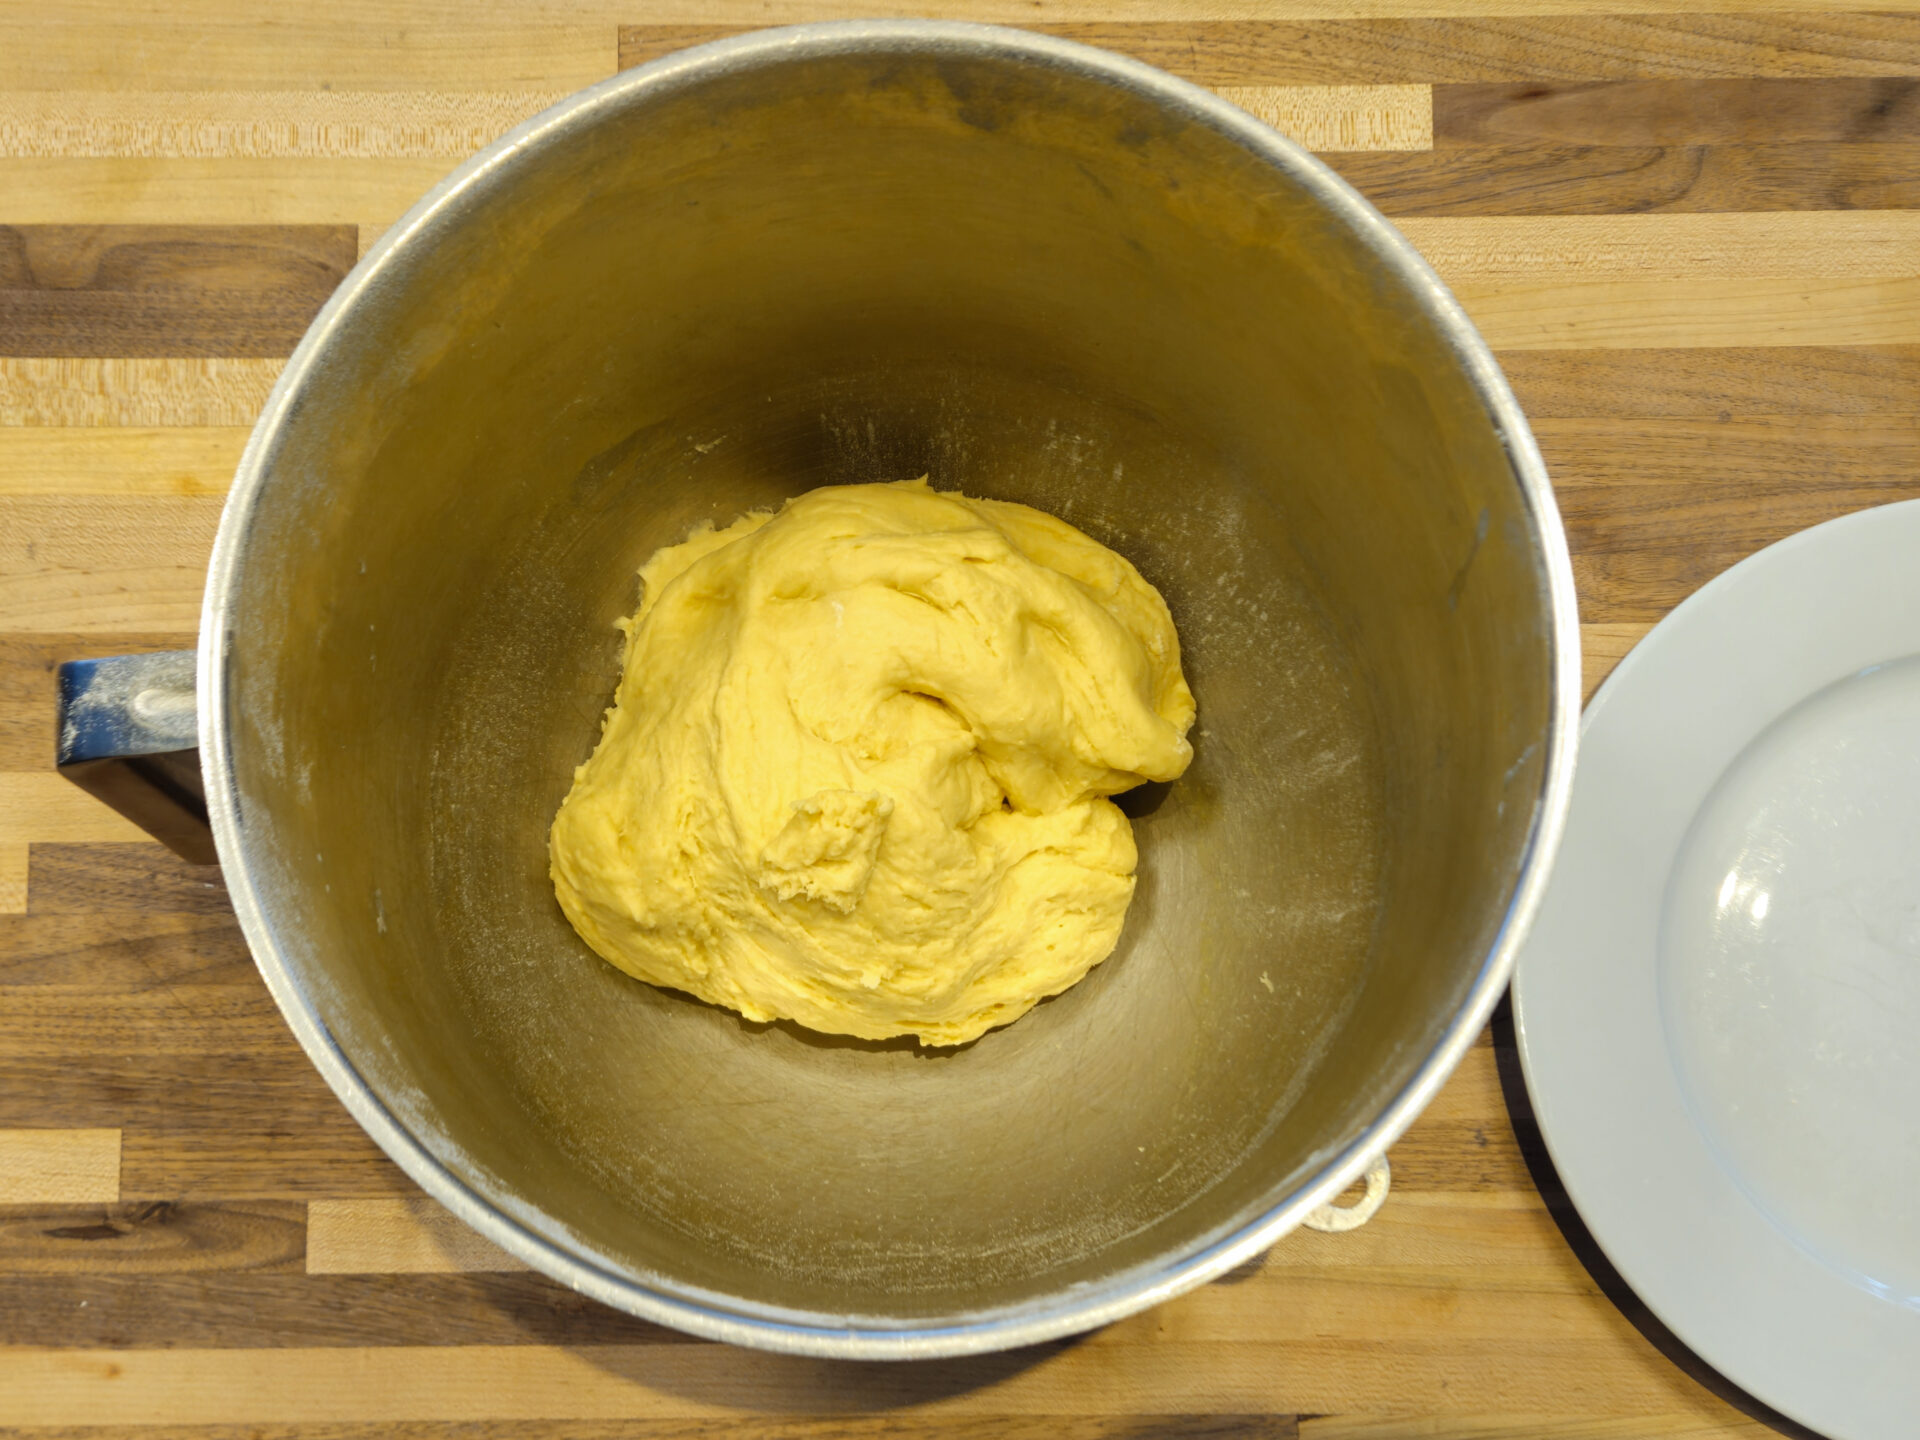
A key part of my Czech Rolls Rohliky Recipe is how we prepare the bread dough. It’s a simple process, but the order matters for a good yeast dough. I start by placing all the dry ingredients into a kitchen mixer with a hook attachment. That’s 4 cups of bread flour, 1 TBSP of active dry yeasts, 1 TBSP of granulated sugar, and 2 TSP of salt. I give this a quick stir with a hand whisk for about a minute just to combine them. Then, I add the wet ingredients: 1 ¾ cups of lukewarm water (I preheat mine in the microwave to about 90 to 100°F) and ¼ cup of cooking oil. I knead this on low speed just until the ingredients are partially incorporated, which only takes about 30 seconds. Then, I increase the speed to medium-high and knead for 3 to 4 minutes until the dough is fully combined and formed. This creates the perfect base for our soft and fluffy homemade rohliky.
The First Rise: Tripling in Size
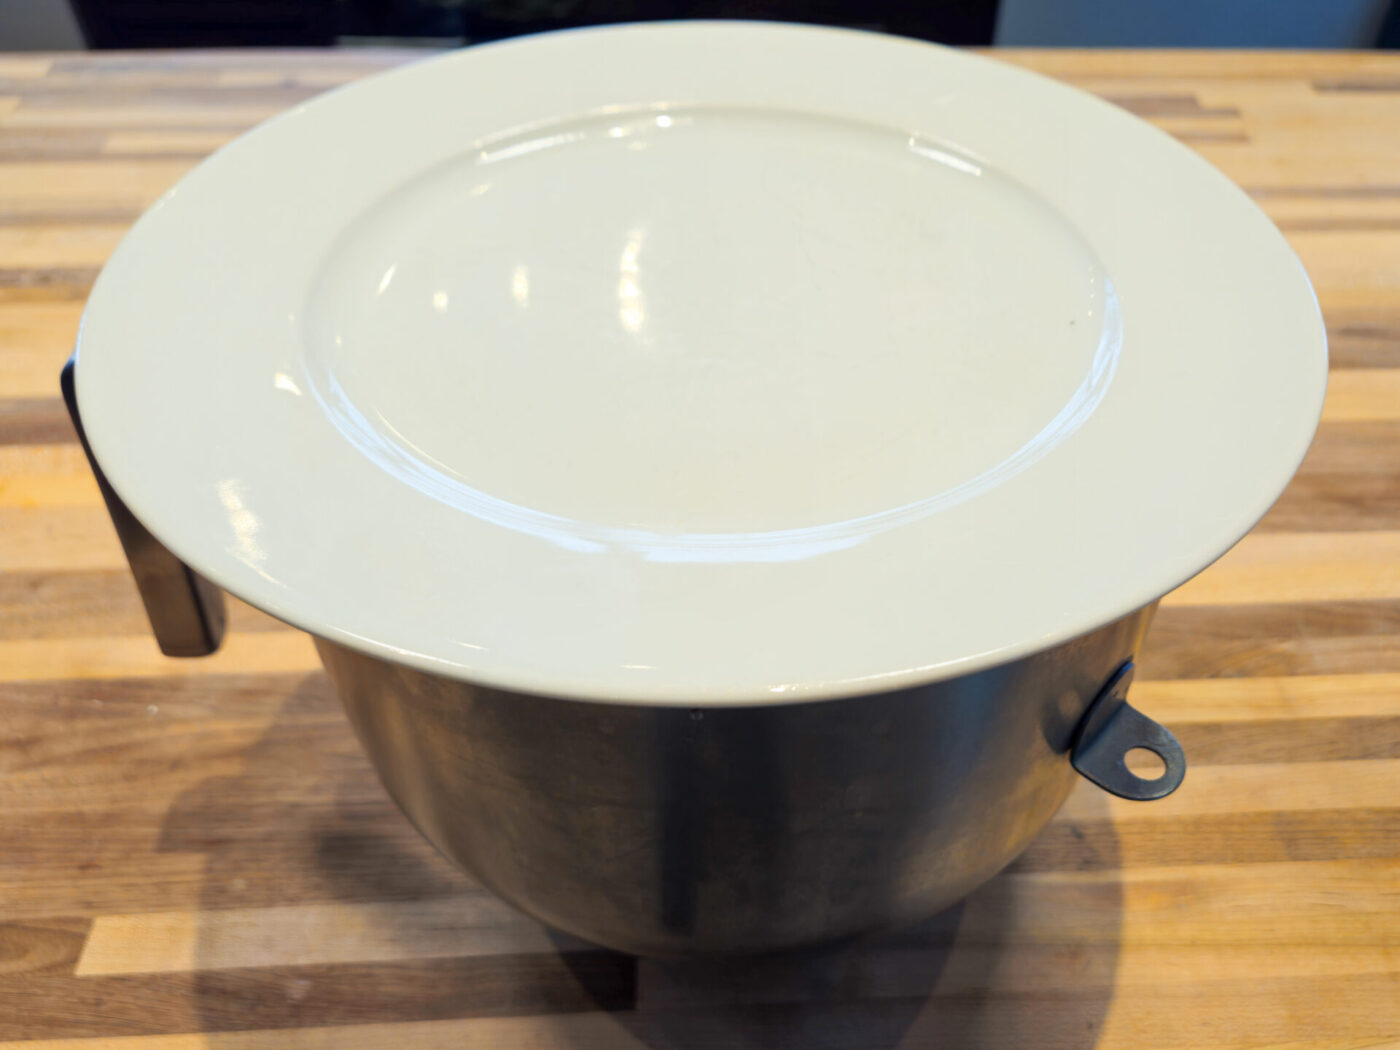
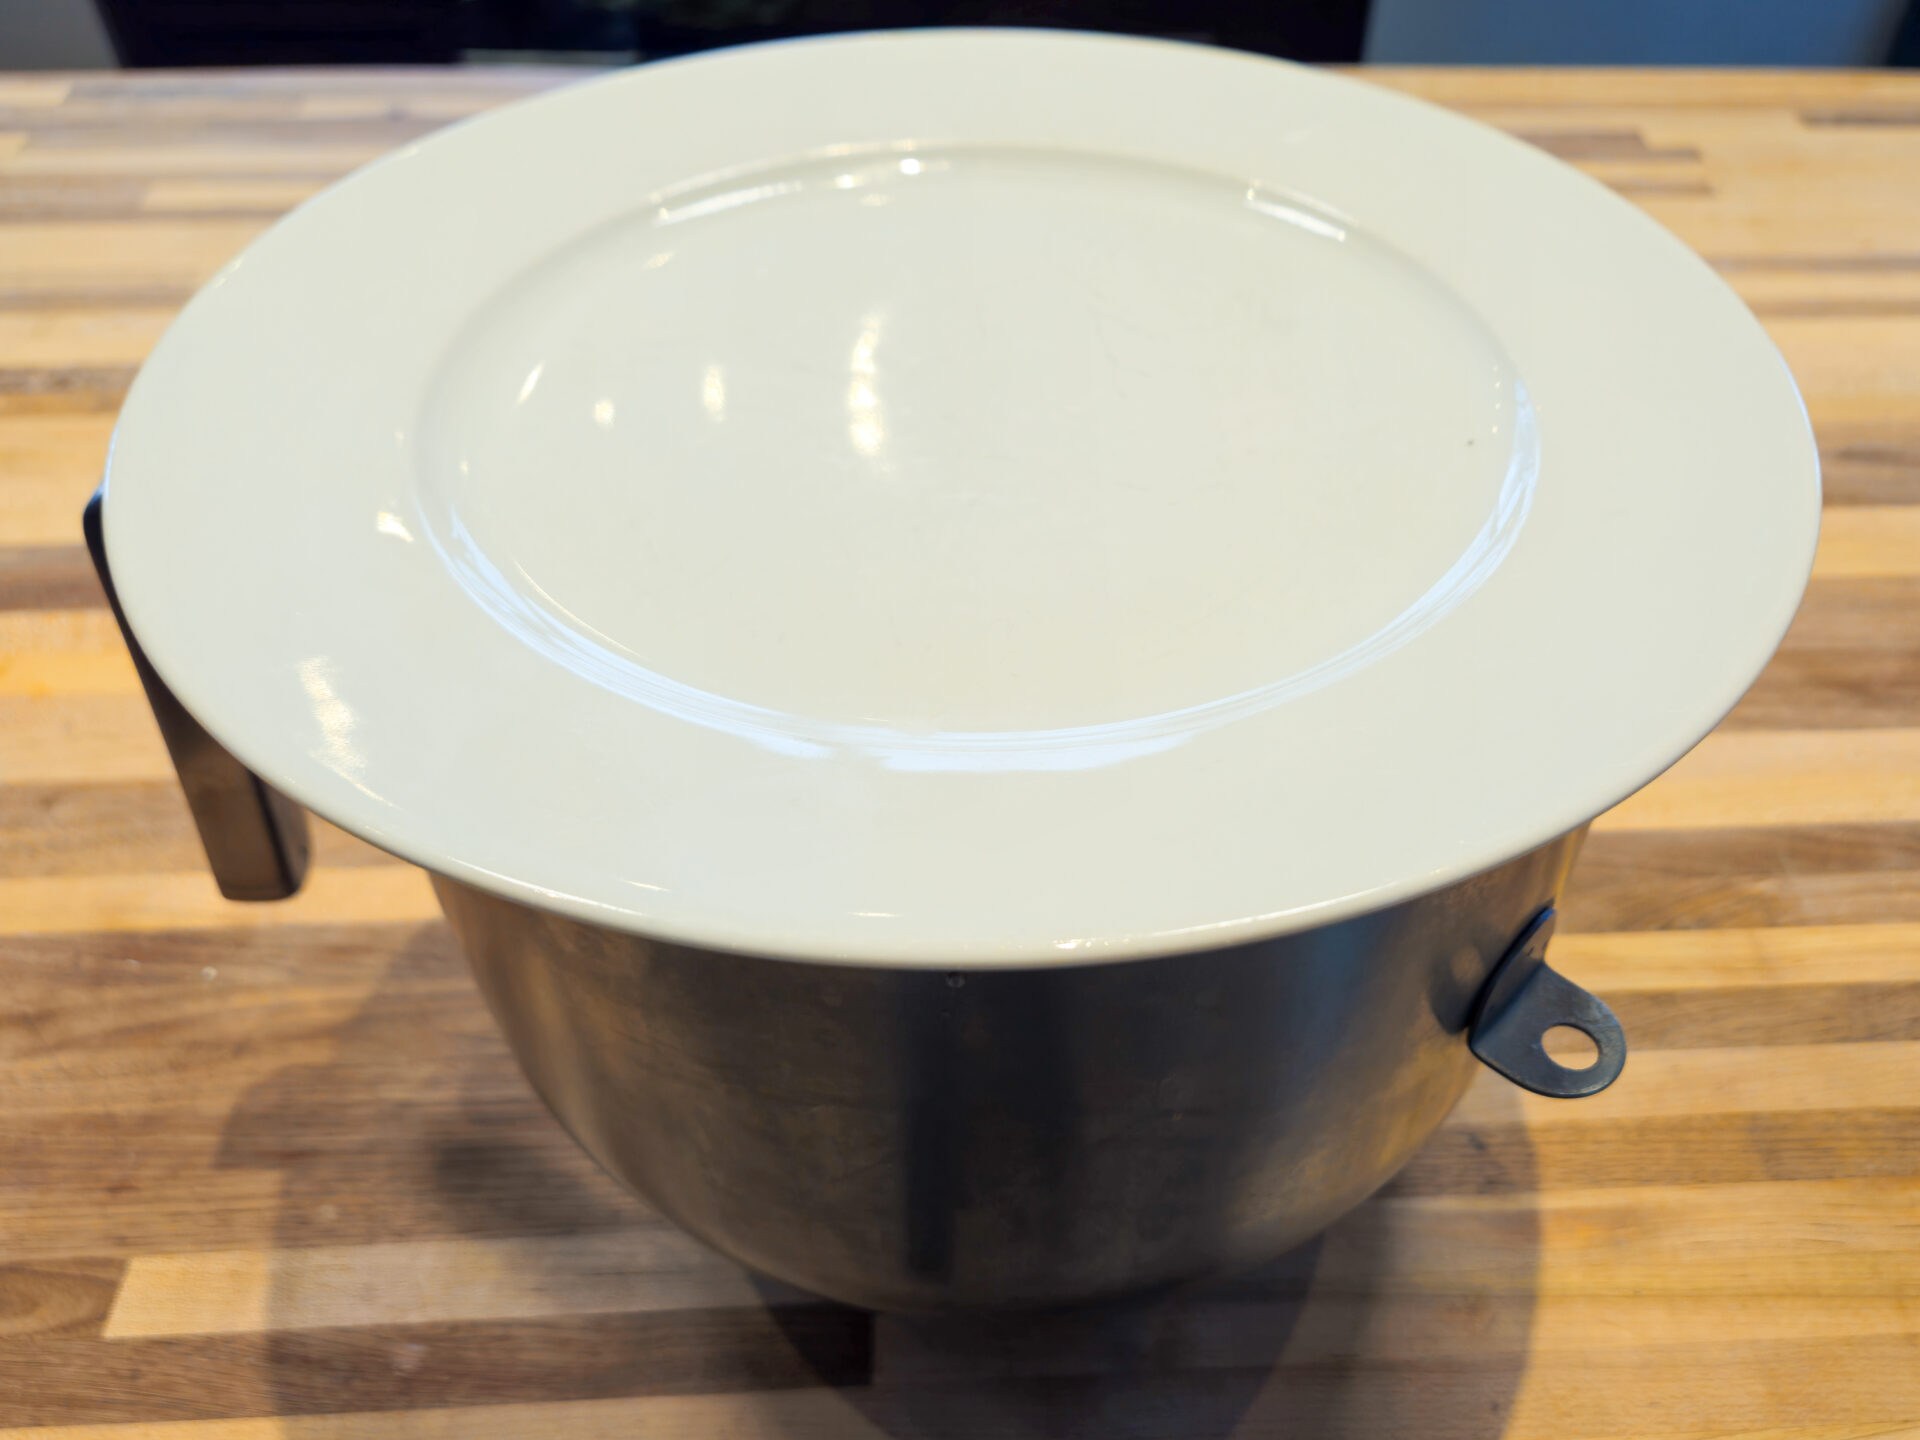
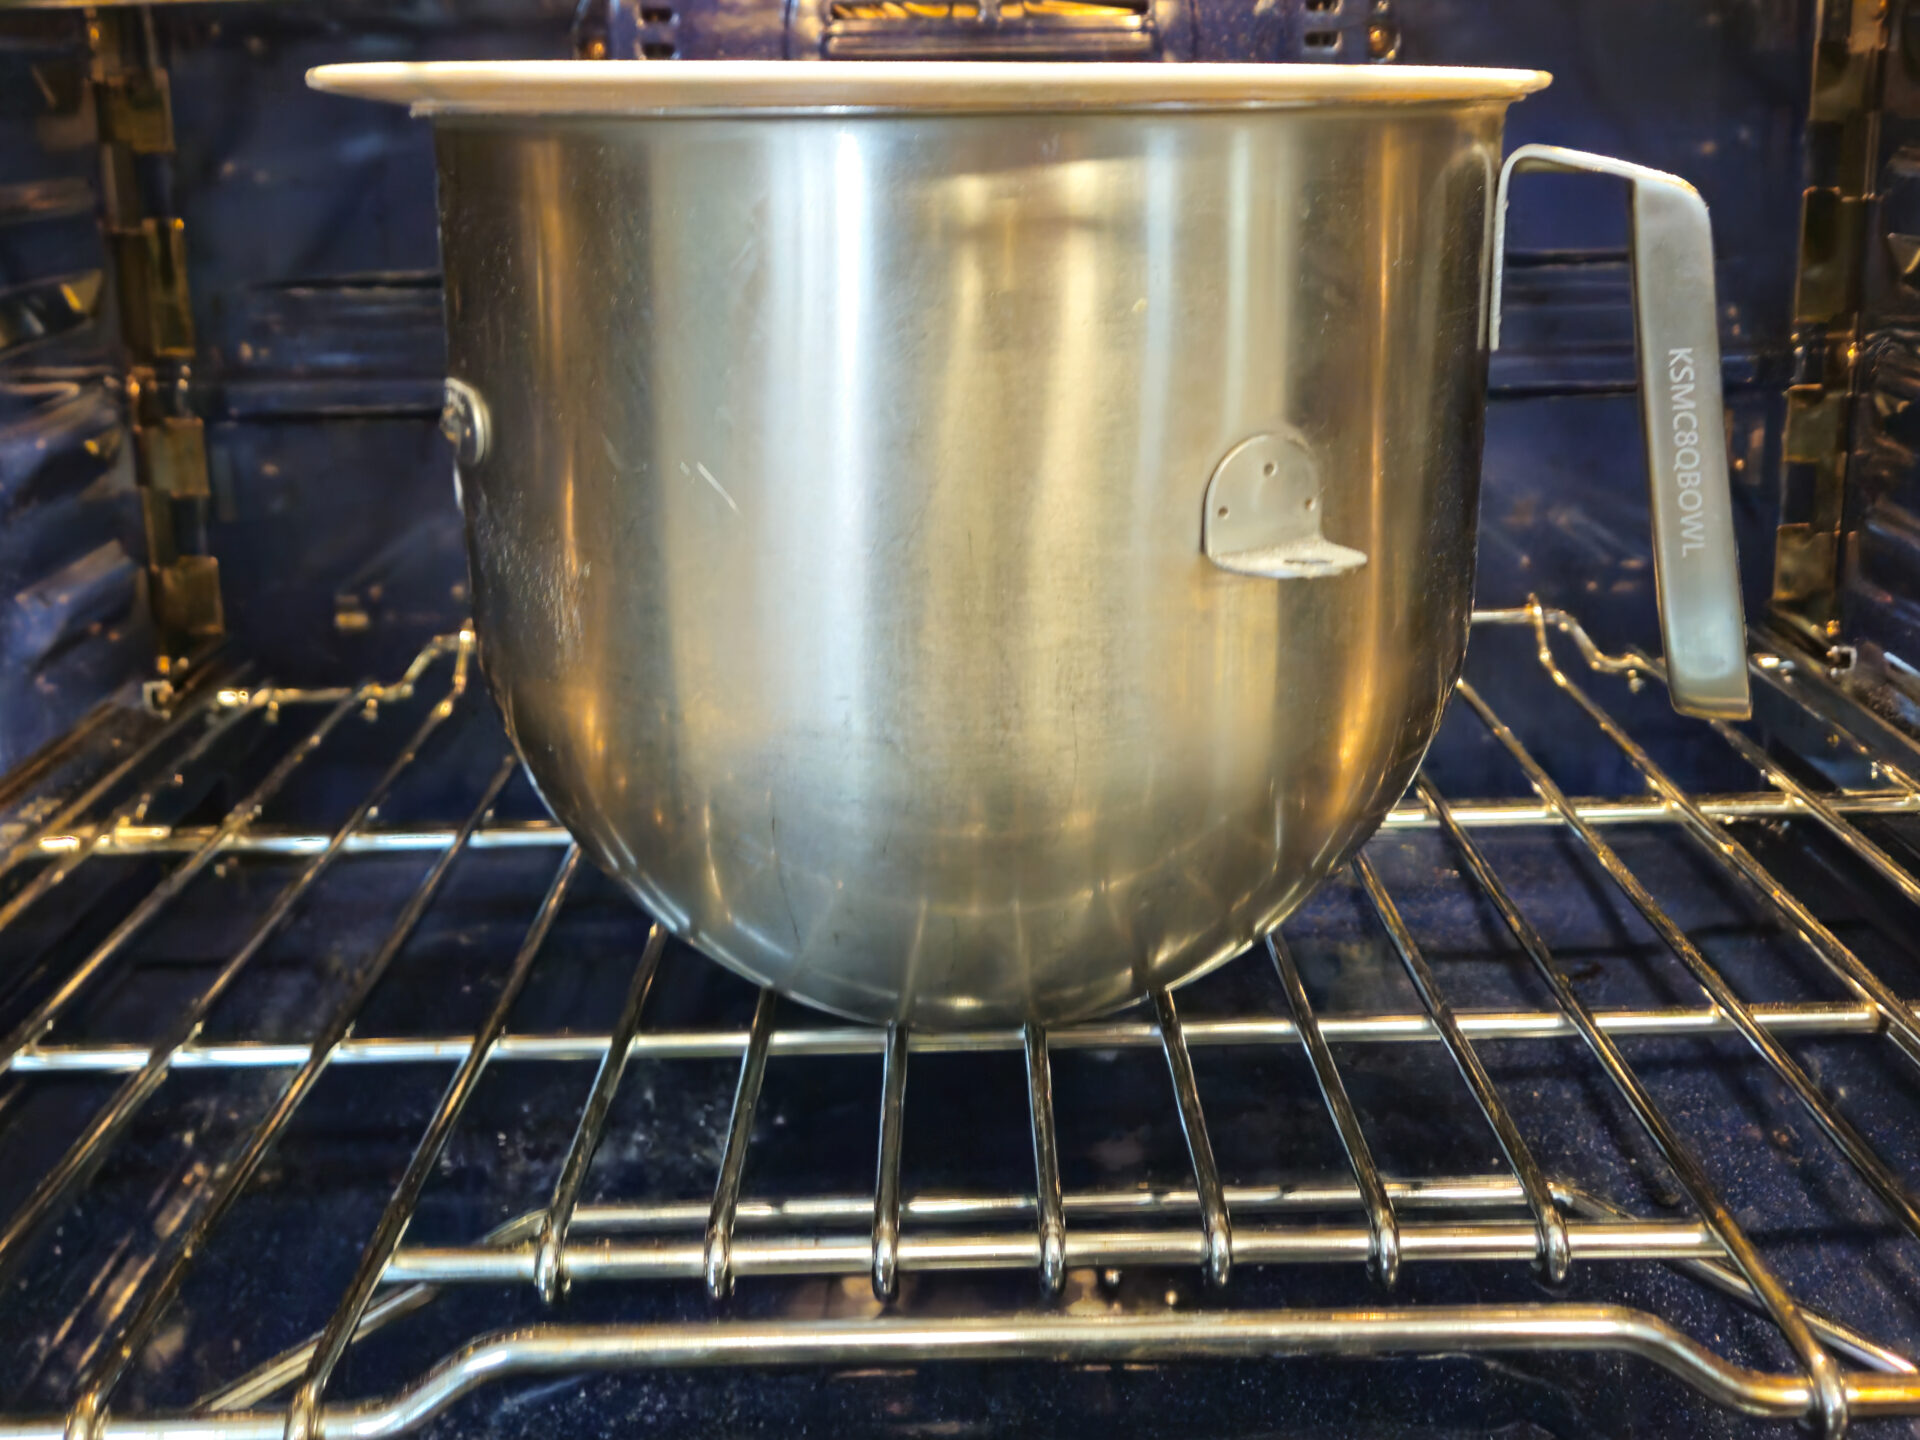
Patience is key with any yeast dough, and this Czech Rolls Rohliky Recipe is no exception. After the dough is kneaded, I remove the bowl from the mixer and cover it with a plate or plastic wrap. This step is crucial for trapping moisture and warmth. Then, I let it rise in a warm place until it has tripled in size. This is an important detail of my traditional recipe; many recipes only call for doubling, but I find tripling gives the bread rolls an exceptionally light, soft and fluffy texture. This can take anywhere from 1 to 2 ½ hours. As a tip, if your schedule changes, you can even increase this rising time for up to four hours based on your convenience, which just adds to the flexibility of making homemade rohliky.
Pre-shaping and Resting the Dough
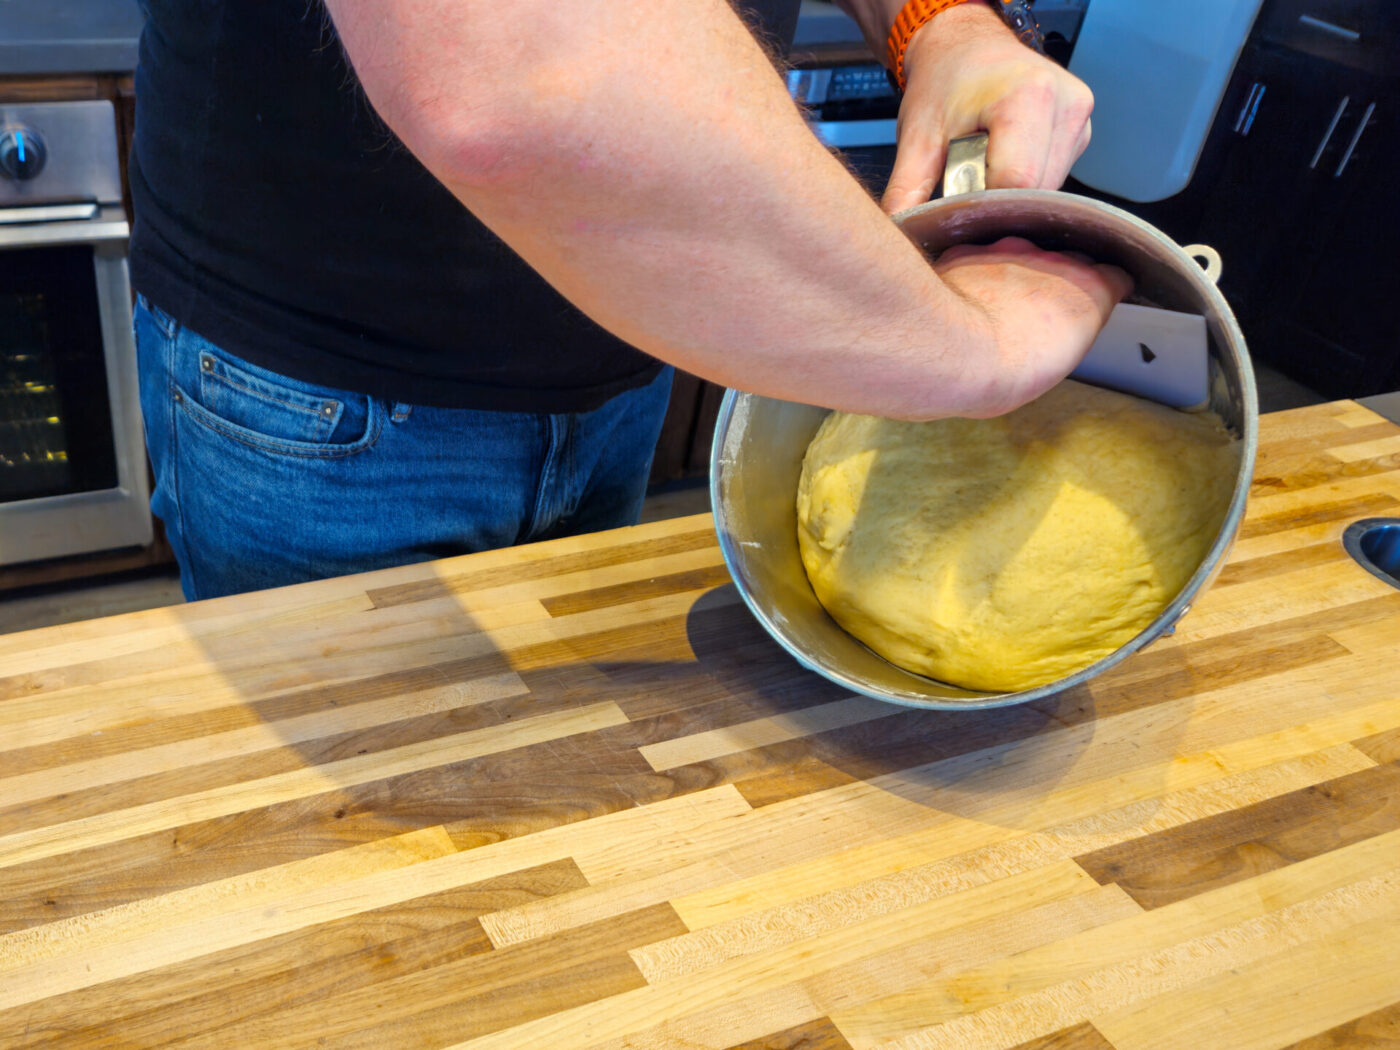
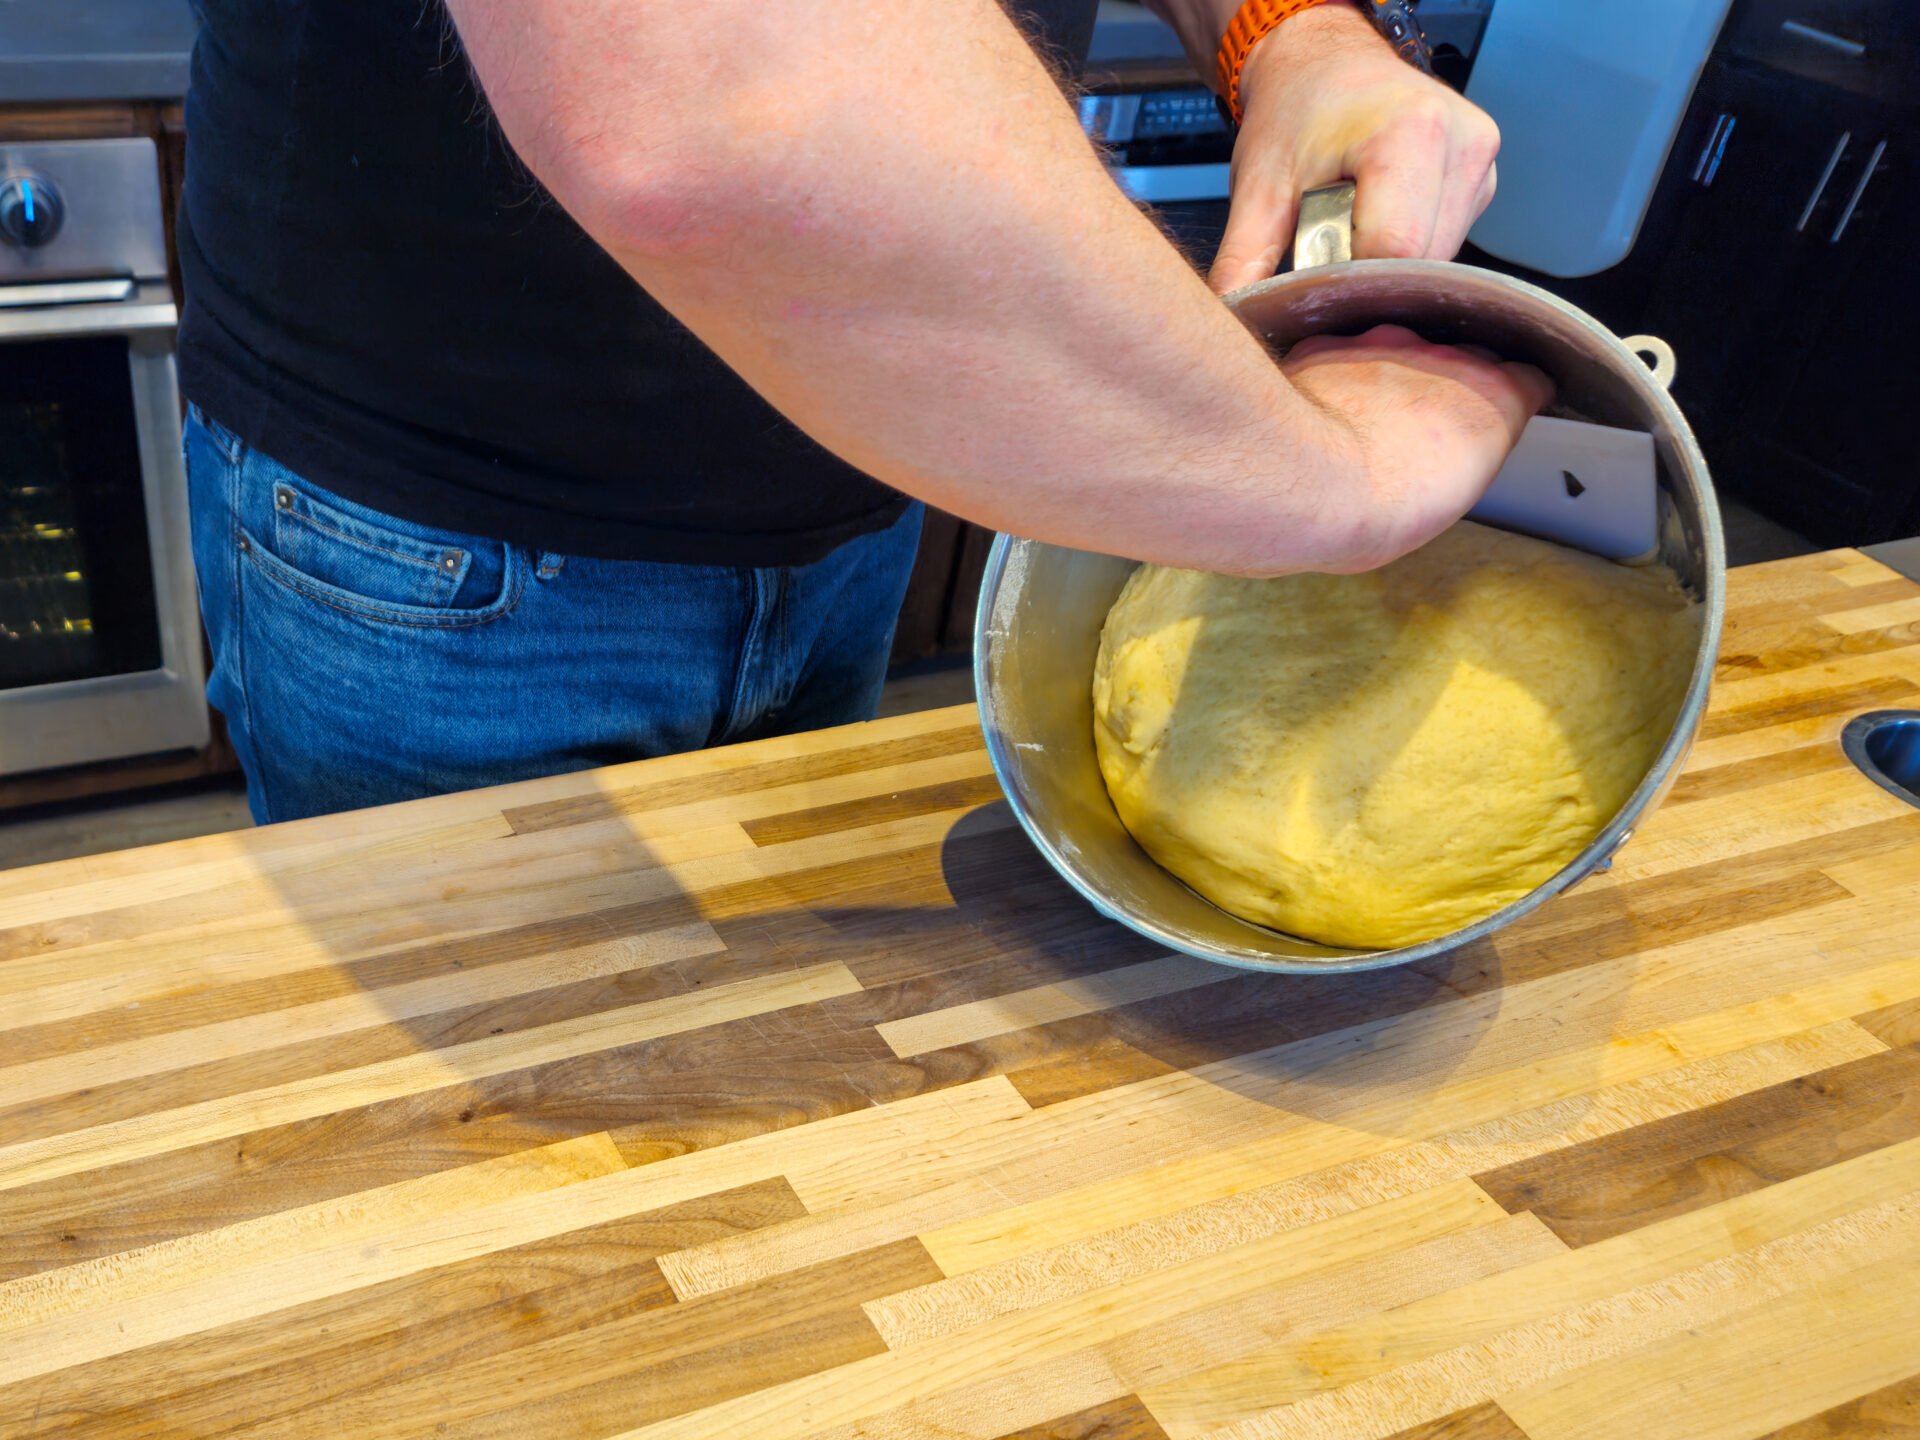
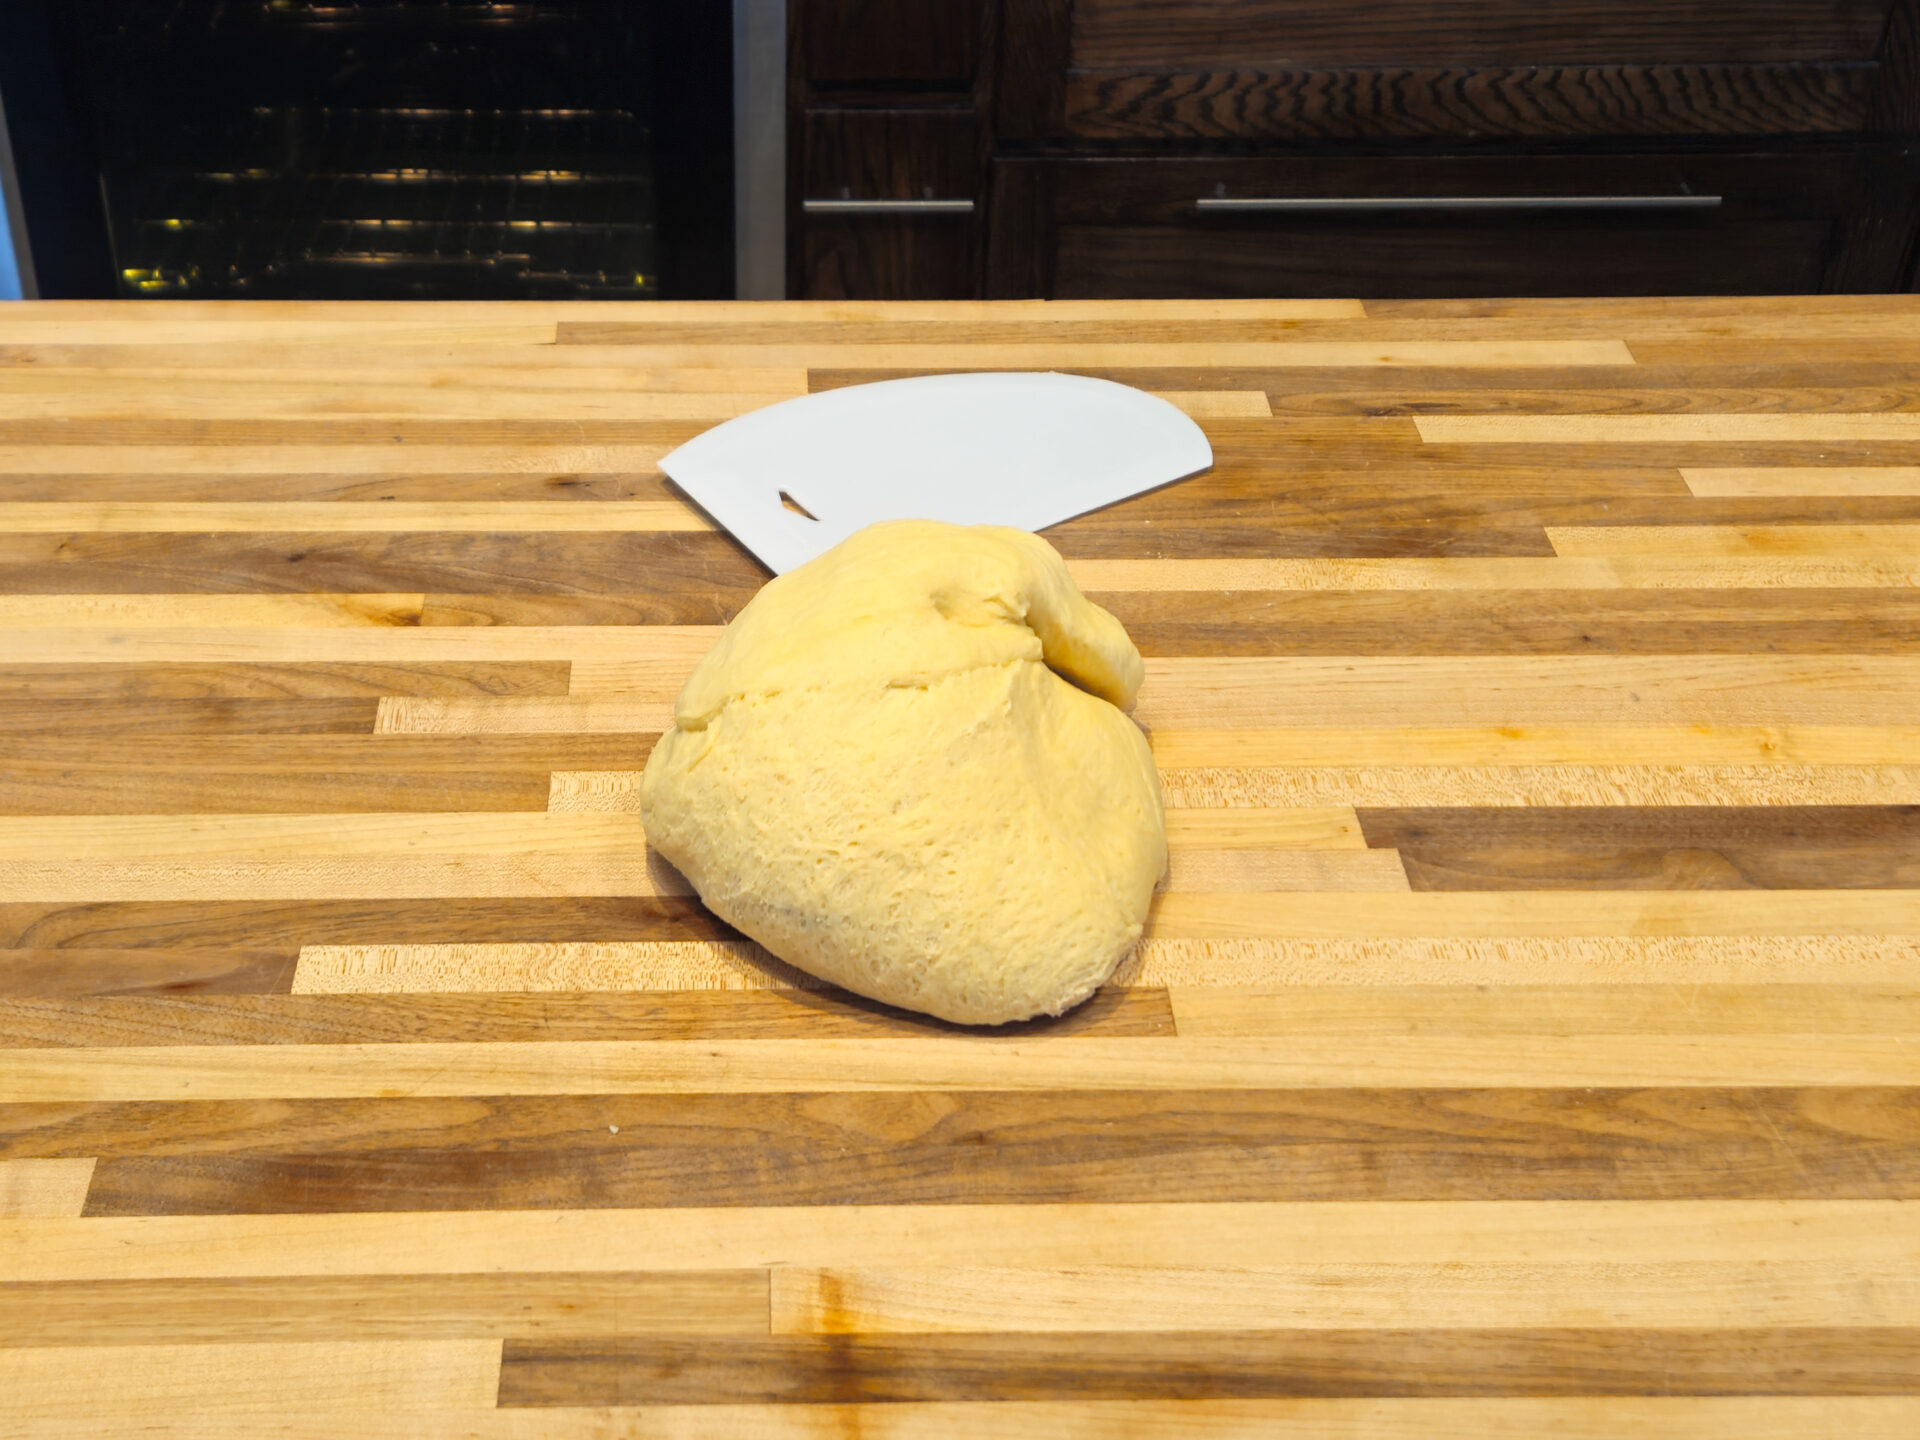
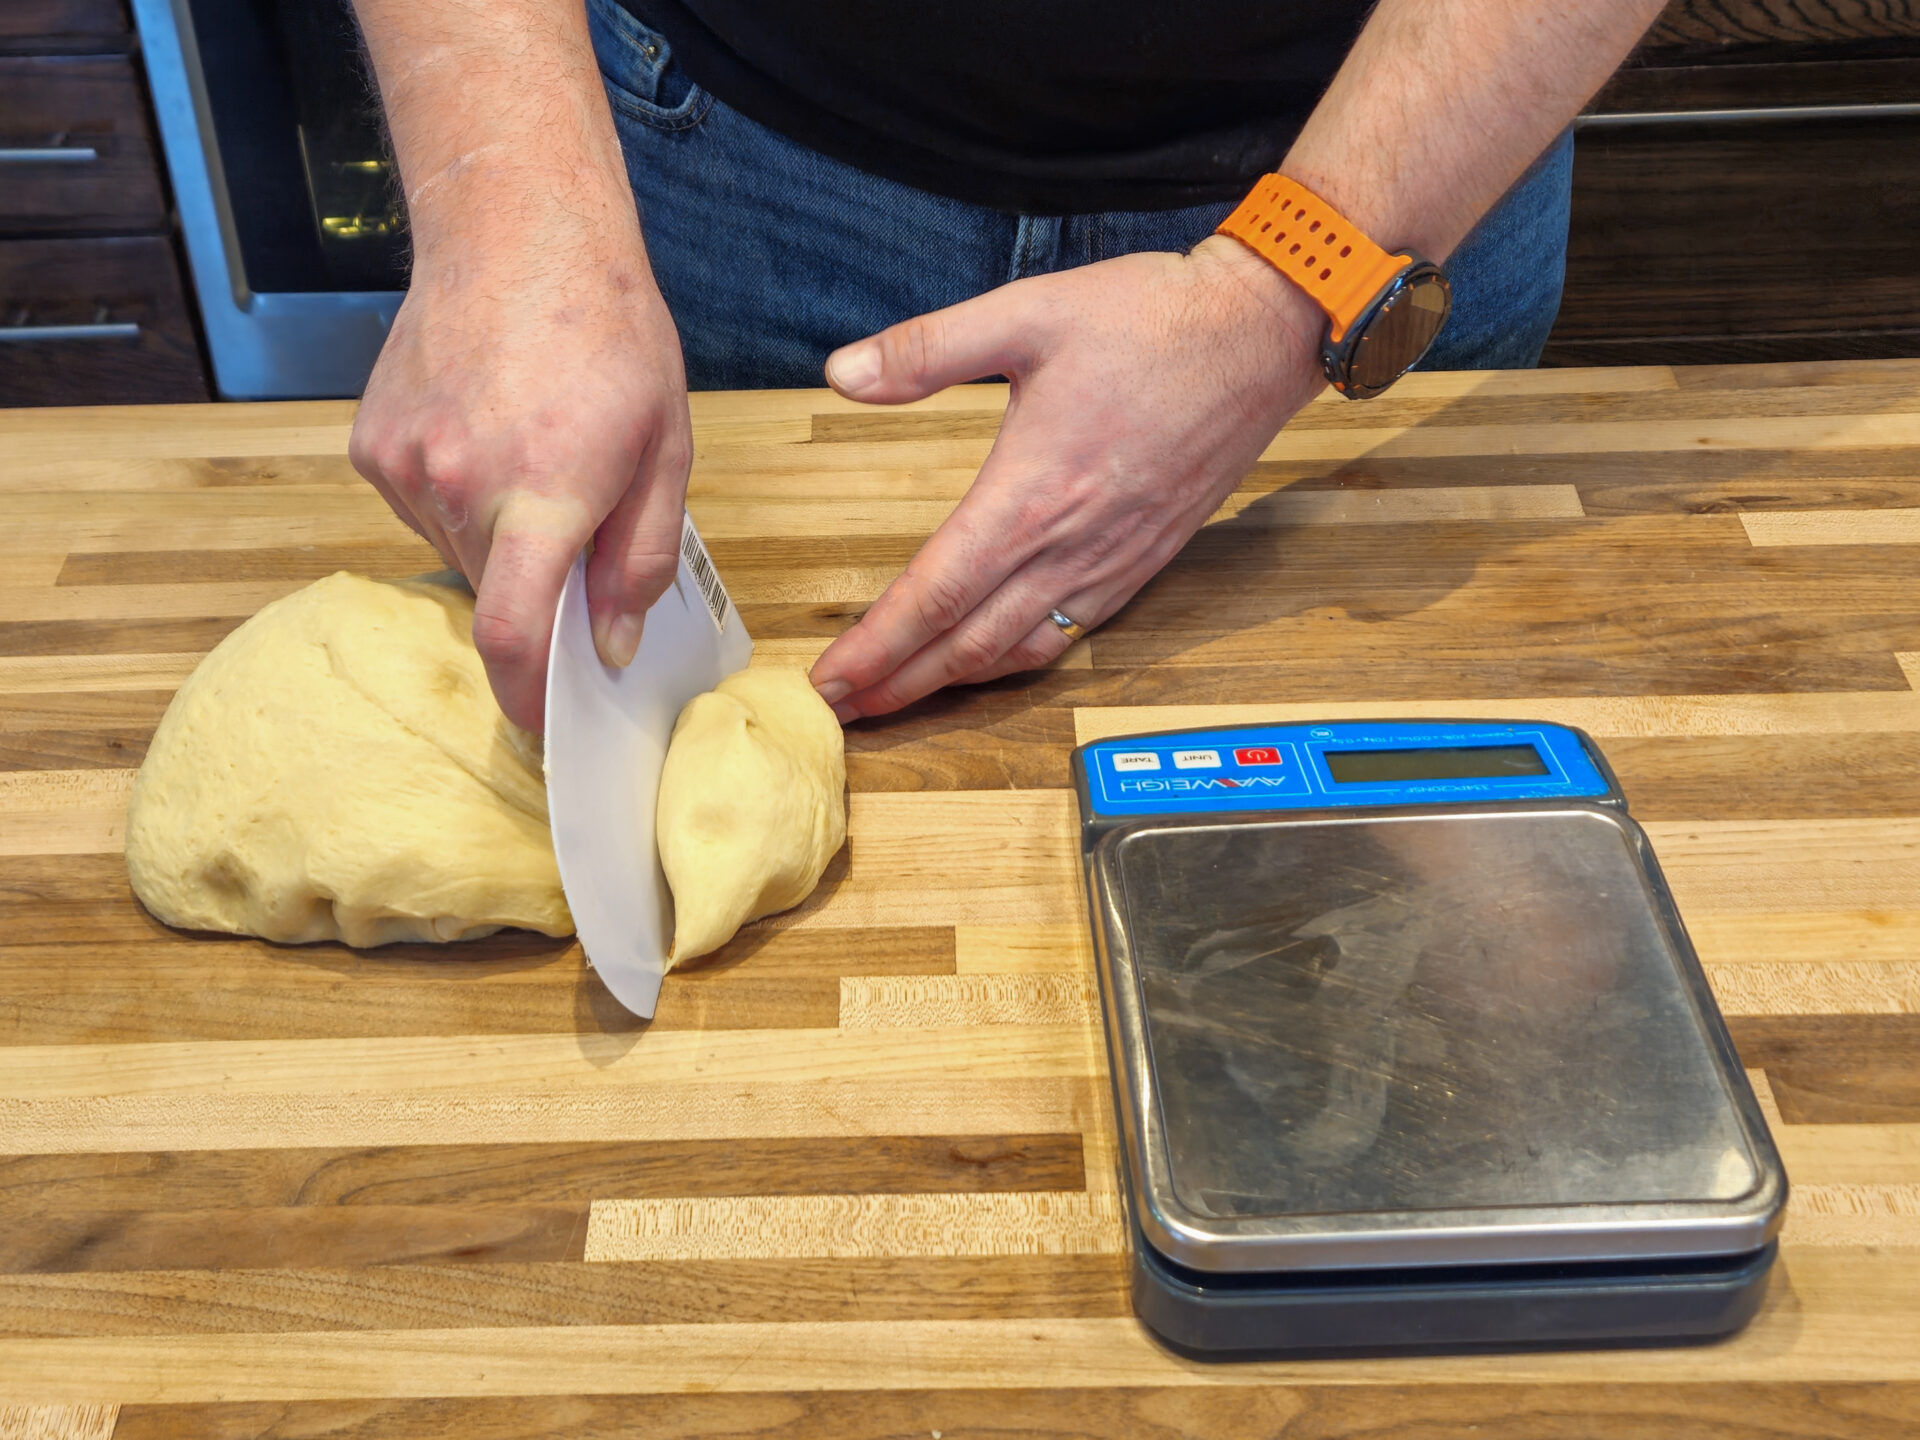
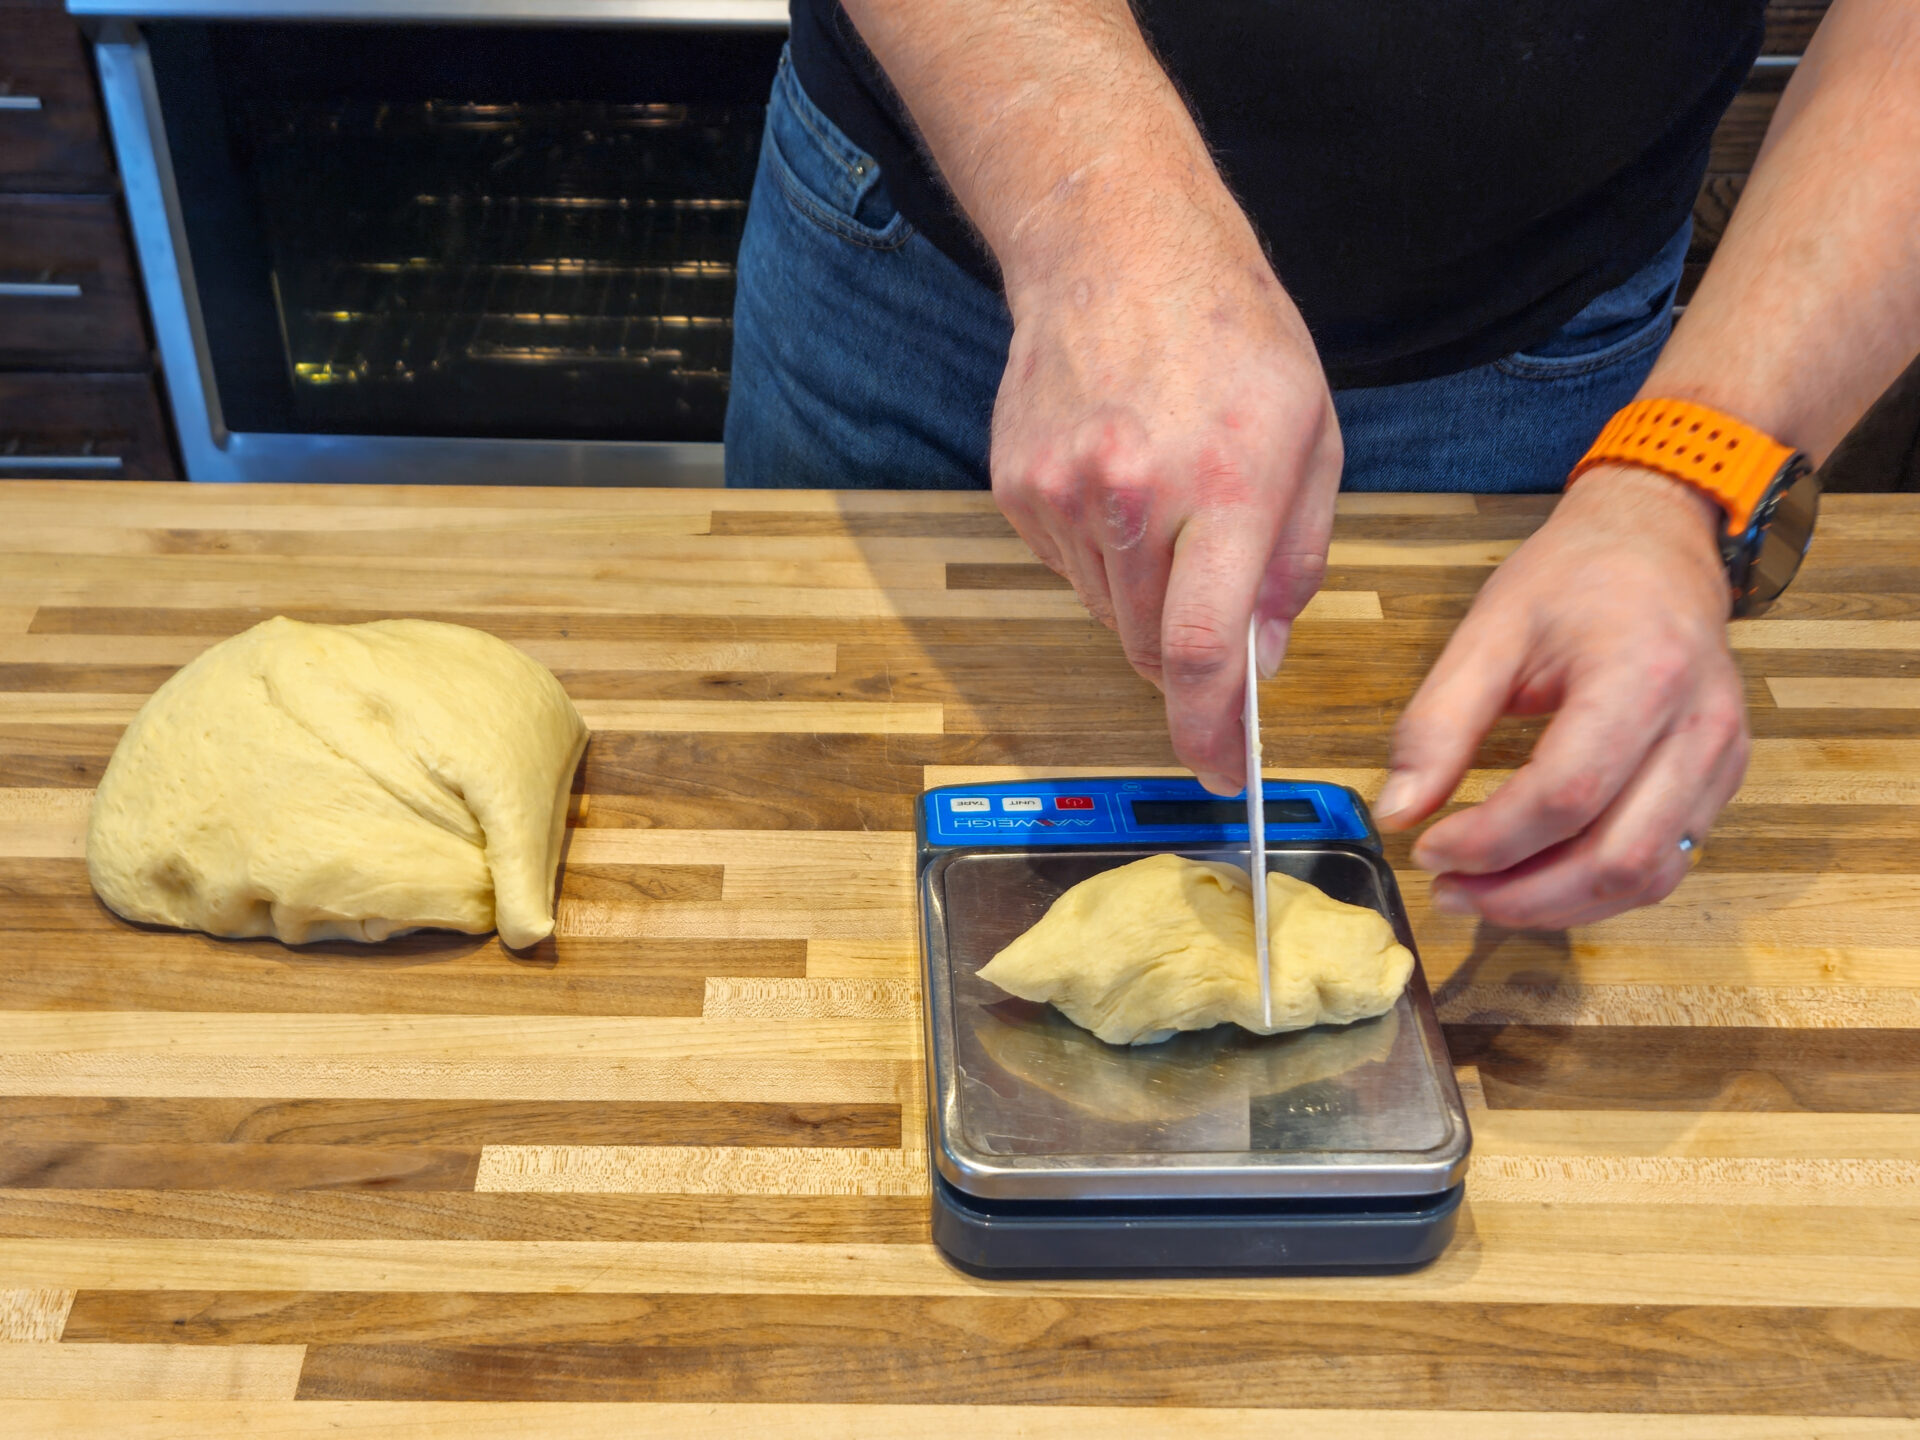
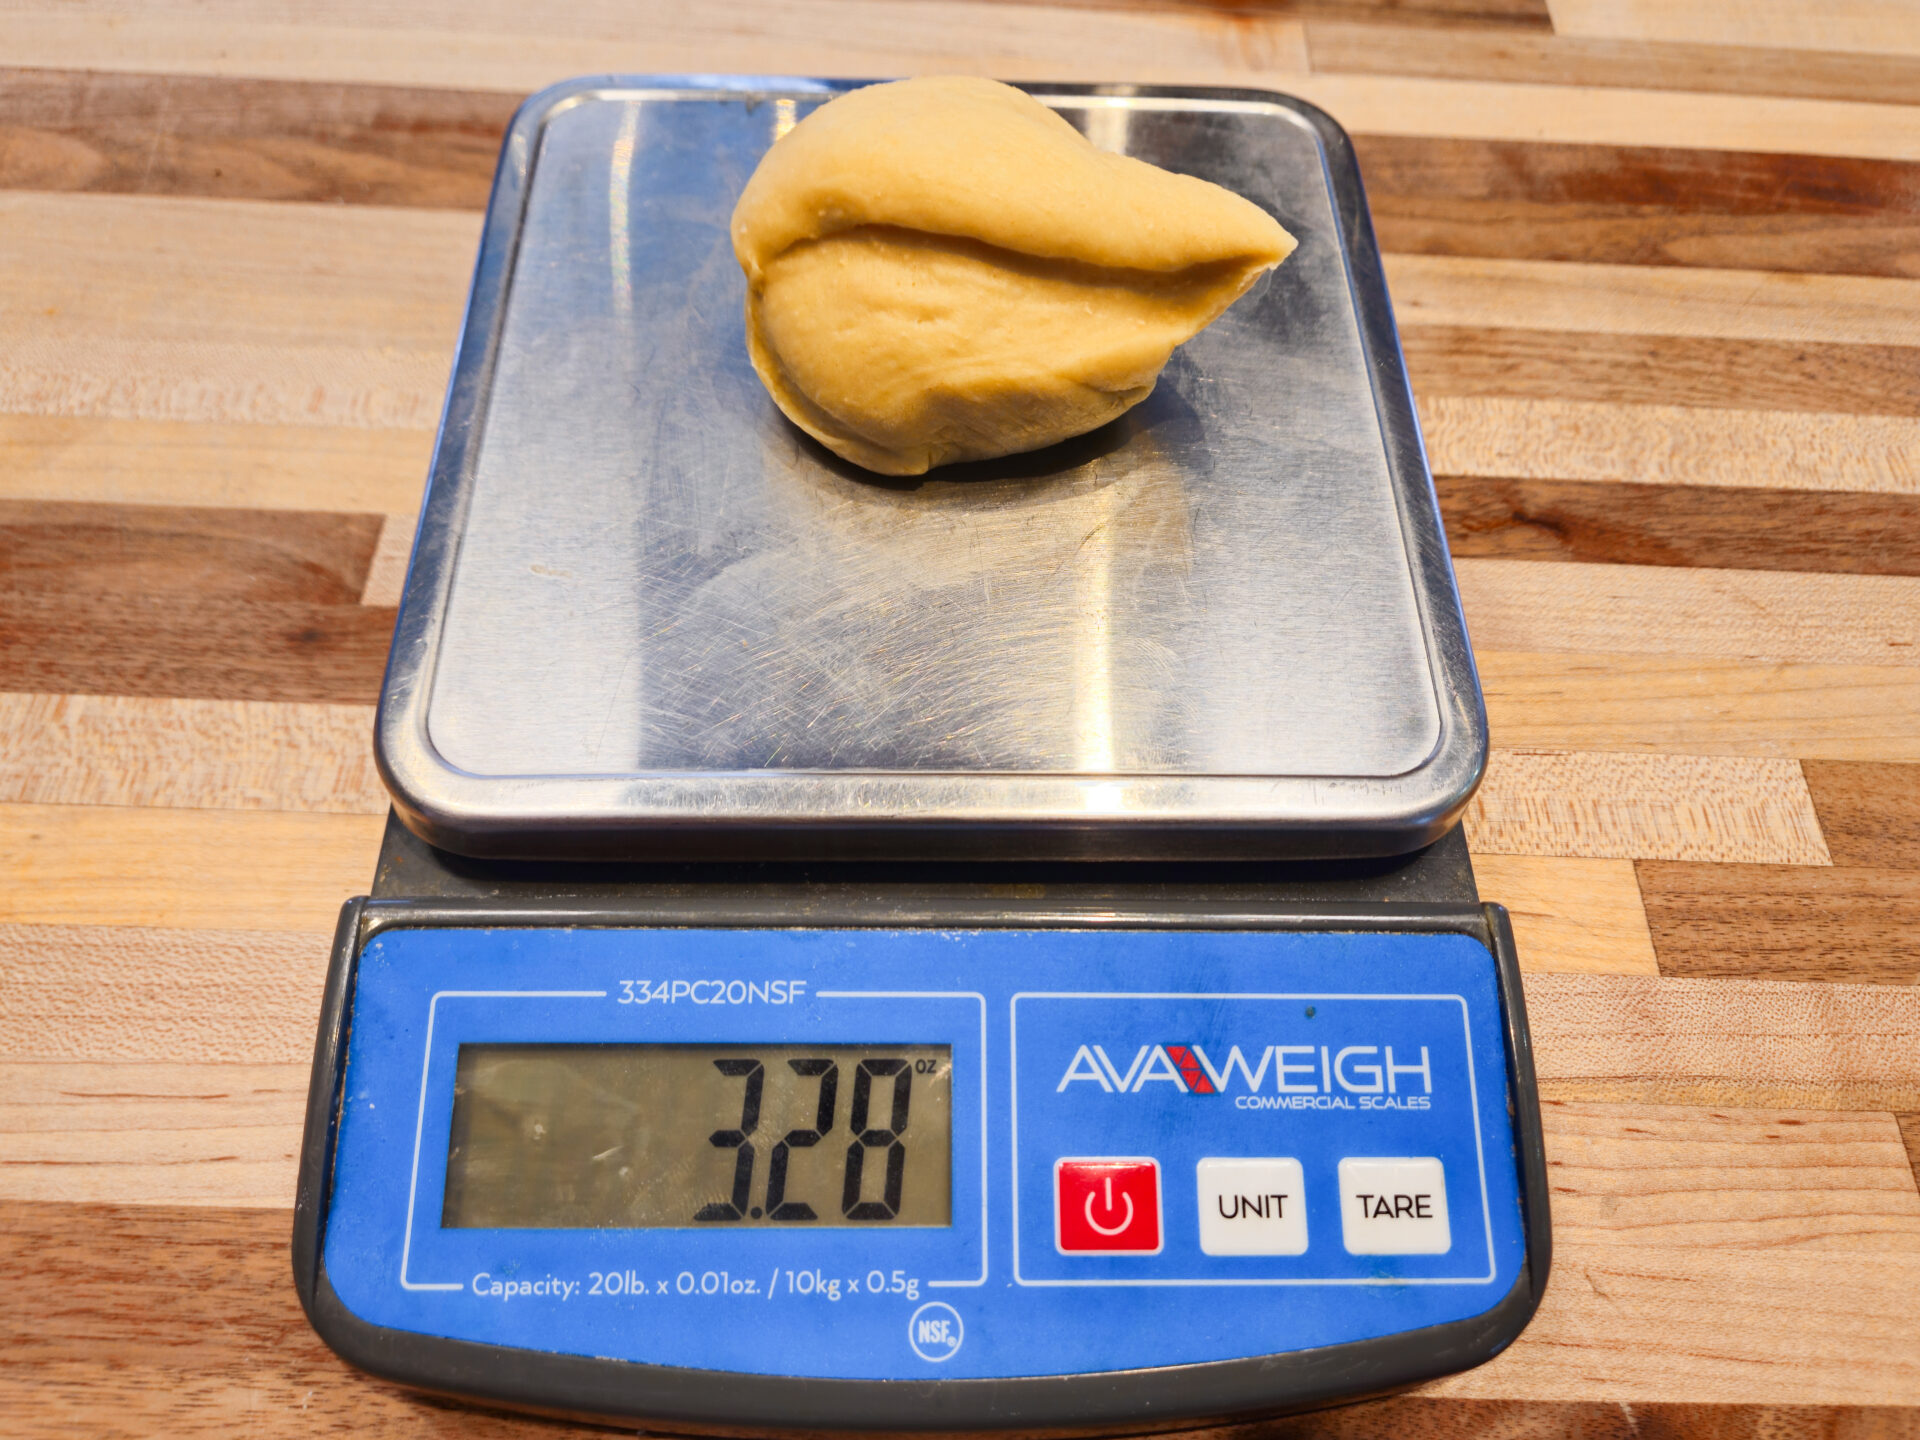
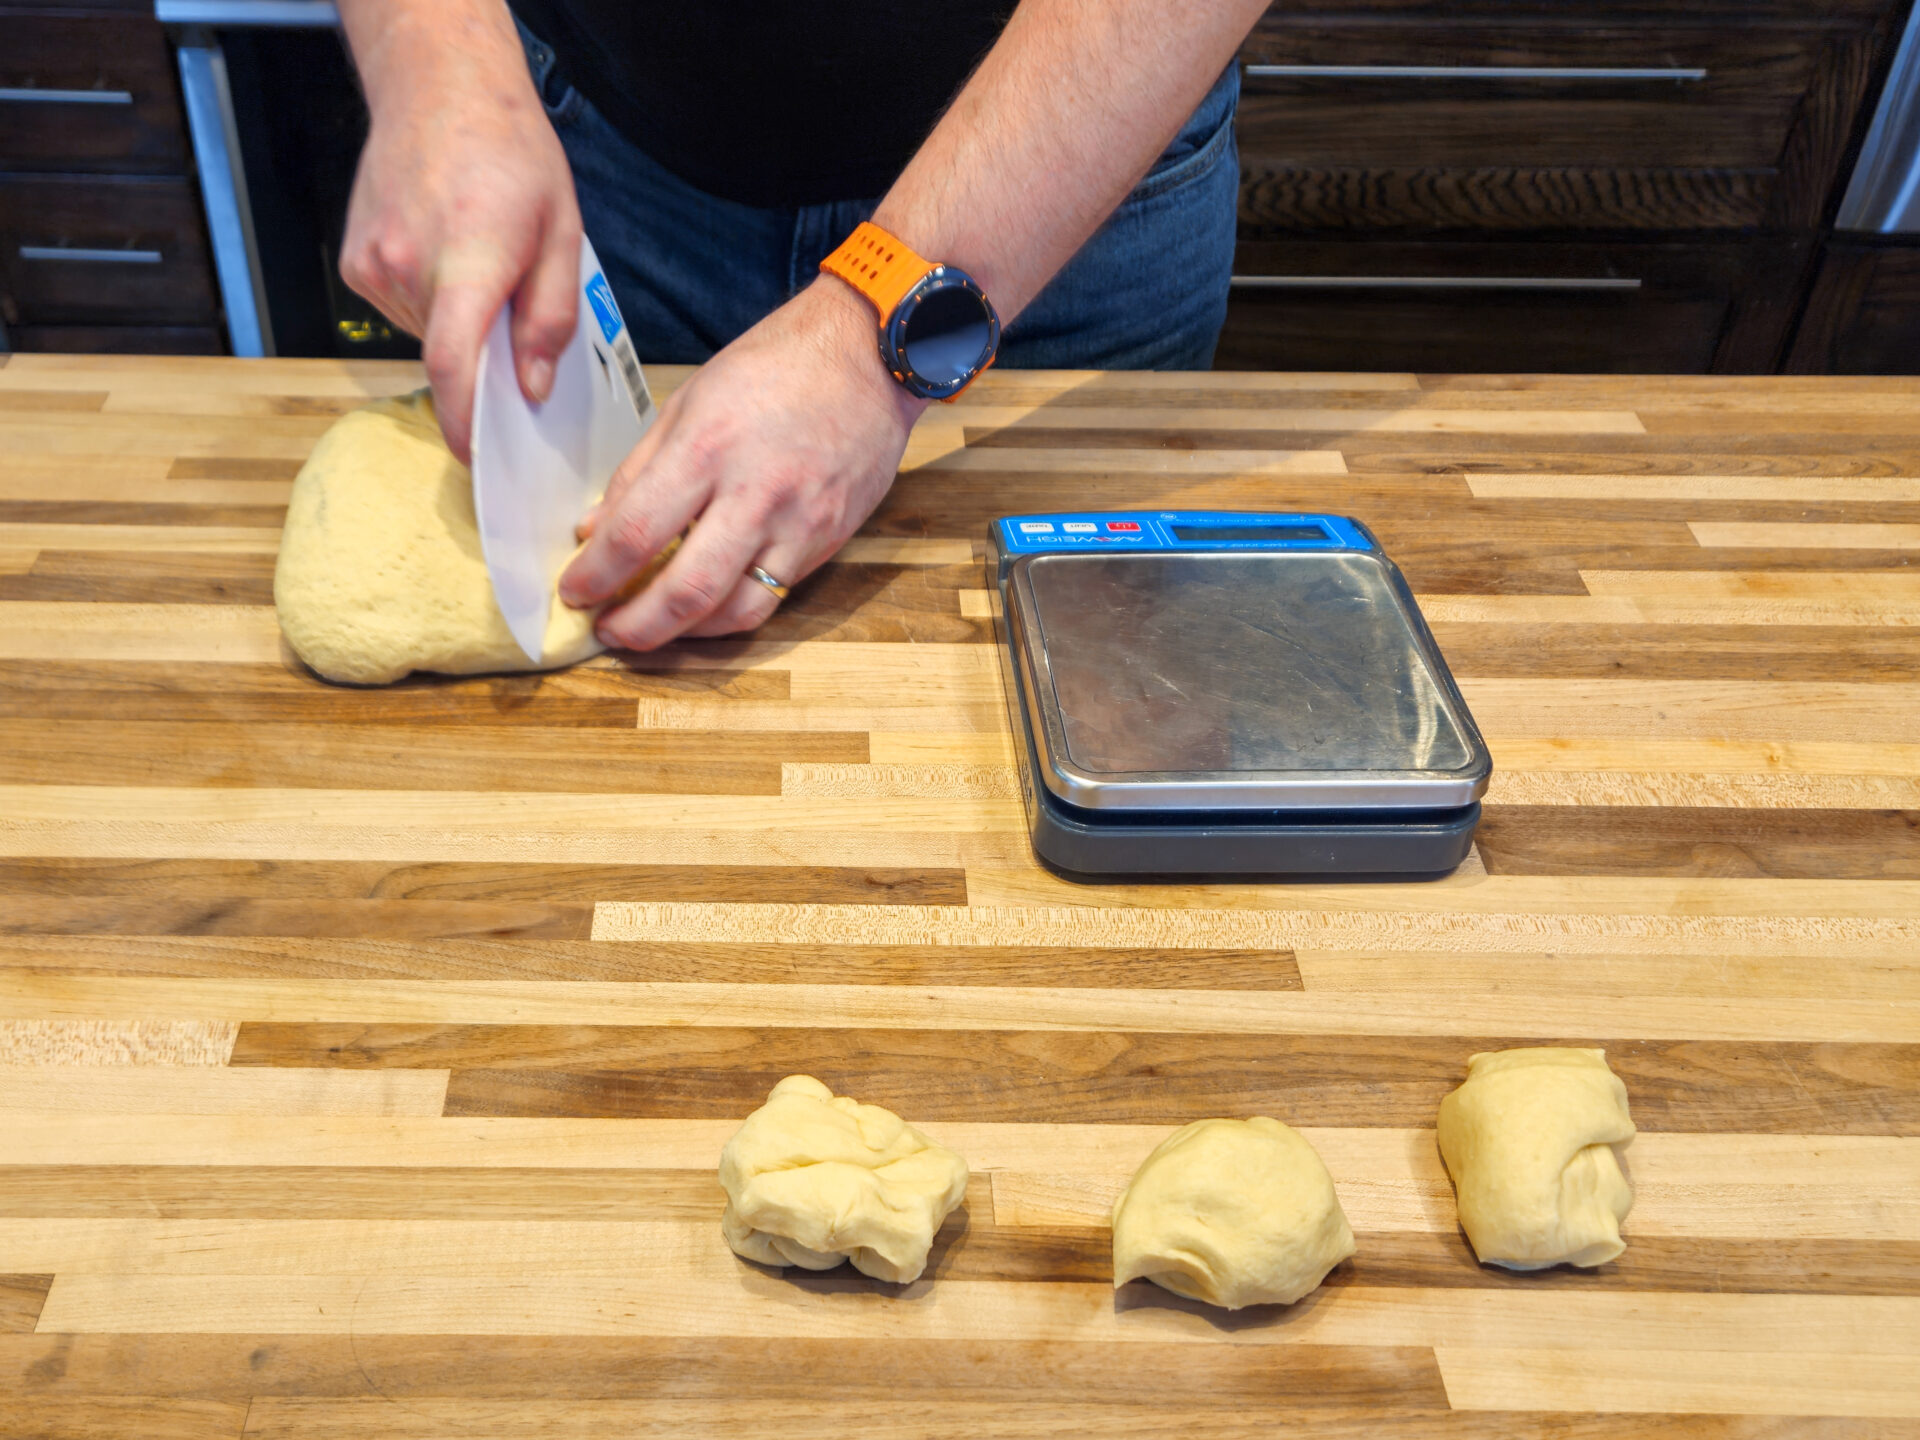
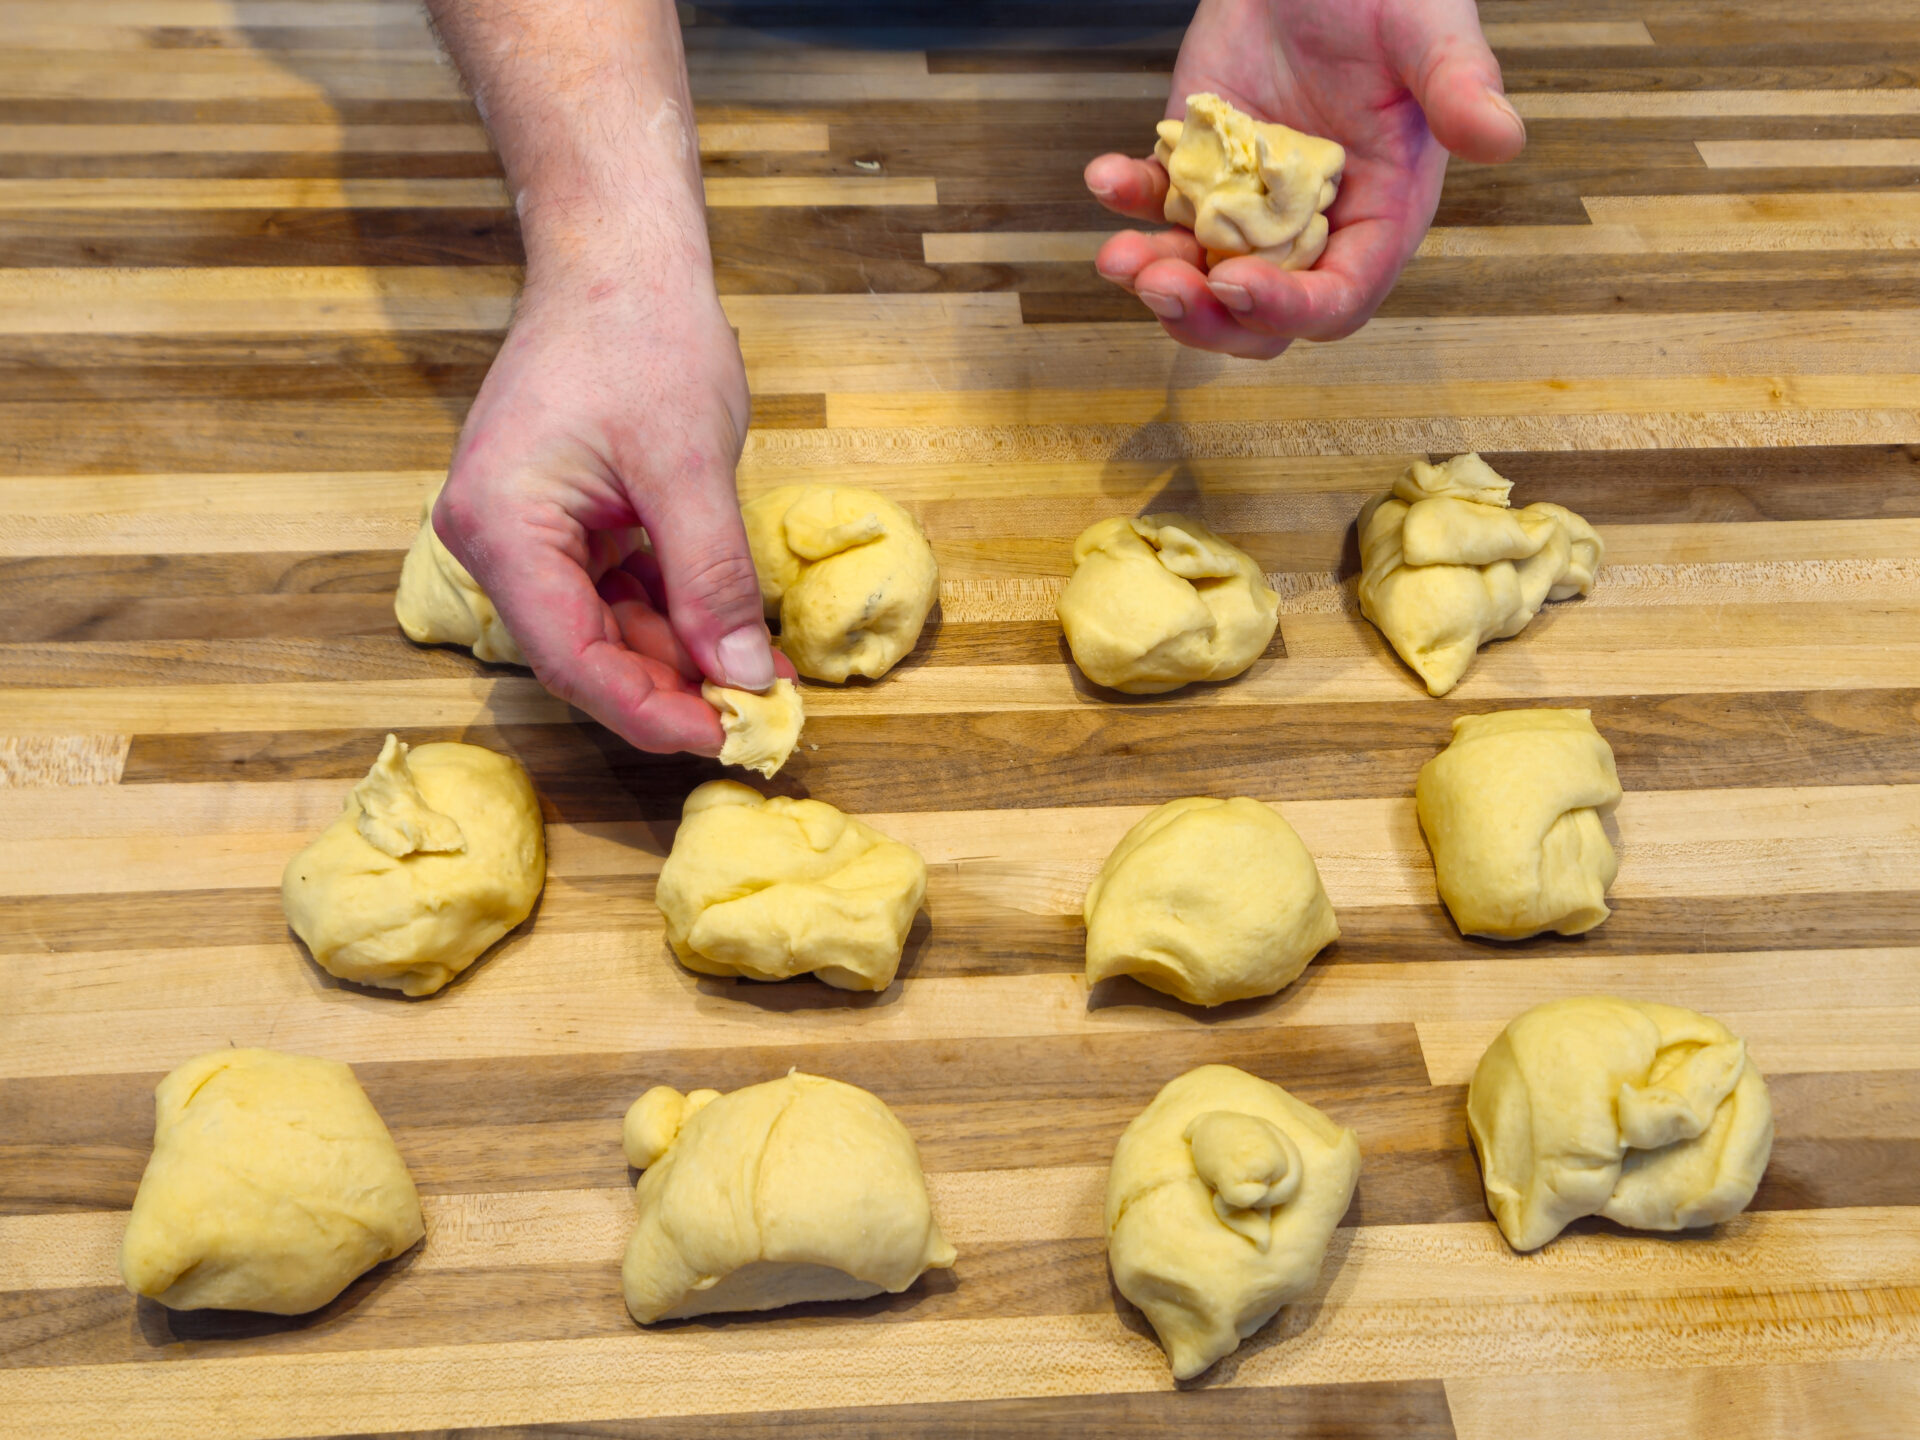
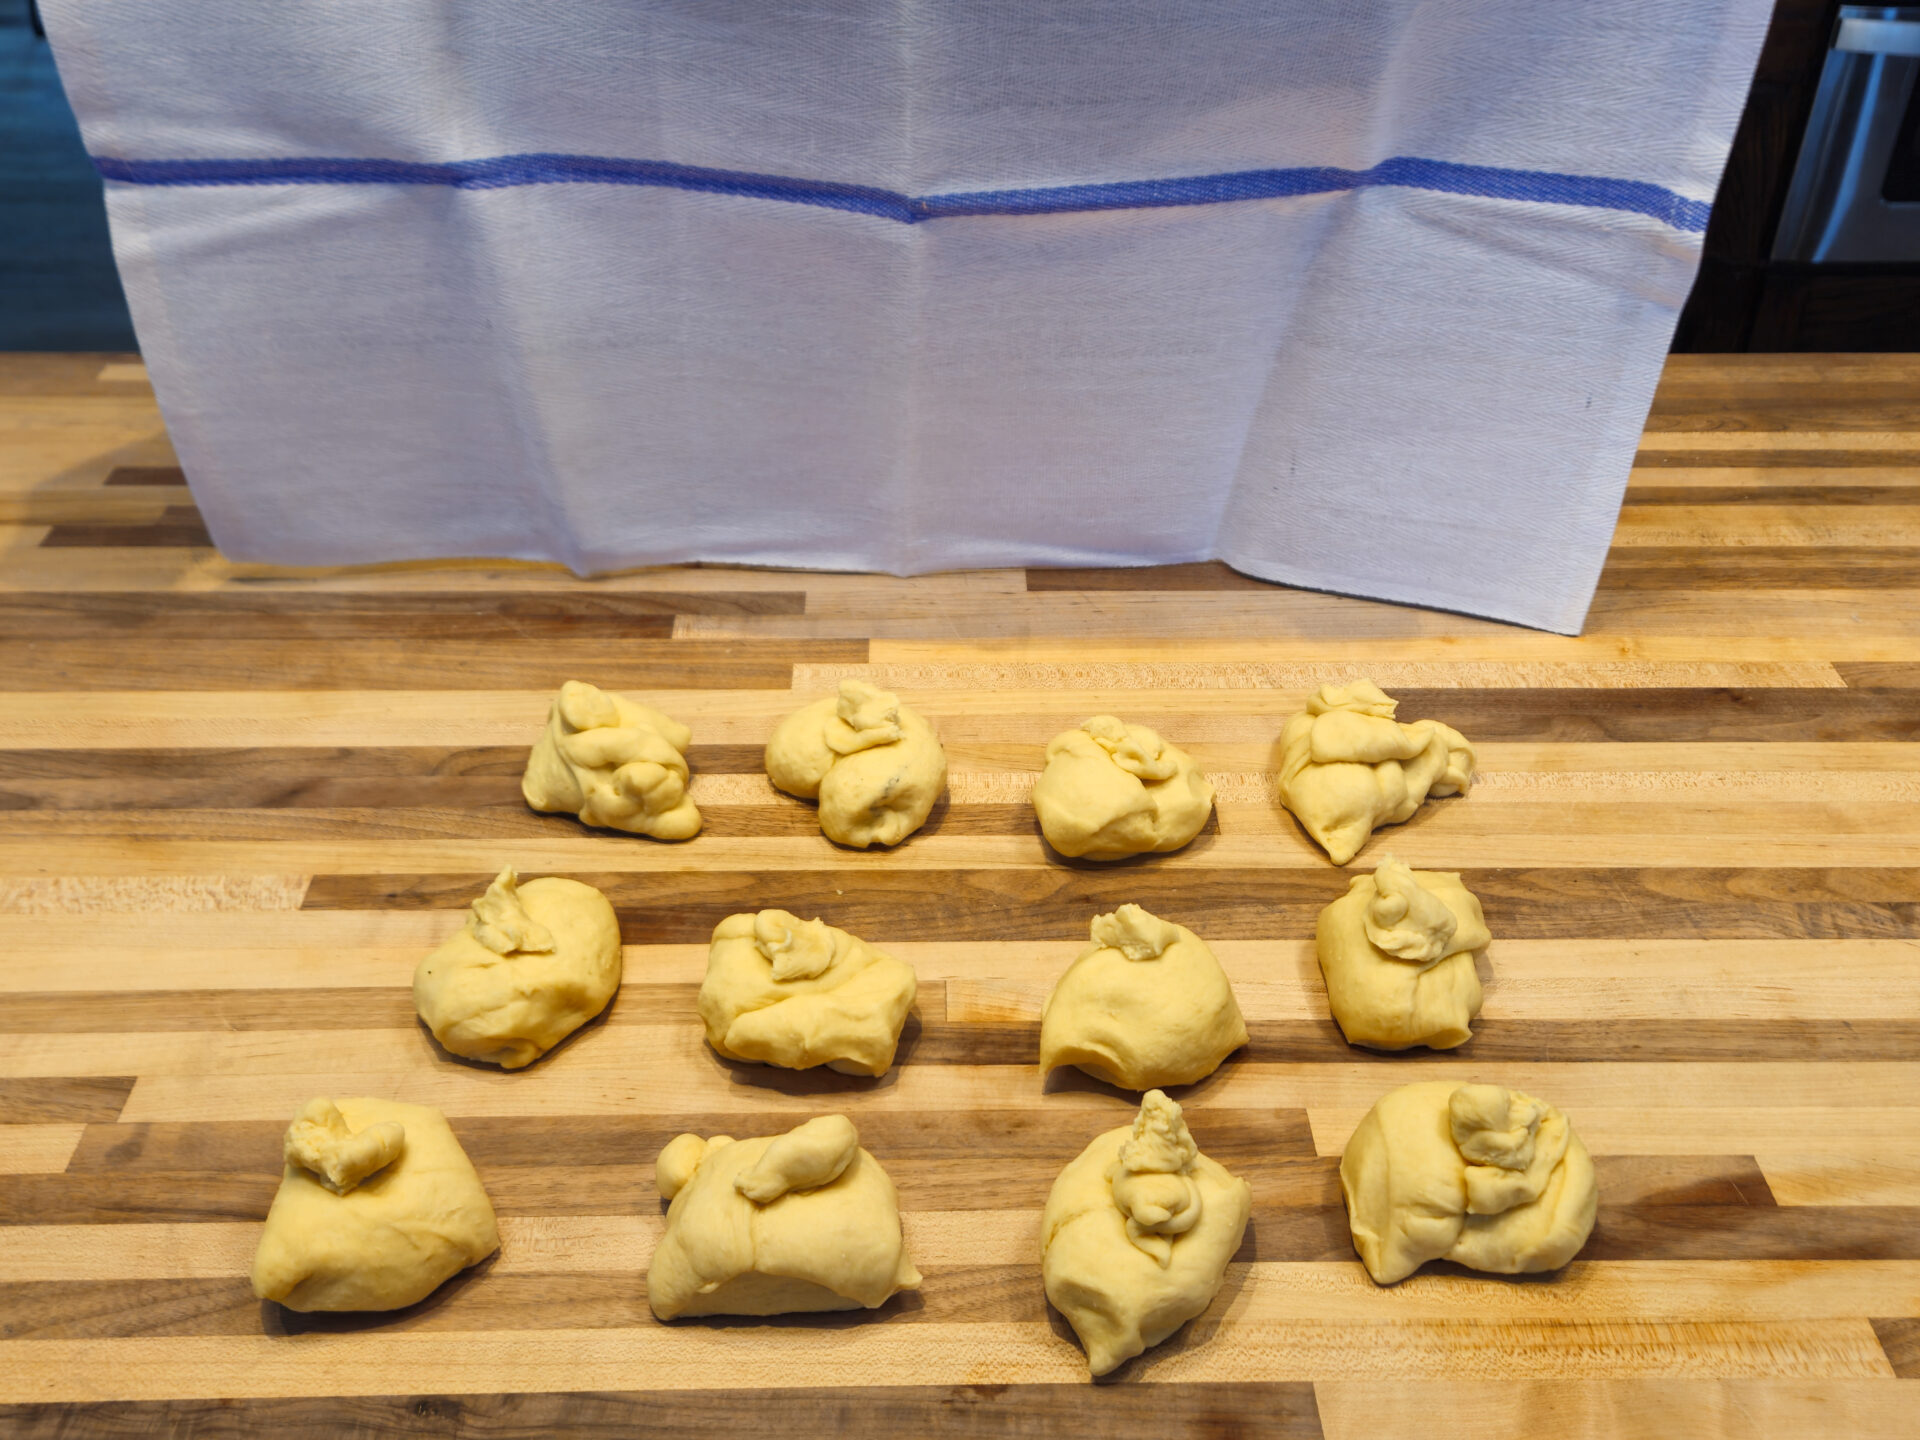
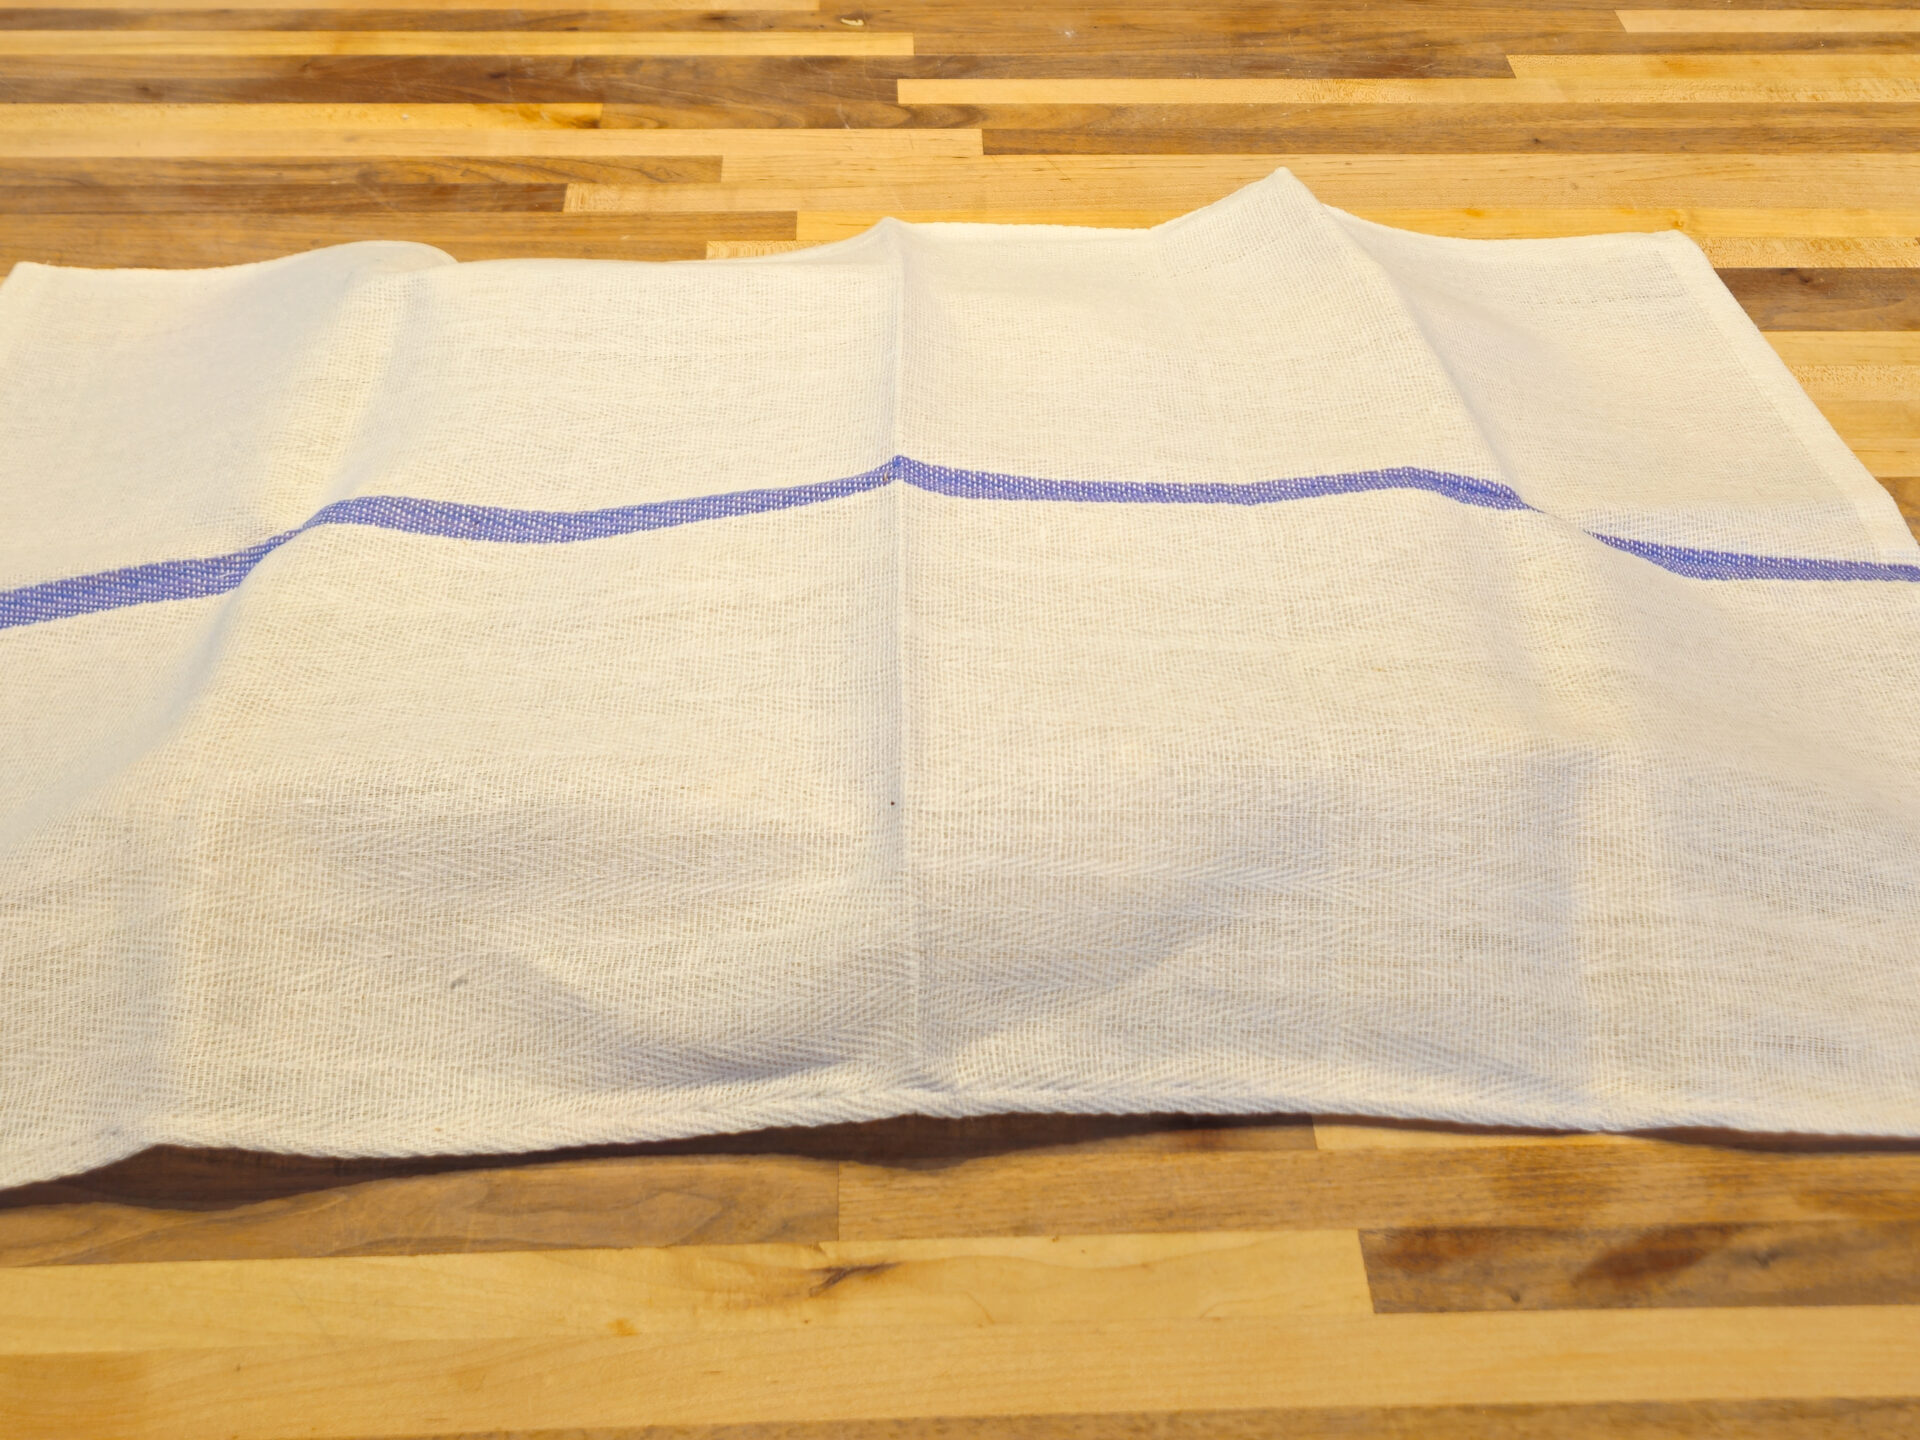
Once our bread dough has tripled, we move on to pre-shaping. I place the dough on a surface without flour. The oil in the dough should prevent it from sticking. I use a bowl scraper and a kitchen scale to separate the dough into 12 even pieces, aiming for about 3.2 OZ each. This ensures all my Czech rolls are uniform in size and bake evenly. Then, I optionally form each piece into a compact dough ball. I find this extra step makes the final shaping a little easier. Once I have my 12 balls, I cover them with a dish towel and—this is important—I let them rest for about 10 minutes. This short rest relaxes the gluten, making the dough much easier to roll out in the next step of this Czech bread recipe.
The “No Flour” Shaping Technique
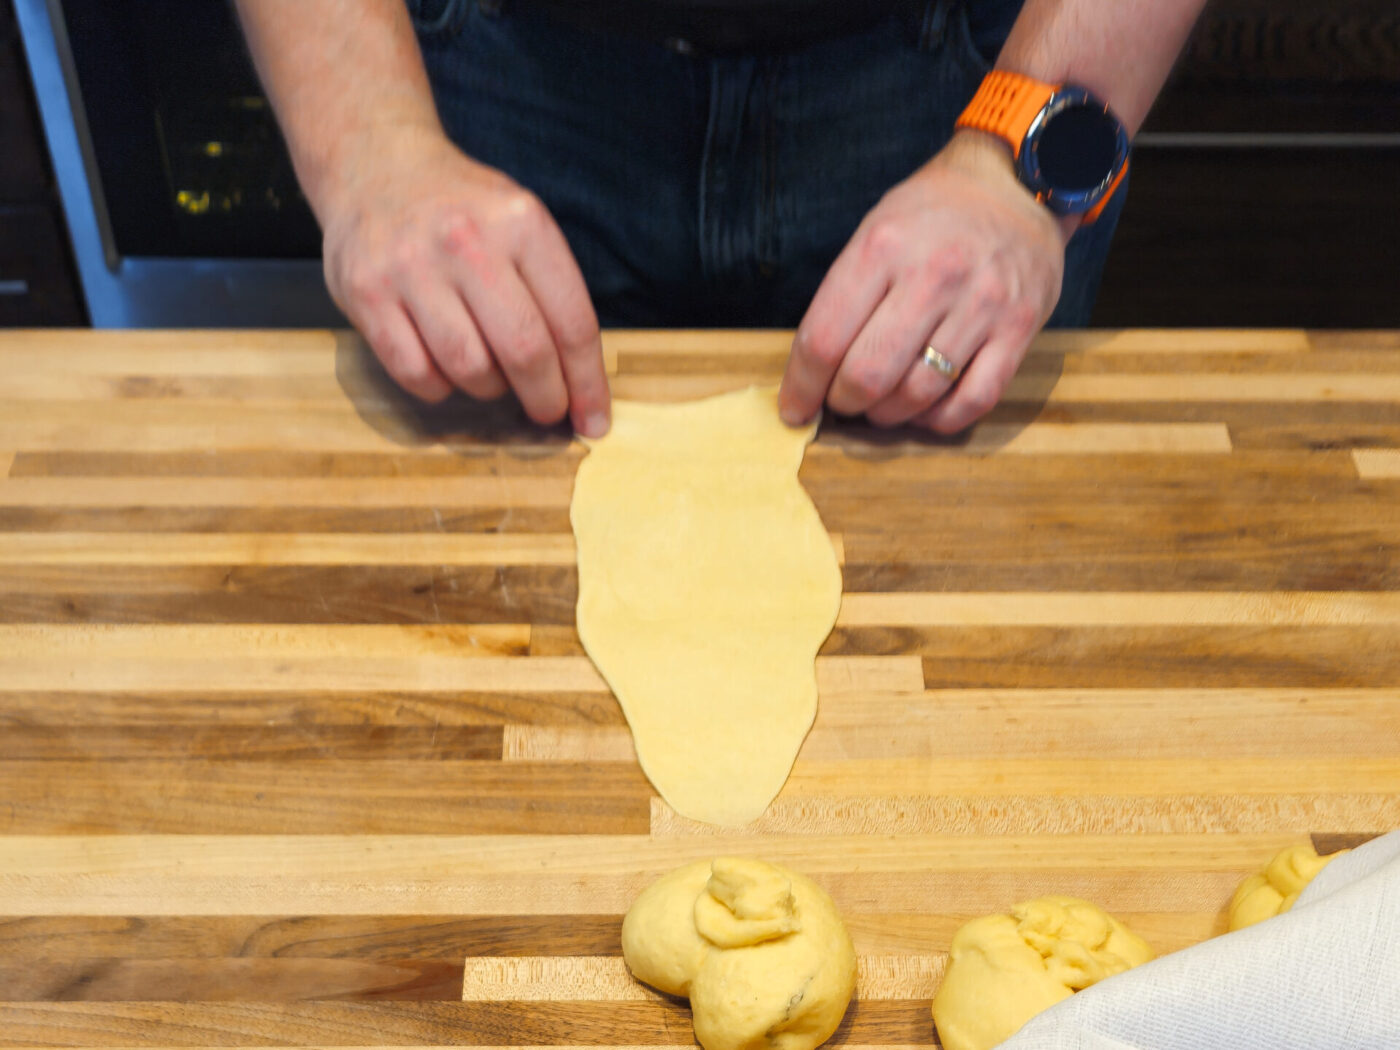
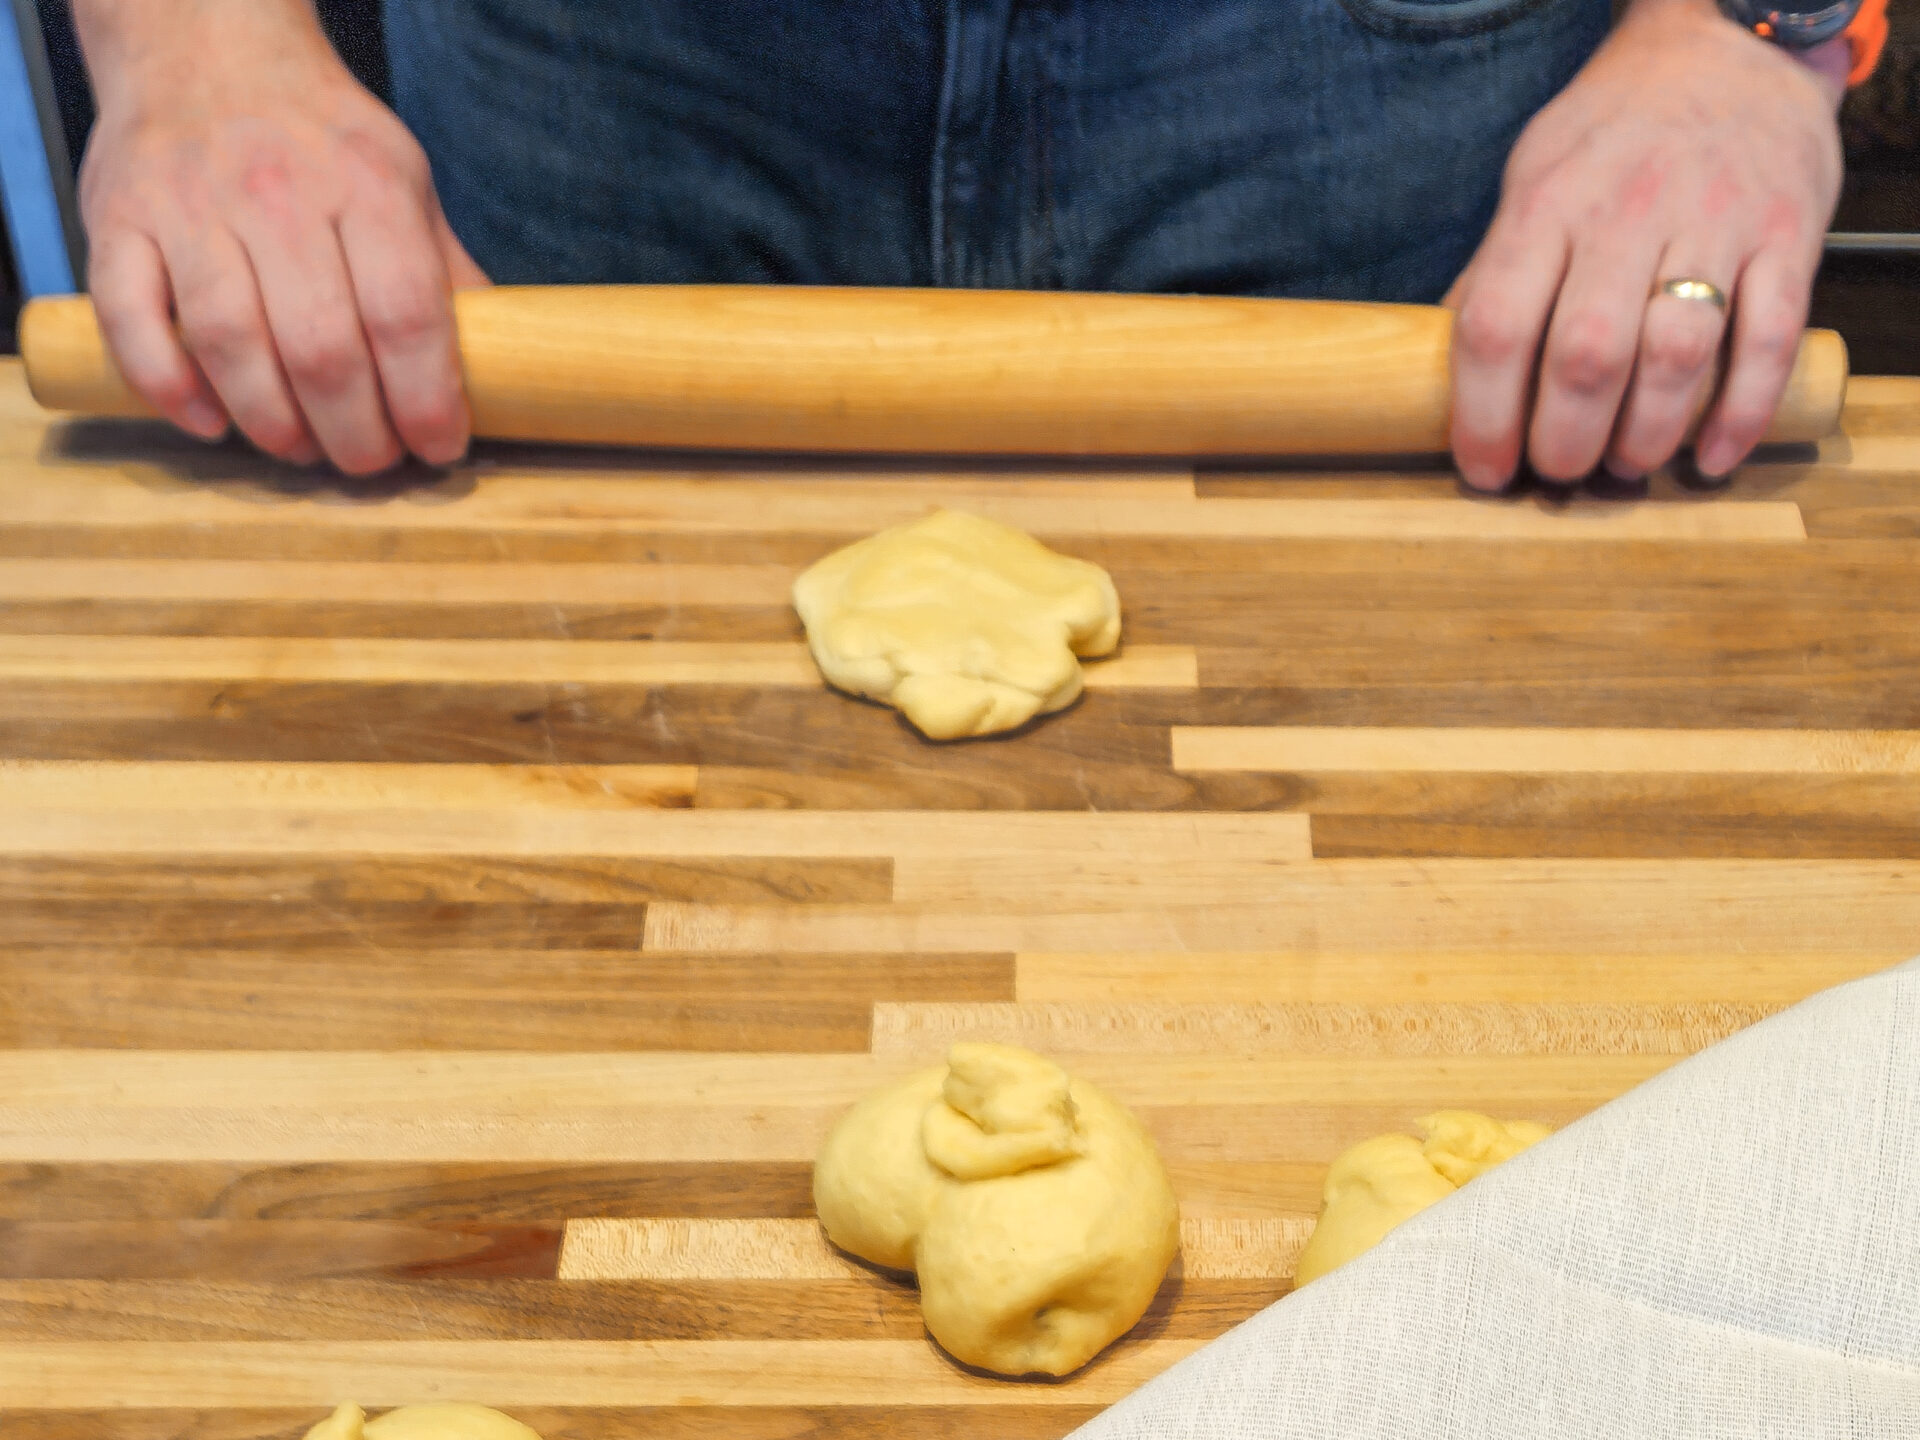
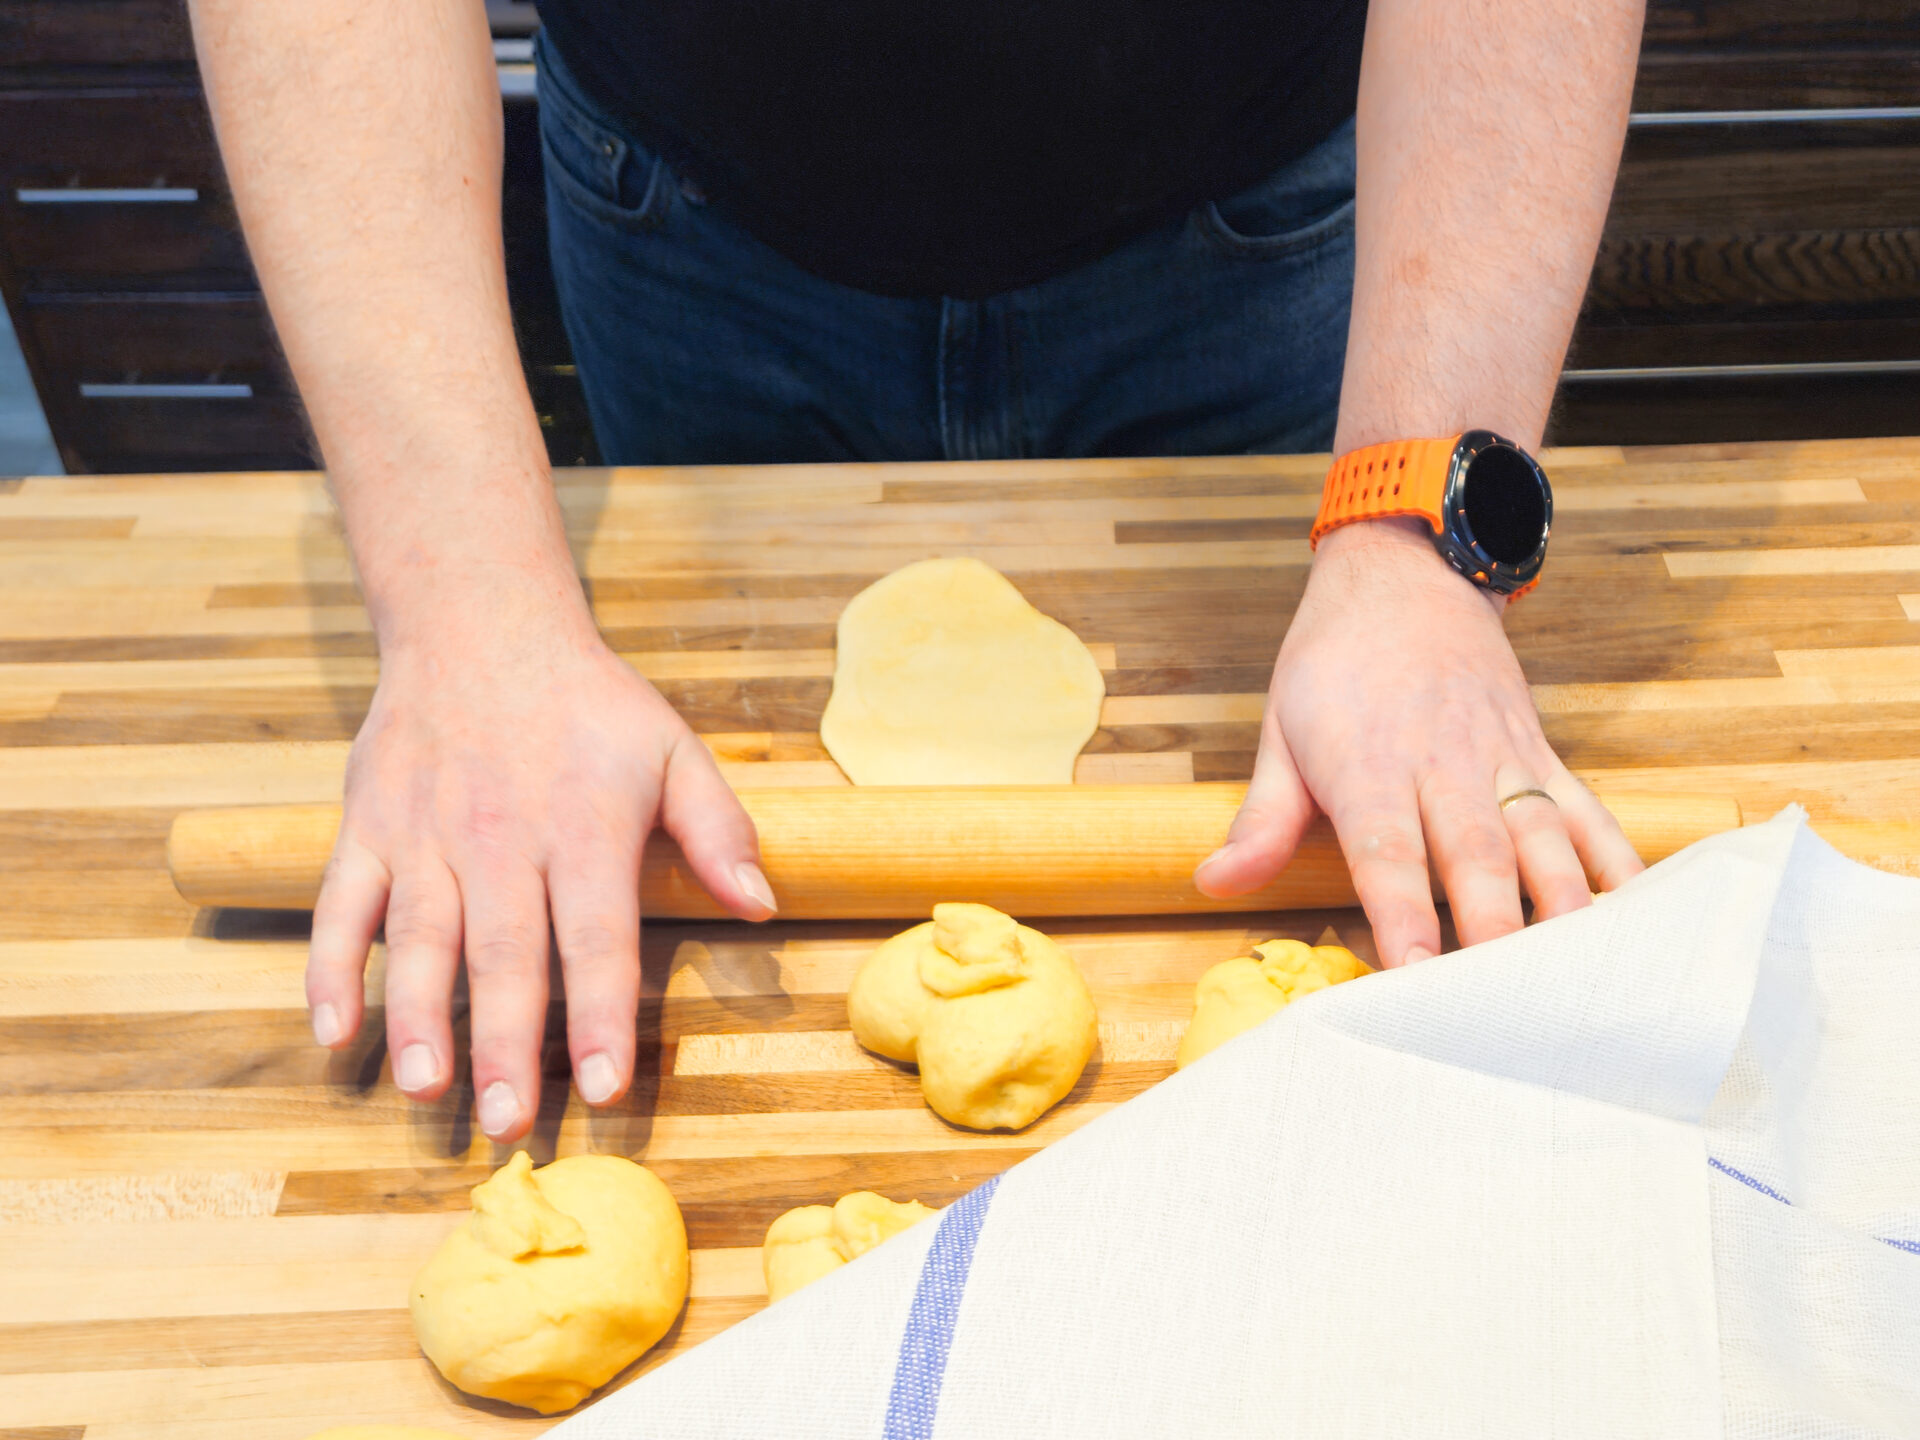
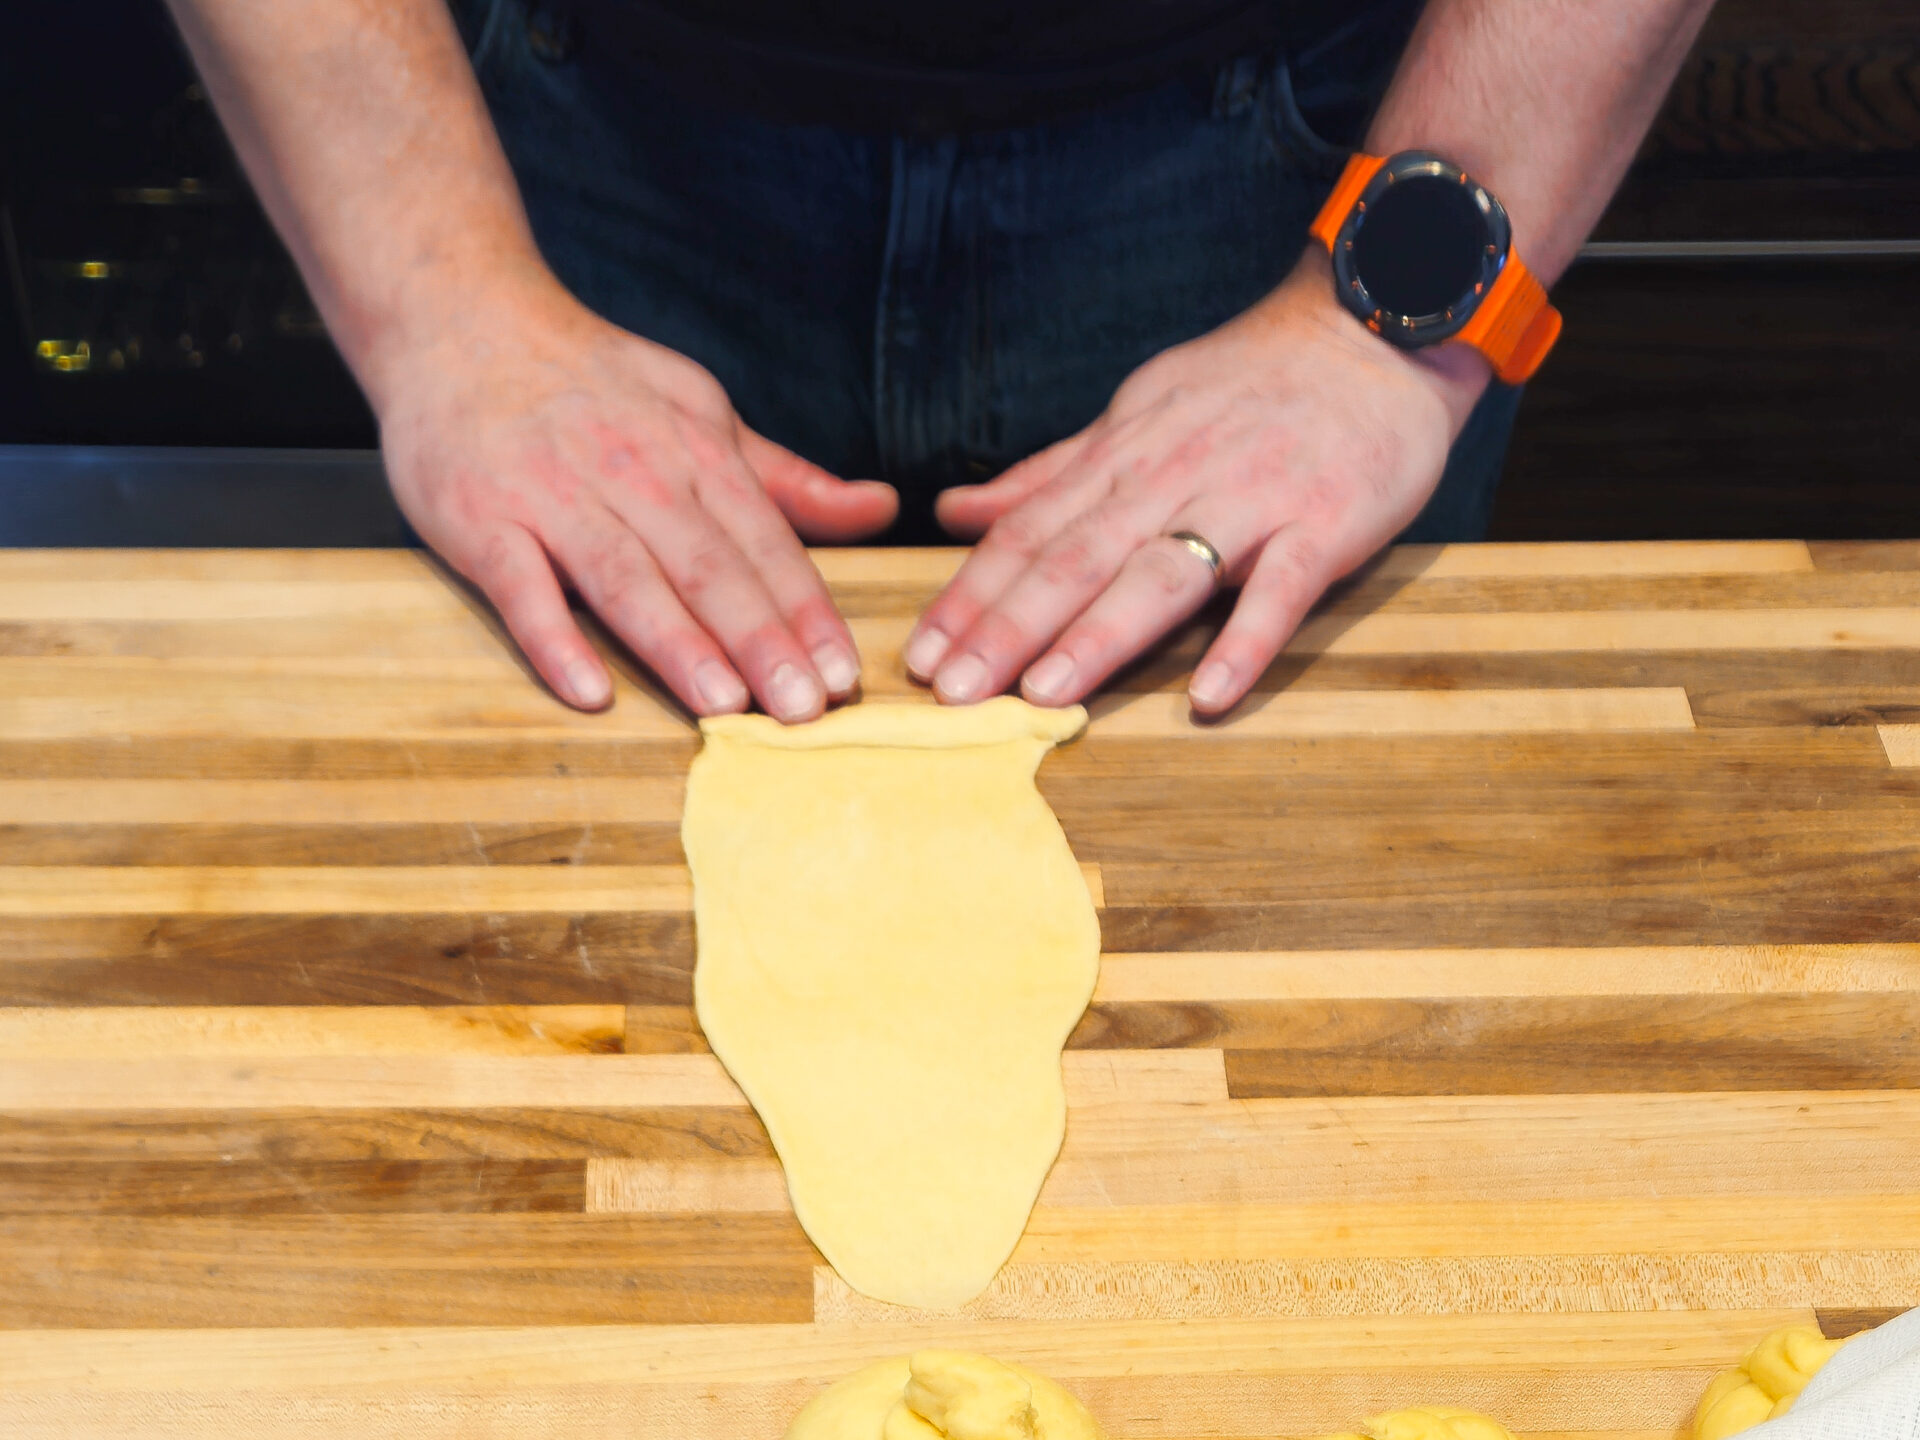
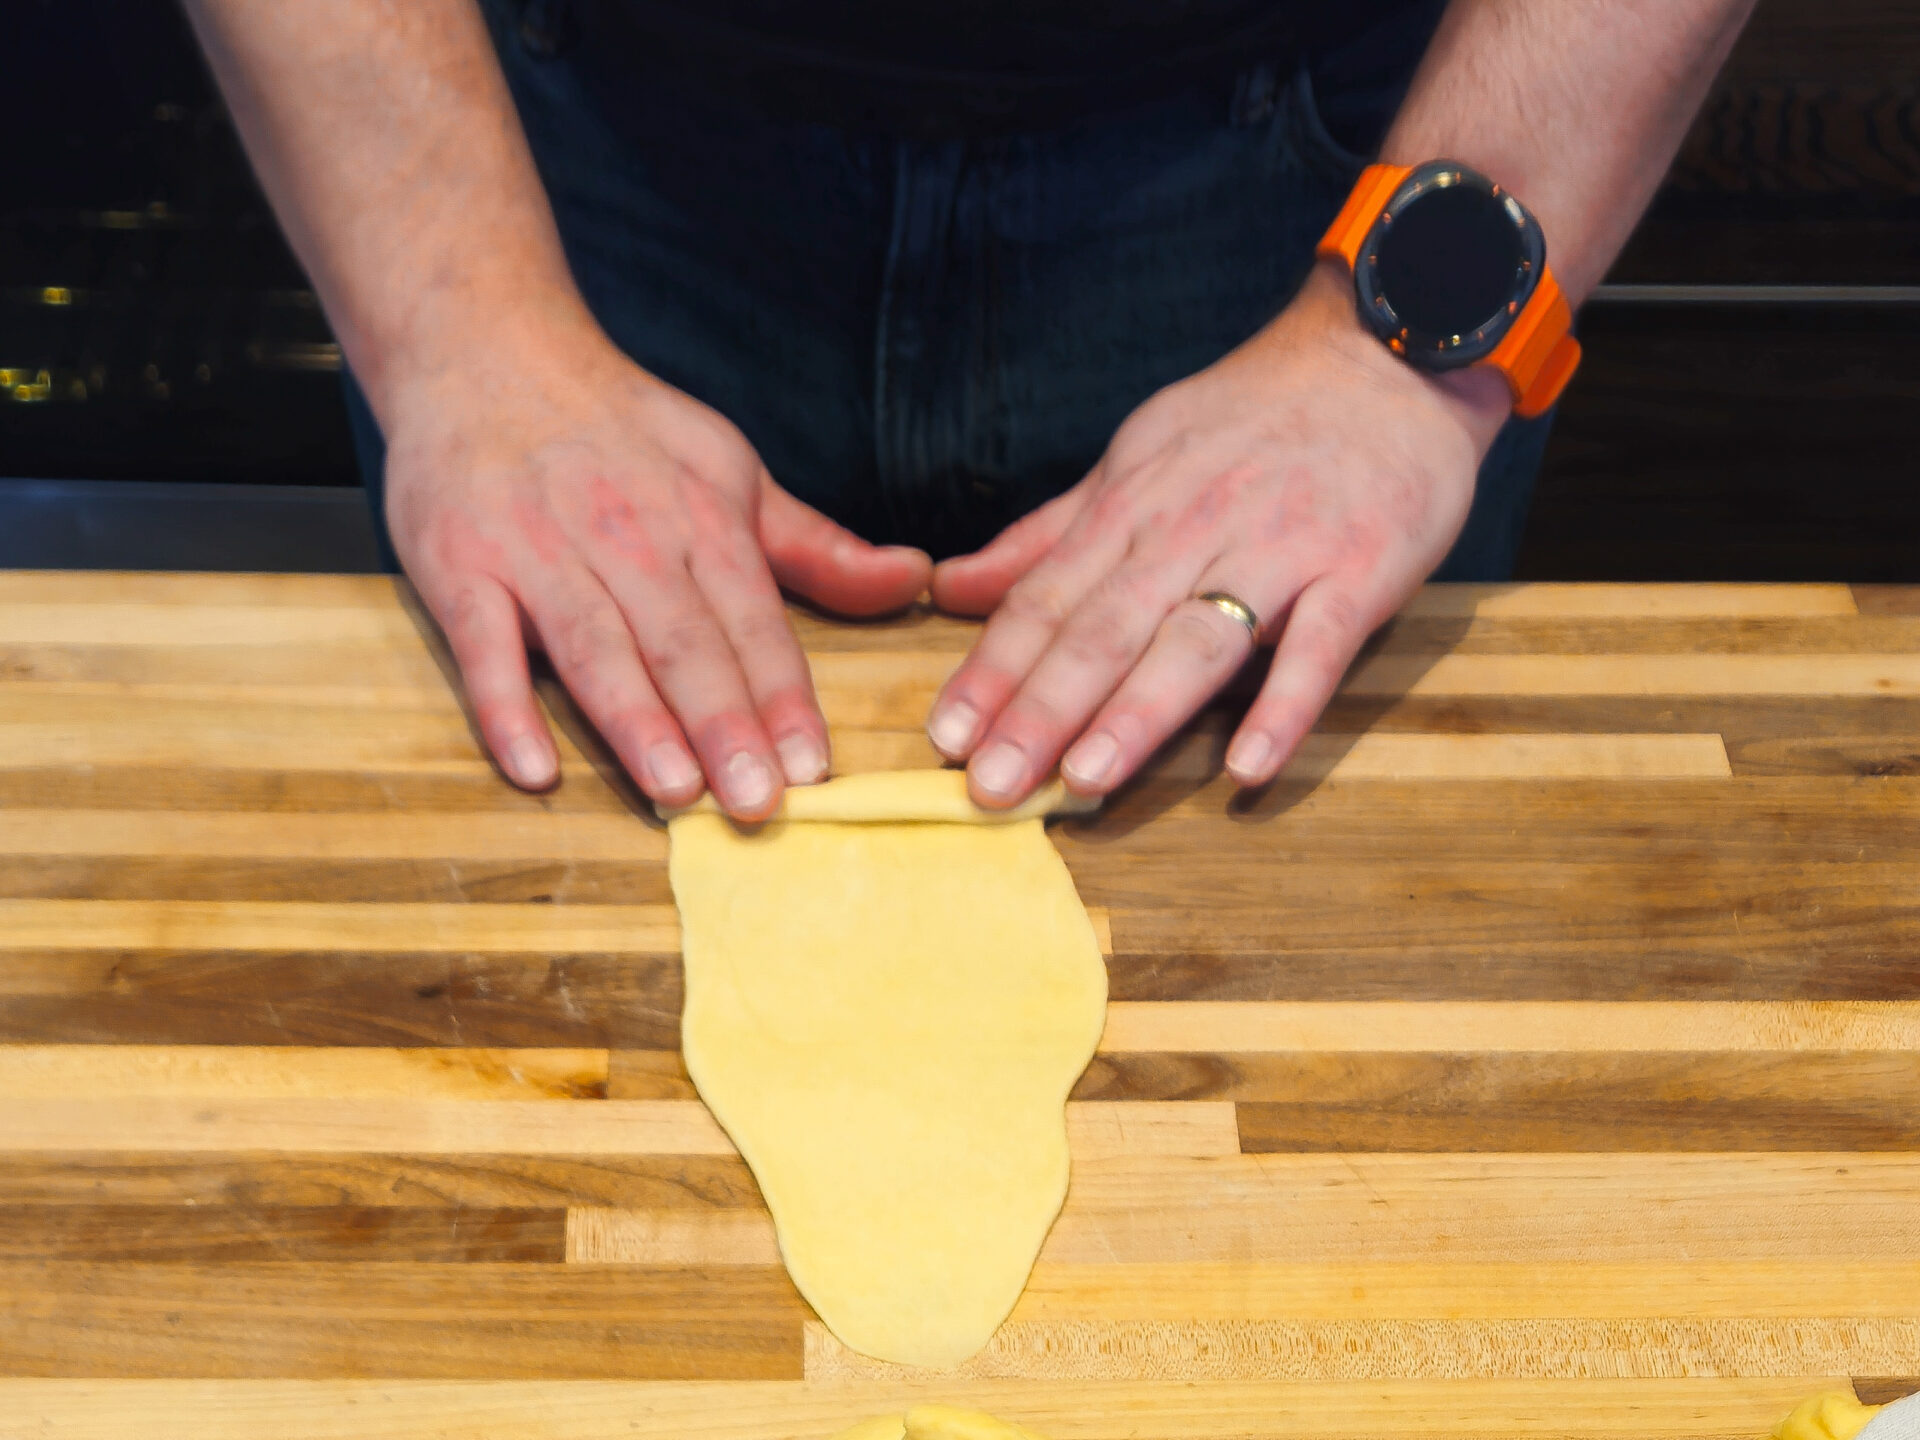
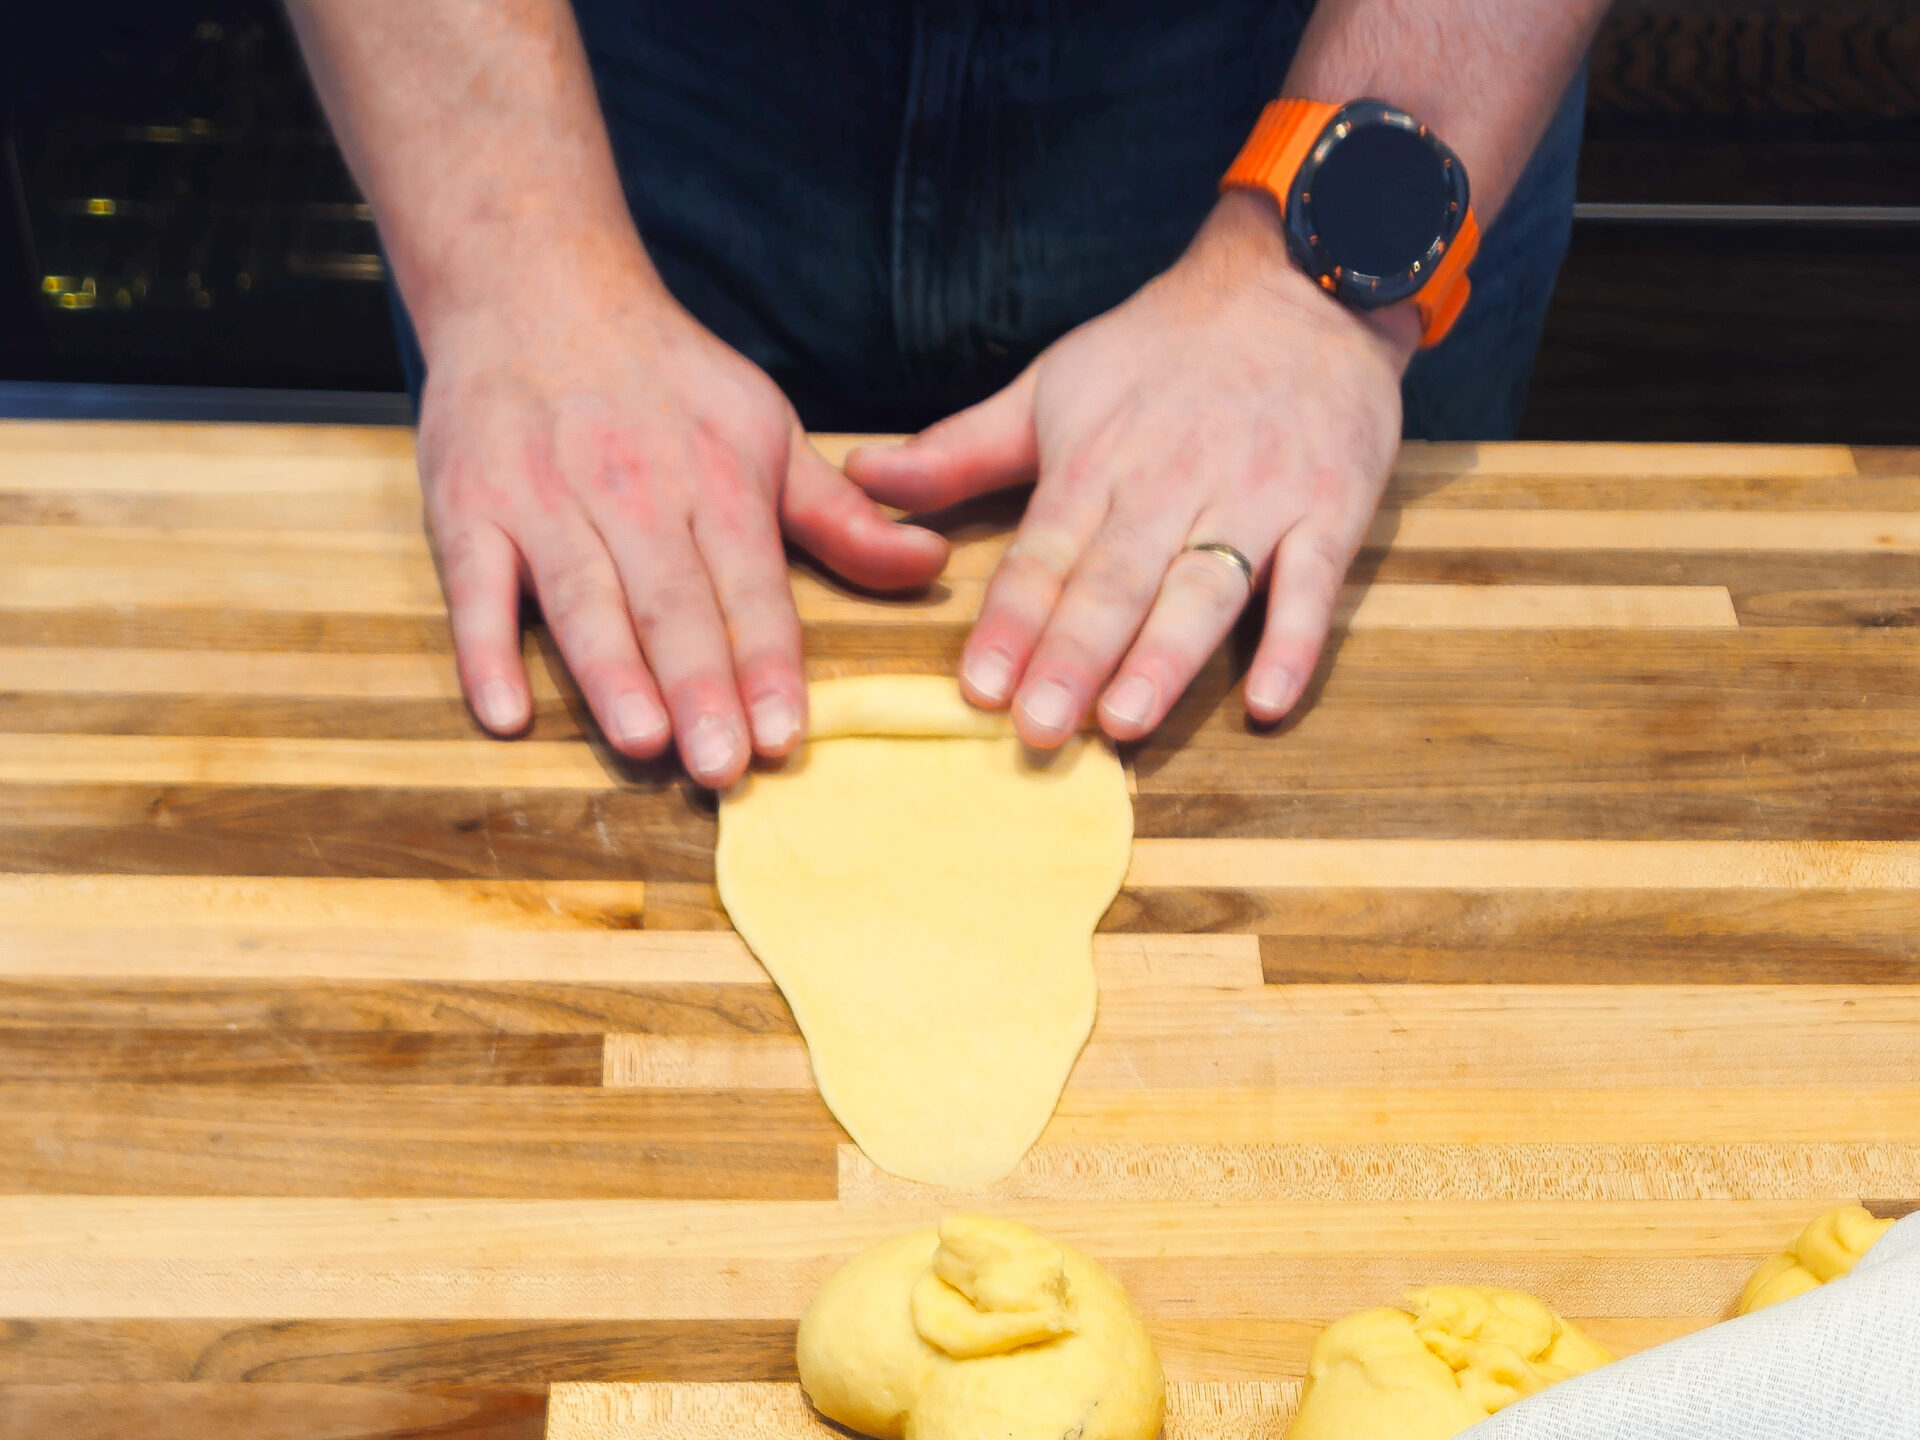
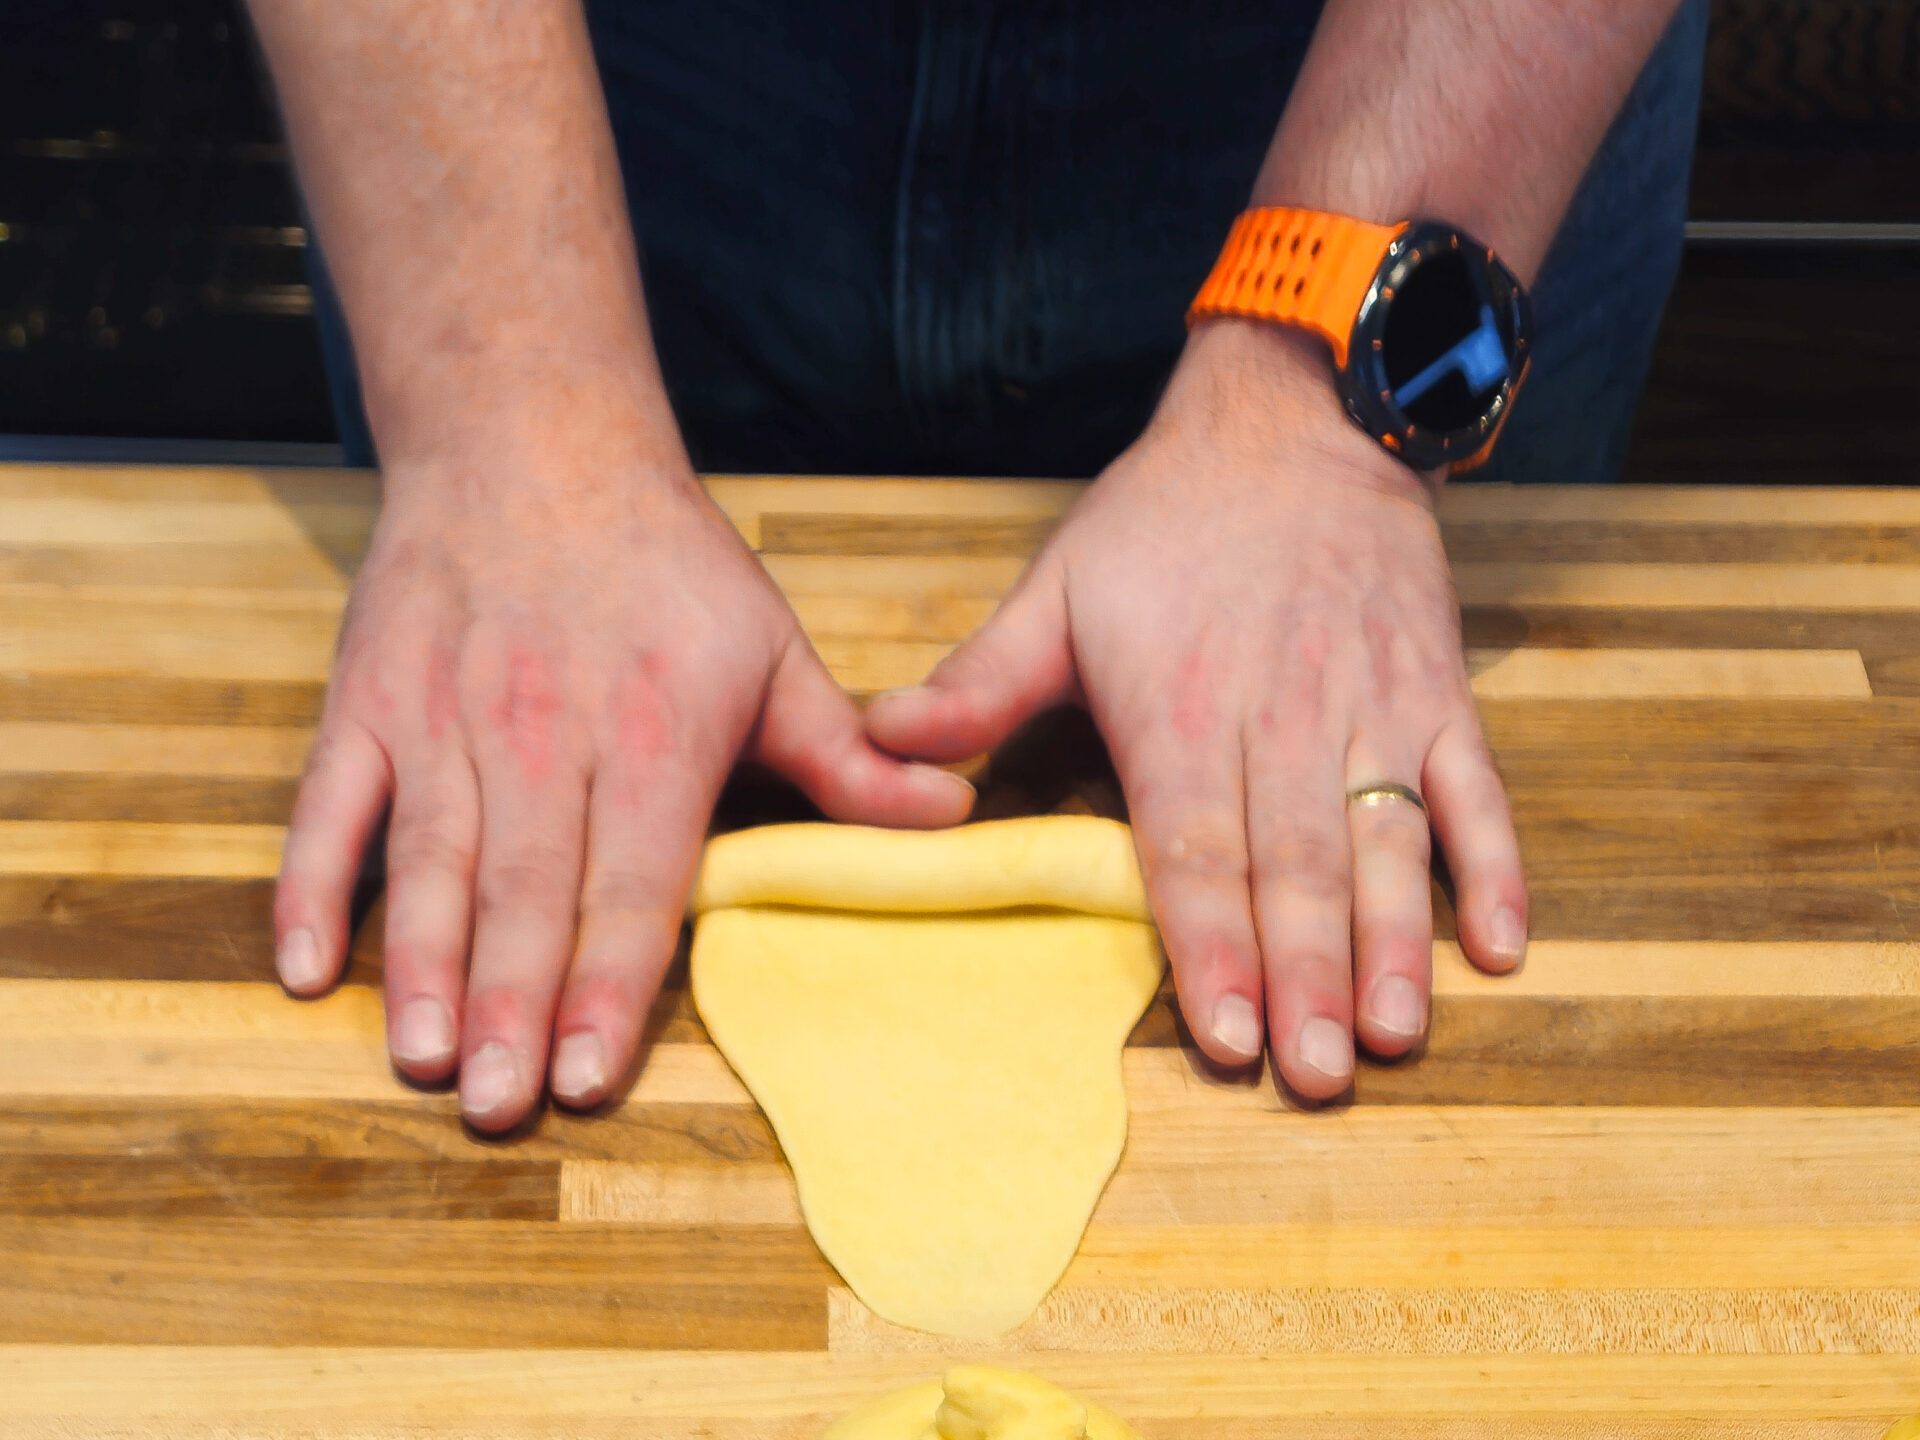
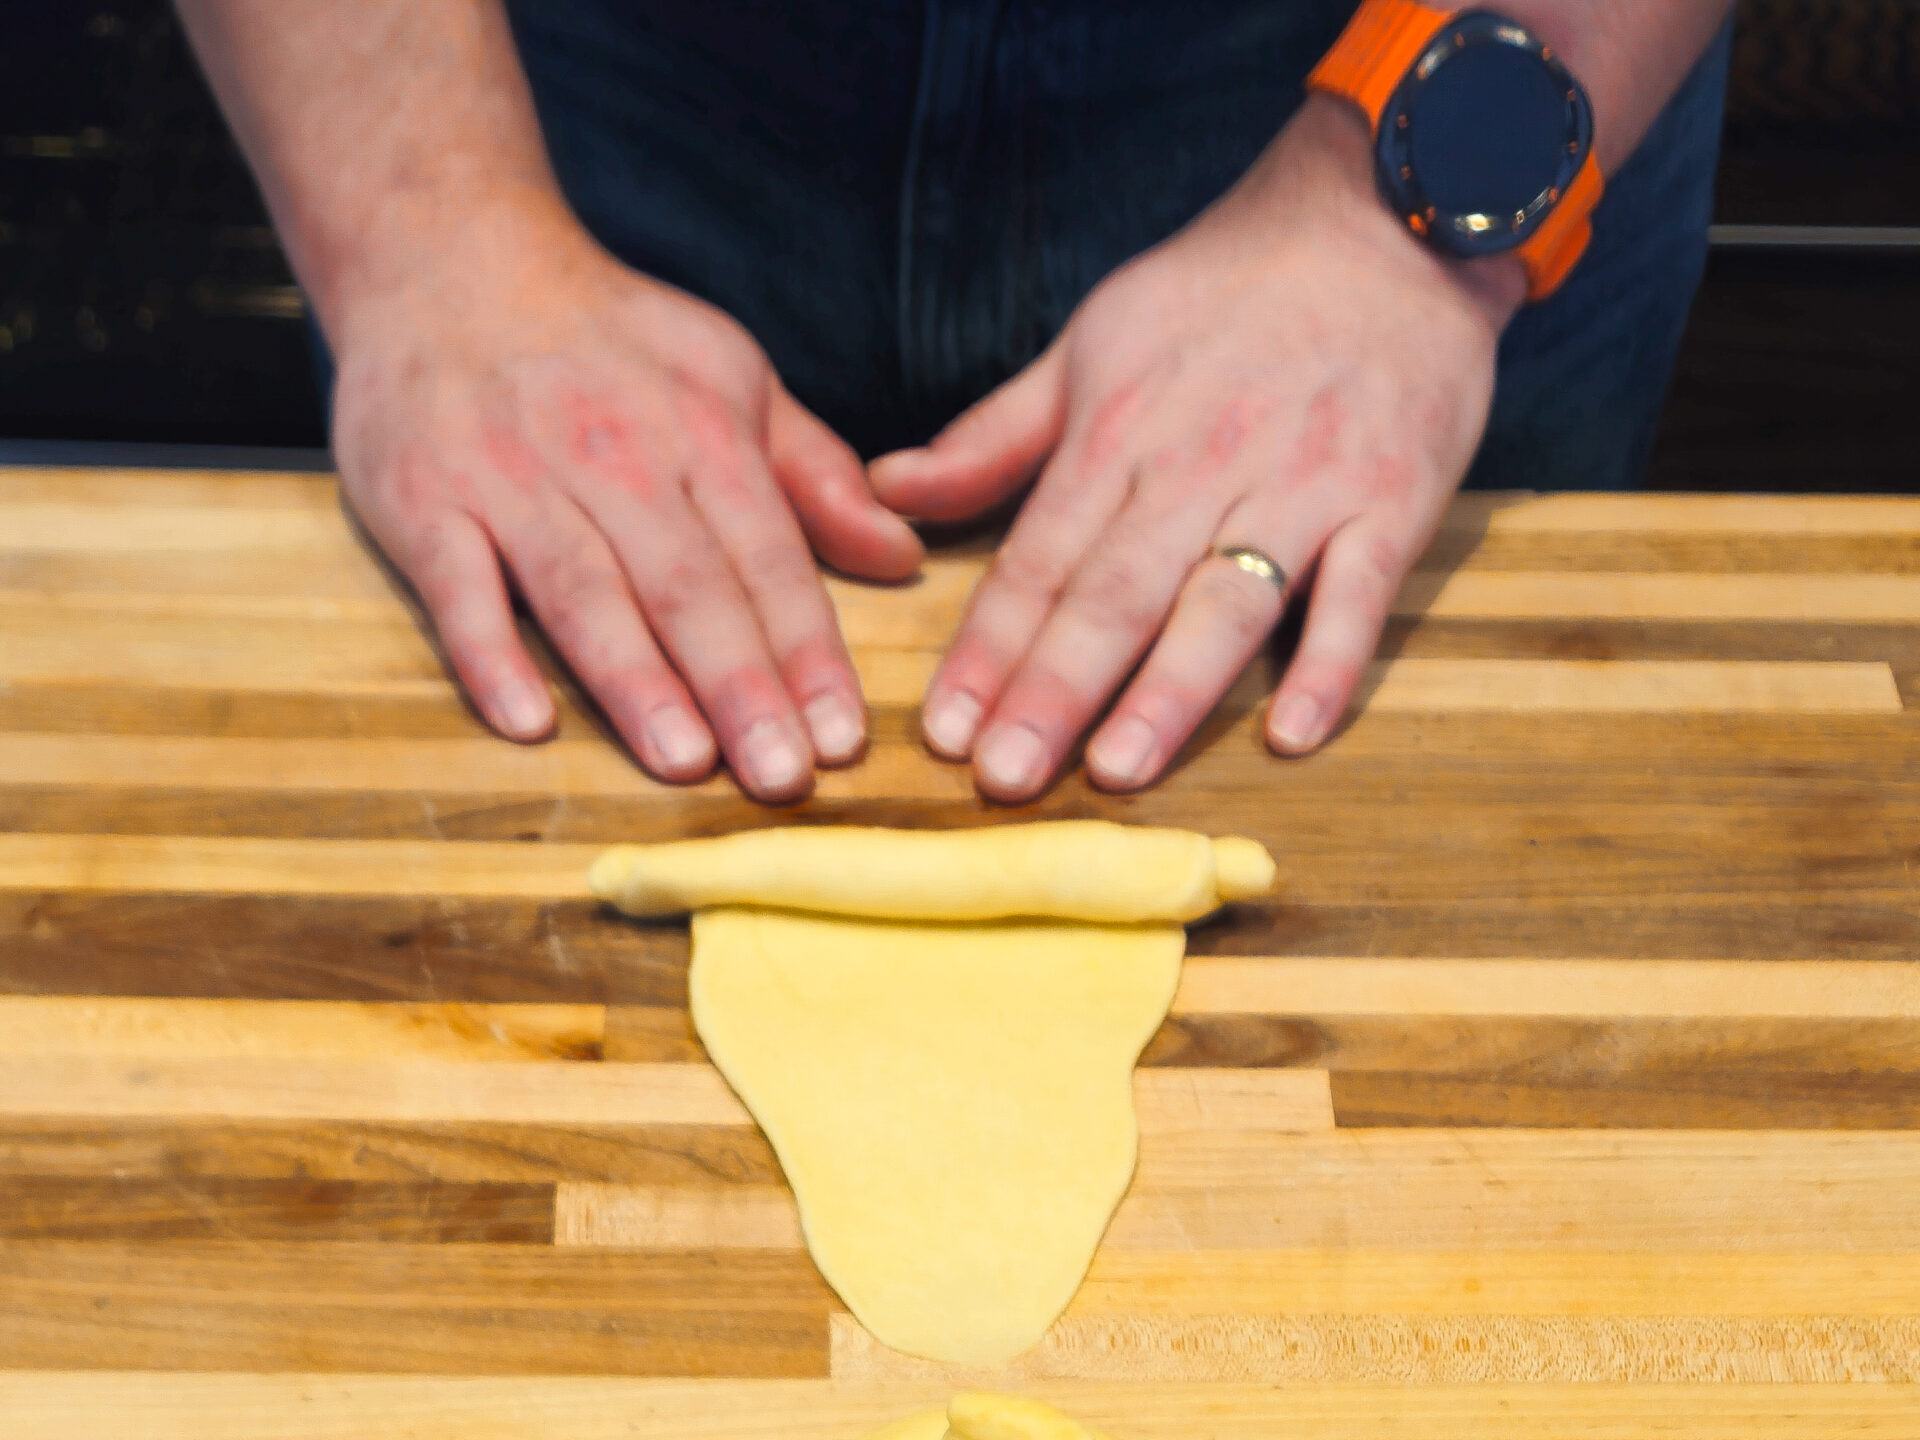
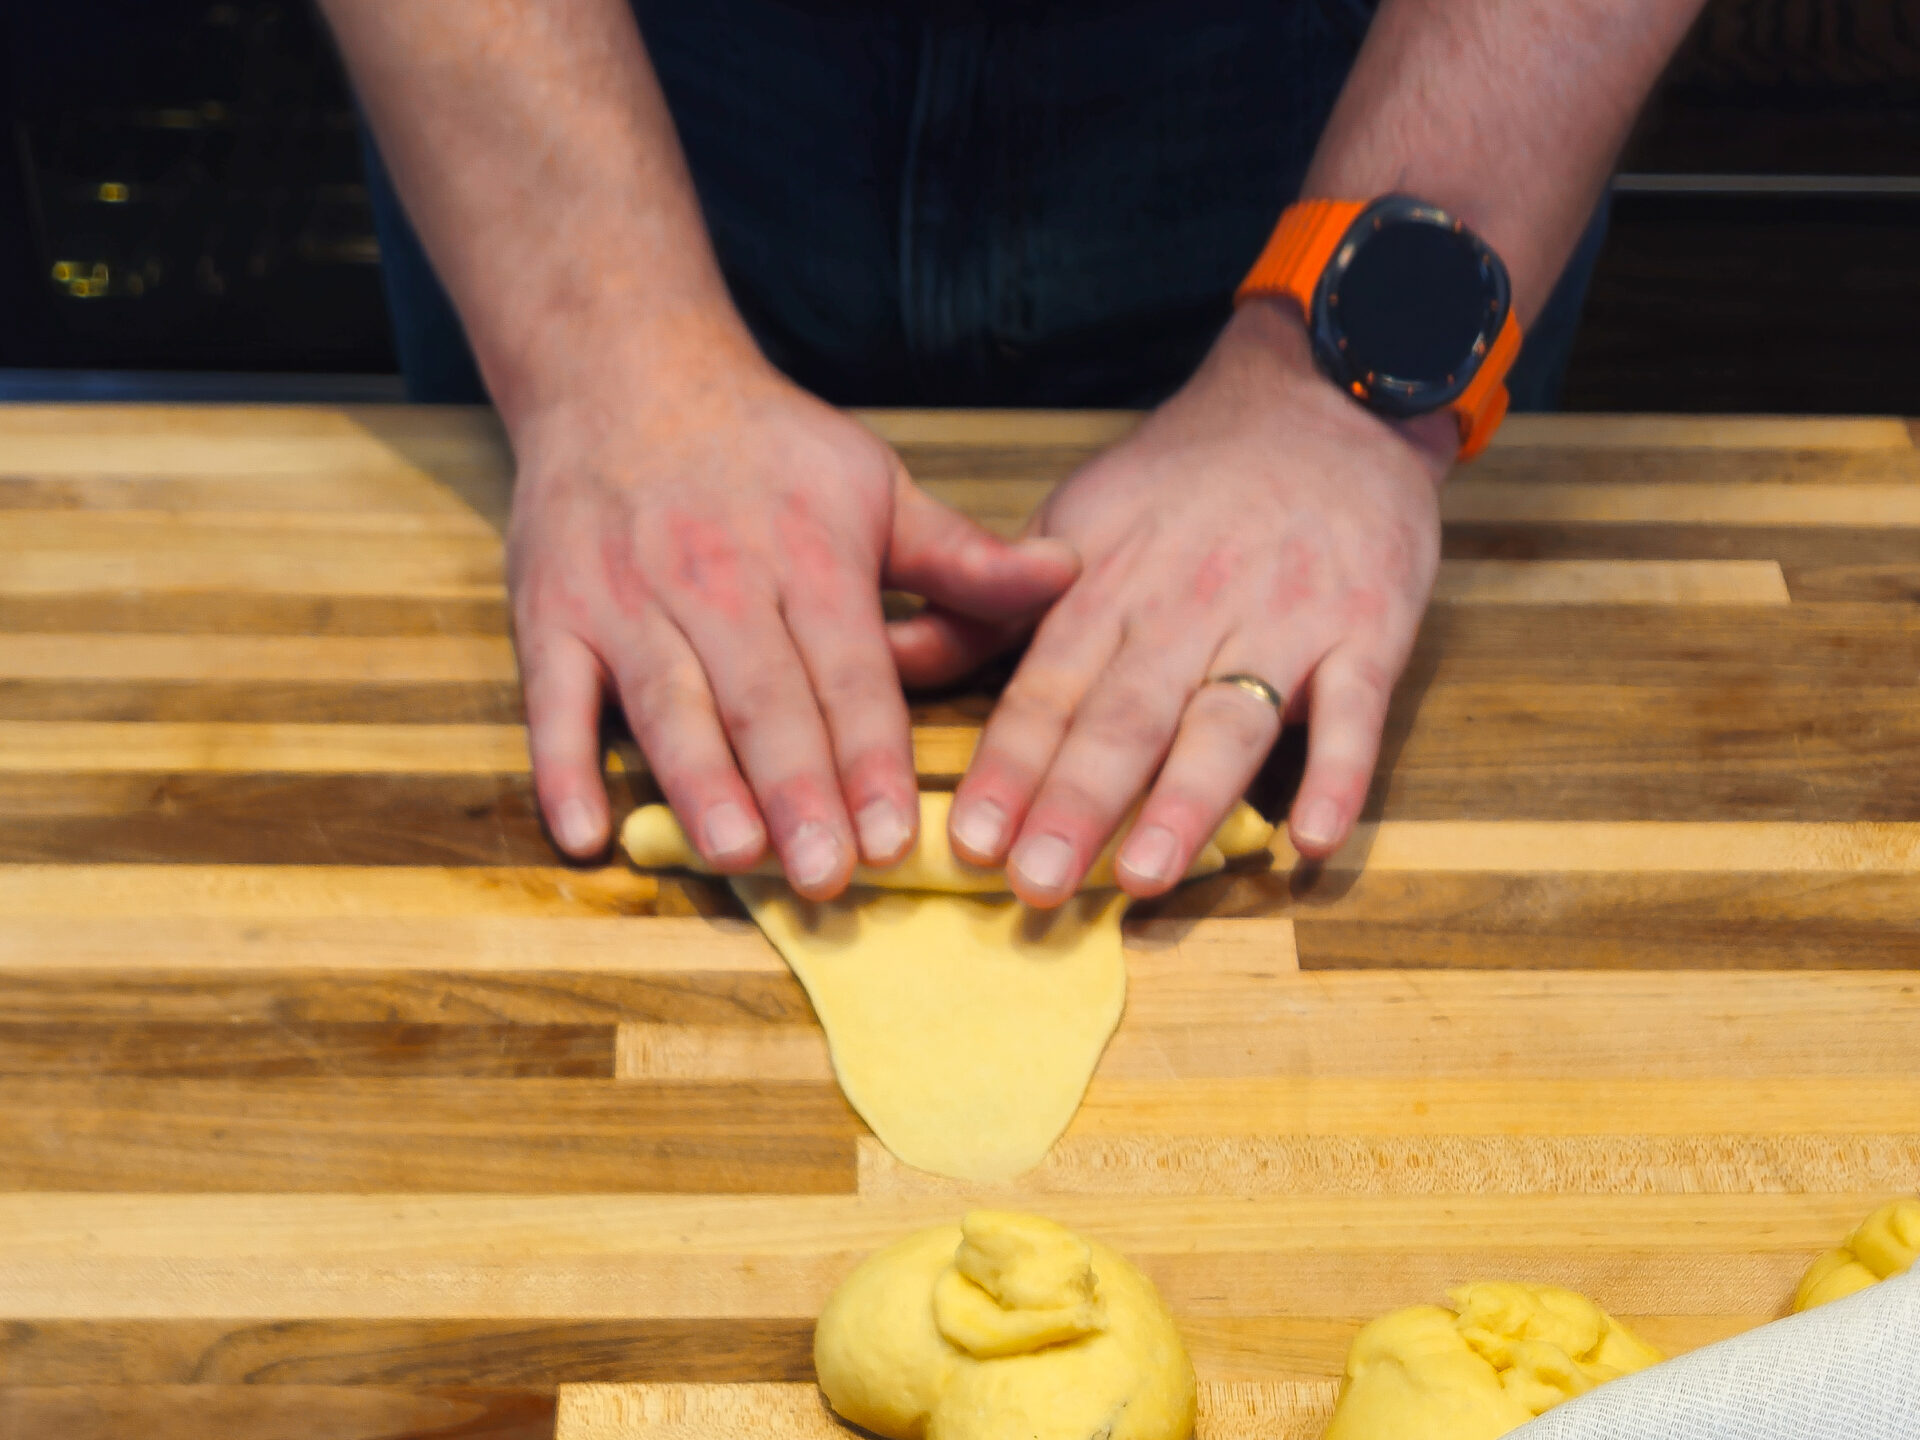
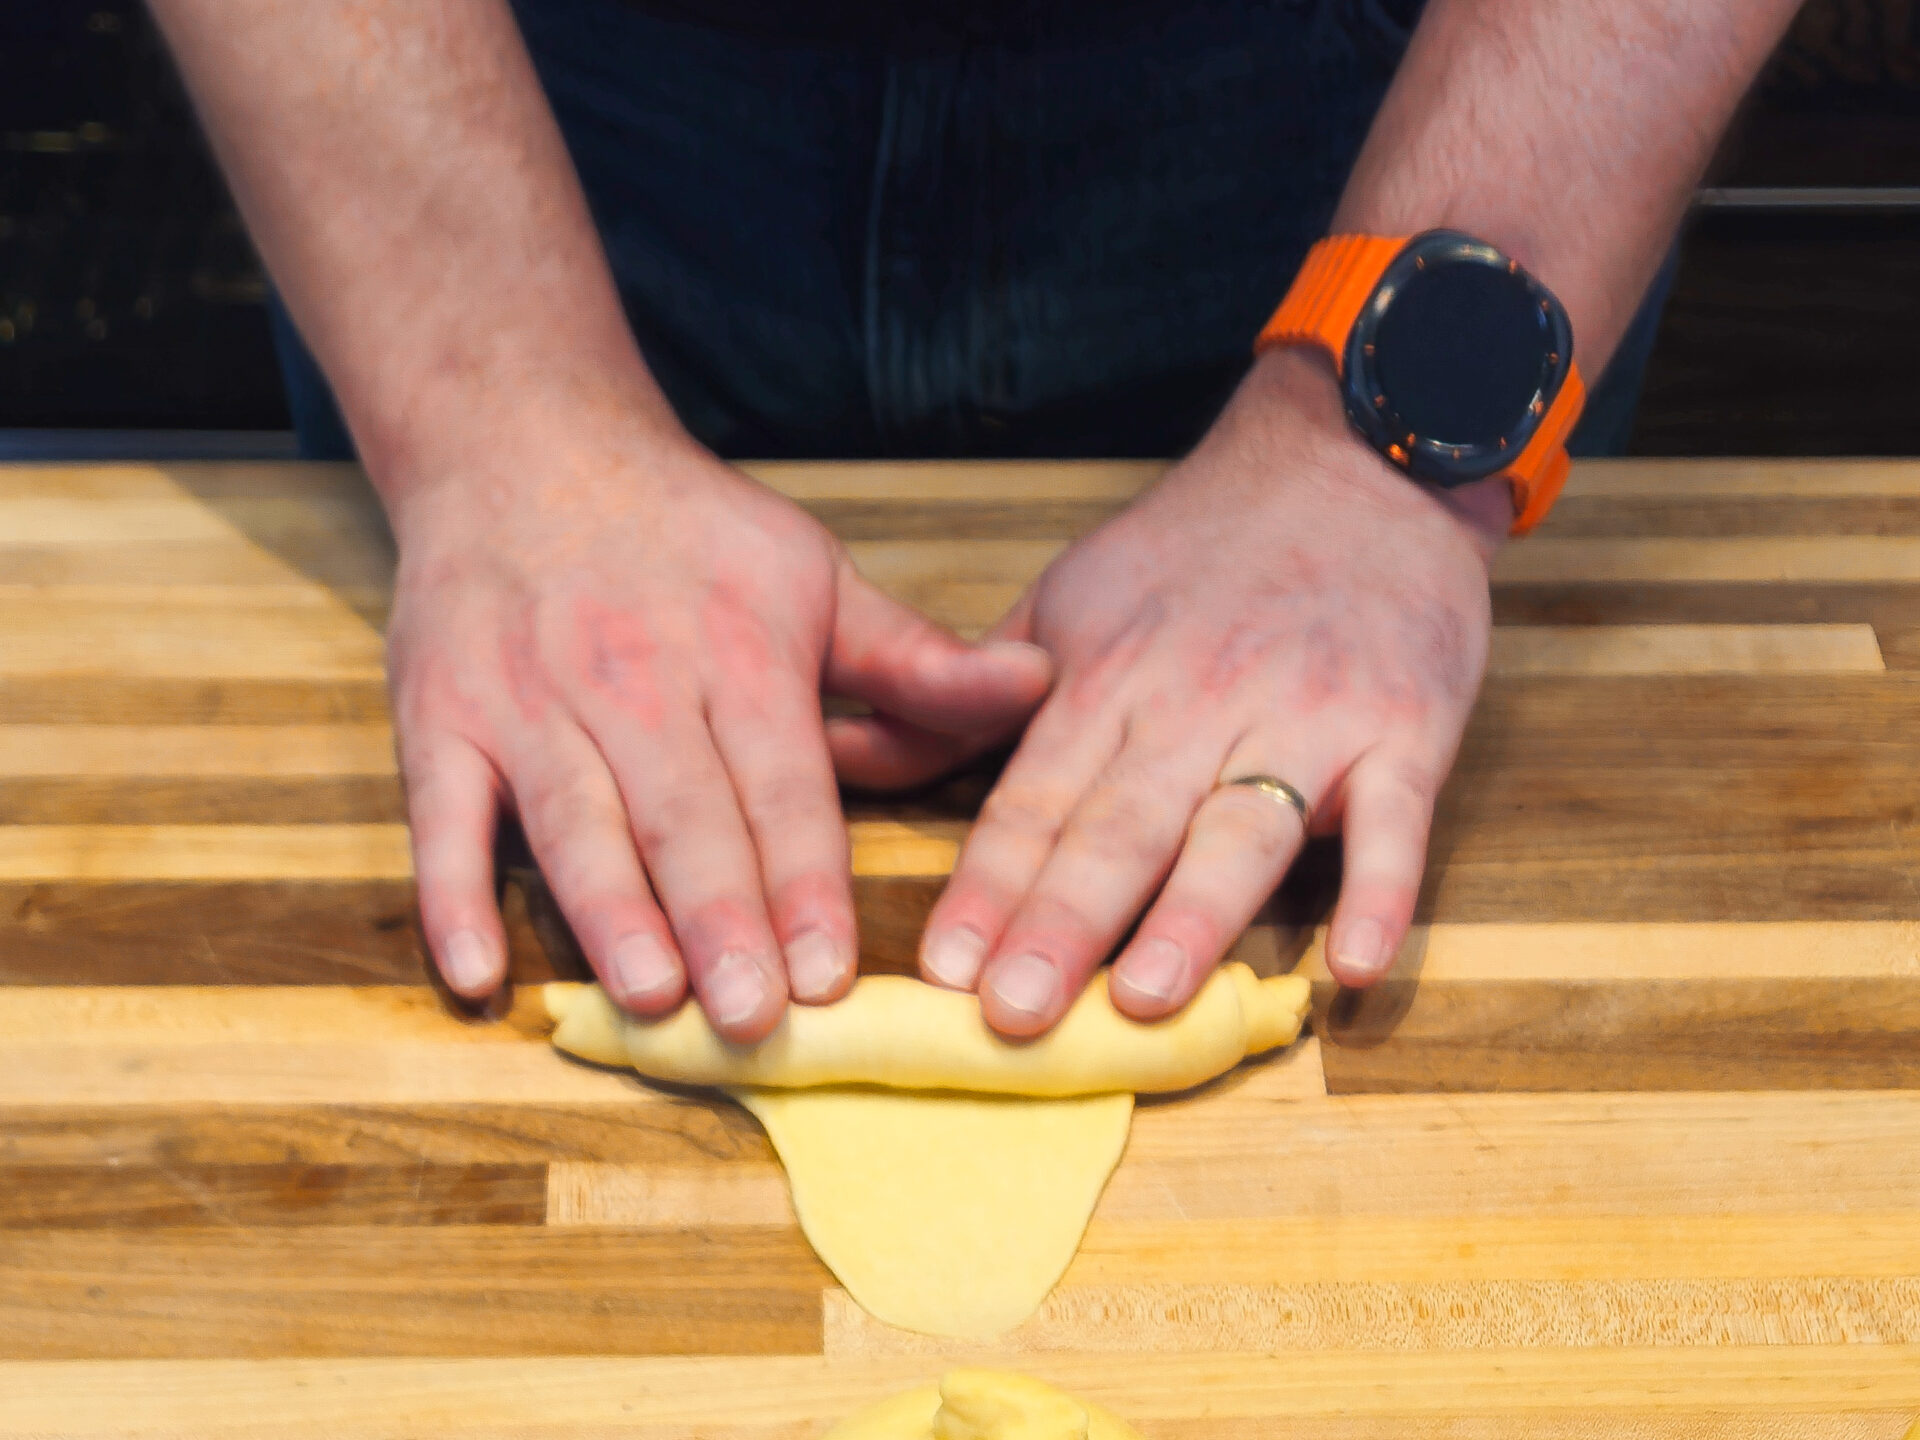
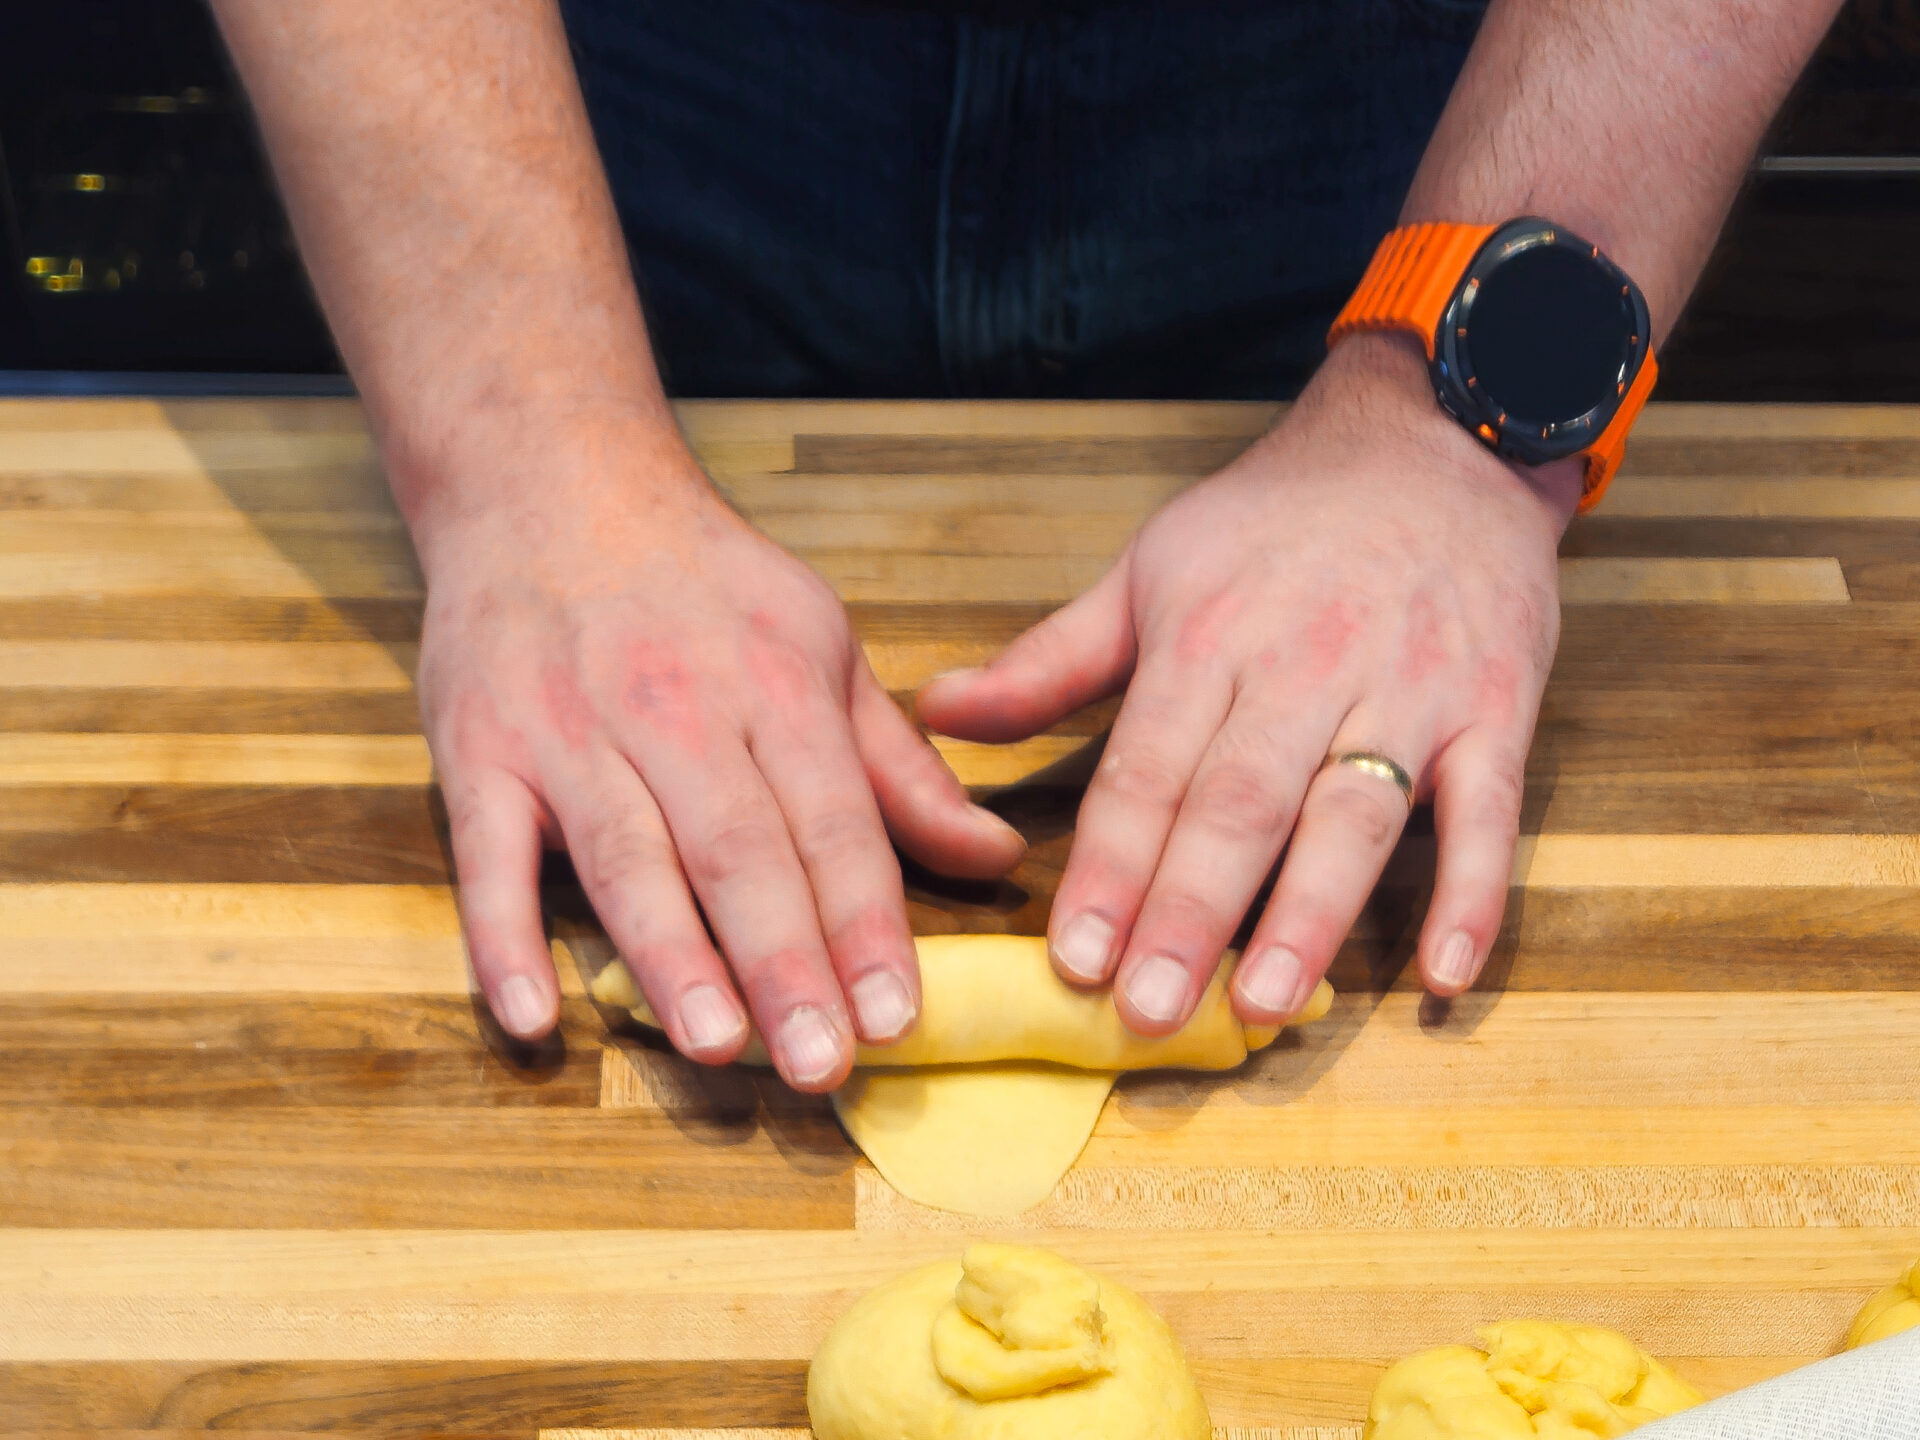
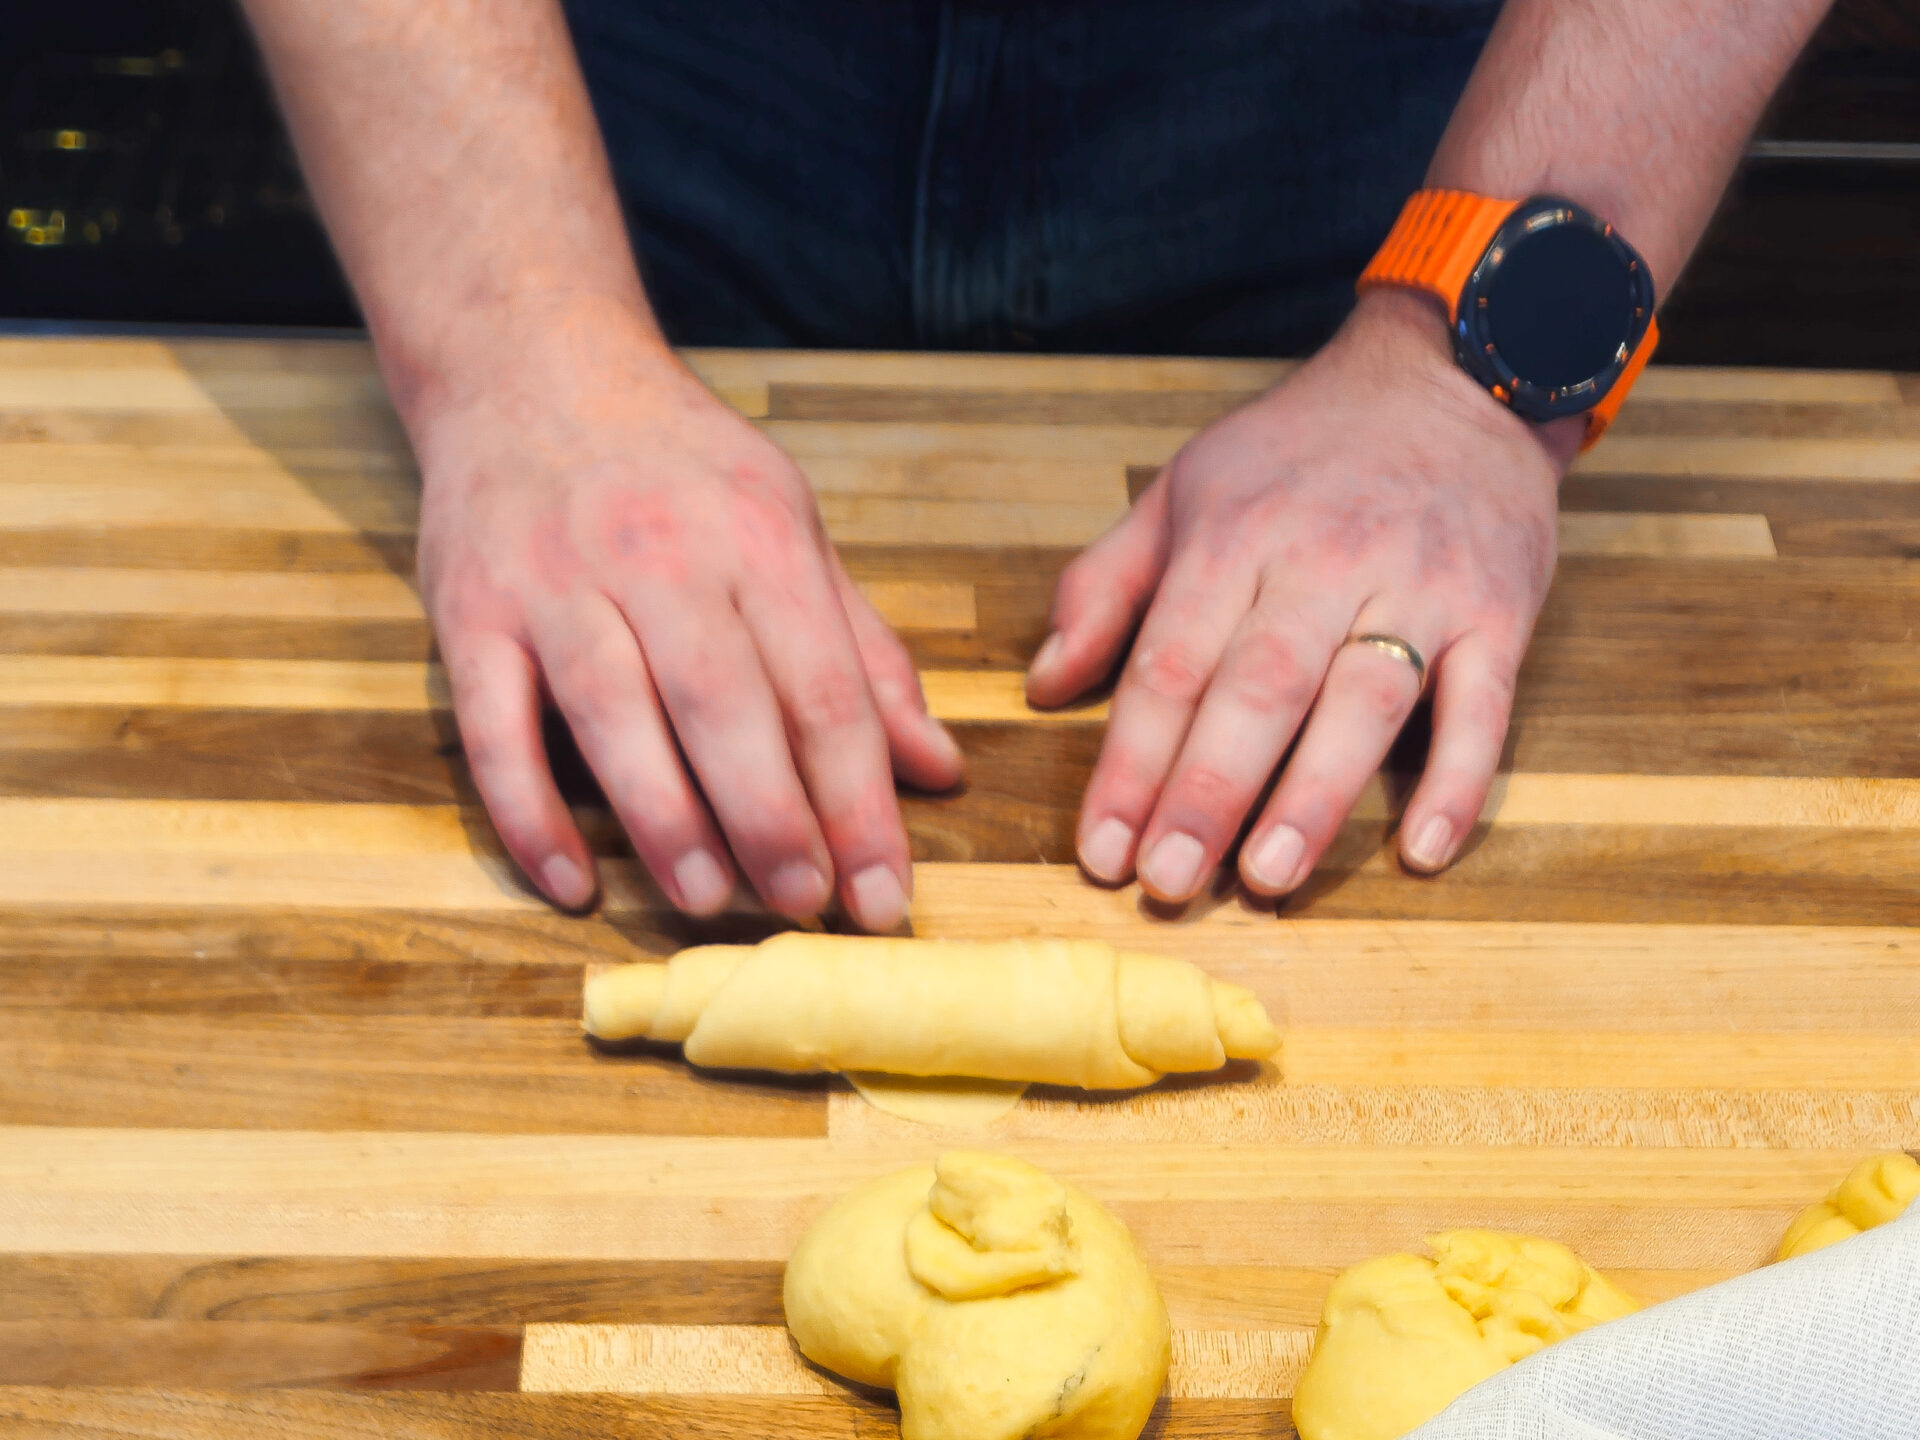
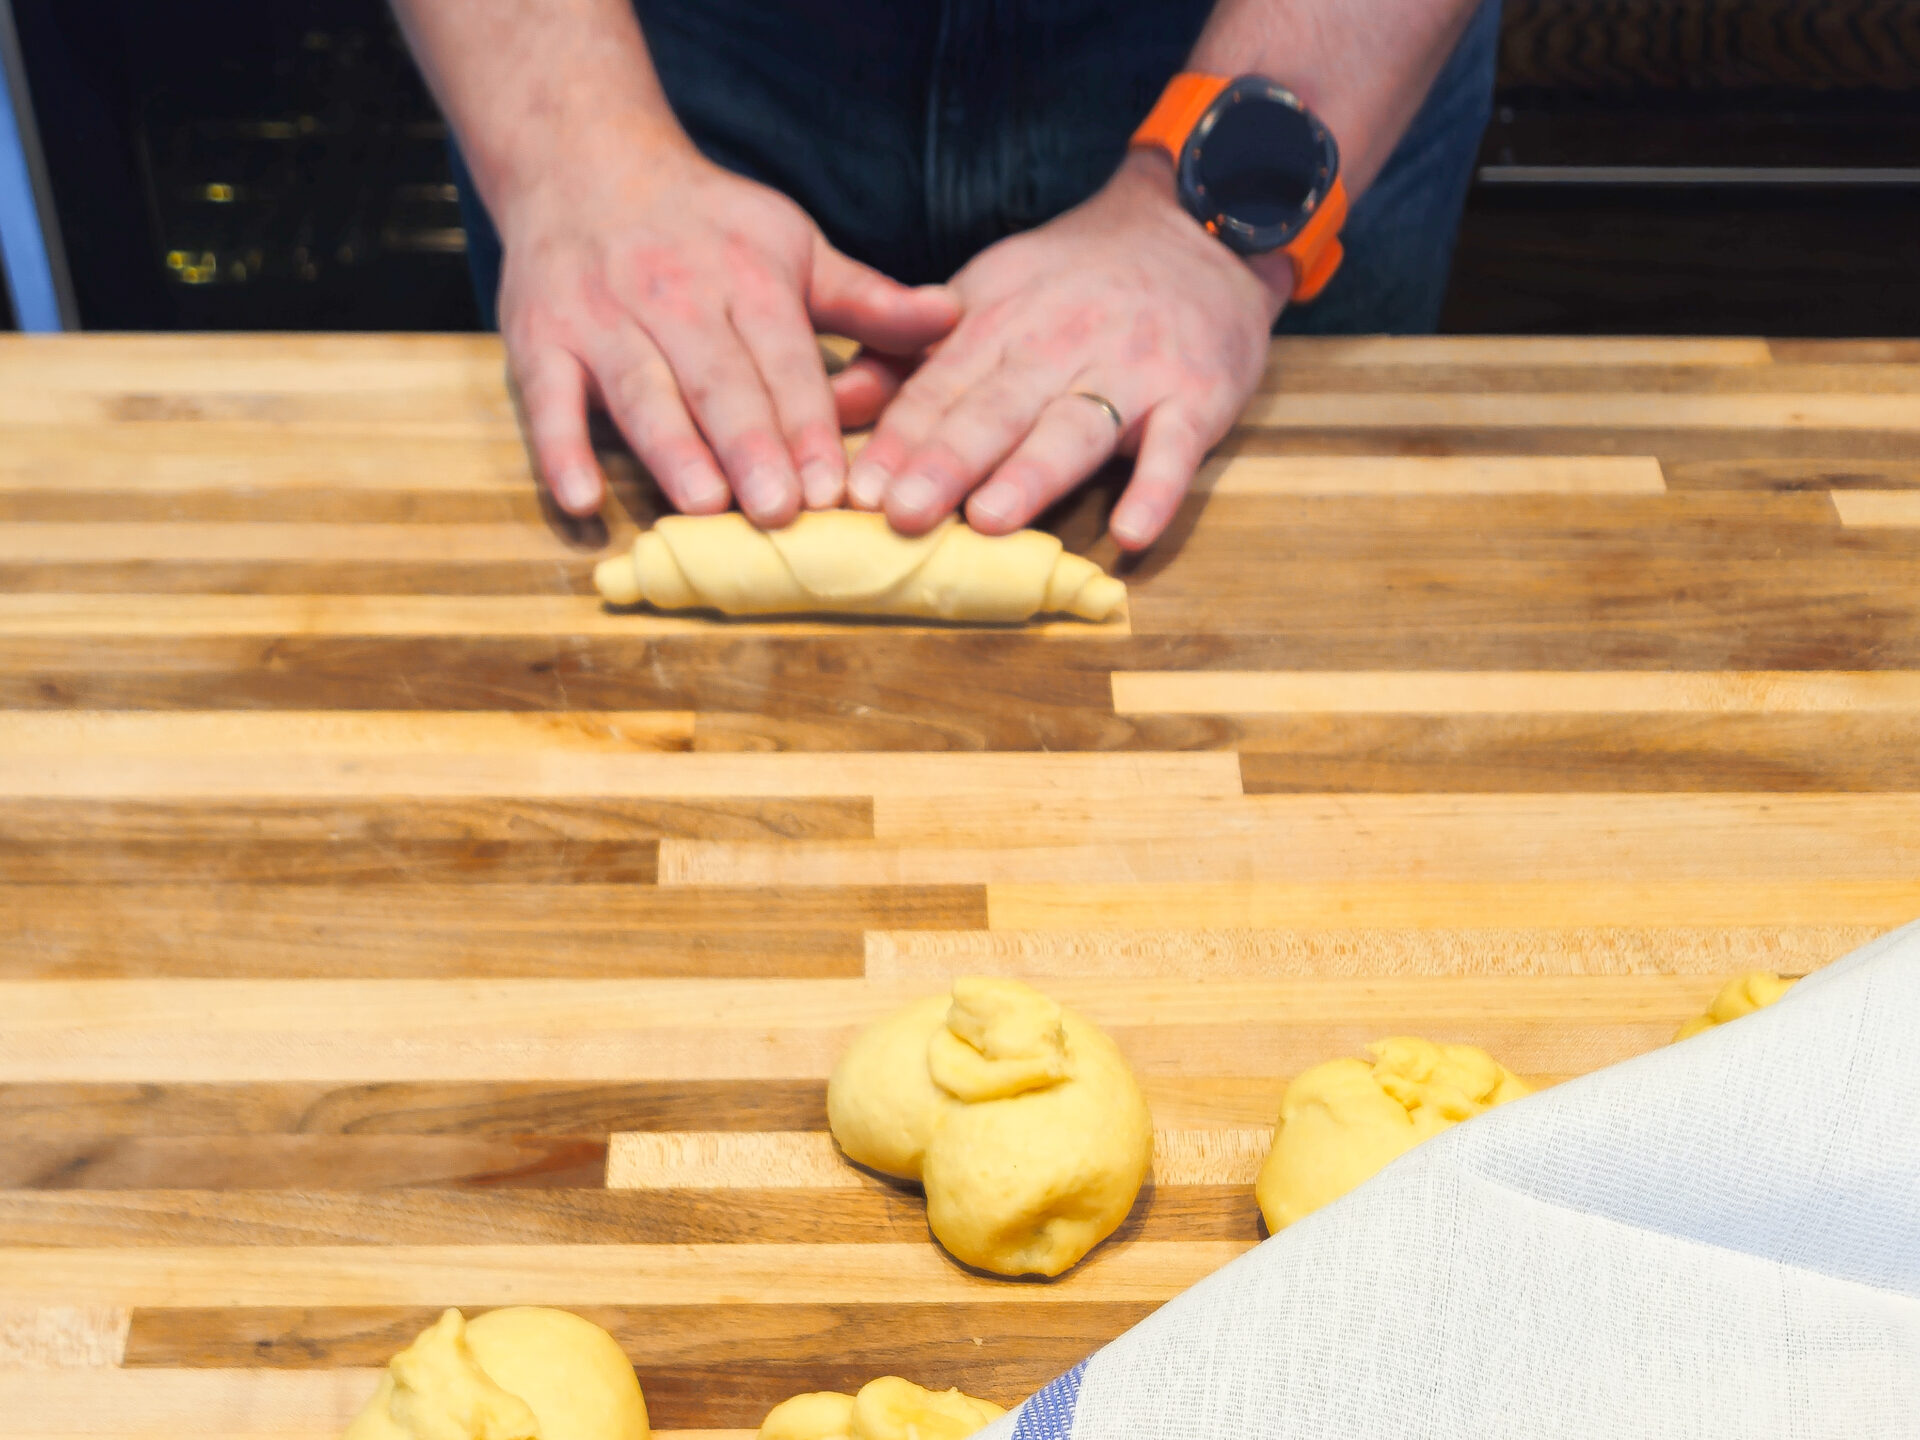
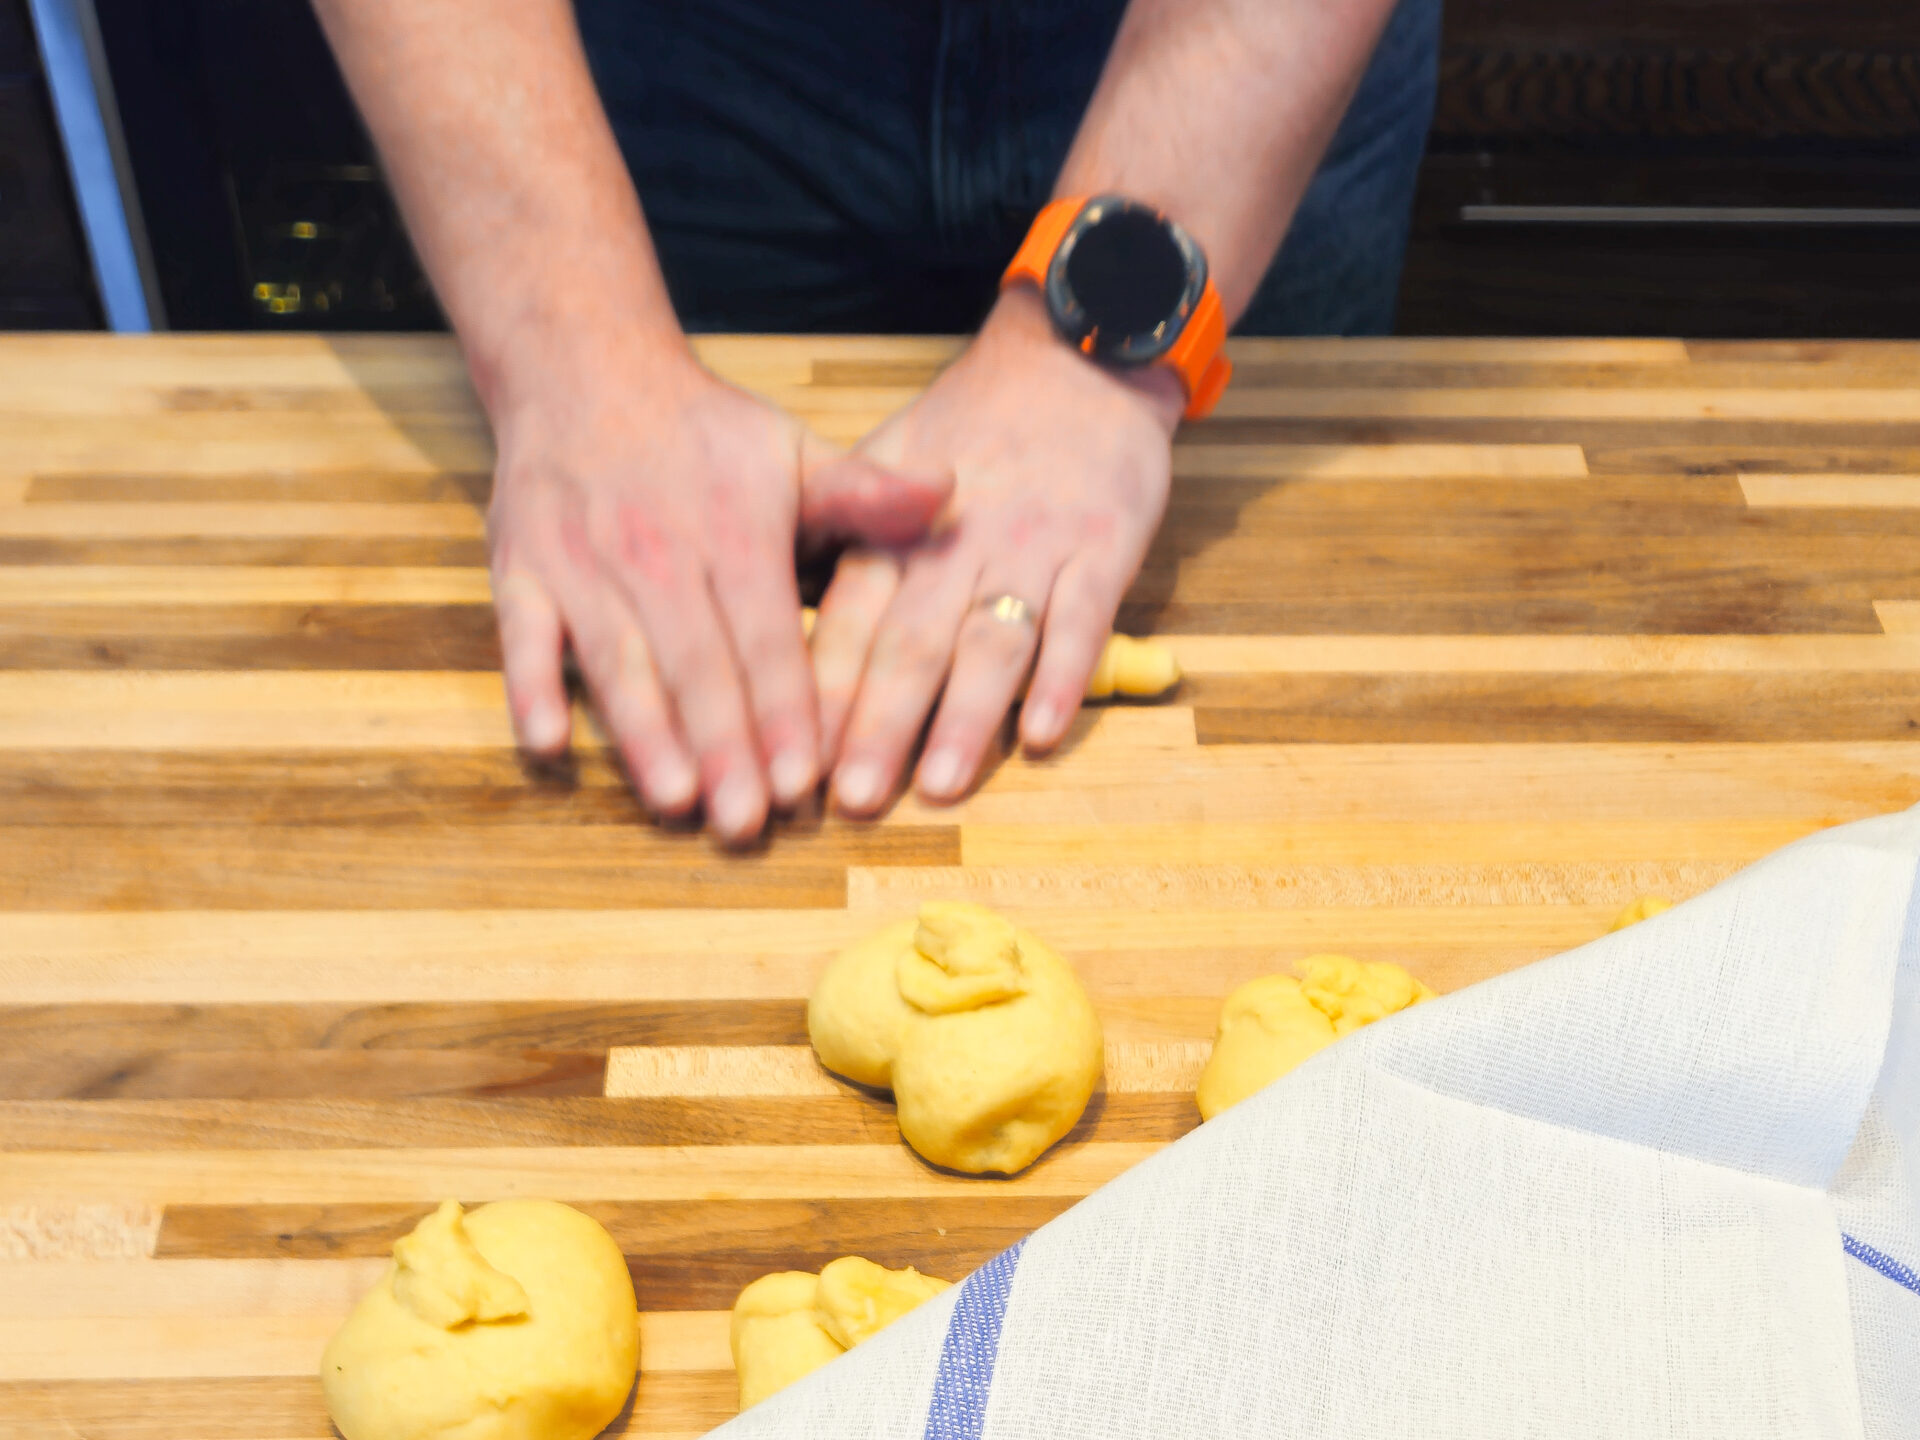
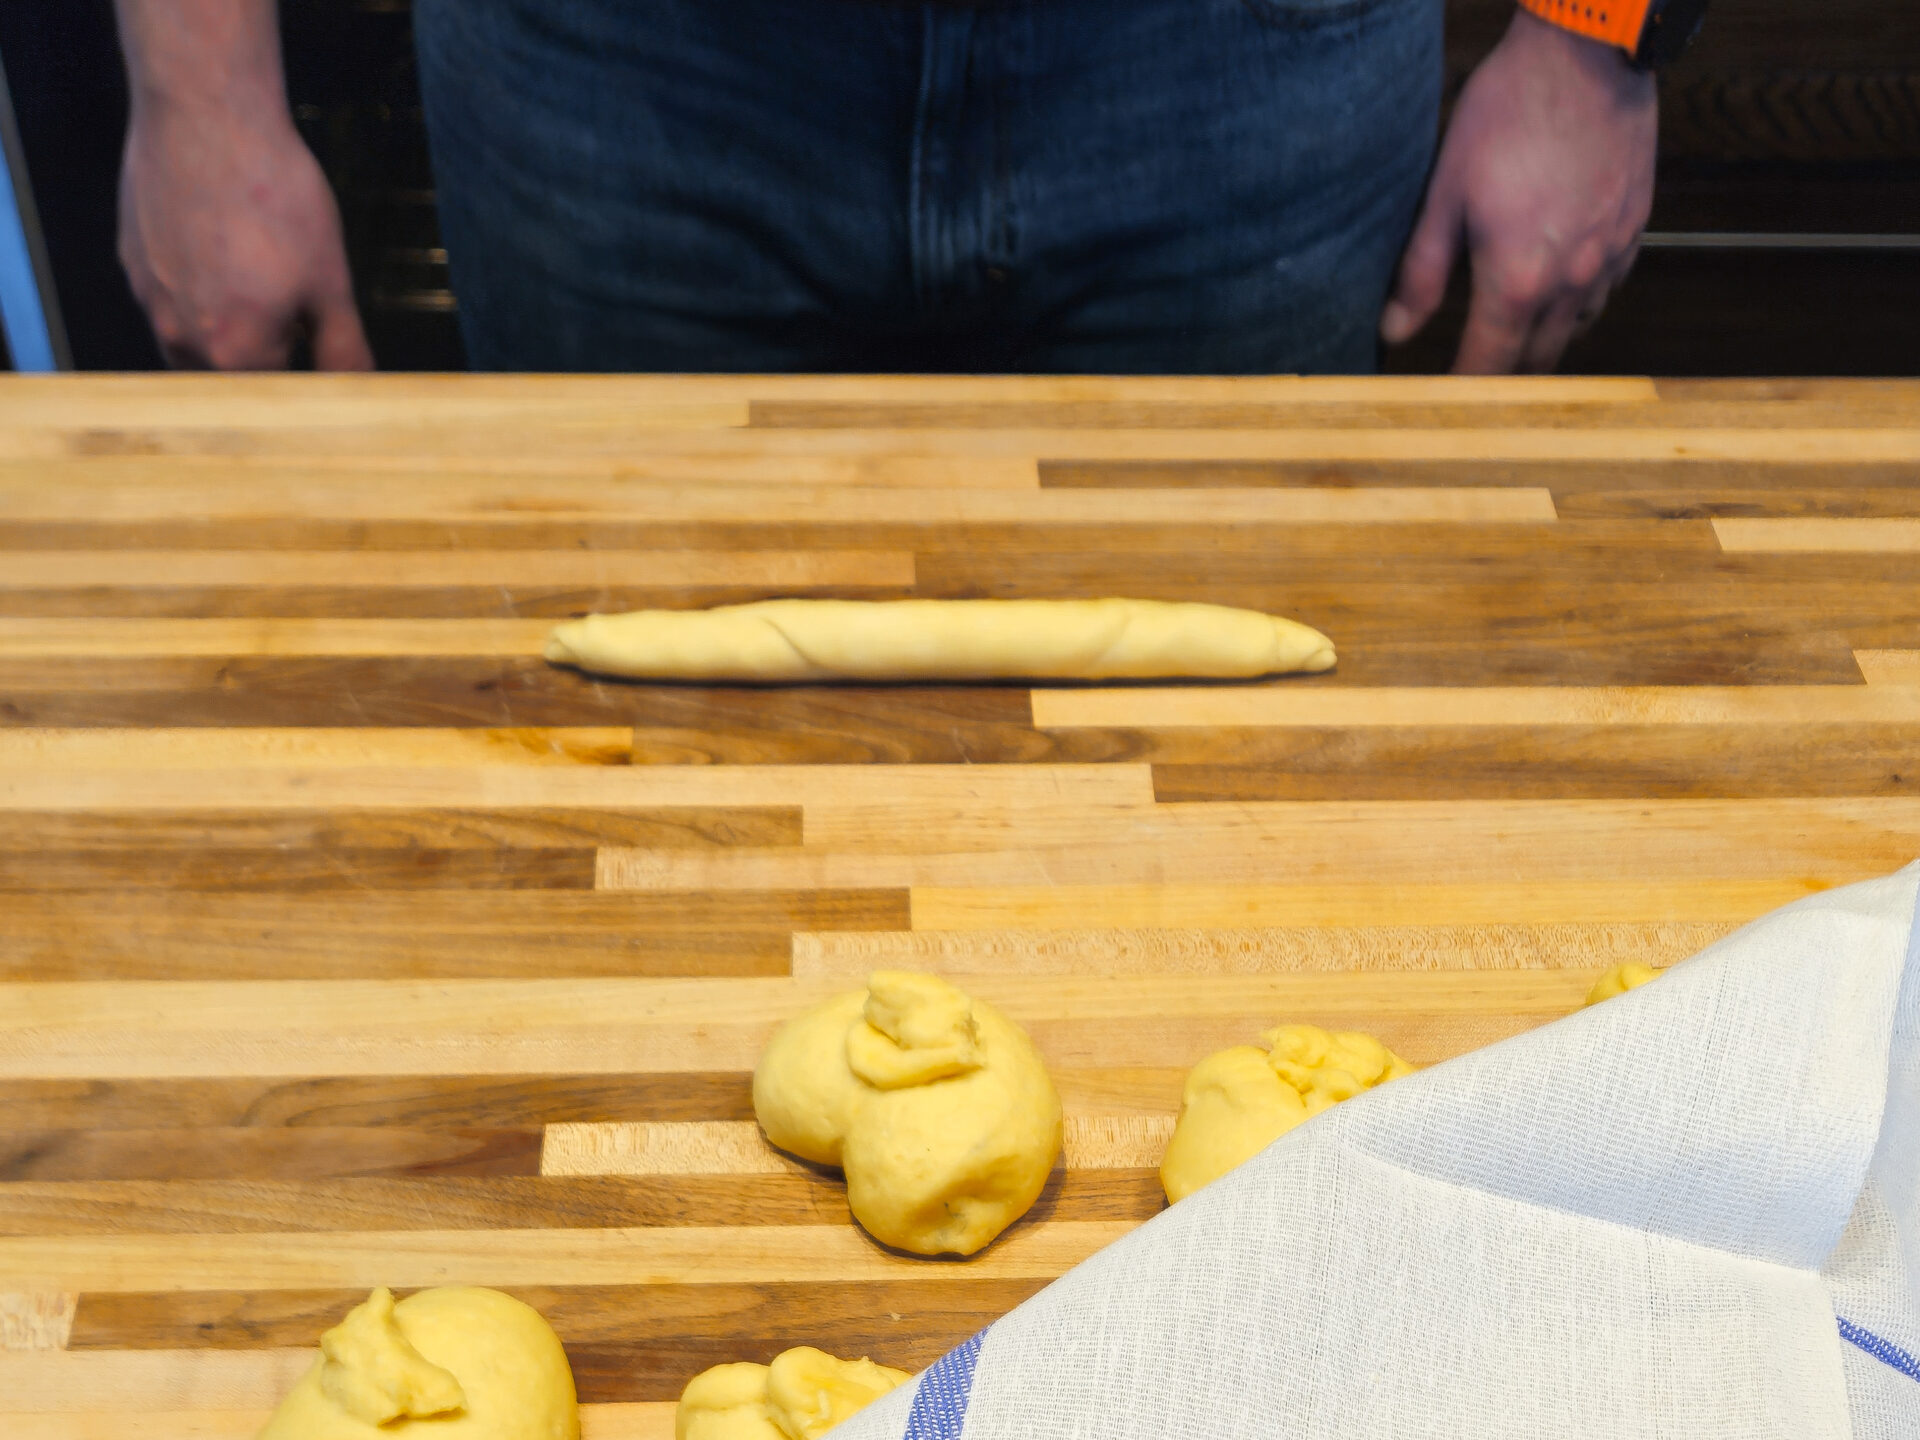
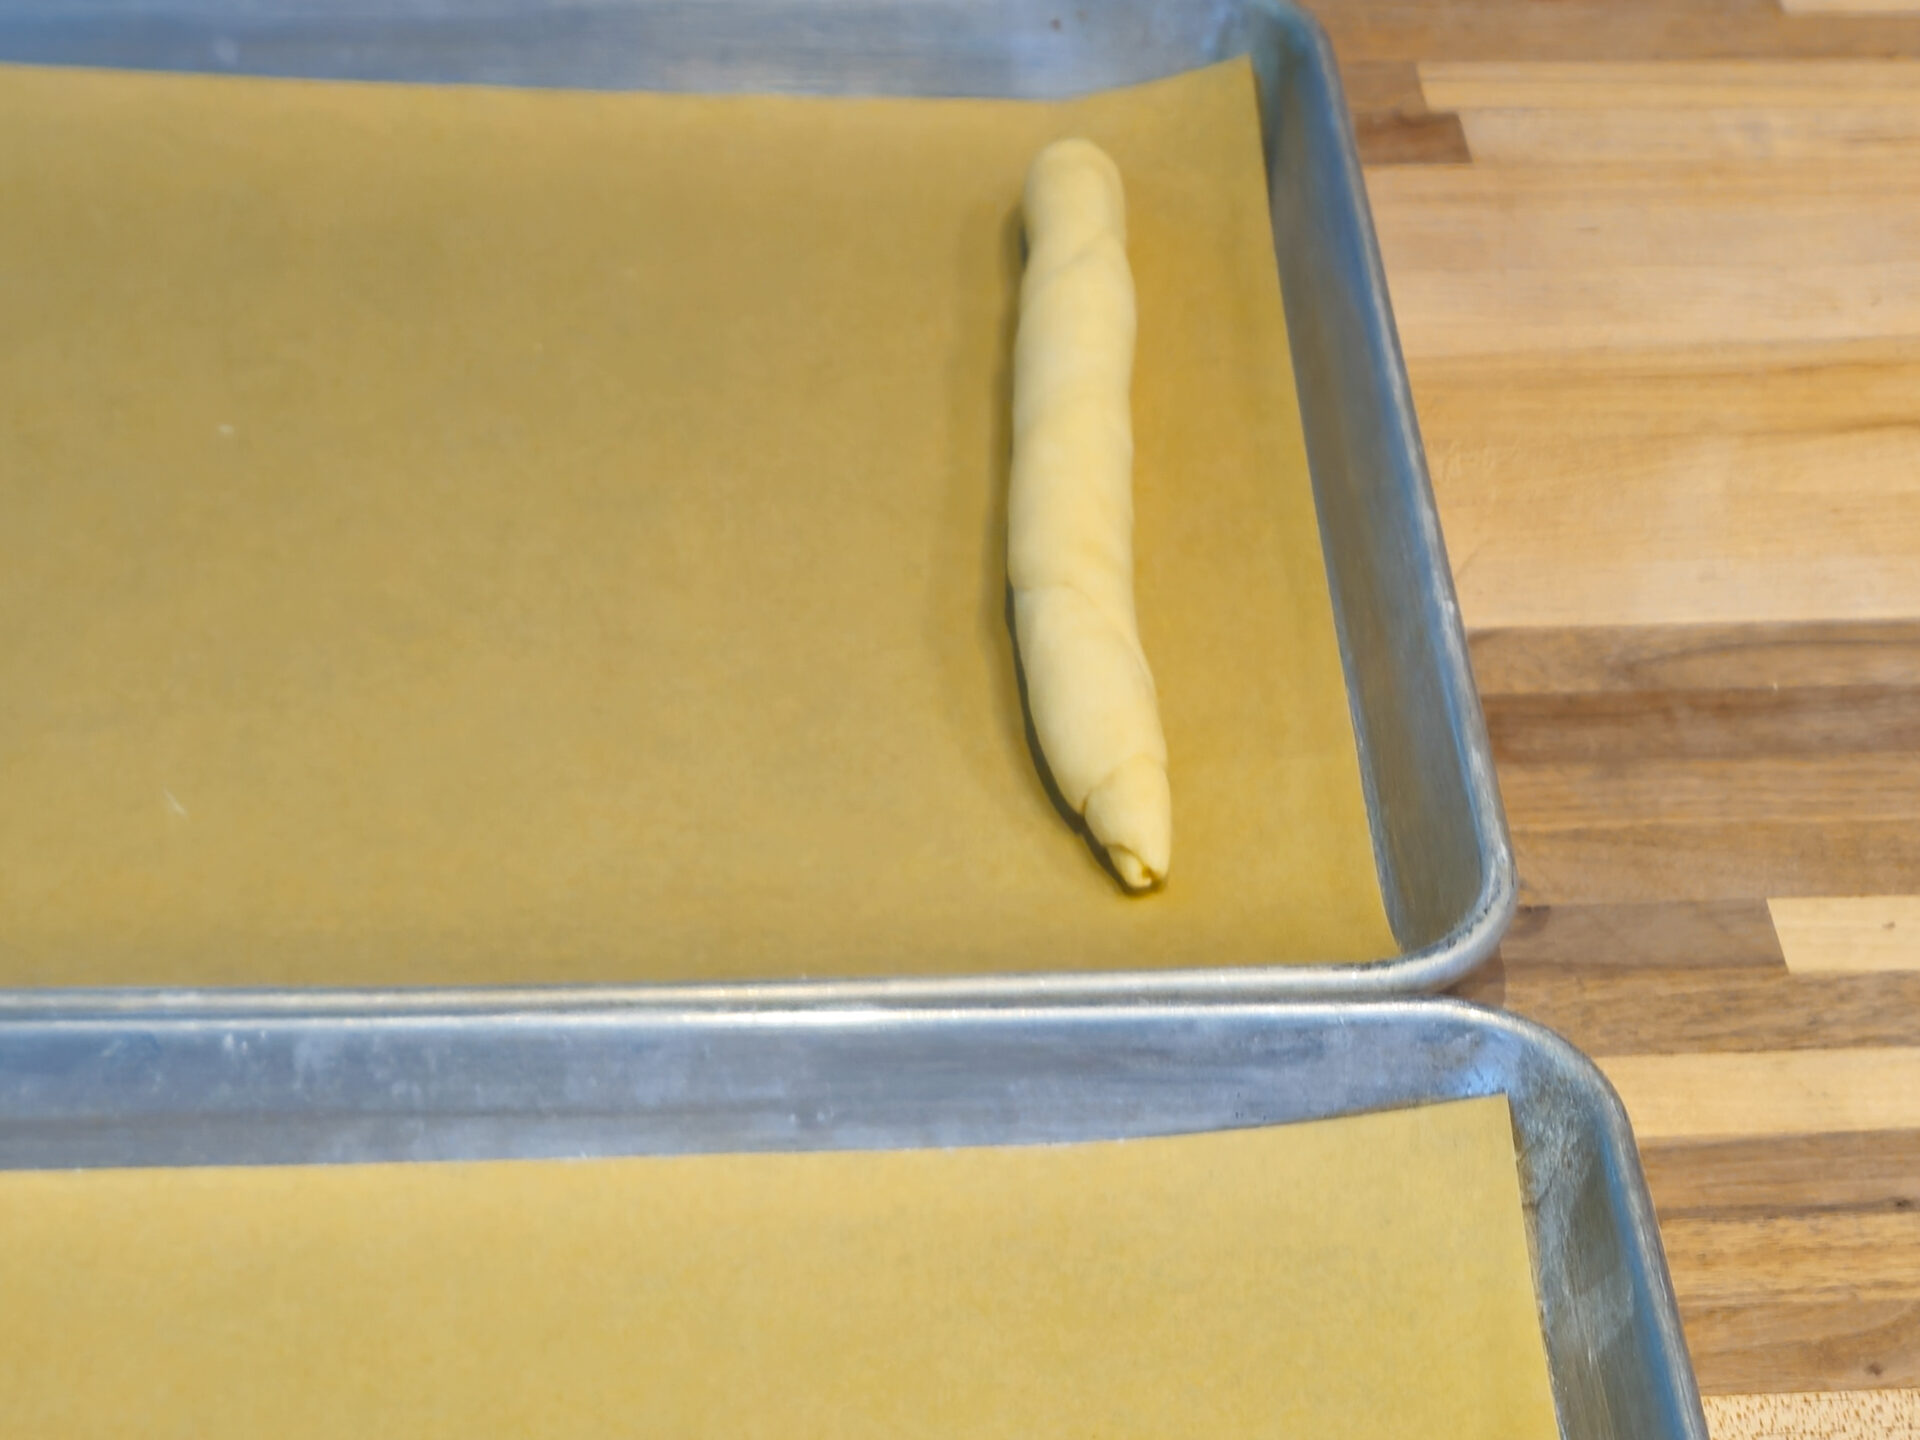
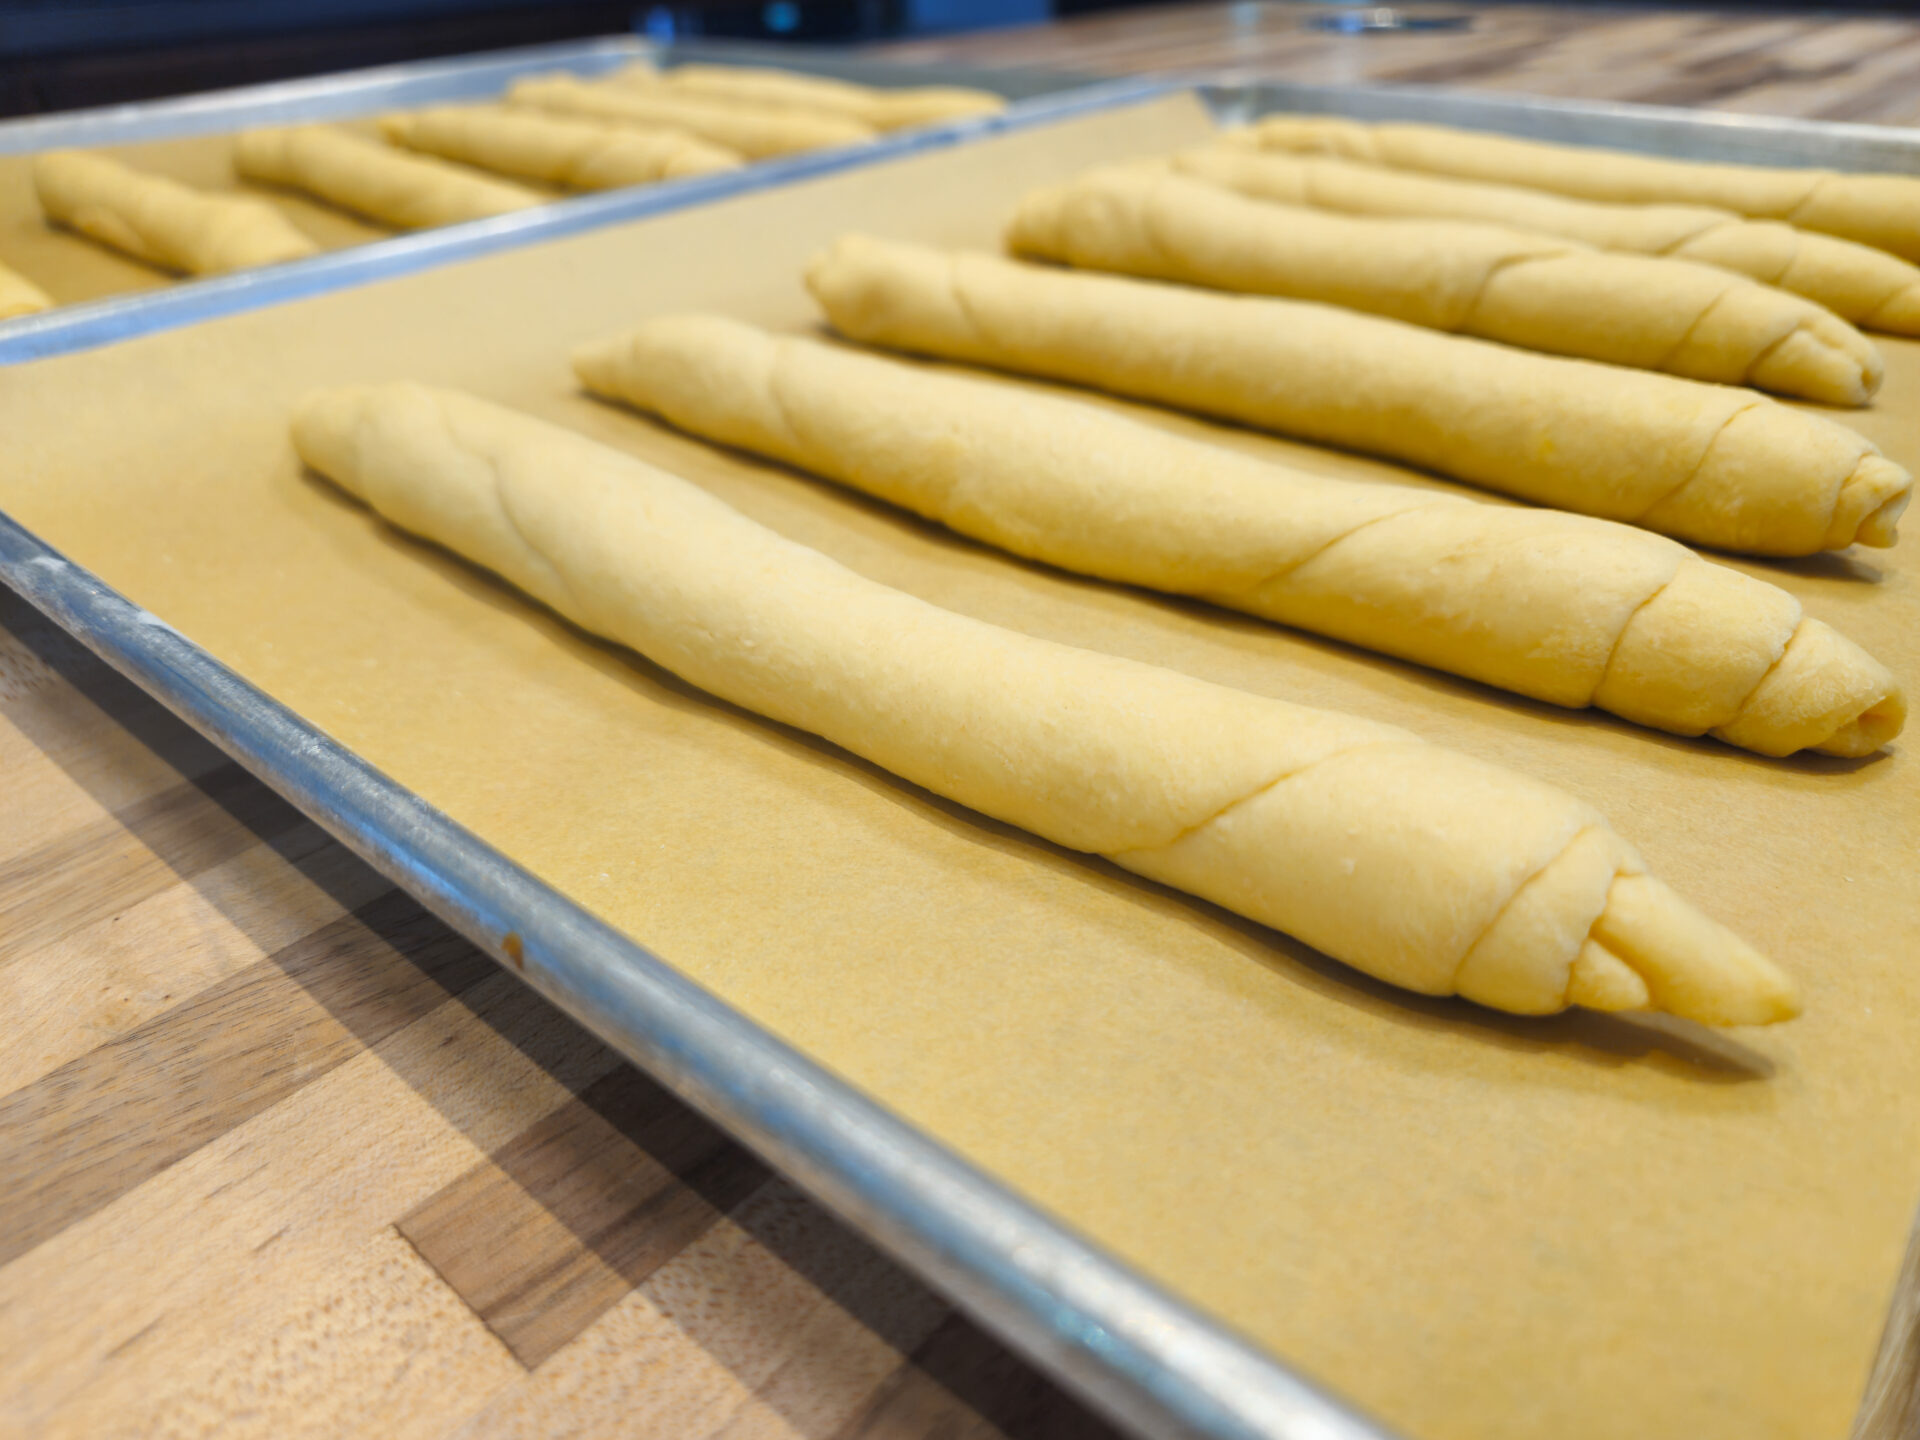
Here is a very important part of my Czech Rolls Rohliky Recipe: shaping the rolls. Before I start, I make sure my work surface is perfectly clean and, most importantly, does not have any flour on it. Since this bread dough includes oil, it’s designed not to stick. I flatten each dough ball with a rolling pin into a long shape, about 3-4 inches wide and 5-8 inches long. Then, using my hands, I hold both ends of the dough and start rolling and stretching it to the sides at the same time. This creates the characteristic crescent shape. I finish by rolling it on the work surface to a final thickness of about ¾”. If your dough does stick, it most likely means it rose for too long. In that case, and only in that case, I recommend lightly flouring the surface. This “no flour” method is key to the texture of these homemade rohliky.
The Double Egg Wash and Proofing
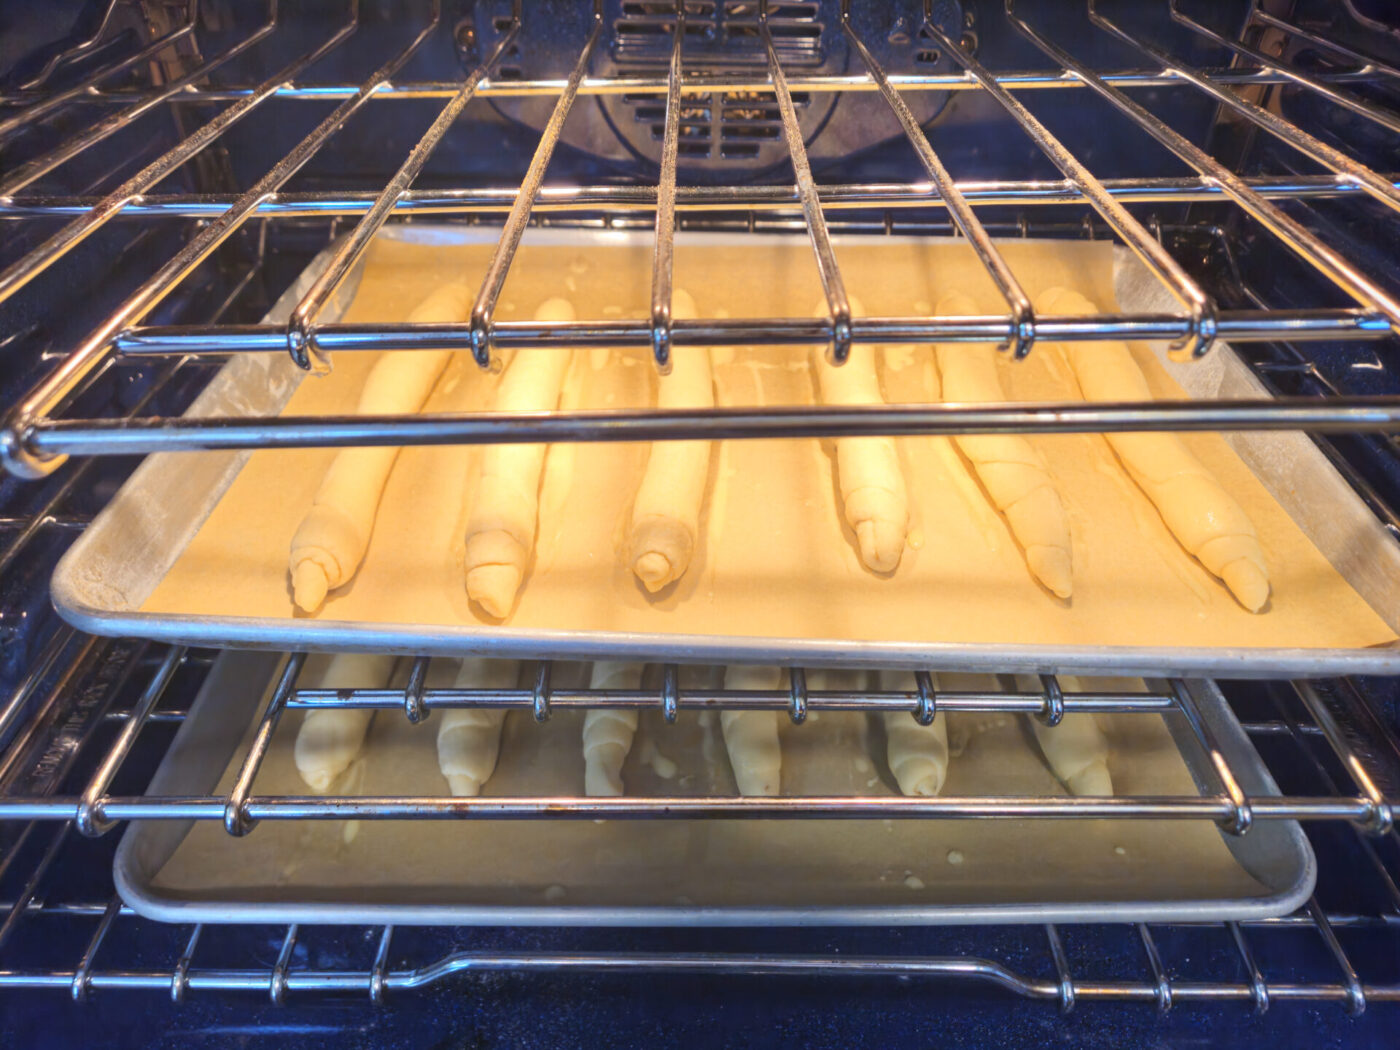
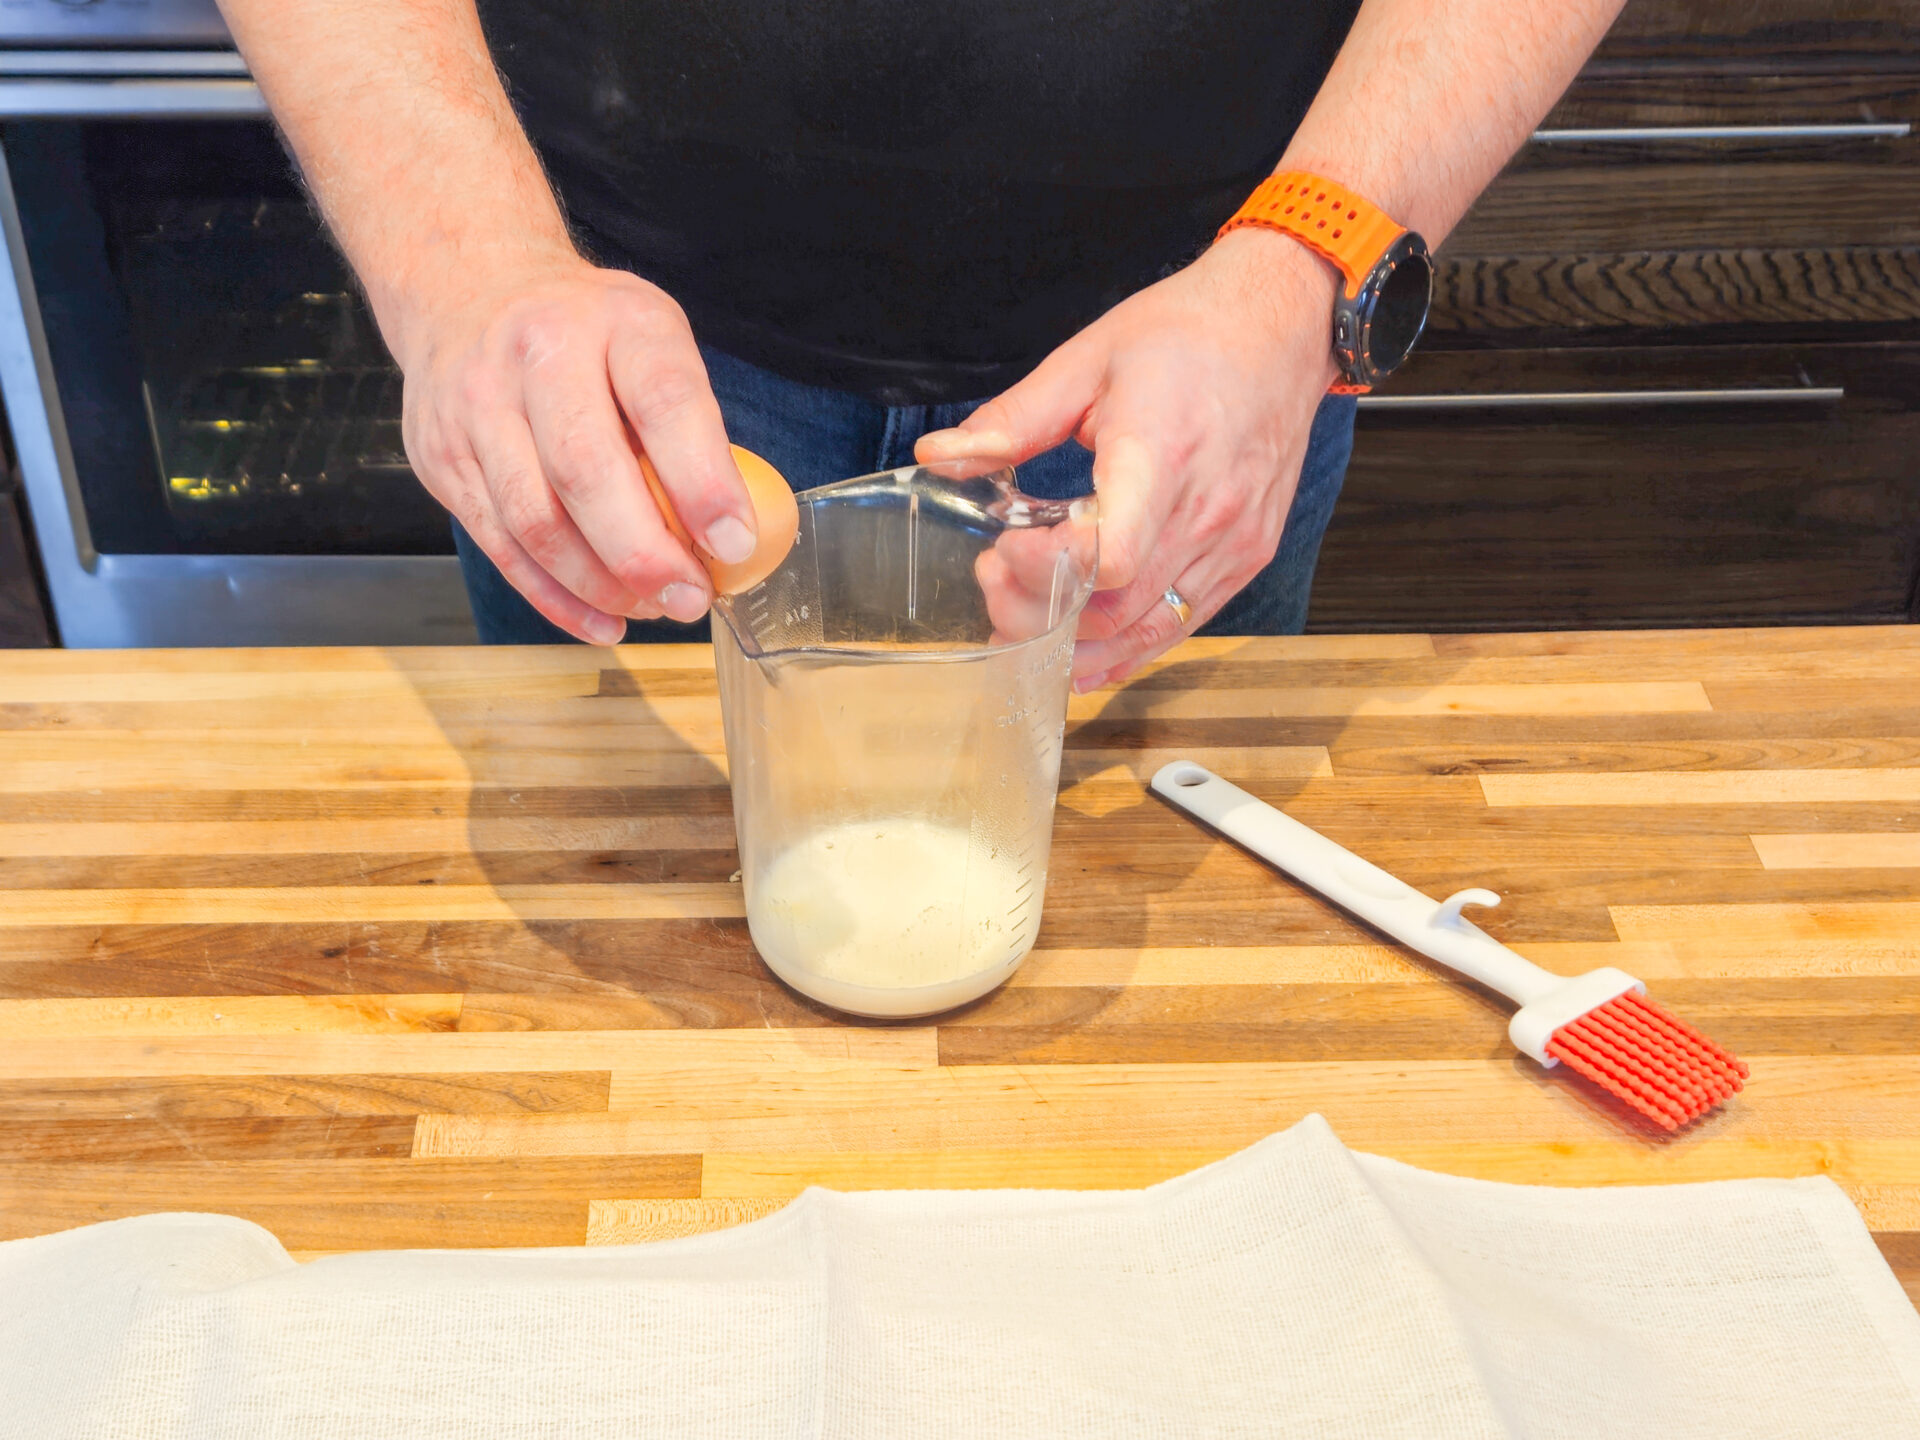
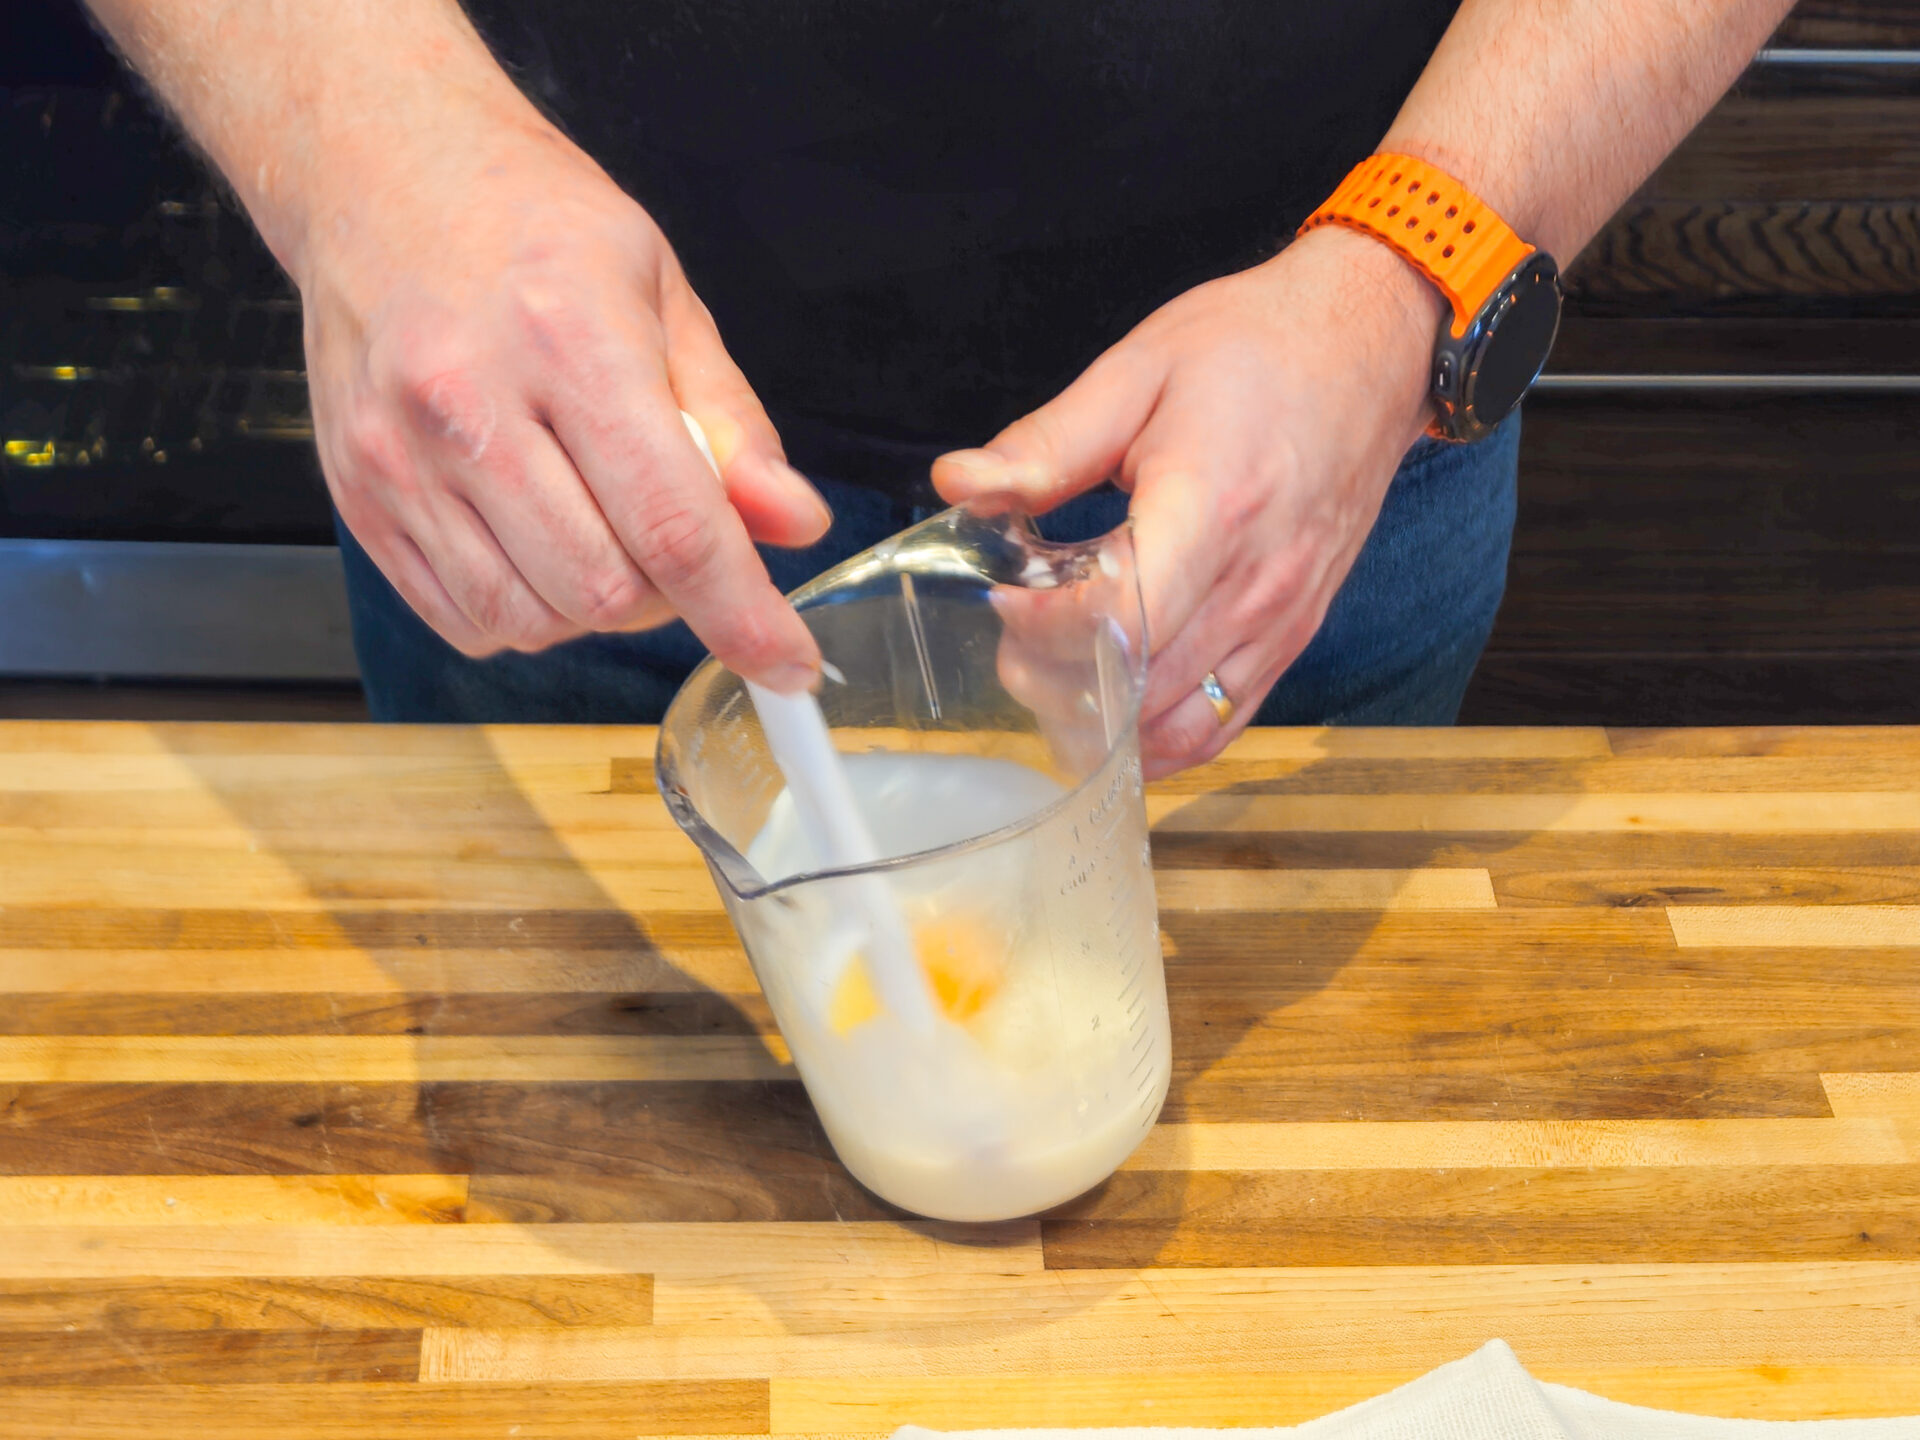
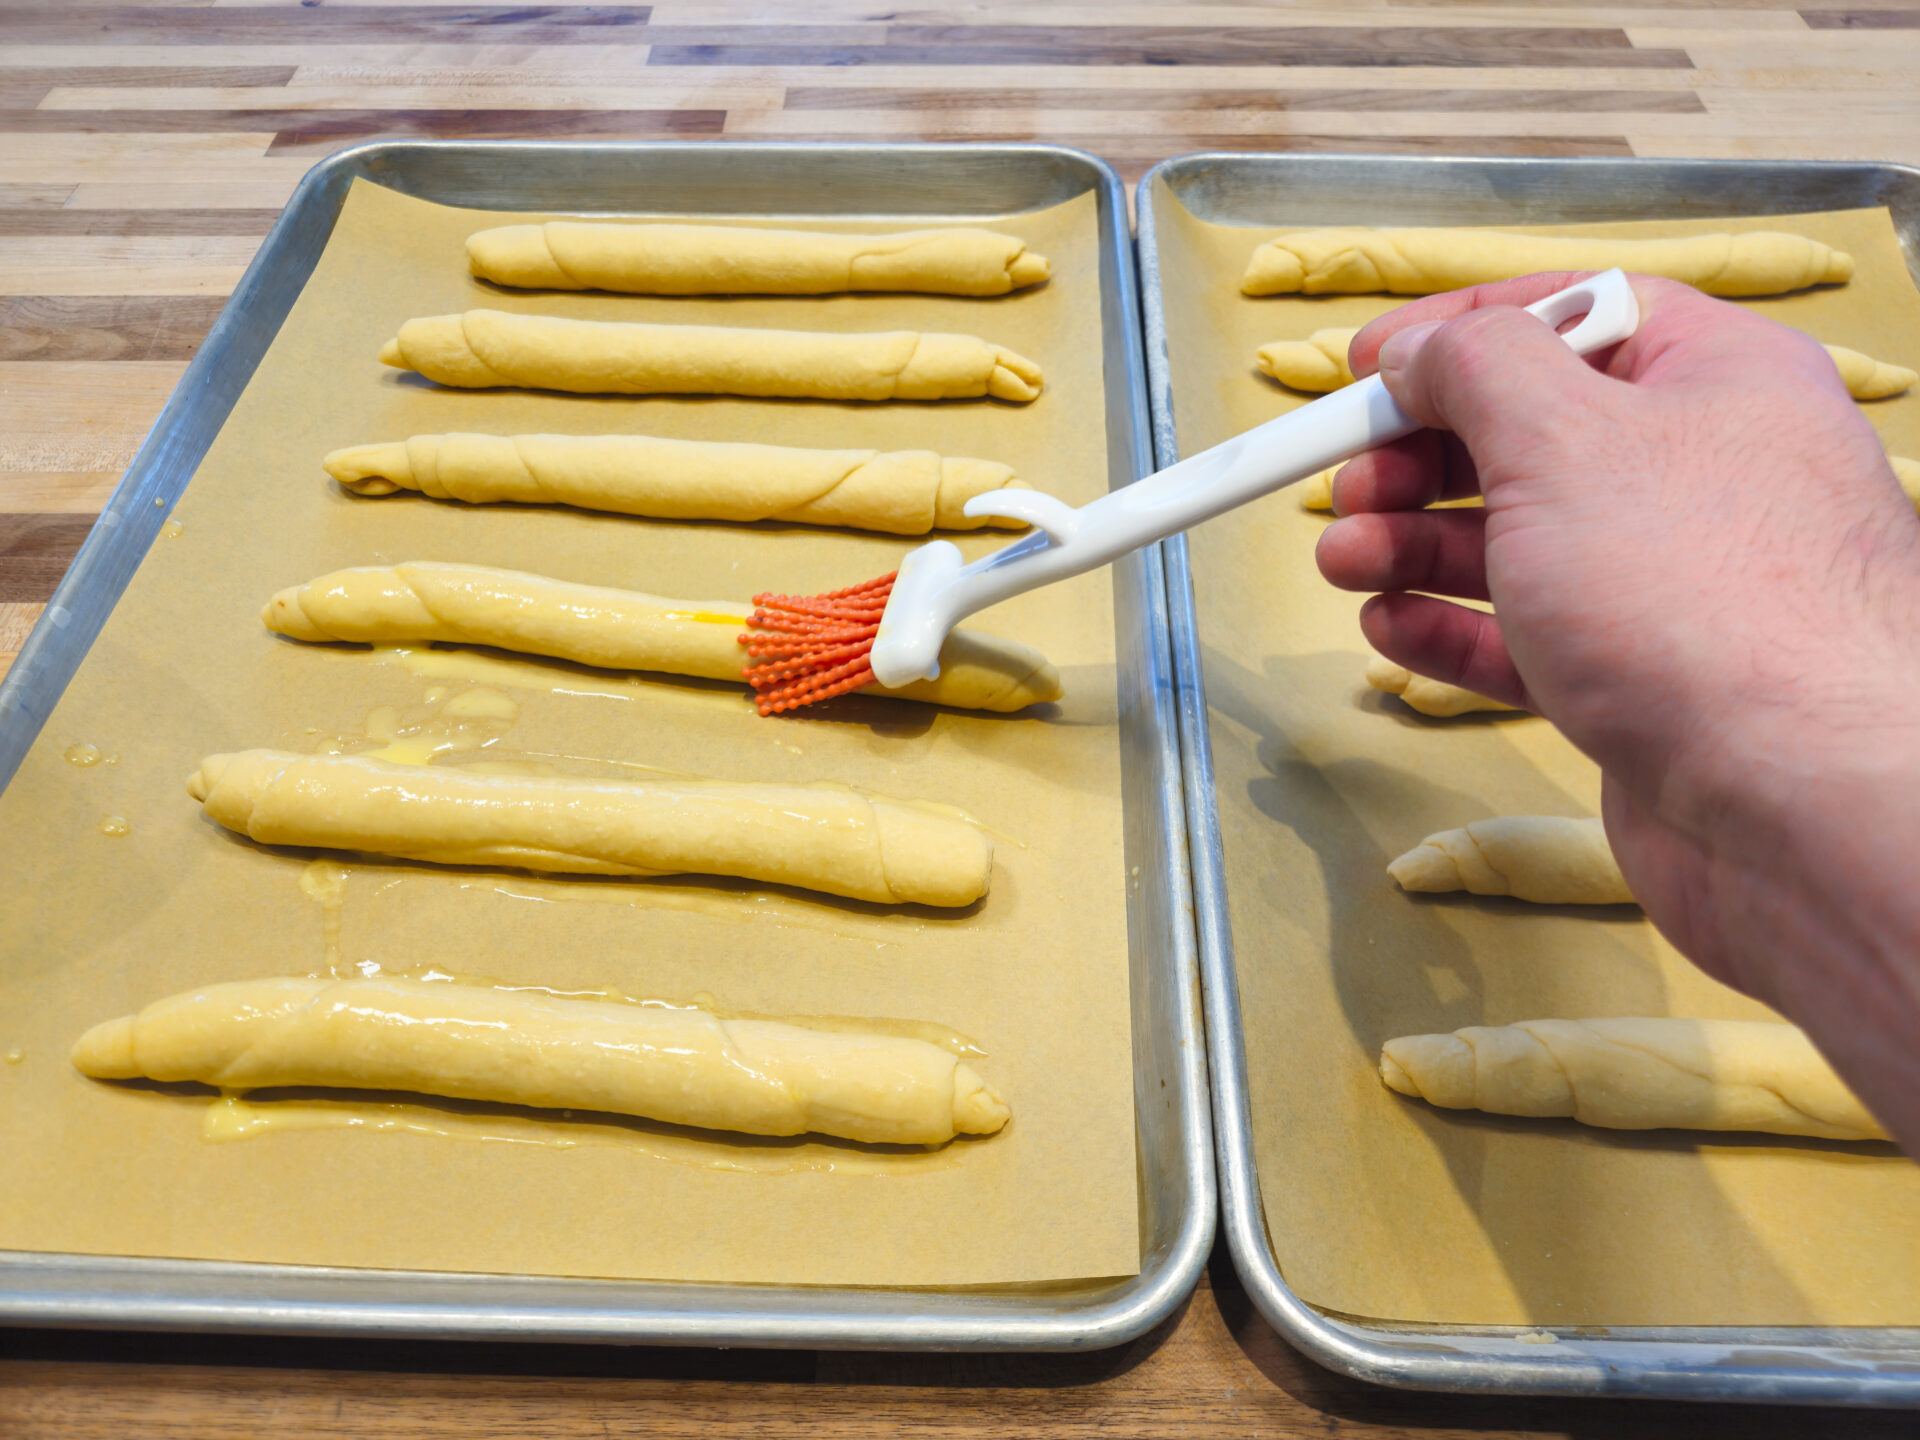
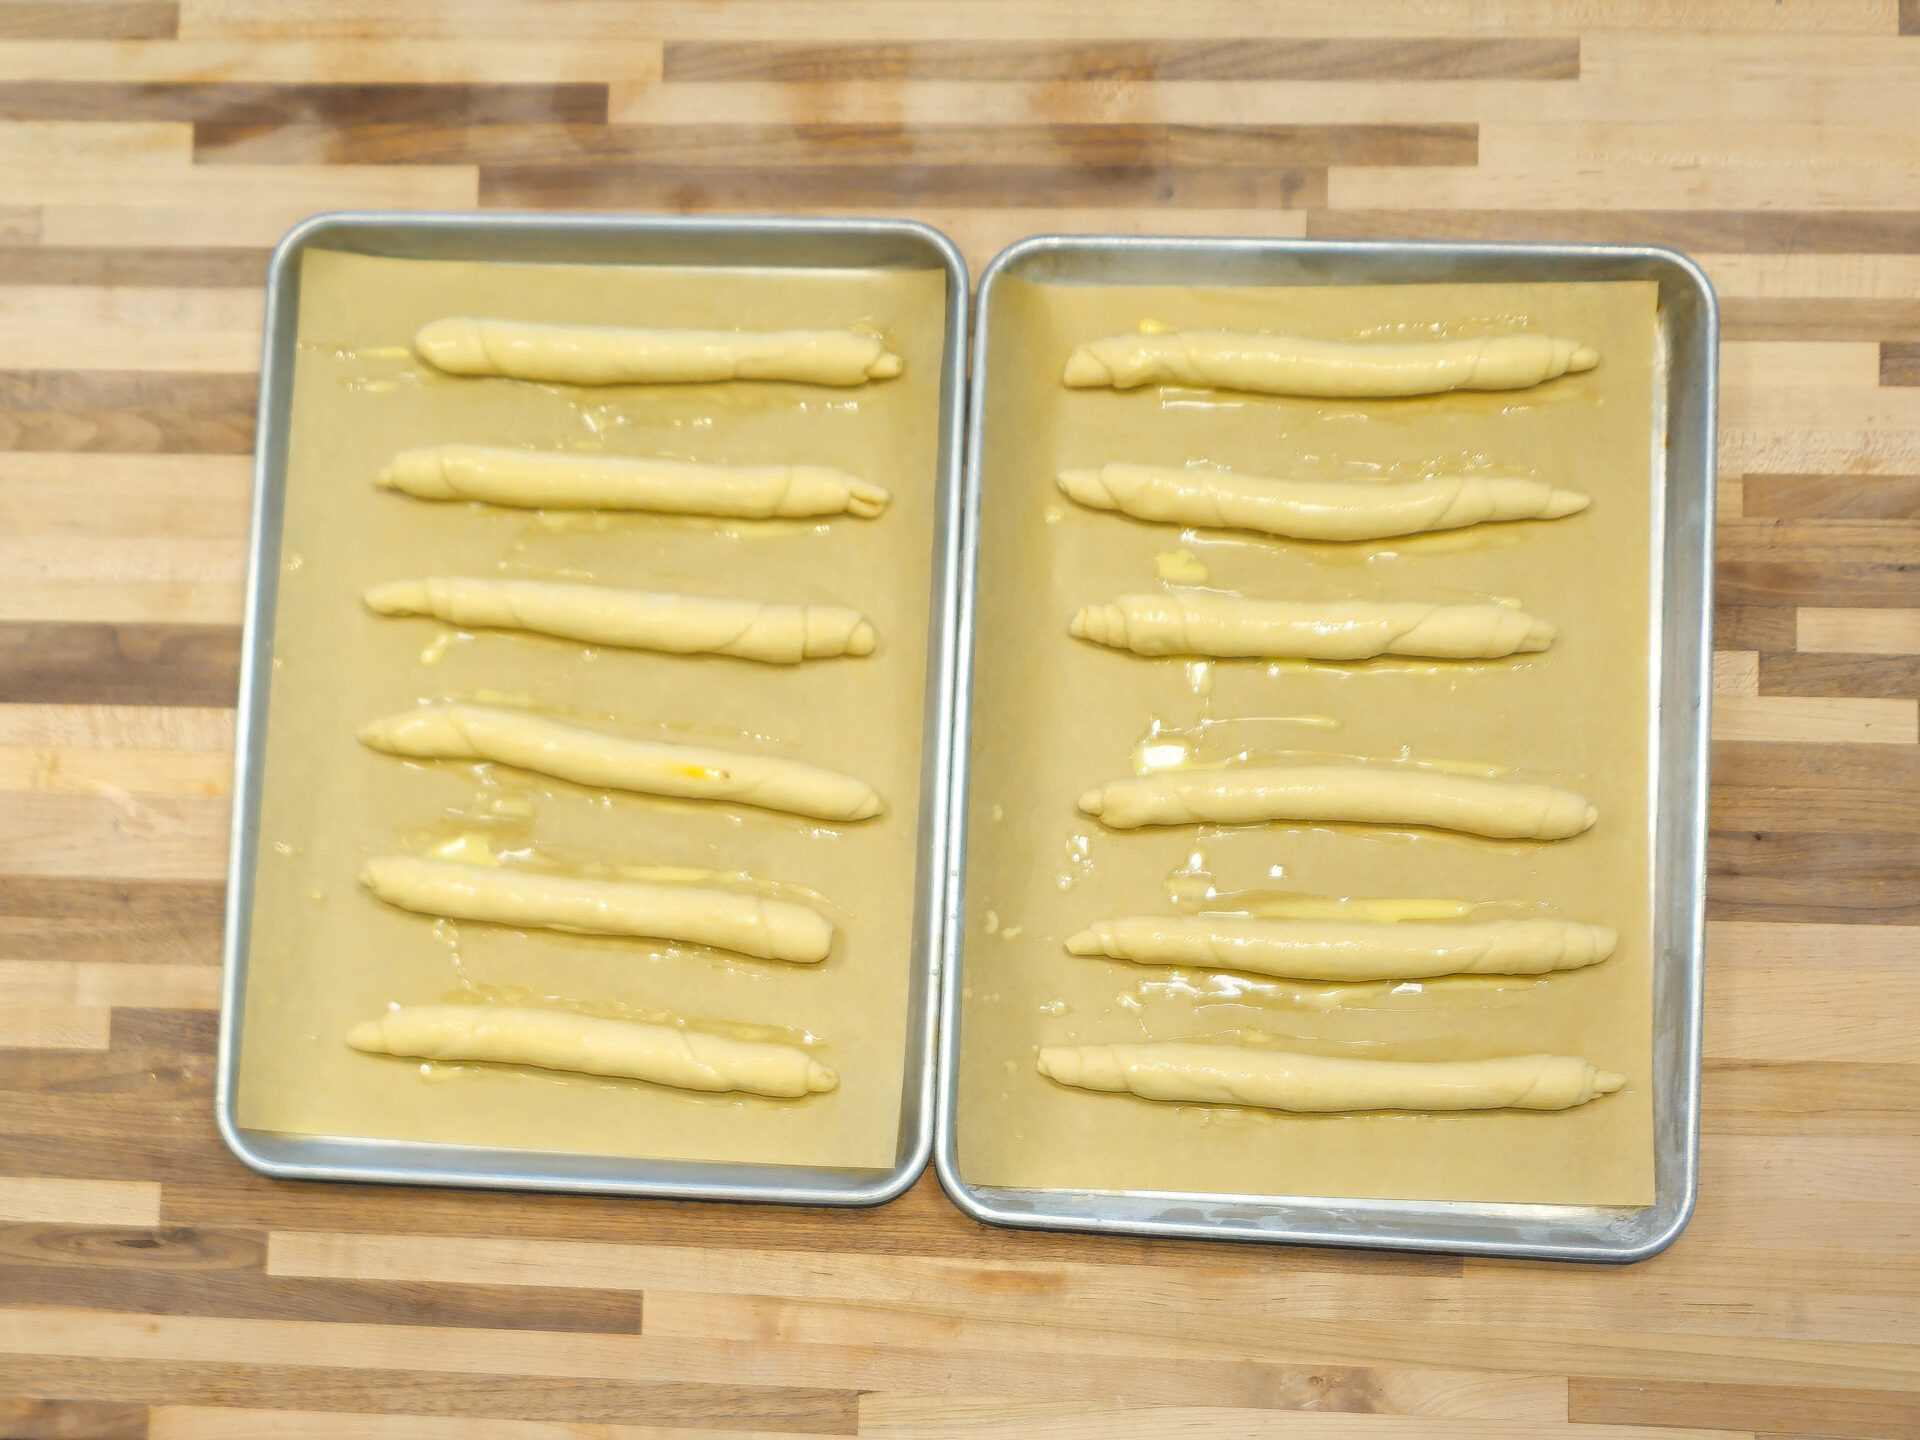
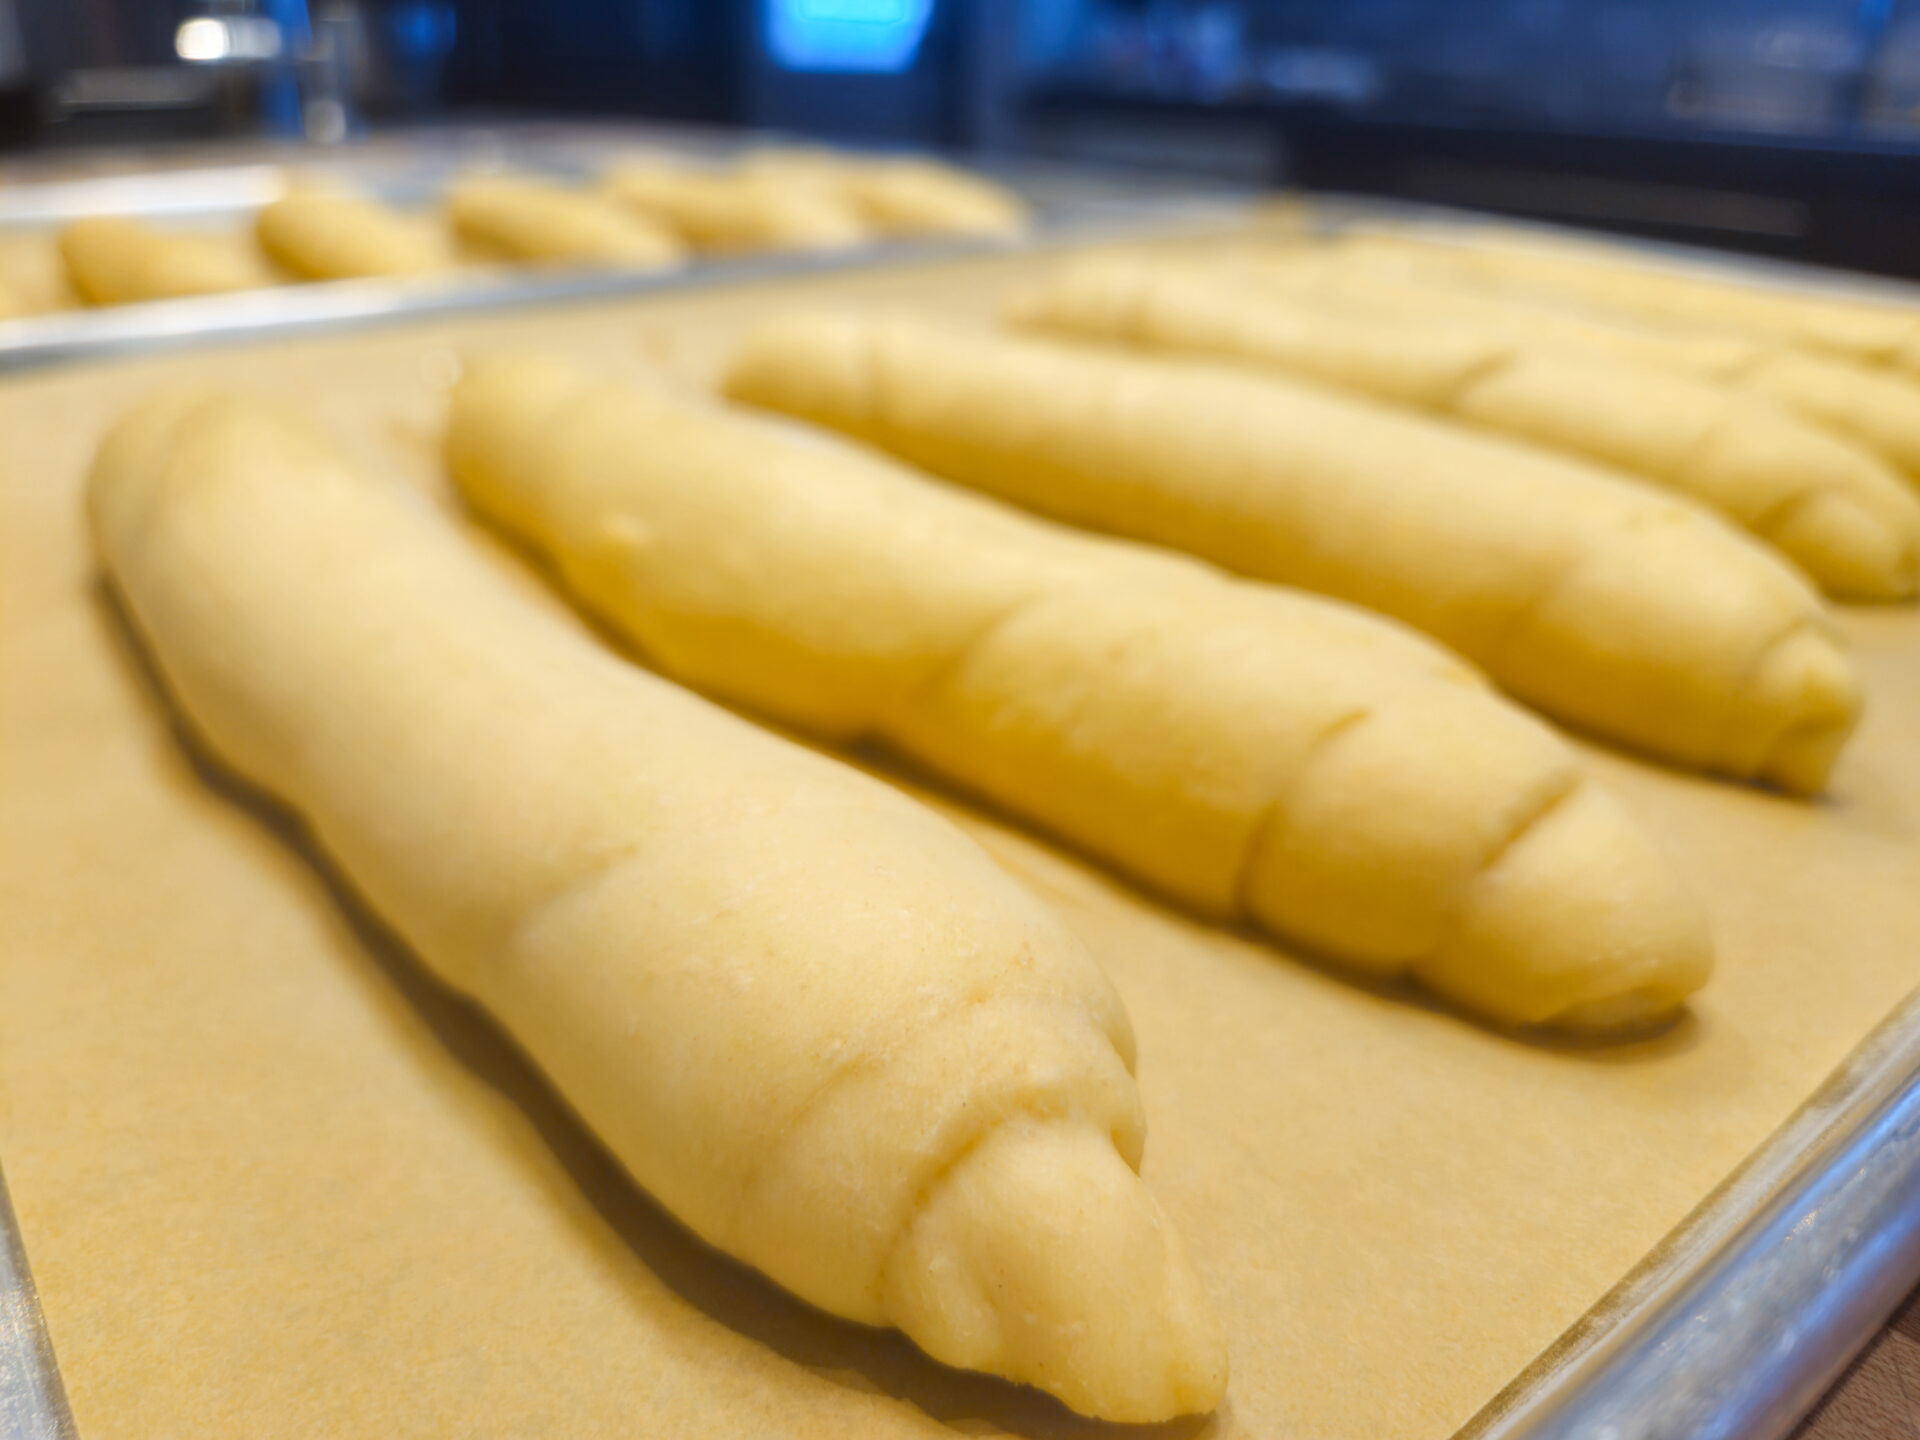
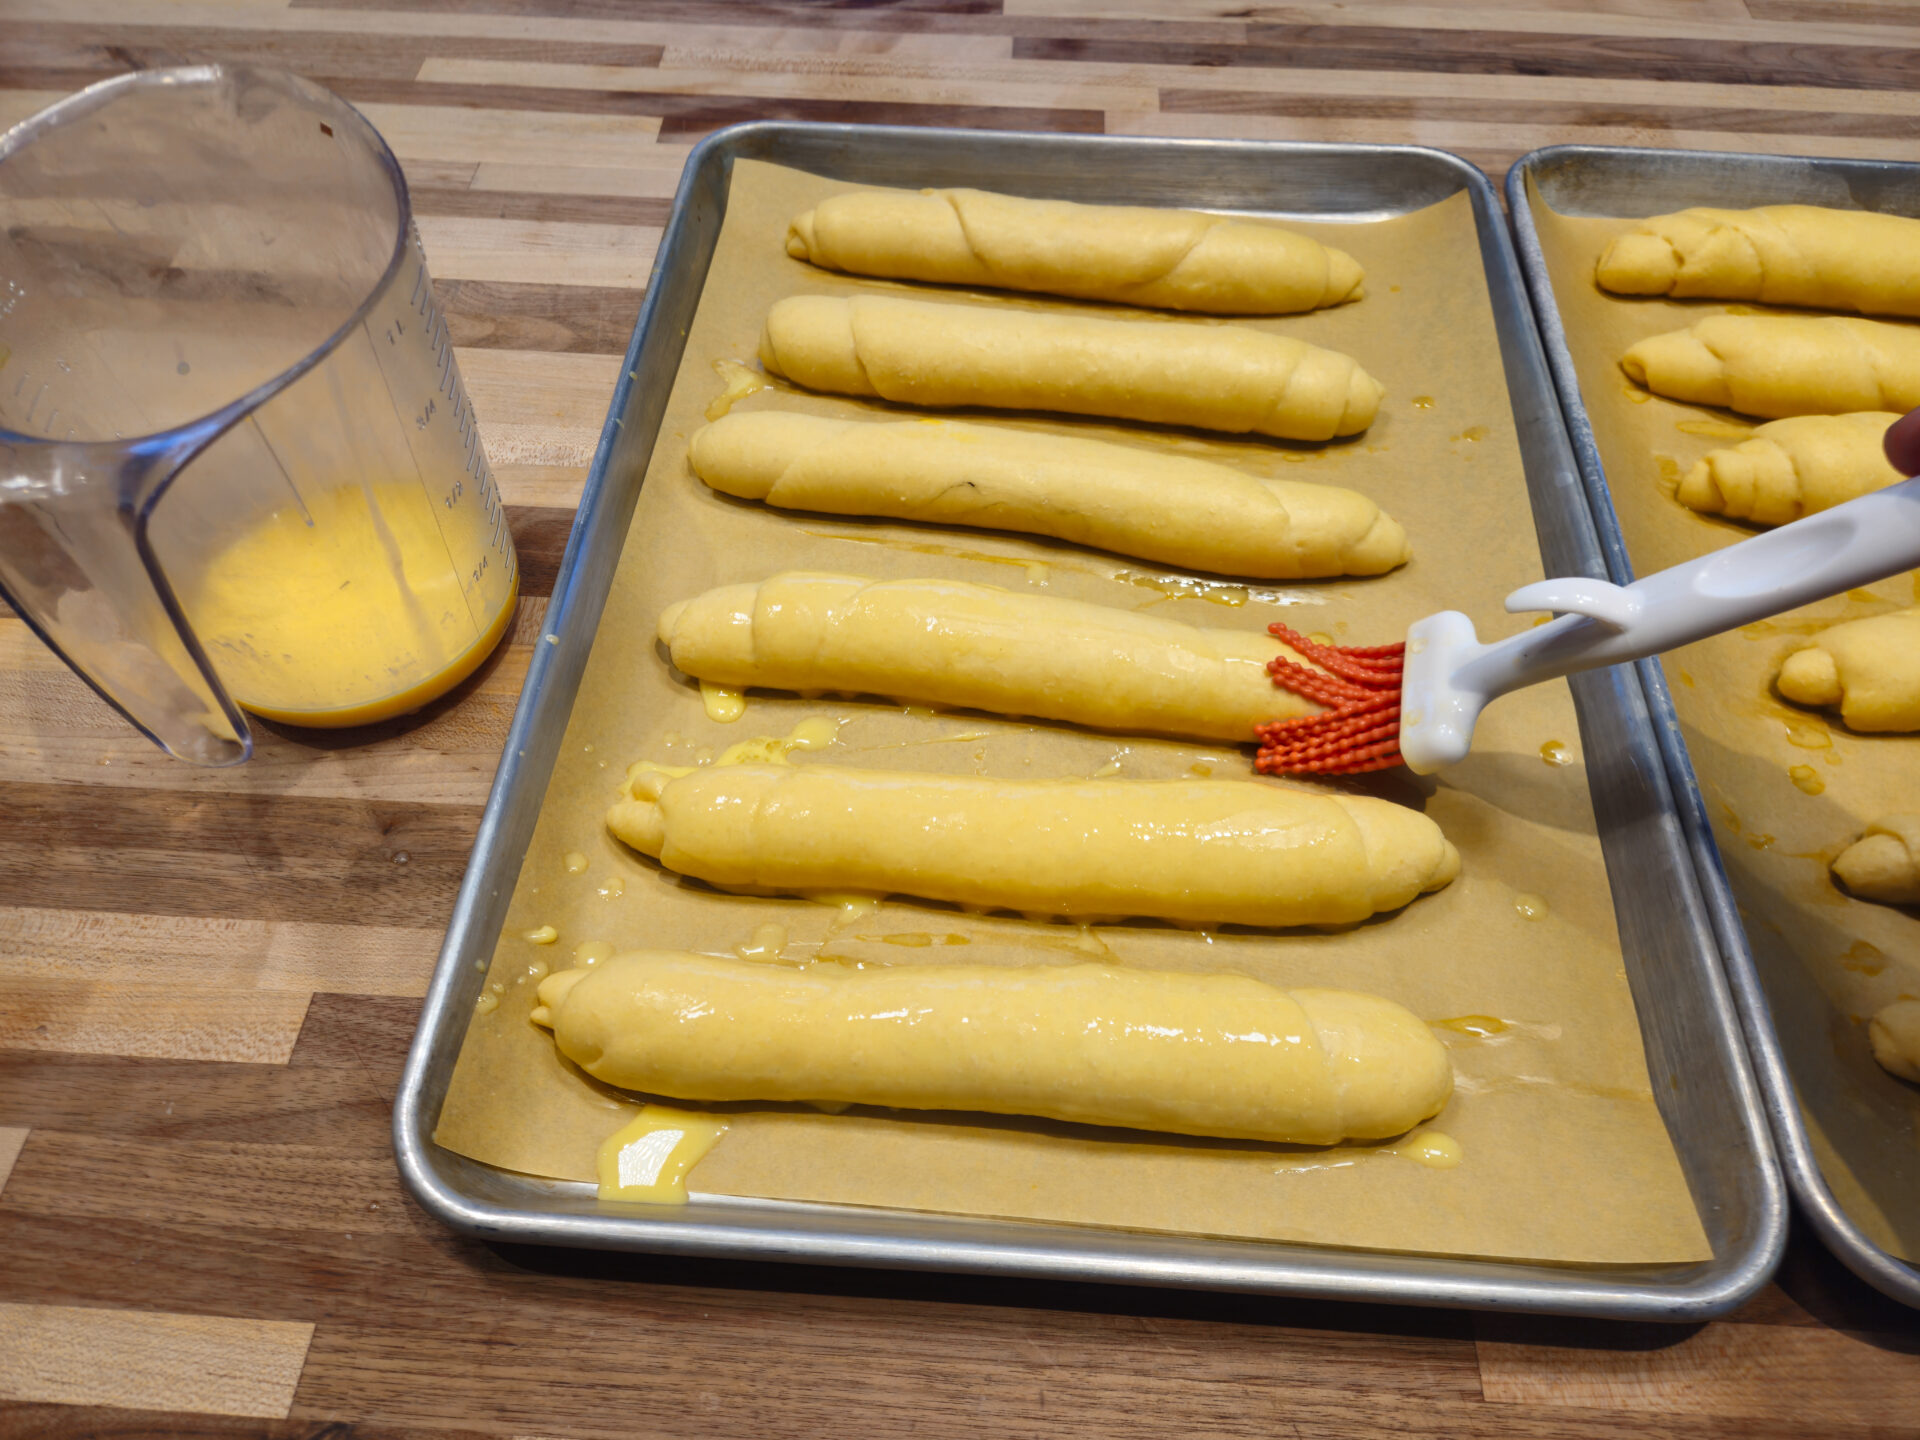
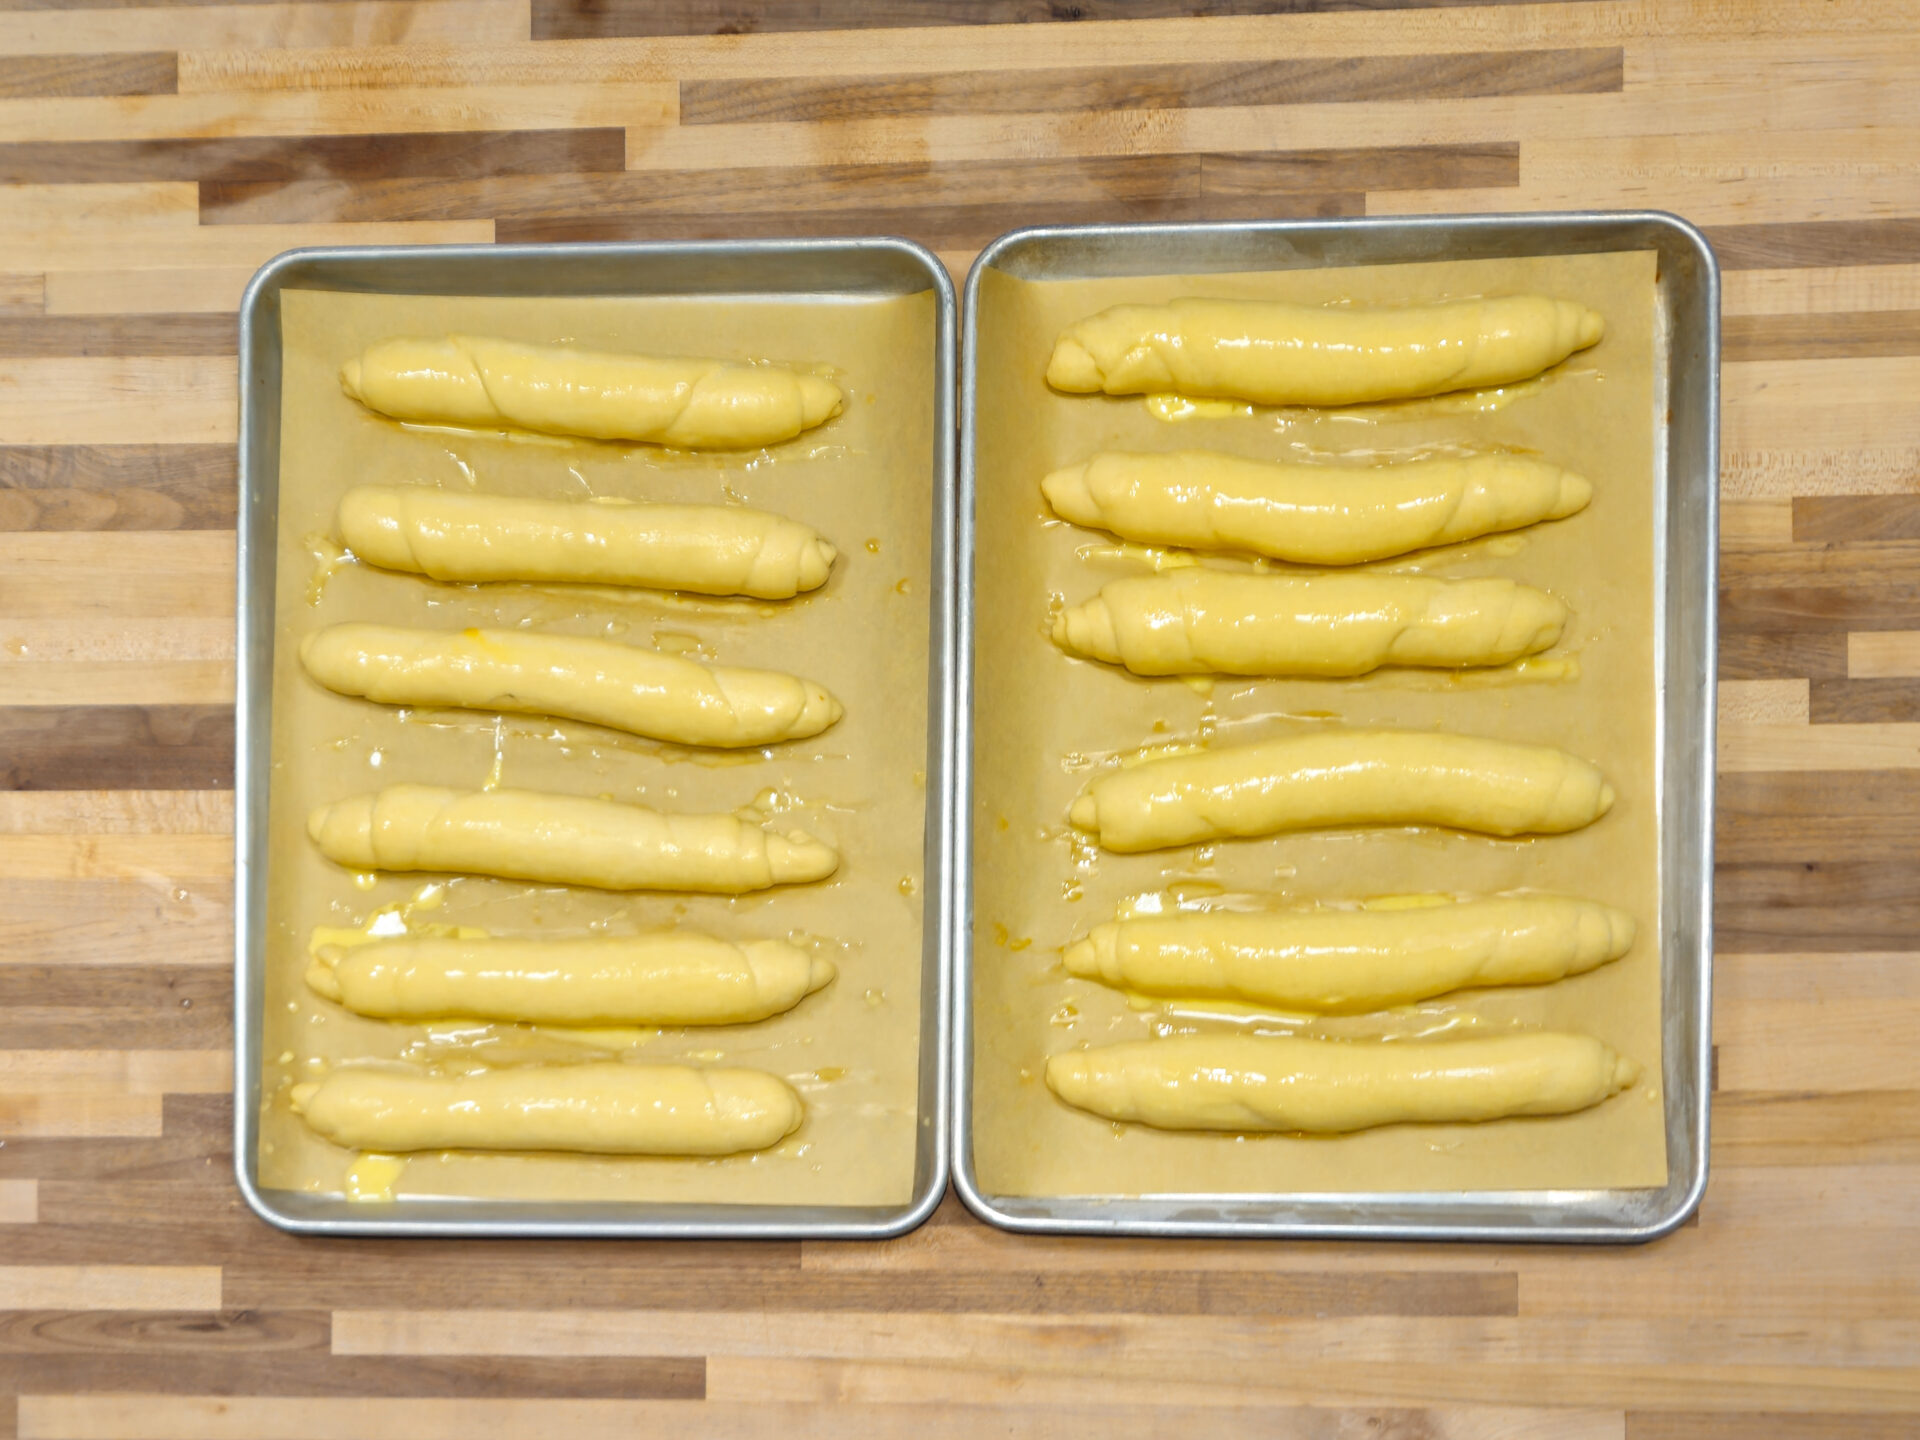
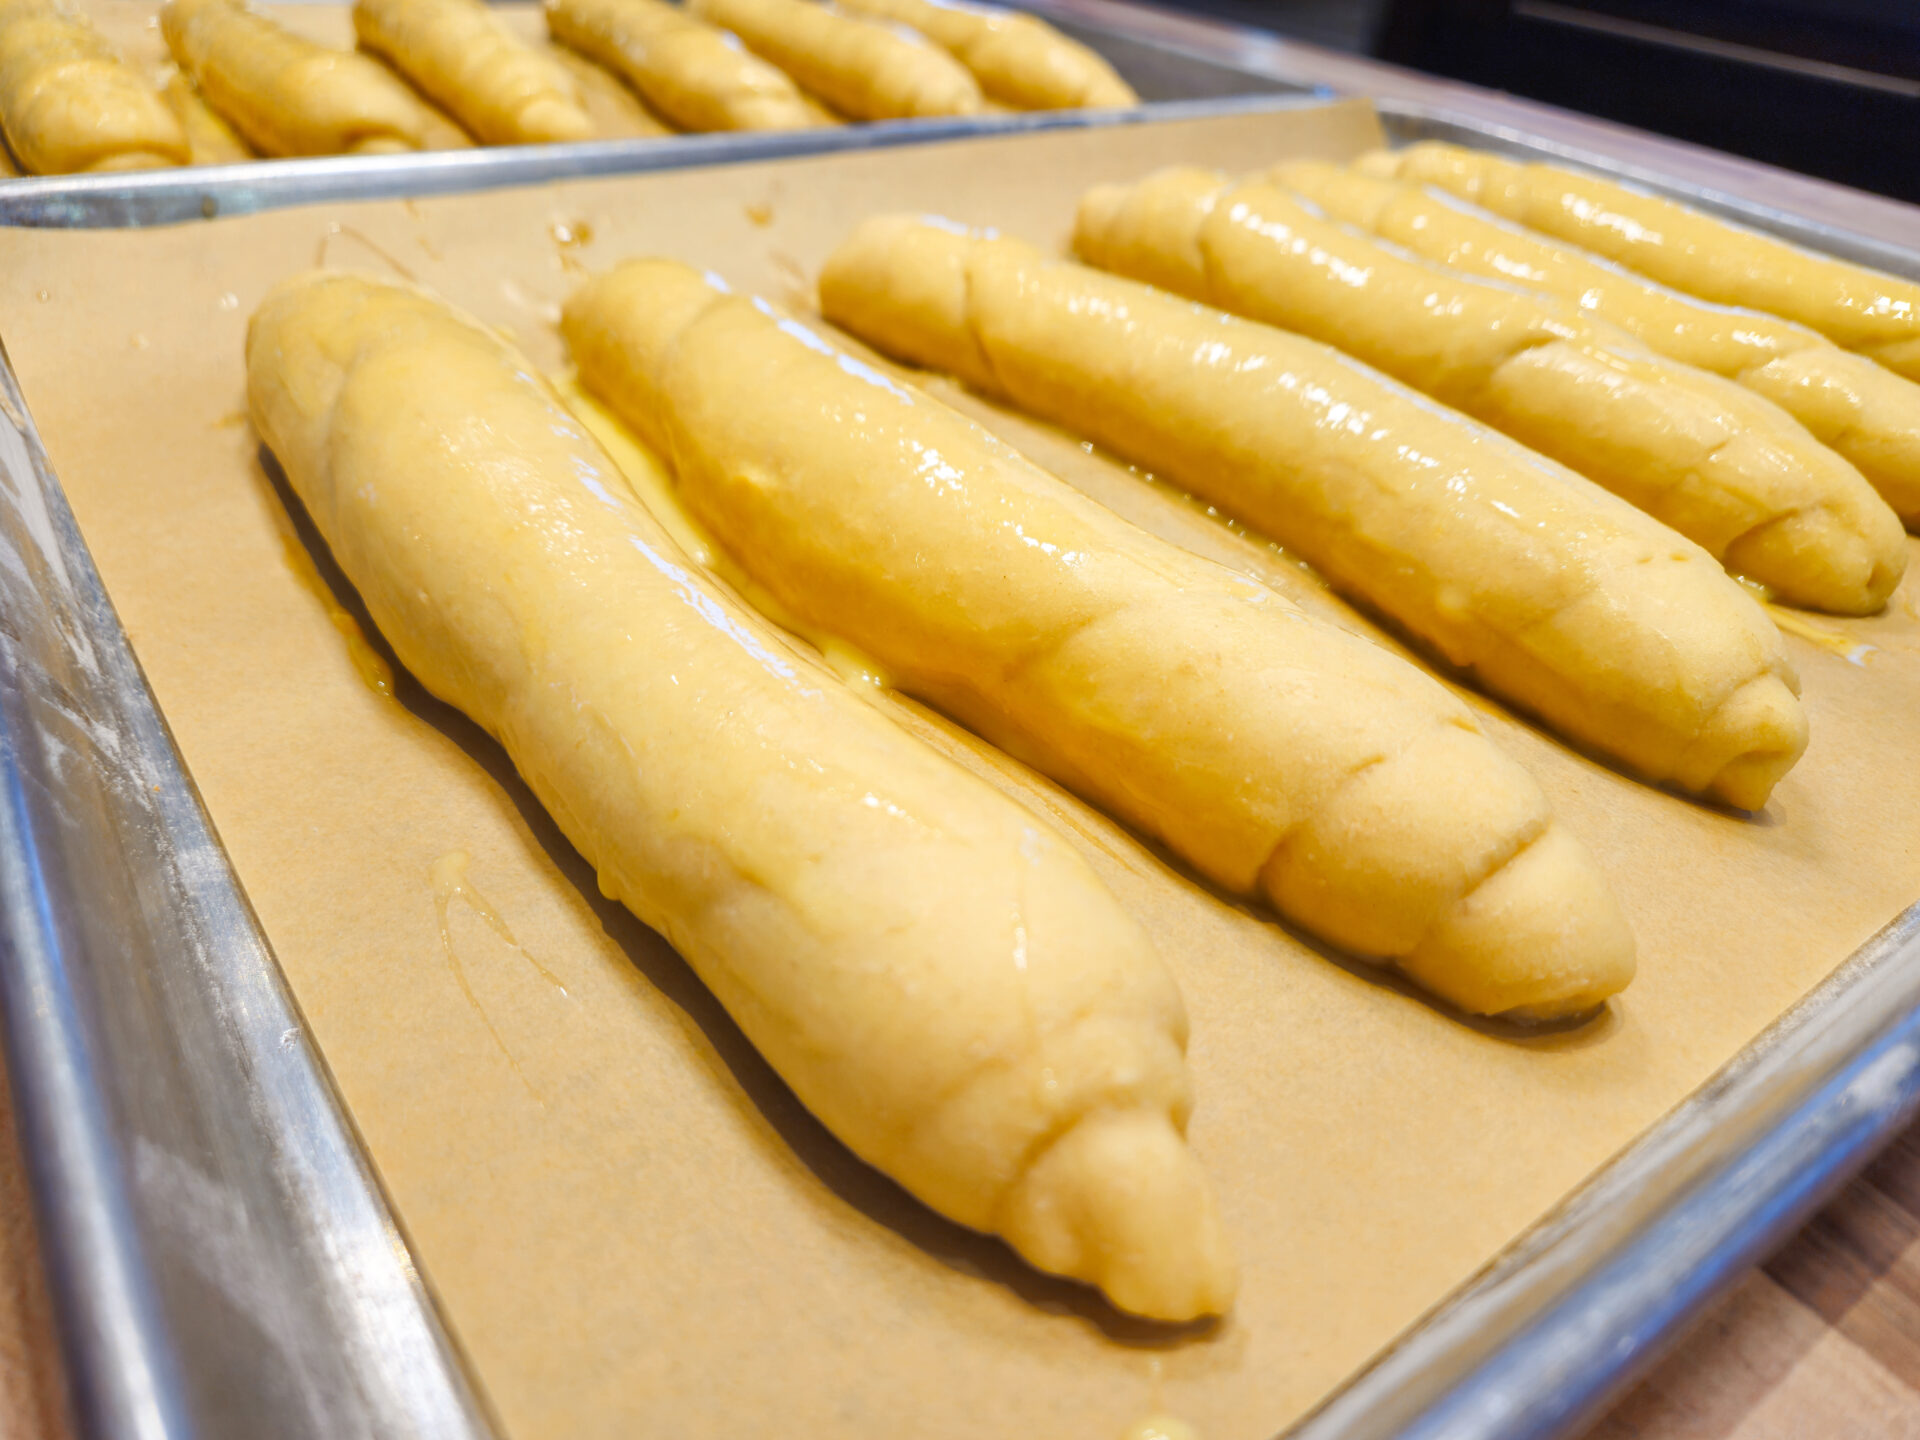
To get that beautiful, shiny, golden-brown crust on my Czech rolls, I use a double brushing technique. First, I prepare a simple brushing mixture by whisking 1 egg with ¼ cup of milk. After I’ve shaped all the rohliky and placed them on a baking sheet, I give them their first brush with this mixture. Then, I let them proof in a warm place. This second rise is called proofing, and it’s much faster—usually 20 minutes to 1 hour. You’ll know they’re ready when they have doubled in size. It’s important to watch them carefully to prevent overproofing. Right before baking, when my oven is preheated to 420°F, I gently brush all the rolls again with the remaining egg wash. This double-brushing is my secret for the best color and shine on these bread rolls.
Baking and Topping the Rohliky
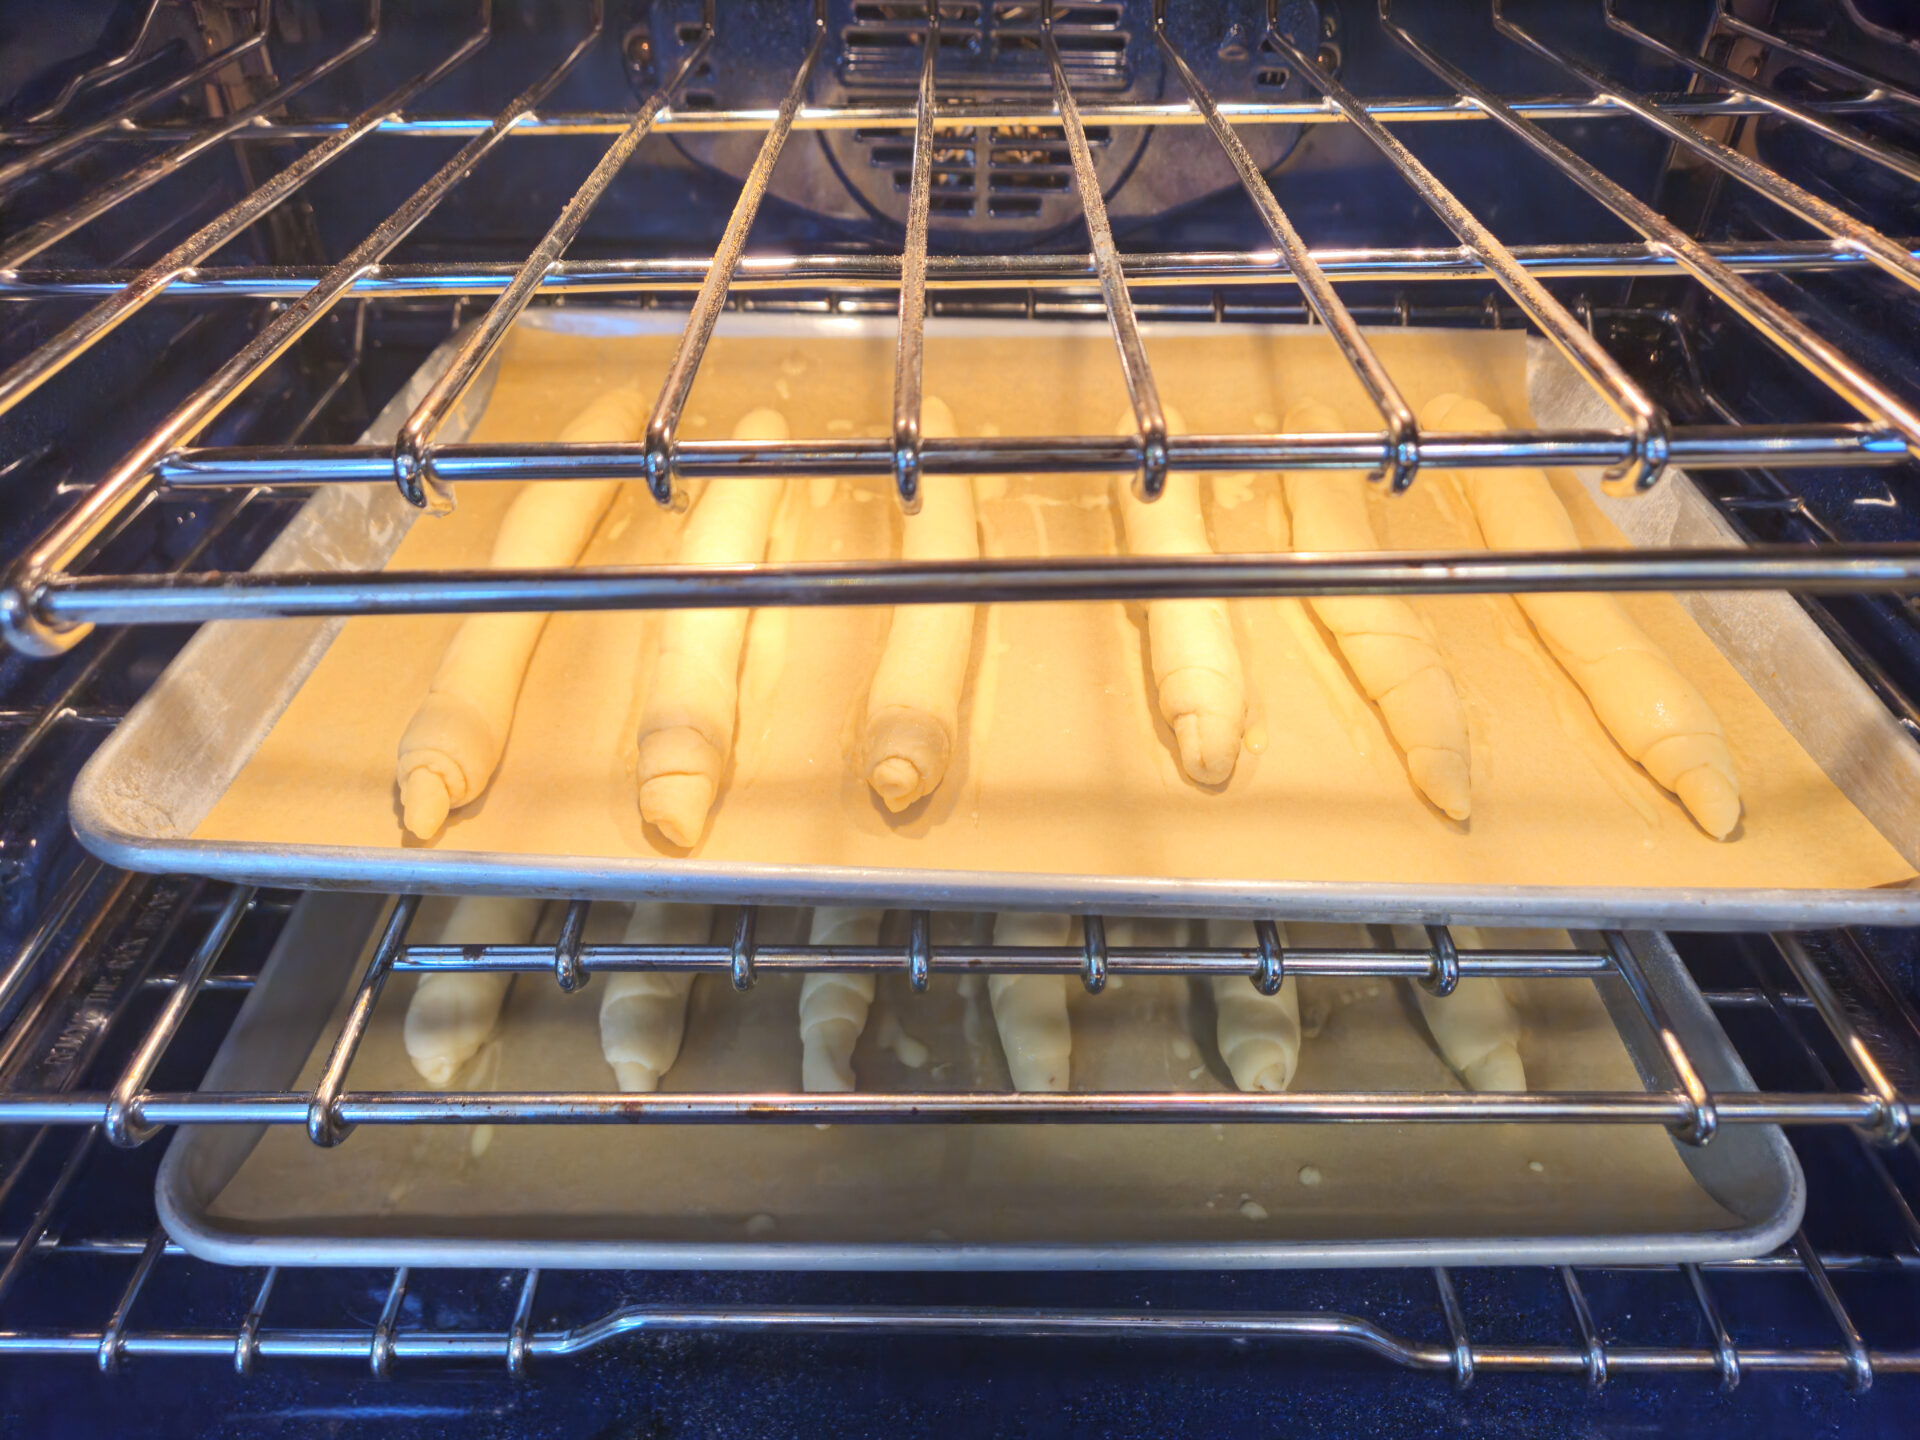
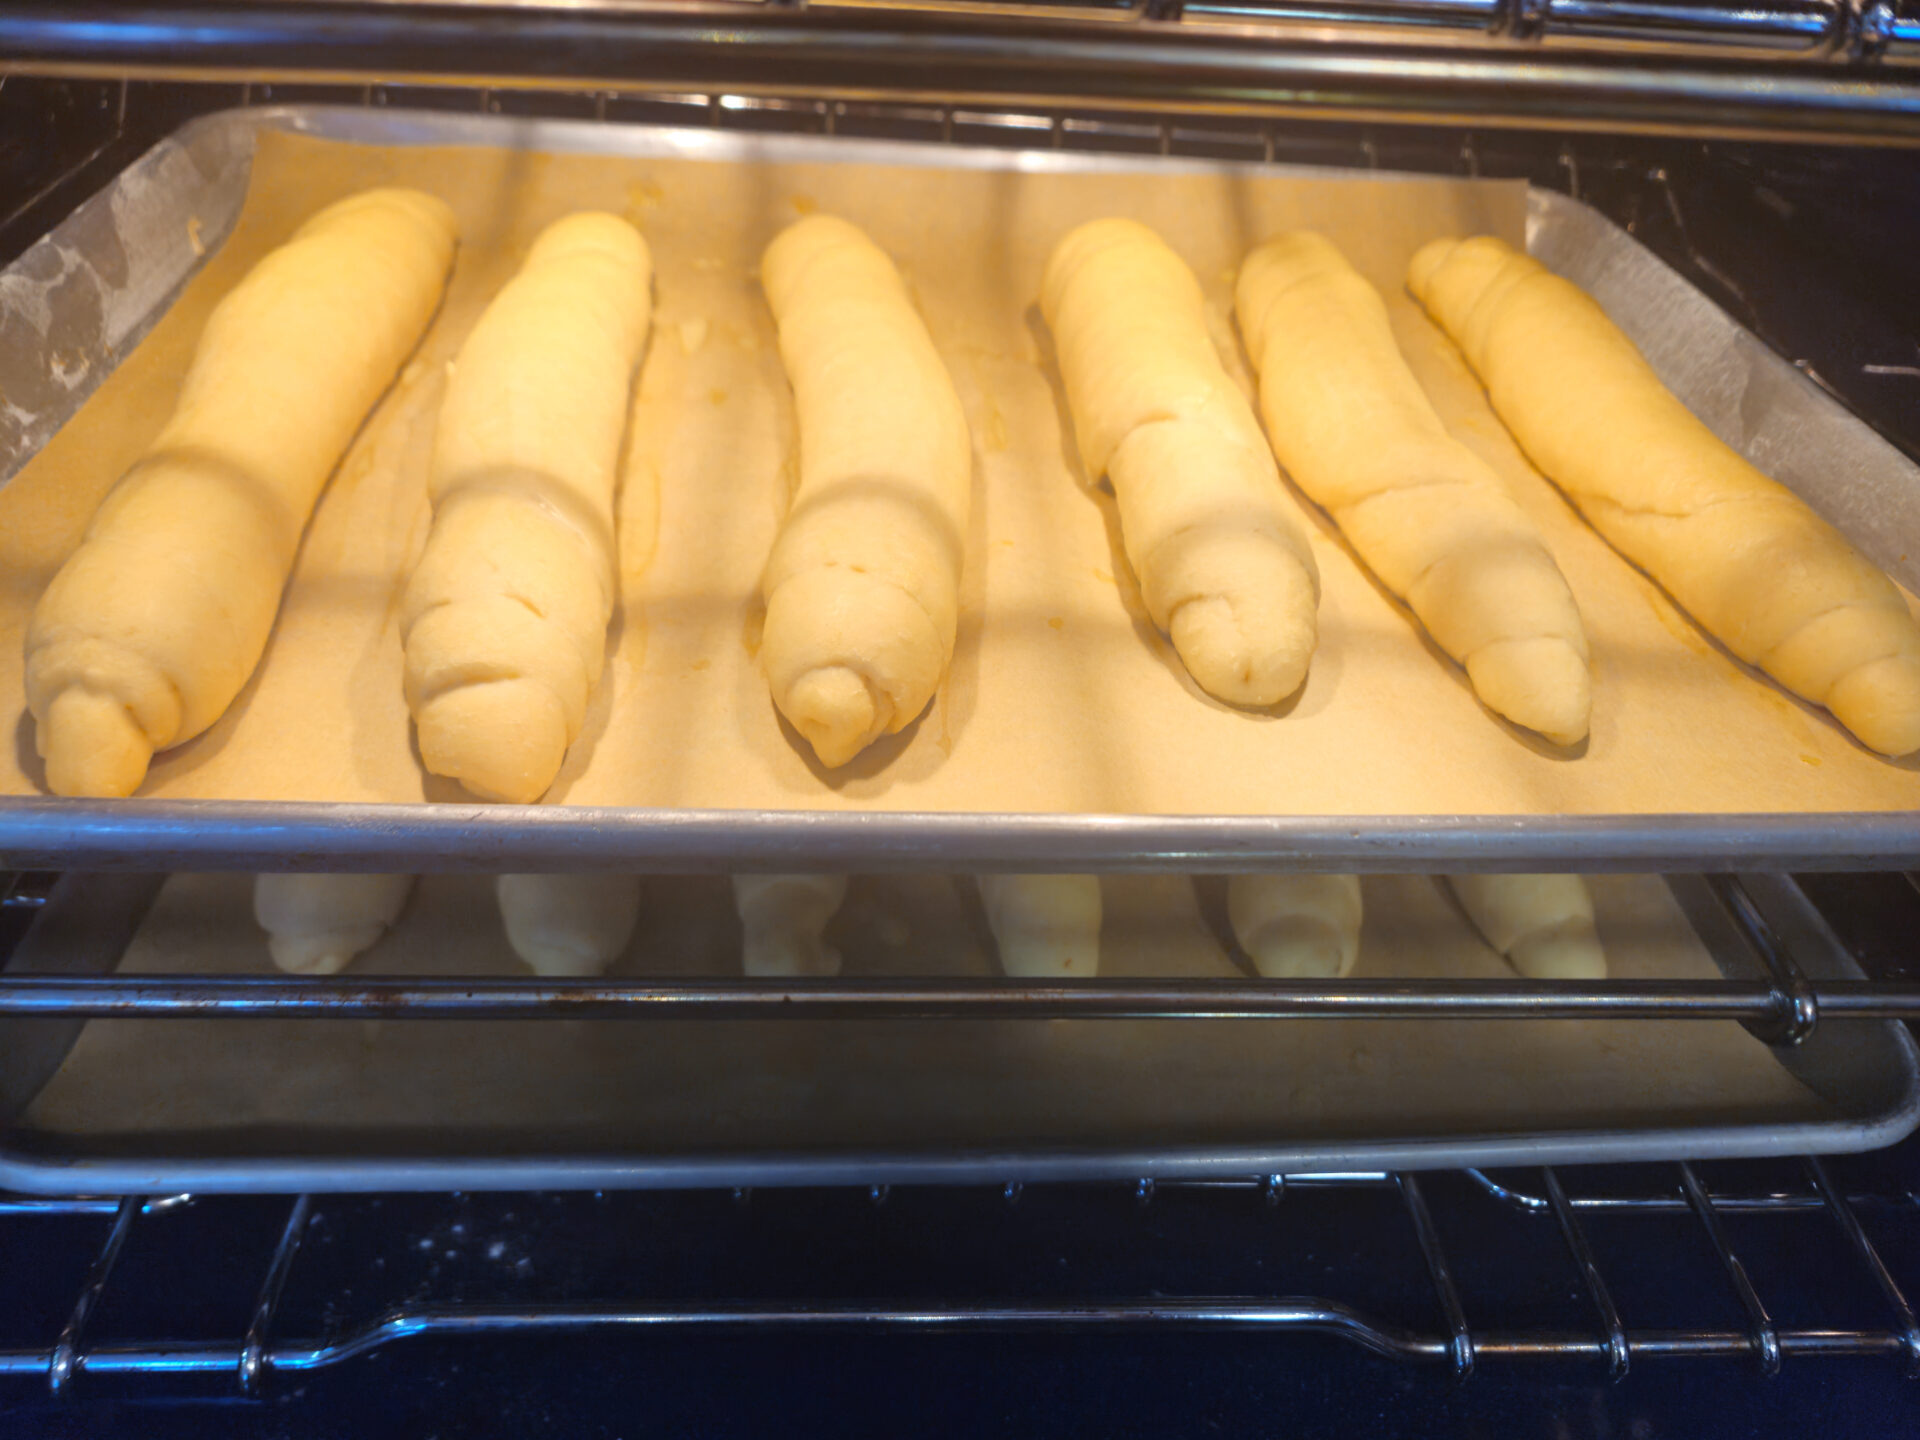
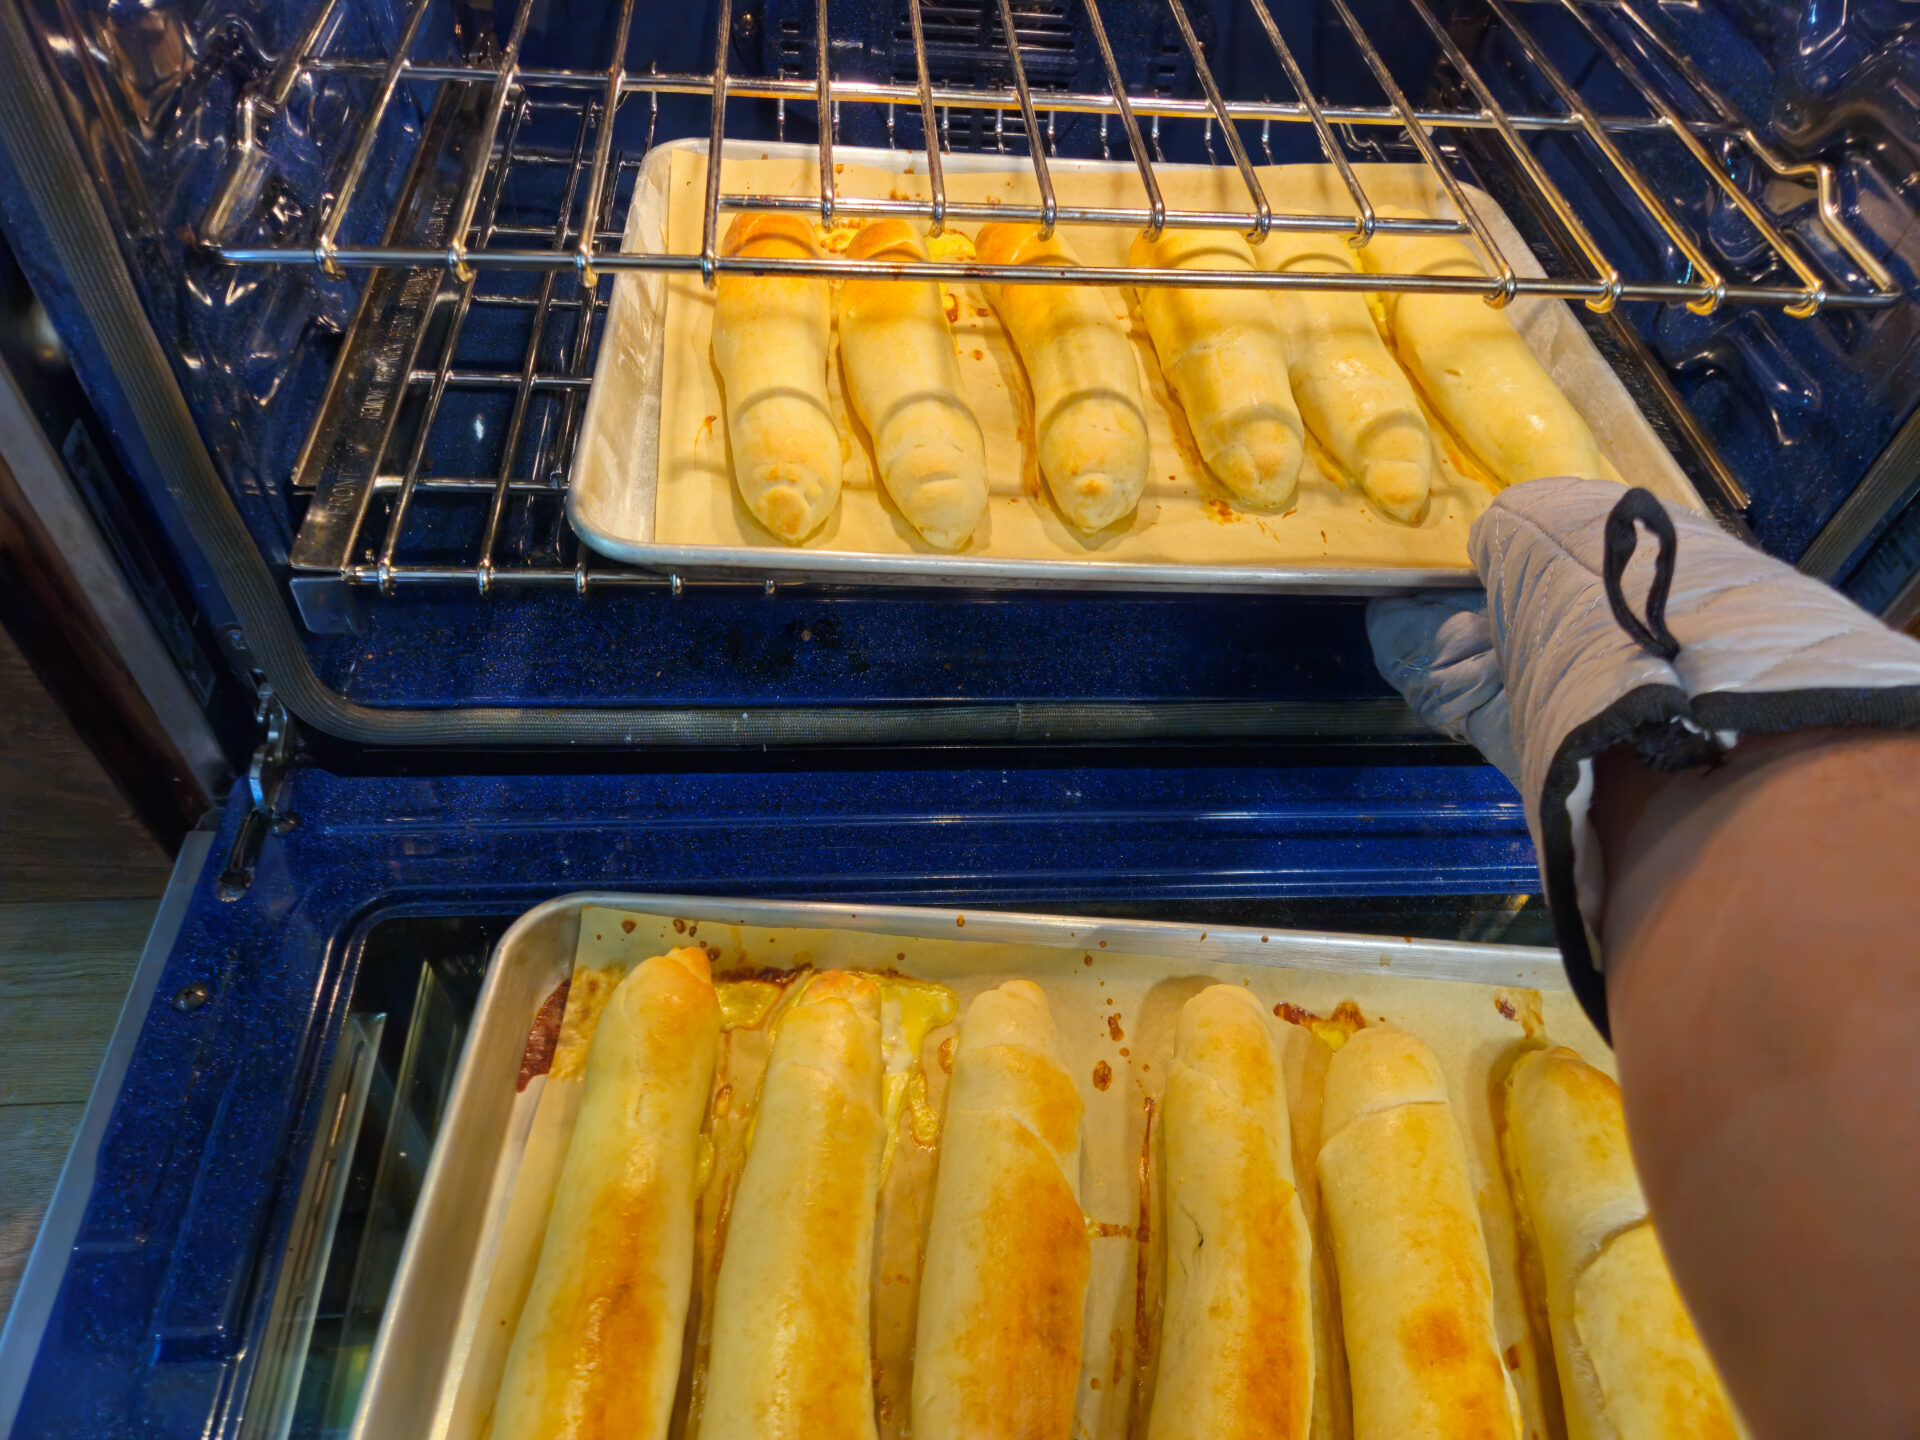
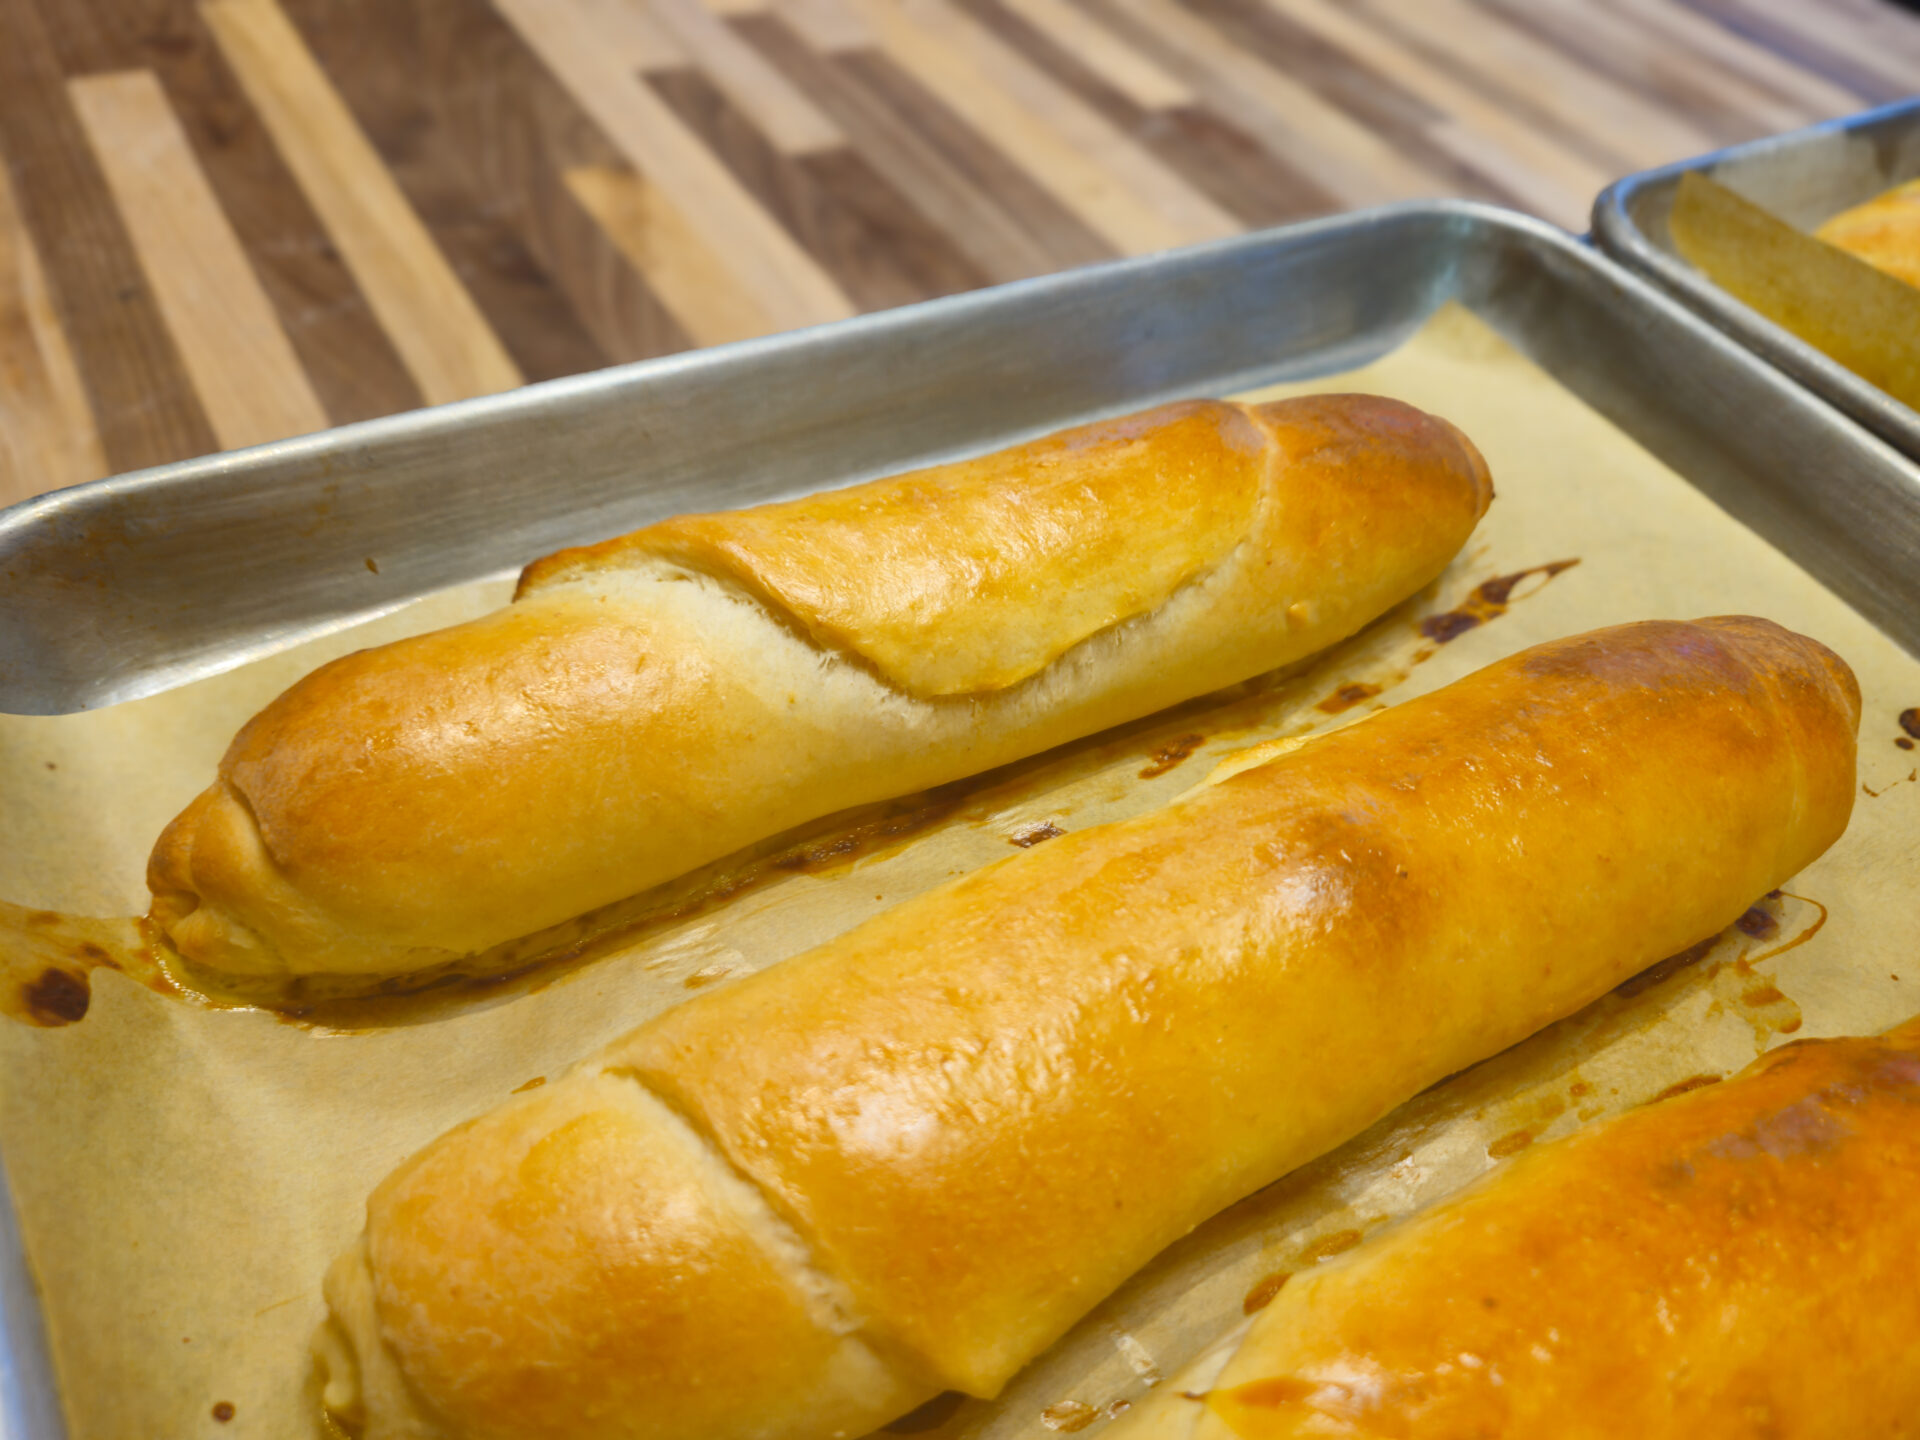
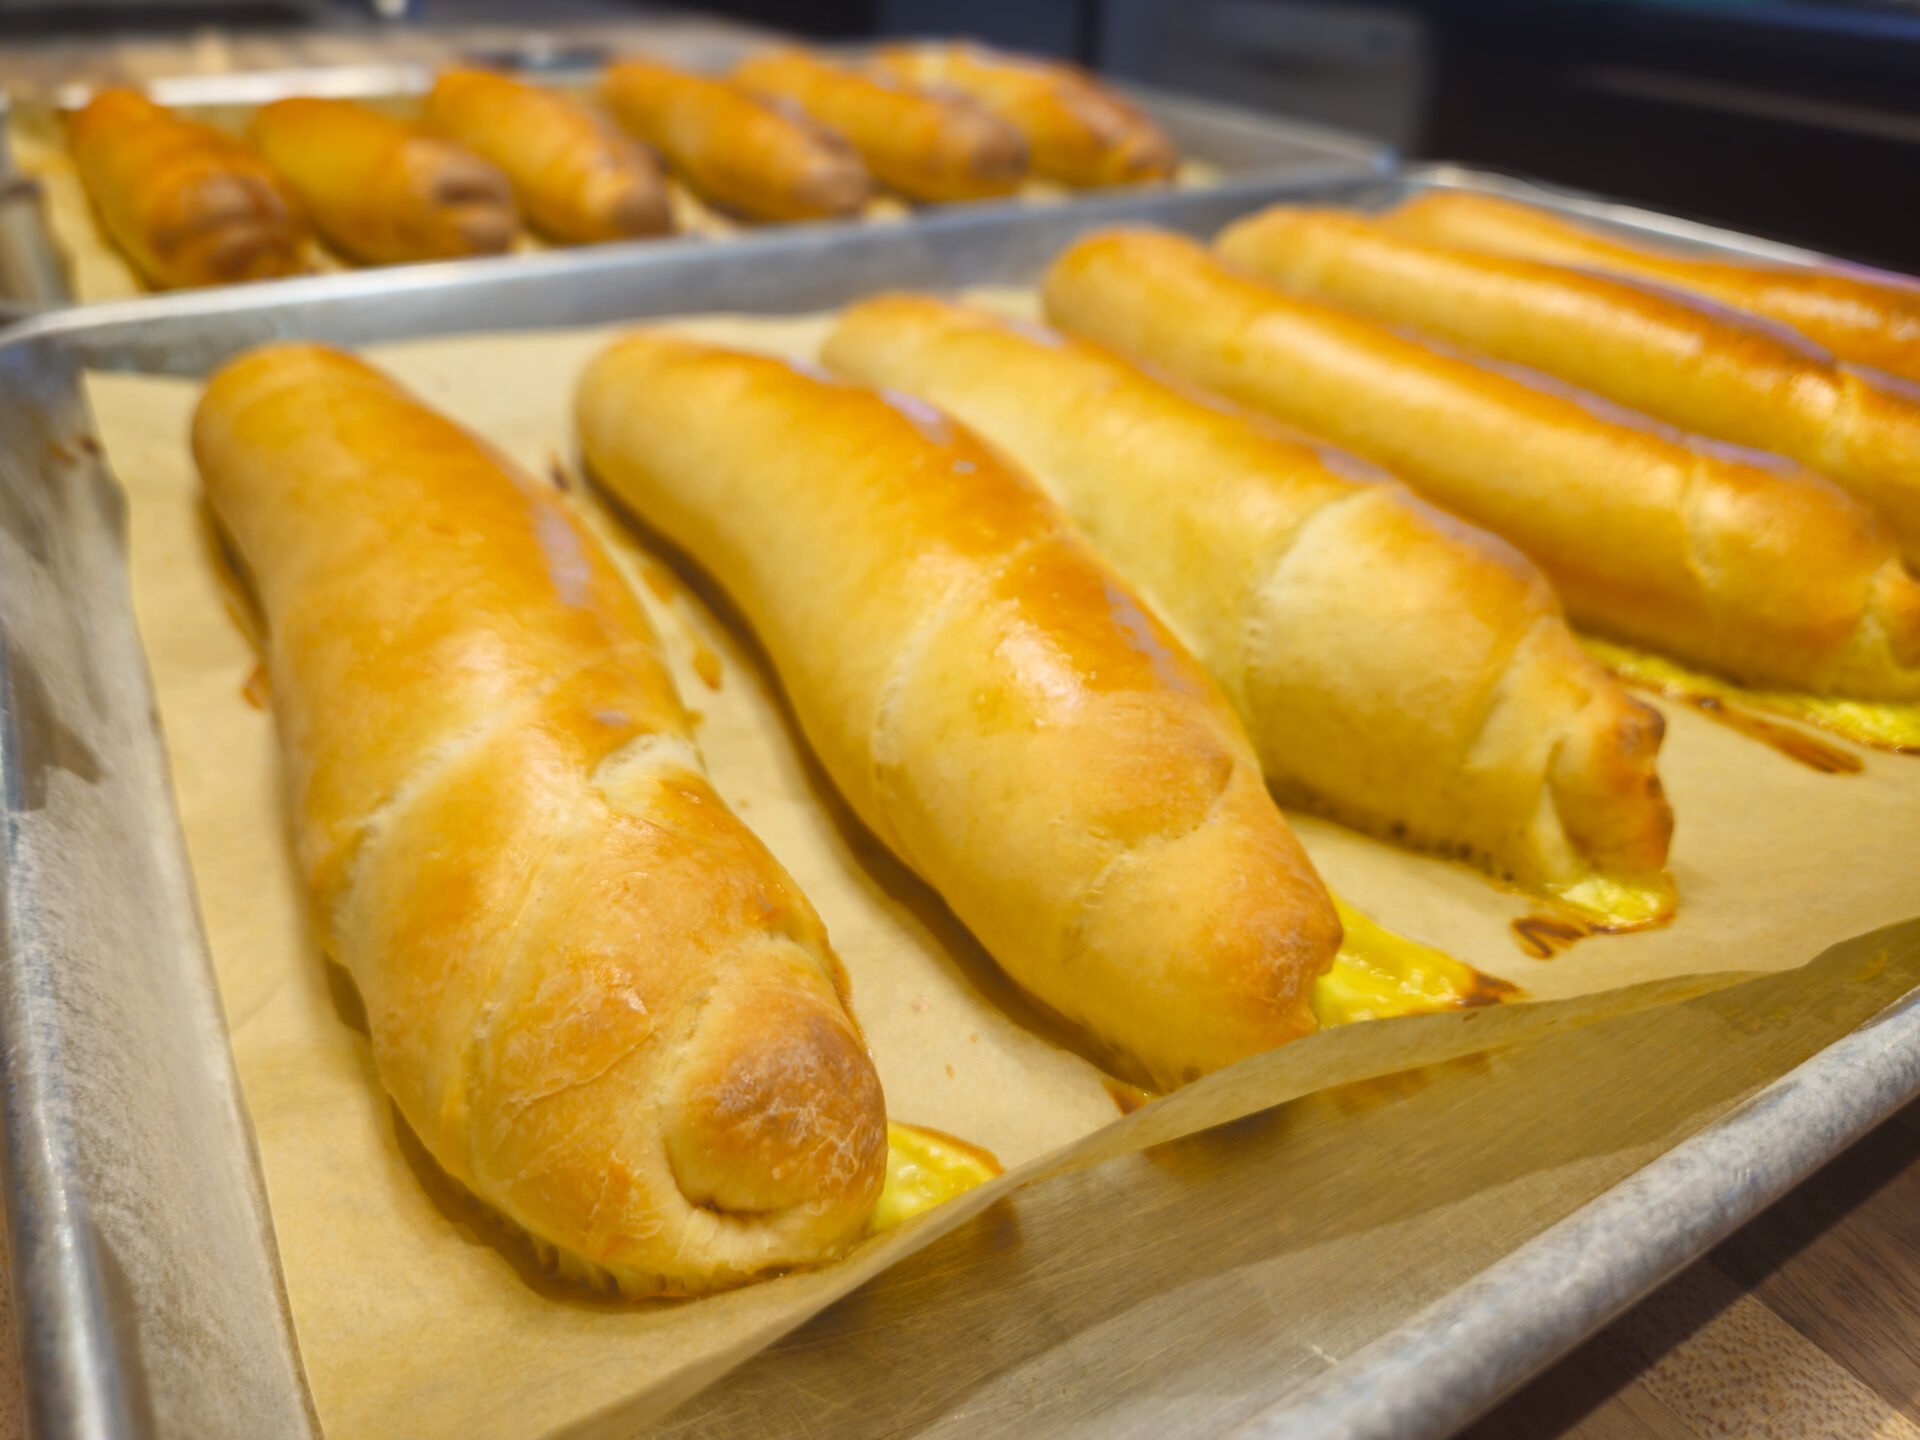
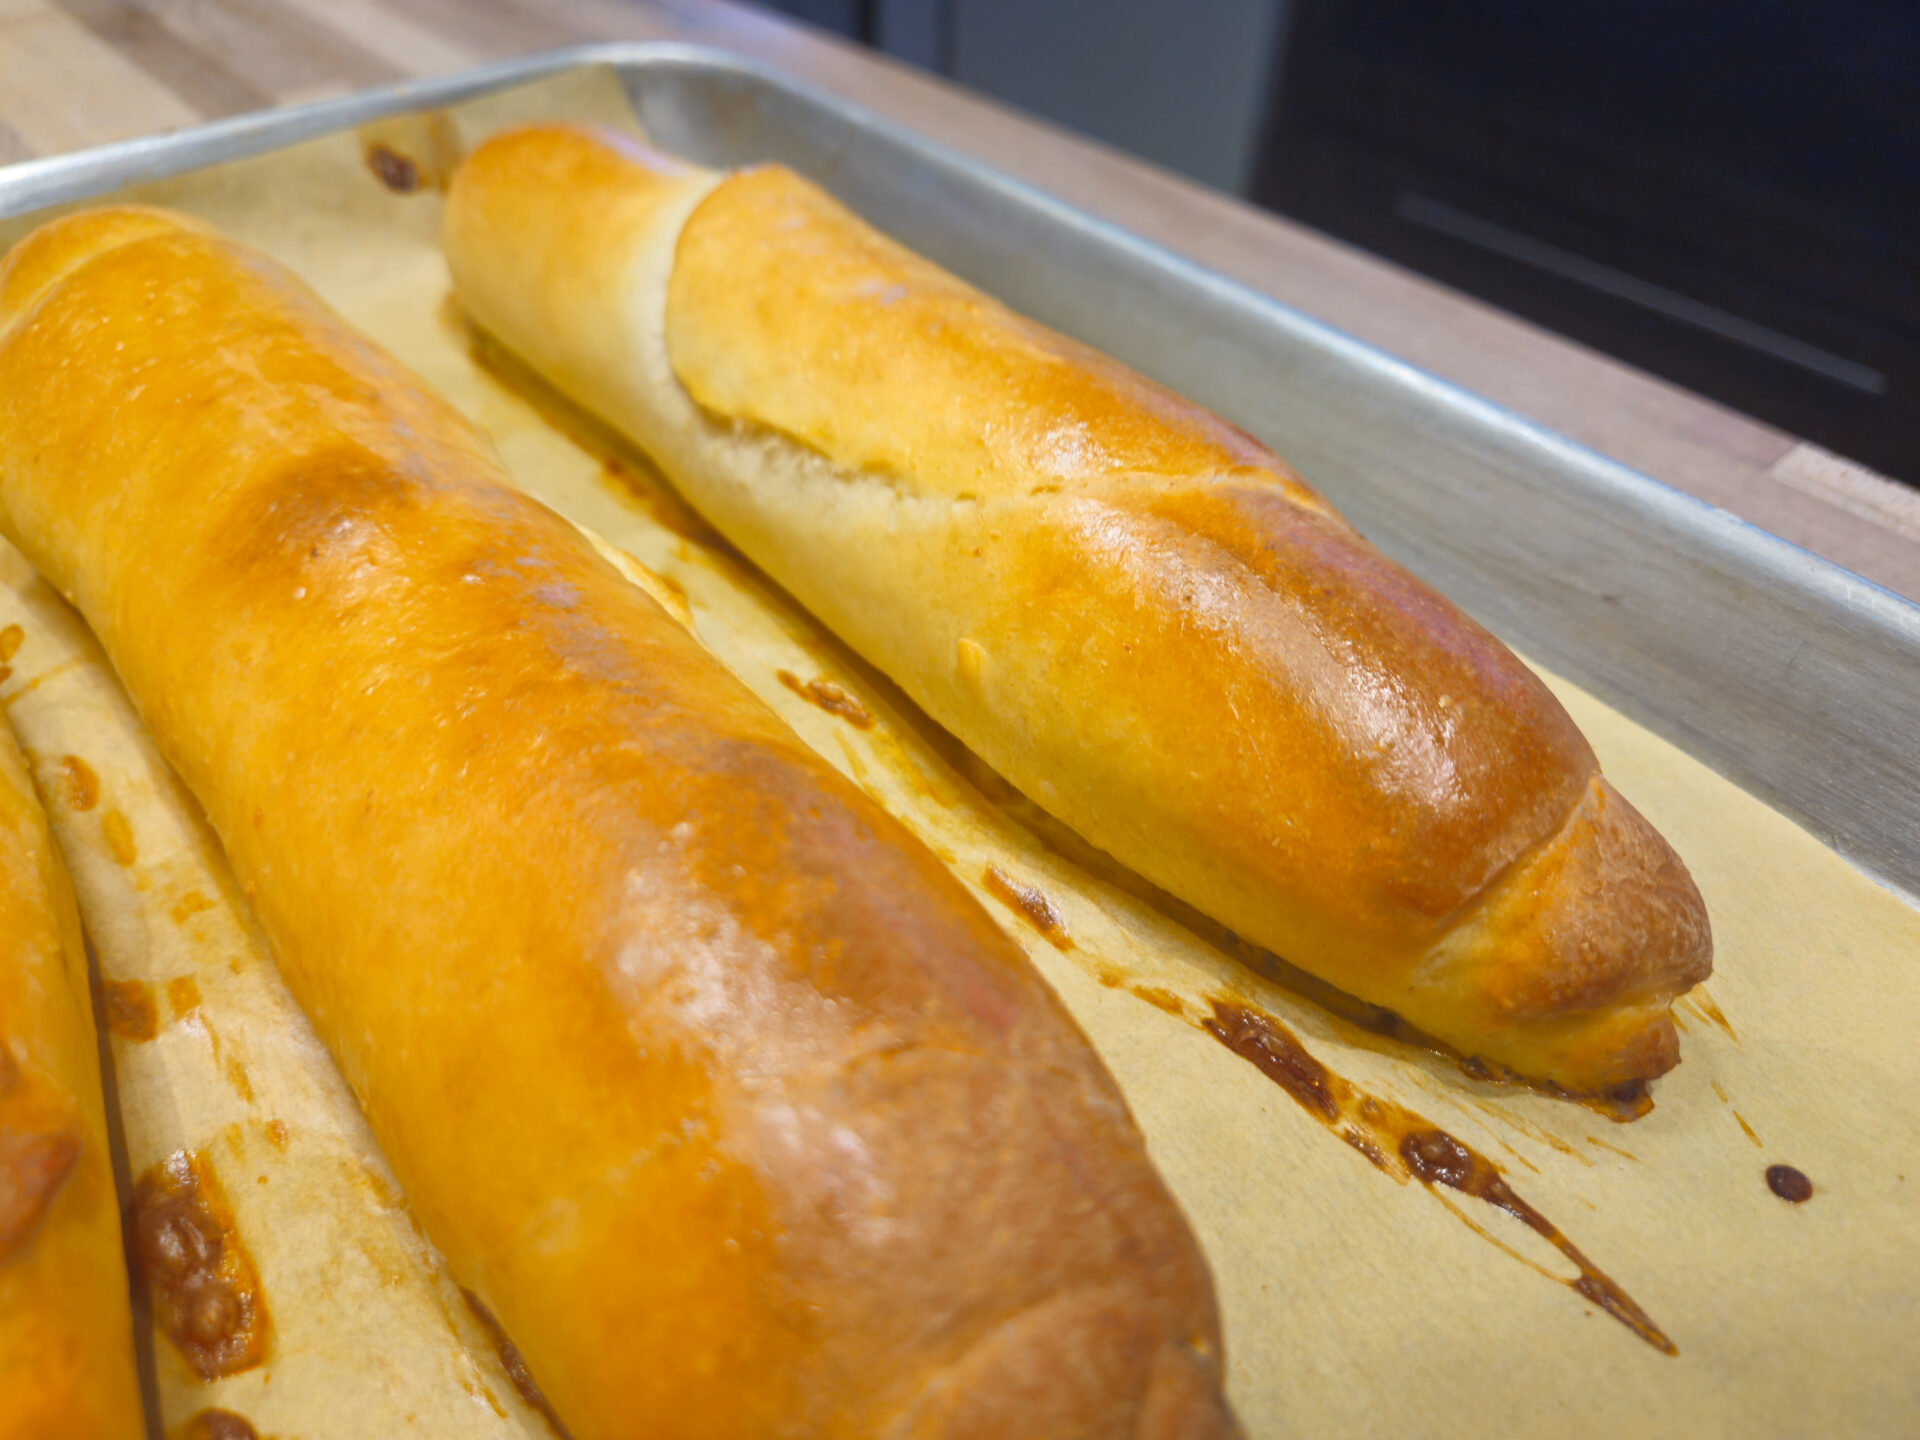
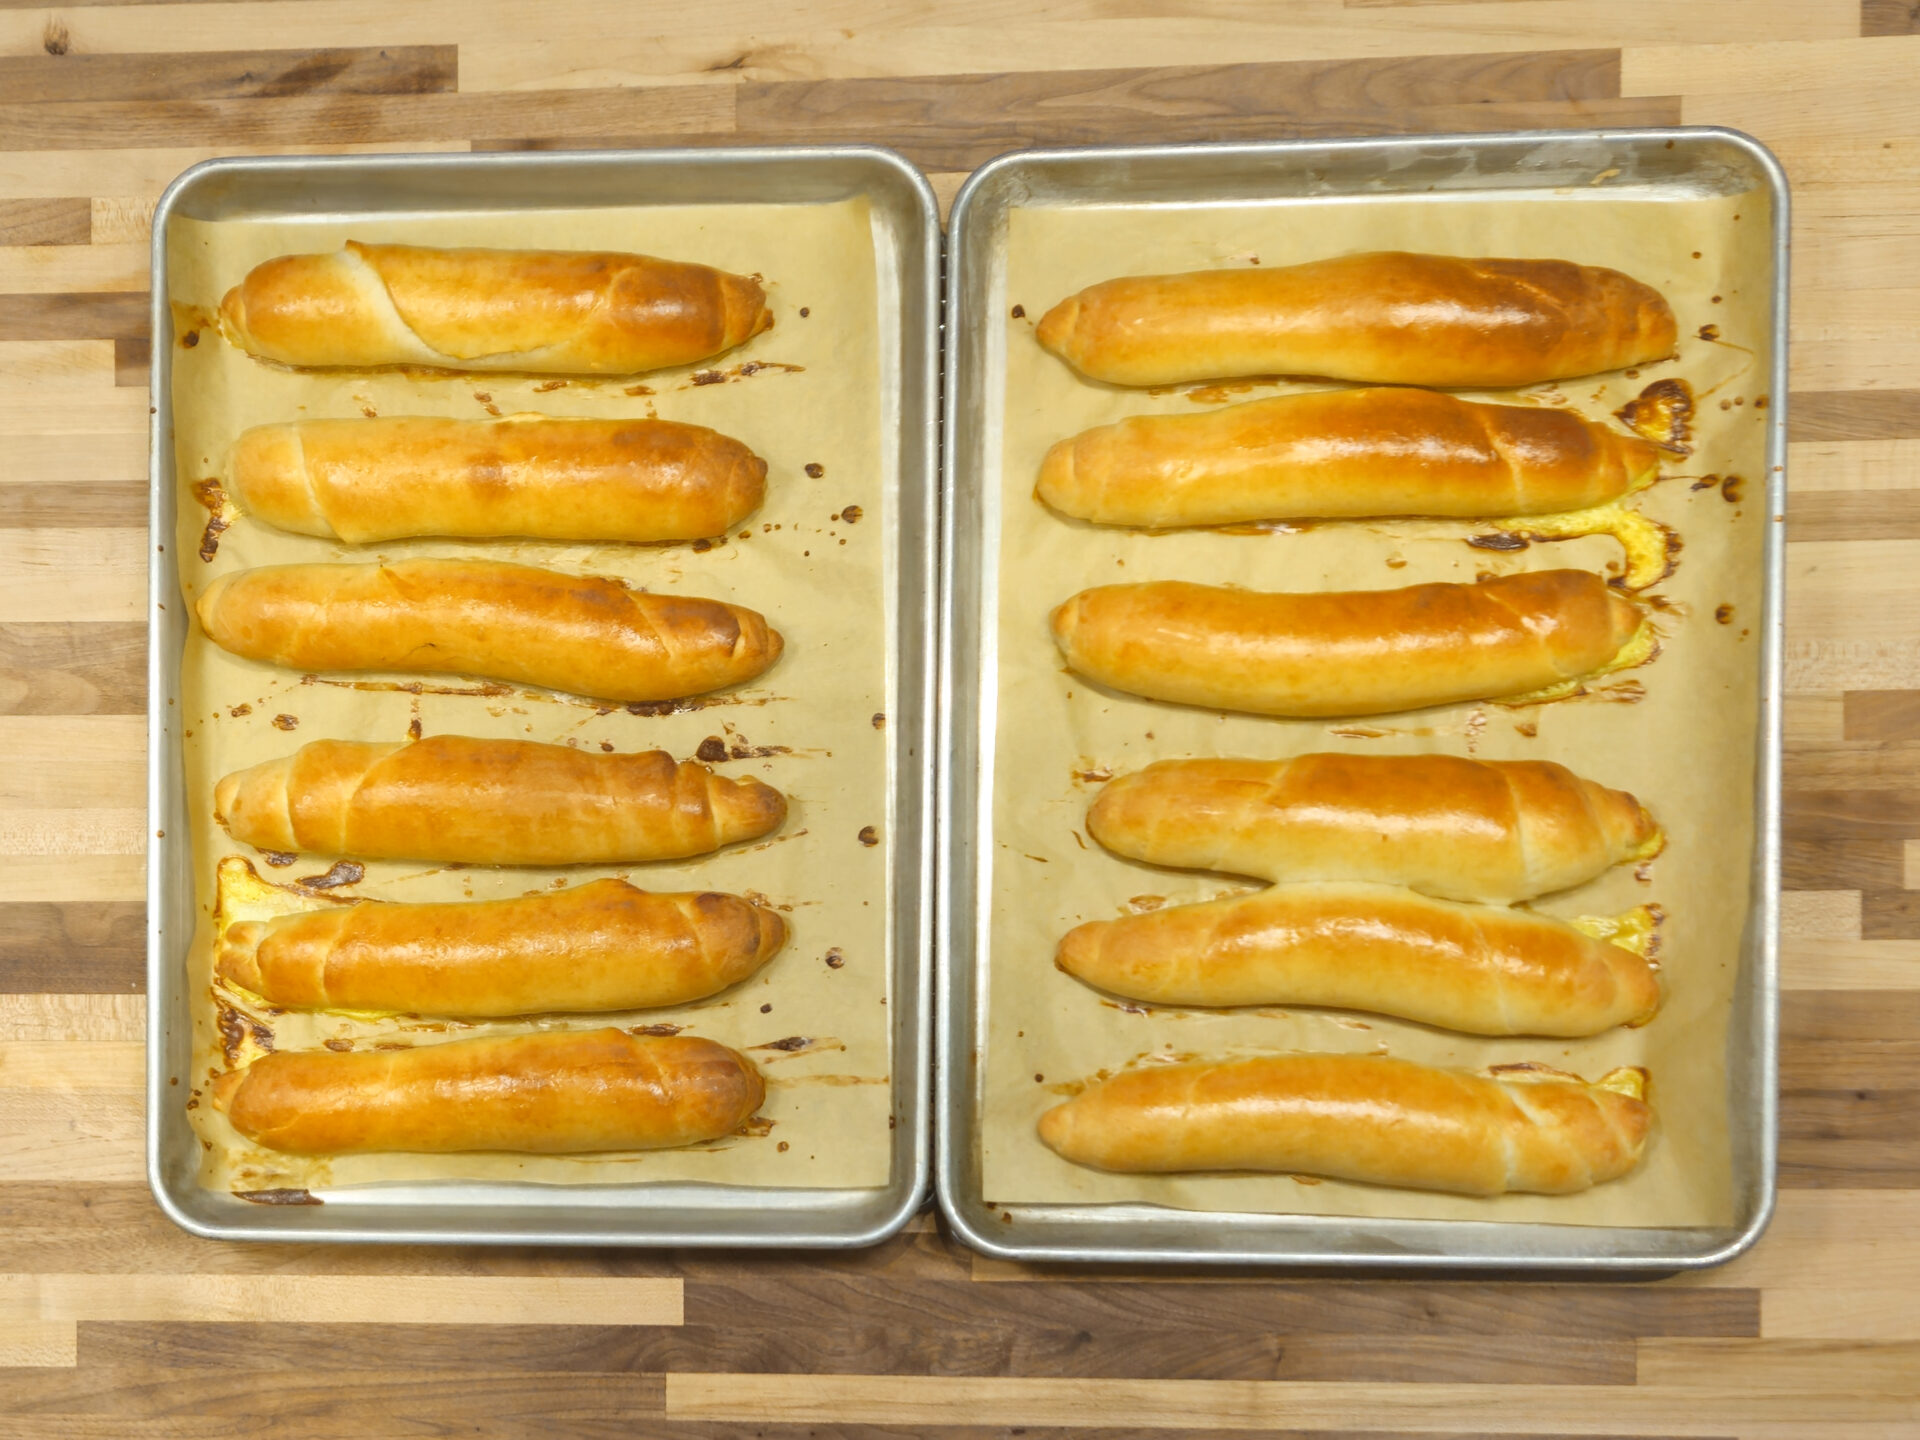
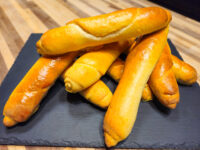
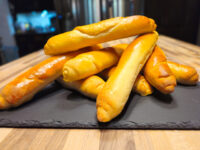
Once the homemade rohliky are proofed and have their second egg wash, it’s time for the final touches before baking. This is when I optionally sprinkle them with toppings. My traditional recipe offers several options, like black or white sesame seeds, poppy seeds, or even crushed pepper flakes for a little kick. A popular topping is sea salt, but I give an important warning: do not use sea salt if you plan on freezing or refrigerating the rolls, as it will make them soggy. After topping, I bake them in the preheated 420°F oven until a nice golden color is reached, which takes about 12-15 minutes. I also make sure to rotate the baking sheets in the middle of baking to ensure they all cook evenly. The result is perfectly baked Czech Rolls (Rohliky), ready to be cooled on a rack.
Czech Rolls Rohliky Recipe
Ingredients:
Click any ingredient to learn moreDough
4 ¼ cups of bread flour
1 TBSP of active dry yeasts
1 TBSP of granulated sugar
2 TSP of salt
1 ¾ cup of water - preheat in microwave to lukewarm (about 90 to 100°F)
¼ cup of cooking oil (any kind)
Brushing mixture:
1 egg
¼ cup of milk
Optionally: Sprinkle with:
● Black and/or white sesame seeds
● Crushed pepper flakes
● Poppyseeds
● Sunflower seeds or any other kind of seeds
● Sea salt (do not use if you are going to freeze or refrigerate the rolls; it will make them soggy)
Tools:
Click any tool to learn more1x Whisks
1x Kitchen Mixer with Hook Attachment (or large mixing bowl for hand processing.)
1x Bowl Scraper
1x Plate (or plastic wrap)
1x Rolling Pin
1x Cooling Rack
Nutrition per 1 Serving:(recipe split into 12 servings)
EstimatedCalories 216
Protein 6.4 g
Fat 5.9 g
Saturated fat 1.5 g
Carbohydrate 33.8 g
Sugars 1.4 g
Fiber 1.3 g
Sodium 275 mg
Cholesterol 16 mg
Vegetarian
Estimated. Worked out from the ingredients above using the United States Department of Agriculture’s FoodData Central reference data. An estimate, not a measurement — brands, sizes and how much of a marinade actually ends up on the plate all move it.
Directions:
1.Dough For Czech Rolls Rohliky Recipe:
Let’s start the preparation of the Czech Rolls Rohlíky recipe.
1.1.
Place into a kitchen mixer with a hook attachment:
4 ¼ cups of bread flour
1 TBSP of active dry yeasts
1 TBSP of granulated sugar
2 TSP of salt
Shortly stir with a hand whisk just enough to combine all ingredients (about 1 minute).
1.2.
Add:
1 ¾ cups of lukewarm water
¼ cup of cooking oil
Knead on low speed until all ingredients are partially incorporated (about 30 seconds).
2.Rising the Dough:
3.Pre-shape the Dough:
3.1.
3.2.
Optionally, form each piece of dough into compact dough balls with your hands (to make further forming slightly easier).
4.Shape the Rolls:
Before you proceed:
- Make sure that the surface is perfectly clean (no residue of food, ingredients, etc.).
- Shape the rolls one by one on a surface that does NOT have flour.
- Since the dough includes oil, it should not stick to the surface if prepared properly.
- If your dough occasionally and slightly sticks to the surface, consider using a bowl scraper to release it.
- If the dough sticks to the surface, it most likely means it rose for a little too long. In that case, lightly flour the surface and, optionally, also the top of the dough to prevent stickiness.
4.1.
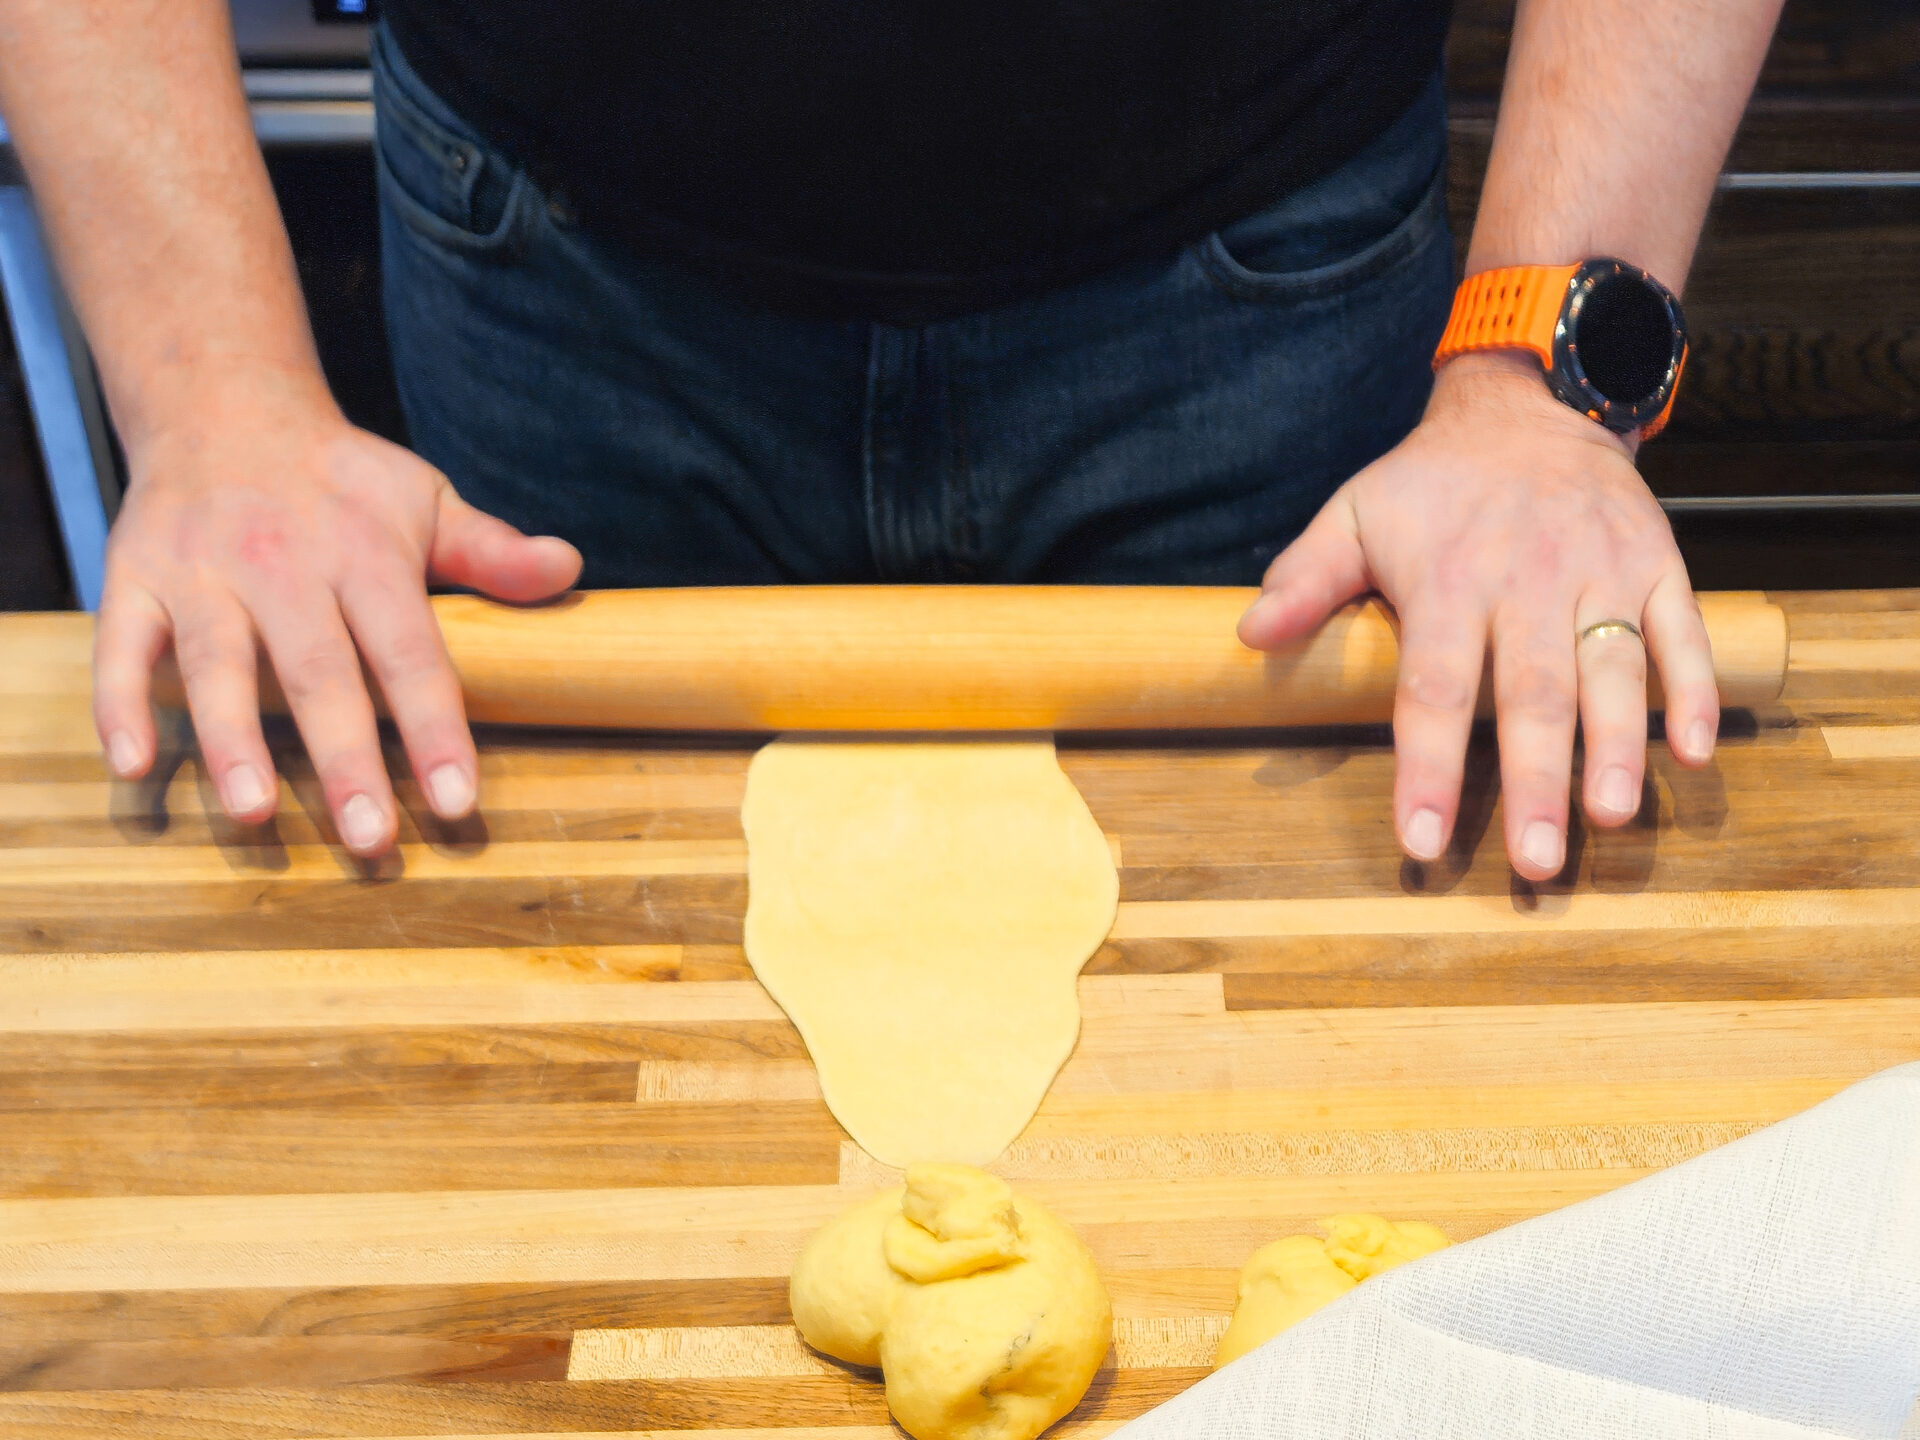
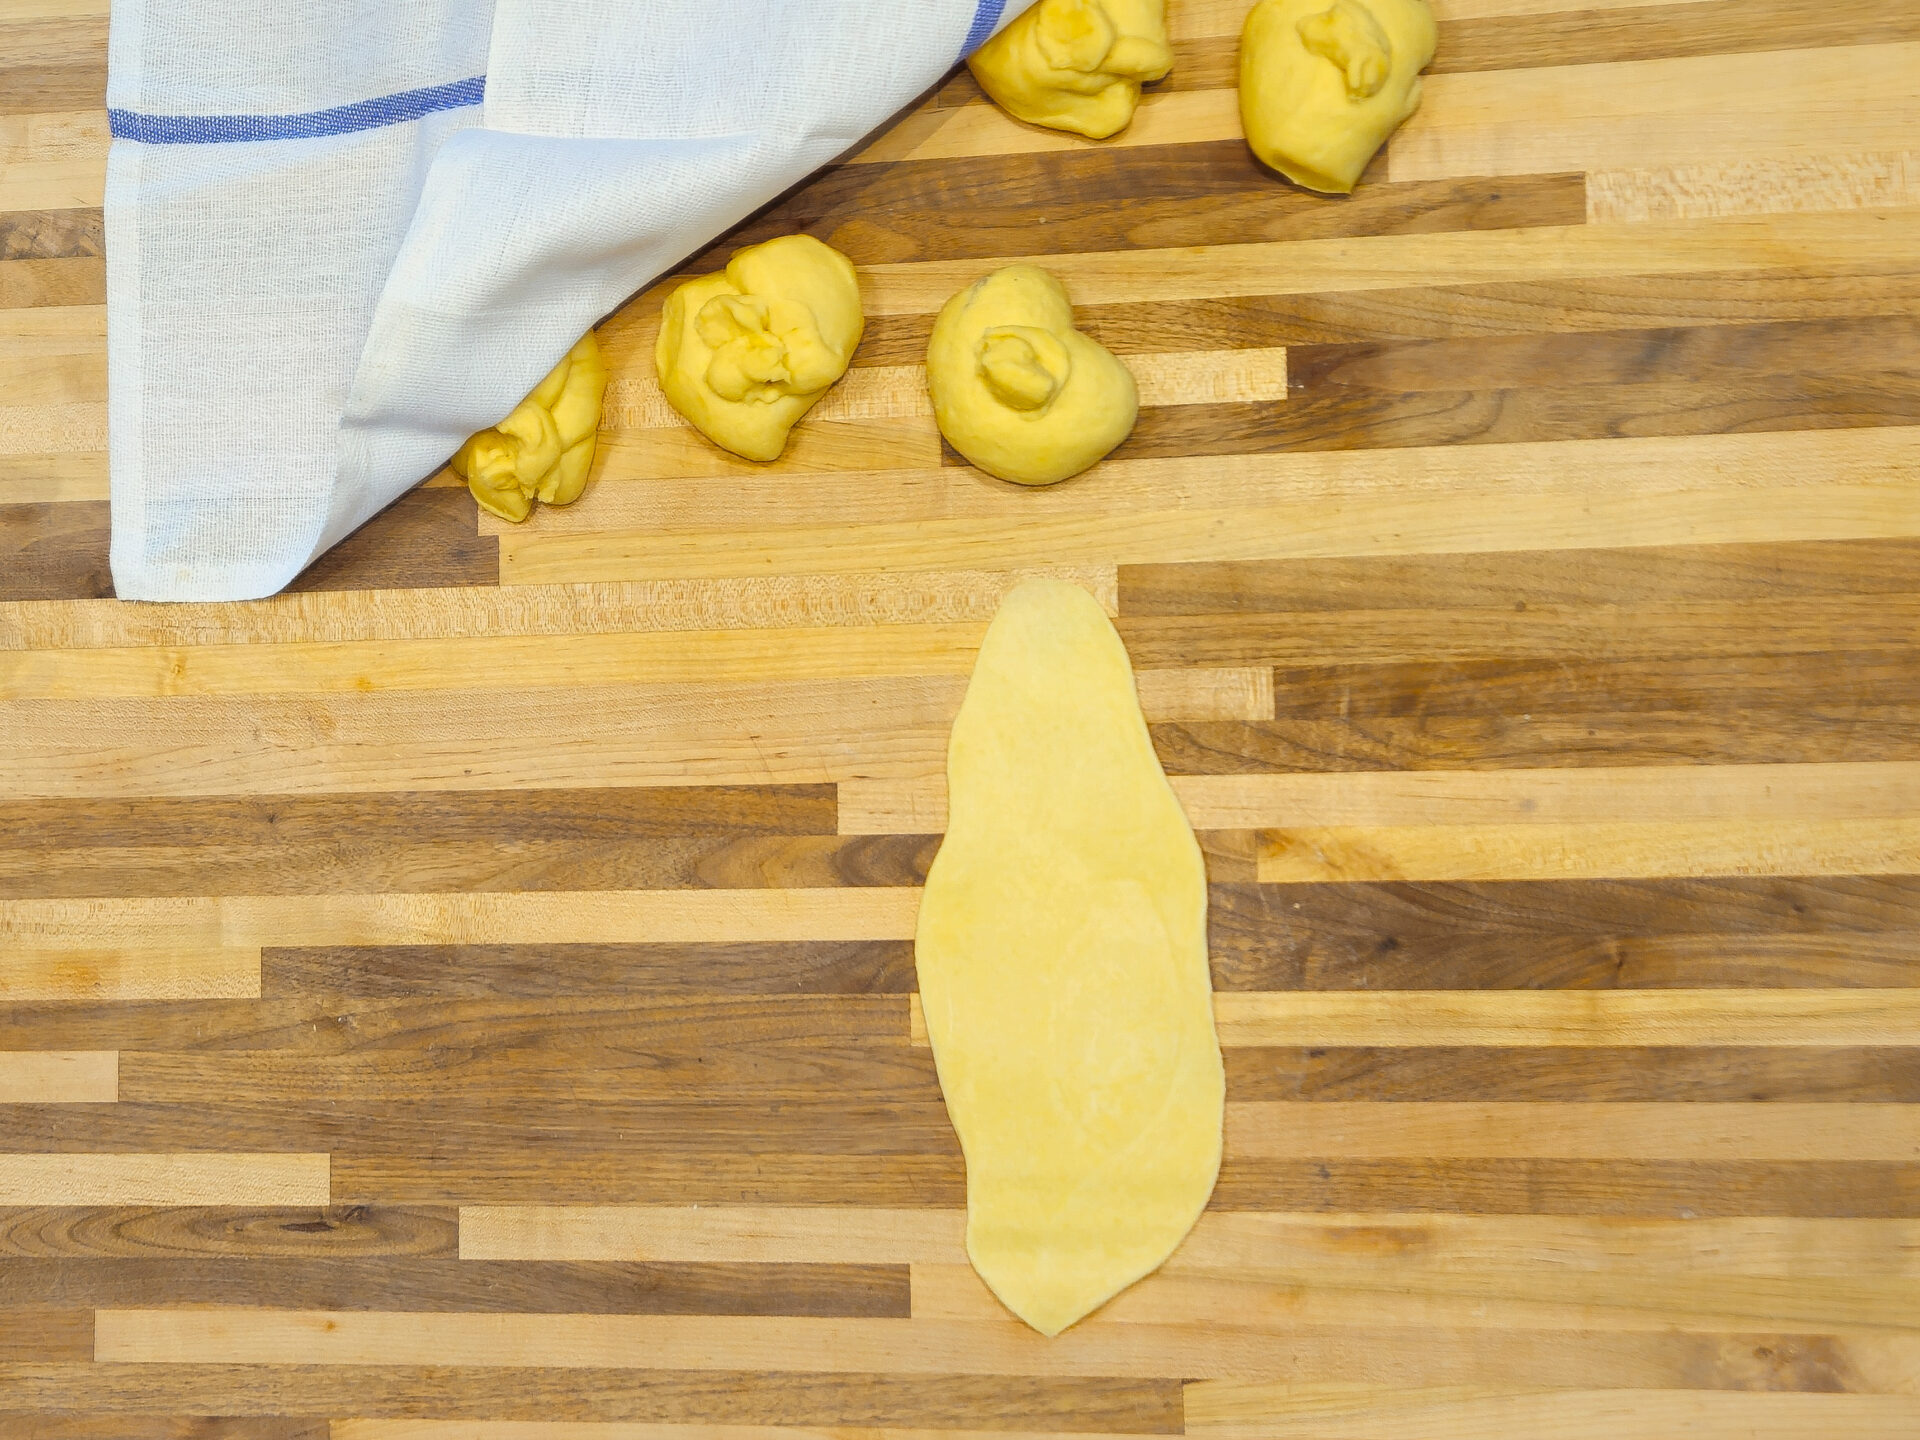
4.2.
Then, using your hands, roll the dough into a roll shape:
4.2.1.
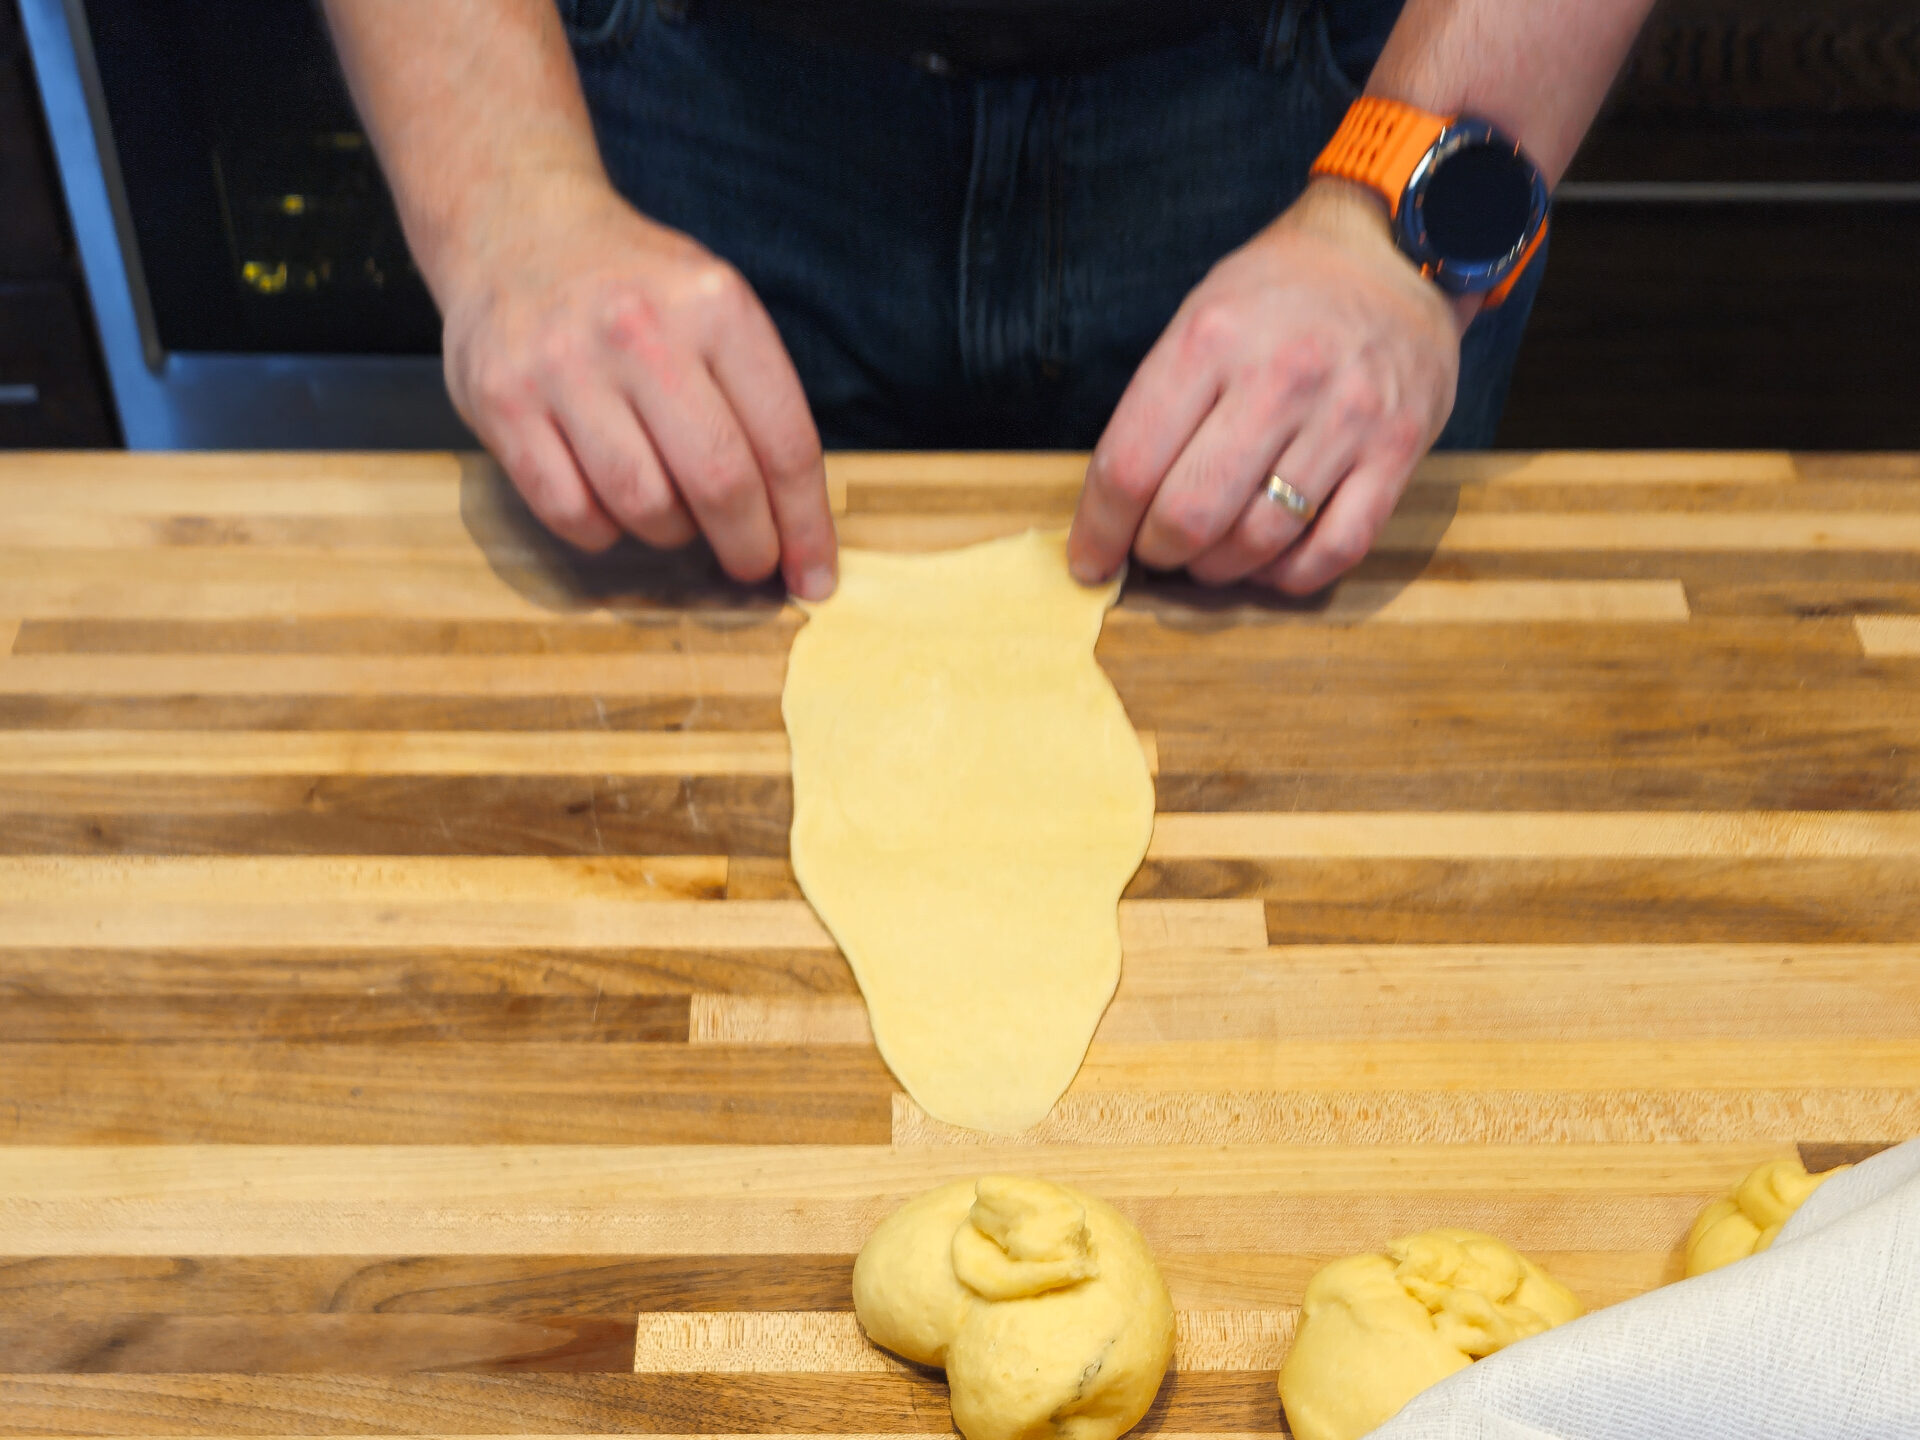
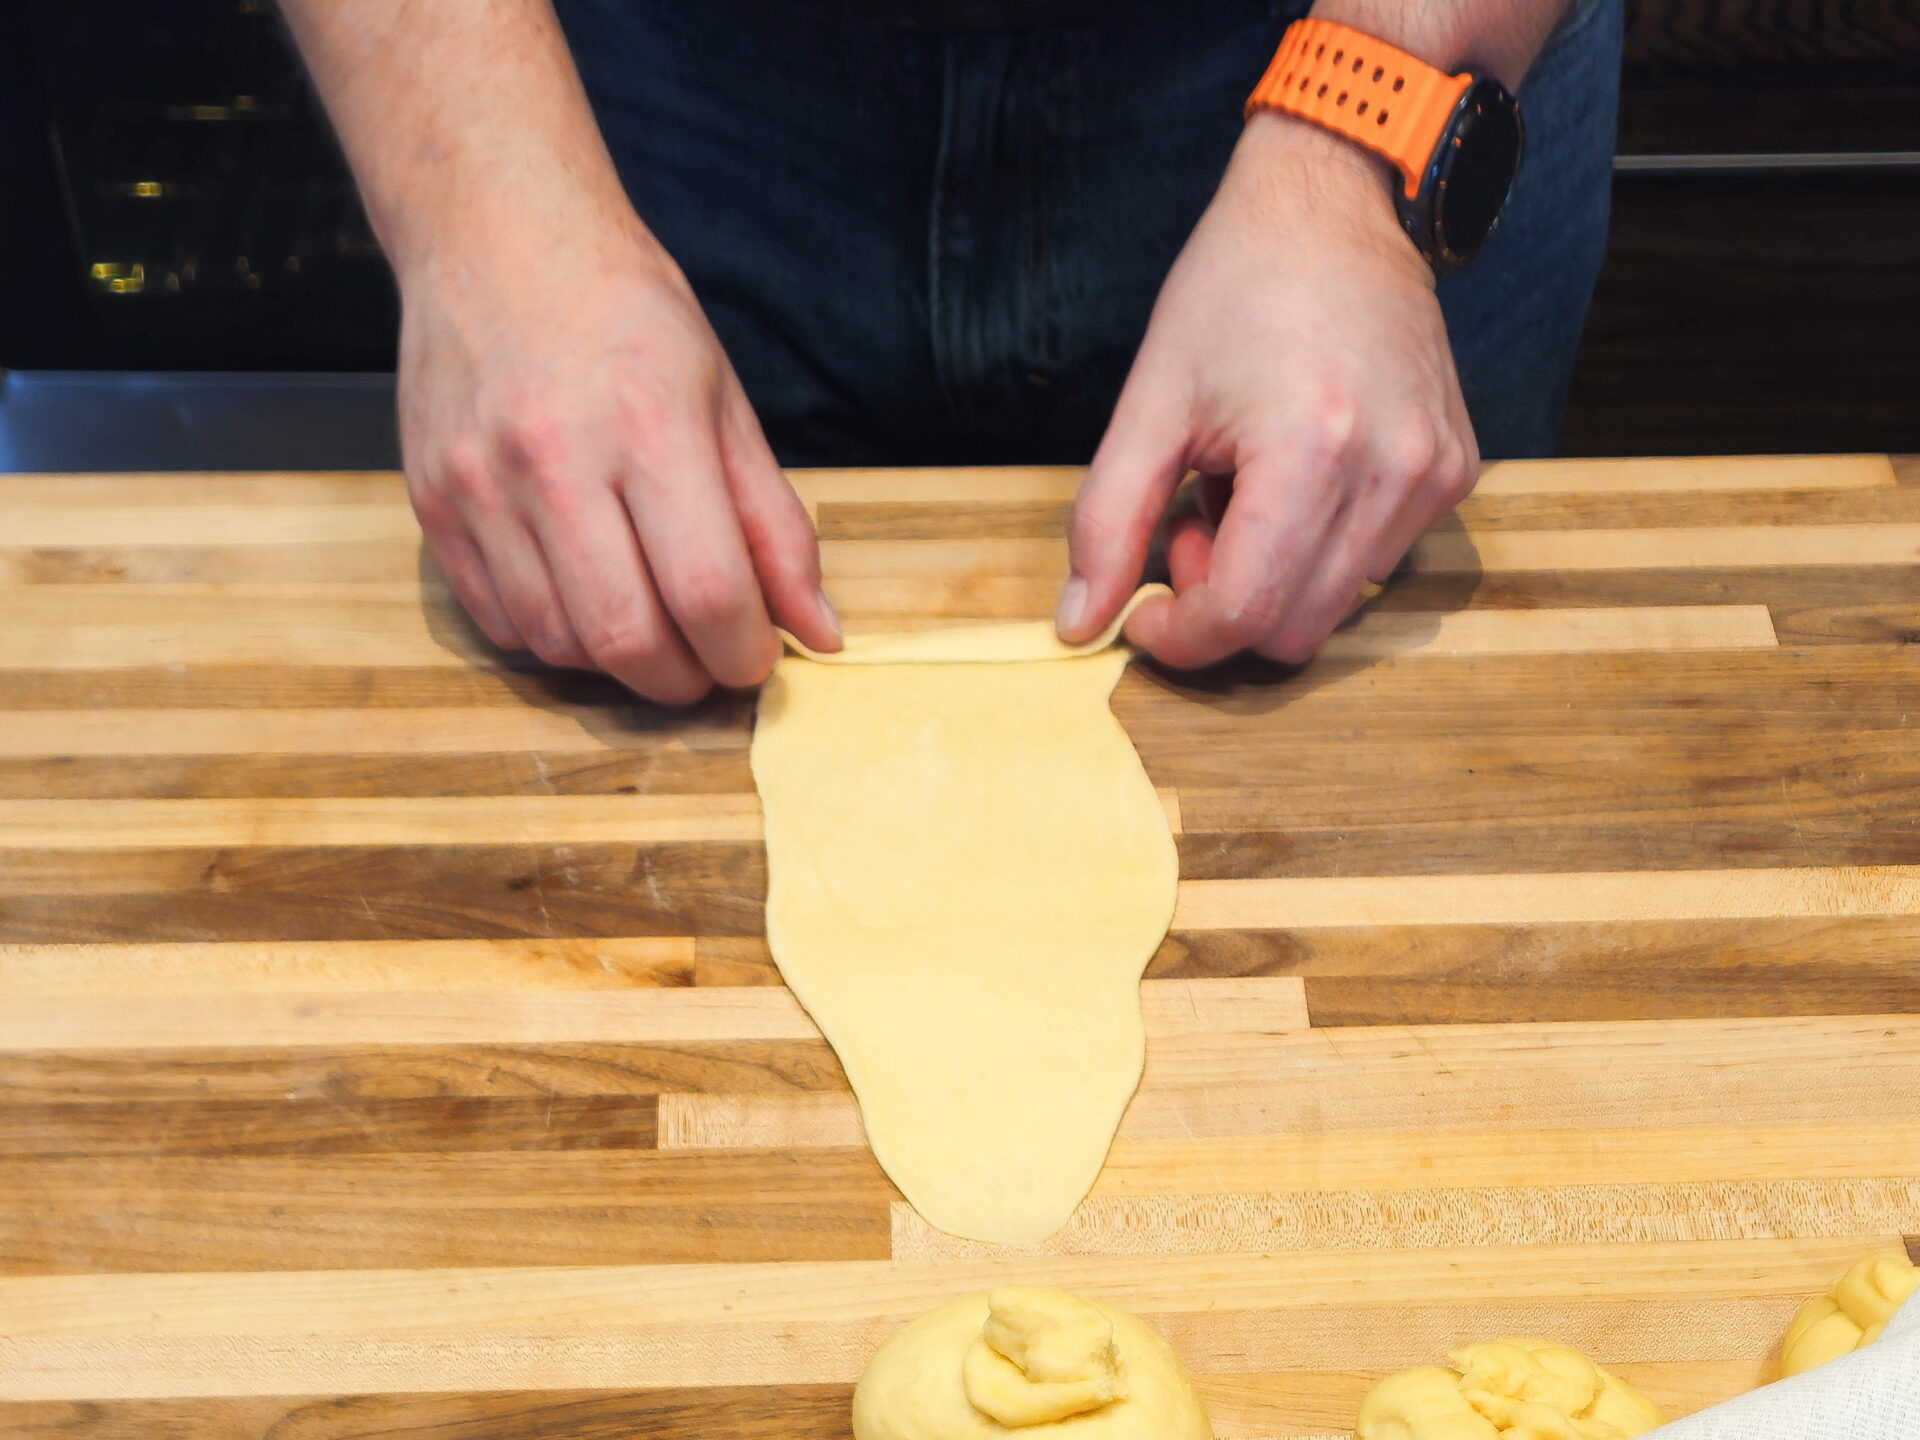
5.Proofing:
5.1.
6.Set Oven to Preheat:
6.1.
Set oven to preheat at 420°F.
7.Baking Czech Rolls Rohliky Recipe:
7.1.
7.2.
Optionally, sprinkle with sesame seeds, crushed pepper flakes, sea salt, or poppy seeds.
7.3.
Bake in a preheated oven until a nice golden color is reached, which means the rolls are done (about 12 -15 minutes).
7.5.
Test with a toothpick.
Tips:
- You can increase the rising time for up to four hours based on your convenience.
- You can bake more rolls than you need and freeze them for later usage (they stay great in the freezer for up to a half year). Defrost in only two hours.
Popular questions
My dough is sticking when I try to shape the rohliky. What am I doing wrong?
This is a great question! Based on my Czech Rolls Rohliky Recipe, I specifically recommend shaping the rolls on a surface that does not have flour. The oil in the bread dough should keep it from sticking. If your dough is sticking, it most likely means it rose for a little too long (it's over-proofed). But don't worry! In that specific case, I recommend lightly flouring your work surface and, optionally, the top of the dough to prevent stickiness. You'll still get wonderful homemade rohliky!
Share
Click on the icons below to share "Title of the item to share"