
Bread and Pastry Recipes
Burger Buns
12 servings (12 x 3.8 oz buns)
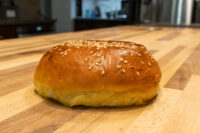
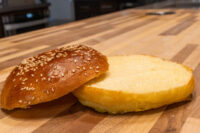
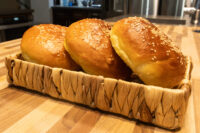
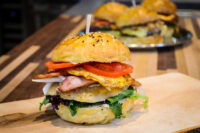
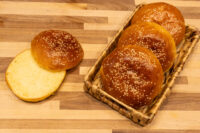
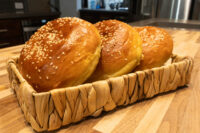
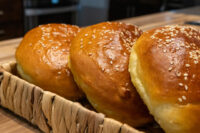
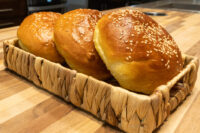
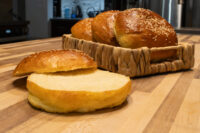
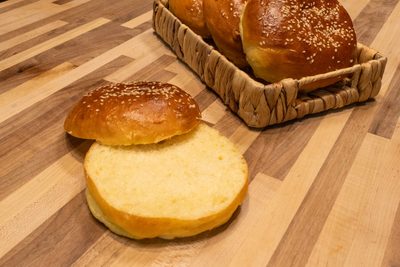
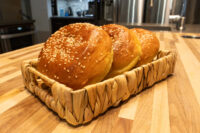
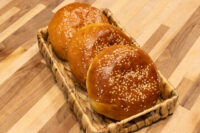
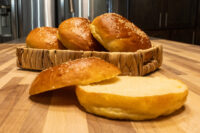
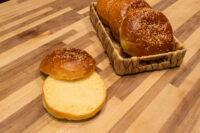
Enhance your meals with my homemade Burger Buns that are beautifully soft, aromatic, and far superior to any store-bought varieties. Using simple, high-quality ingredients like bread flour, active dry yeasts, lukewarm milk, and extra virgin olive oil, I will show you exactly how to mix, knead, and shape the perfect dough ball so you can elevate your sandwiches to a completely new level. Read More
Bread and Pastry Recipes
Vegetarian
Before You Start
Let’s talk about important parts of the recipe before you start…
Welcome to My Homemade Burger Buns Journey
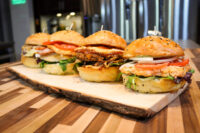
Enhance your burgers and sandwiches with homemade Burger Buns. Freshly baked and aromatic, they add a unique flavor and texture that store-bought buns simply cannot match. Plus, you control all the ingredients, allowing for customization if needed. Are you ready to elevate your meals using straightforward ingredients like bread flour, active dry yeasts, and extra virgin olive oil? Let us dive right into making the ultimate Burger Buns using your trusty hook attachment!
Mastering the Kneading Process for Burger Buns
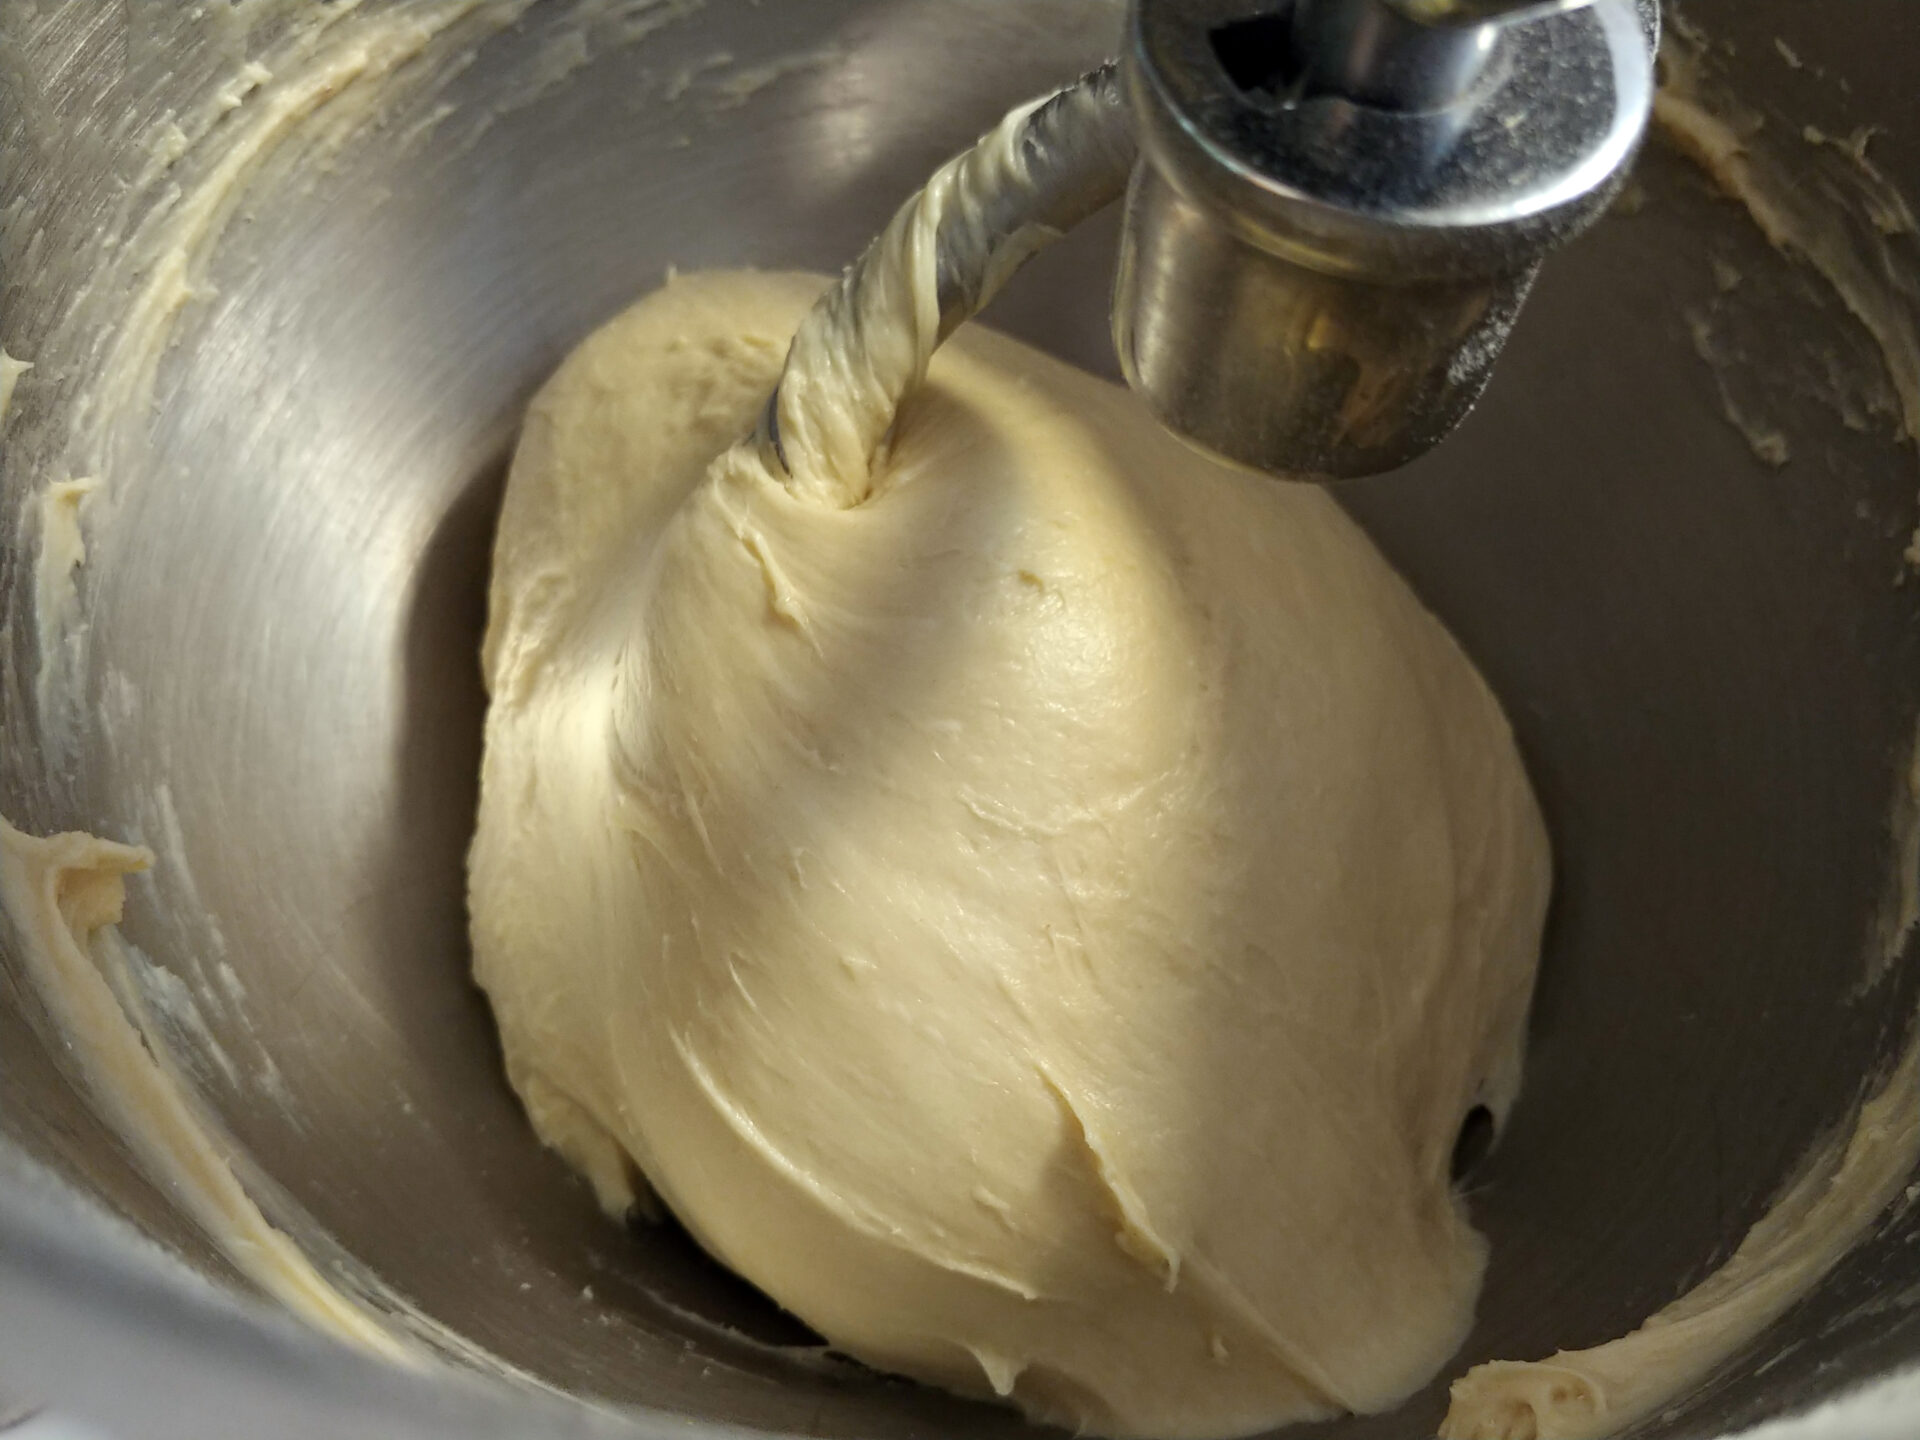
When you start making my Burger Buns, you might run into a very common mistake: the dough will inevitably seem sticky, especially during the final kneading stages. It is highly tempting to reach into your pantry for extra bread flour to dry it out, but please resist that urge completely! Adding extra bread flour will cause the final baked product to end up much denser than it should be. Instead, I rely entirely on my kitchen mixer and hook attachment. Simply knead the dough on medium-high speed for about six to nine minutes. Eventually, it will stop sticking to the bowl and transform into a beautiful, compact, and flexible dough ball. Trust the process and let the hook attachment do all the heavy lifting for your Burger Buns!
Activating the Dough with Lukewarm Milk and Extra Virgin Olive Oil
Another crucial element of these Burger Buns is exactly how we introduce the liquids into the mix. After briefly mixing your bread flour, active dry yeasts, granulated sugar, and salt with a whisk, it is time to add the wet ingredients. You absolutely must use lukewarm milk that is preheated to about 90 to 100 degrees Fahrenheit, which you can easily do in the microwave or on the stove. This specific temperature range is essential because it perfectly activates the active dry yeasts without making it too hot. Alongside the lukewarm milk, I pour in three large eggs and a quarter cup of extra virgin olive oil. The extra virgin olive oil adds incredible moisture and a subtle richness that makes these Burger Buns stand out from anything you can buy at the local store.
Shaping the Perfect Dough Ball for Burger Buns
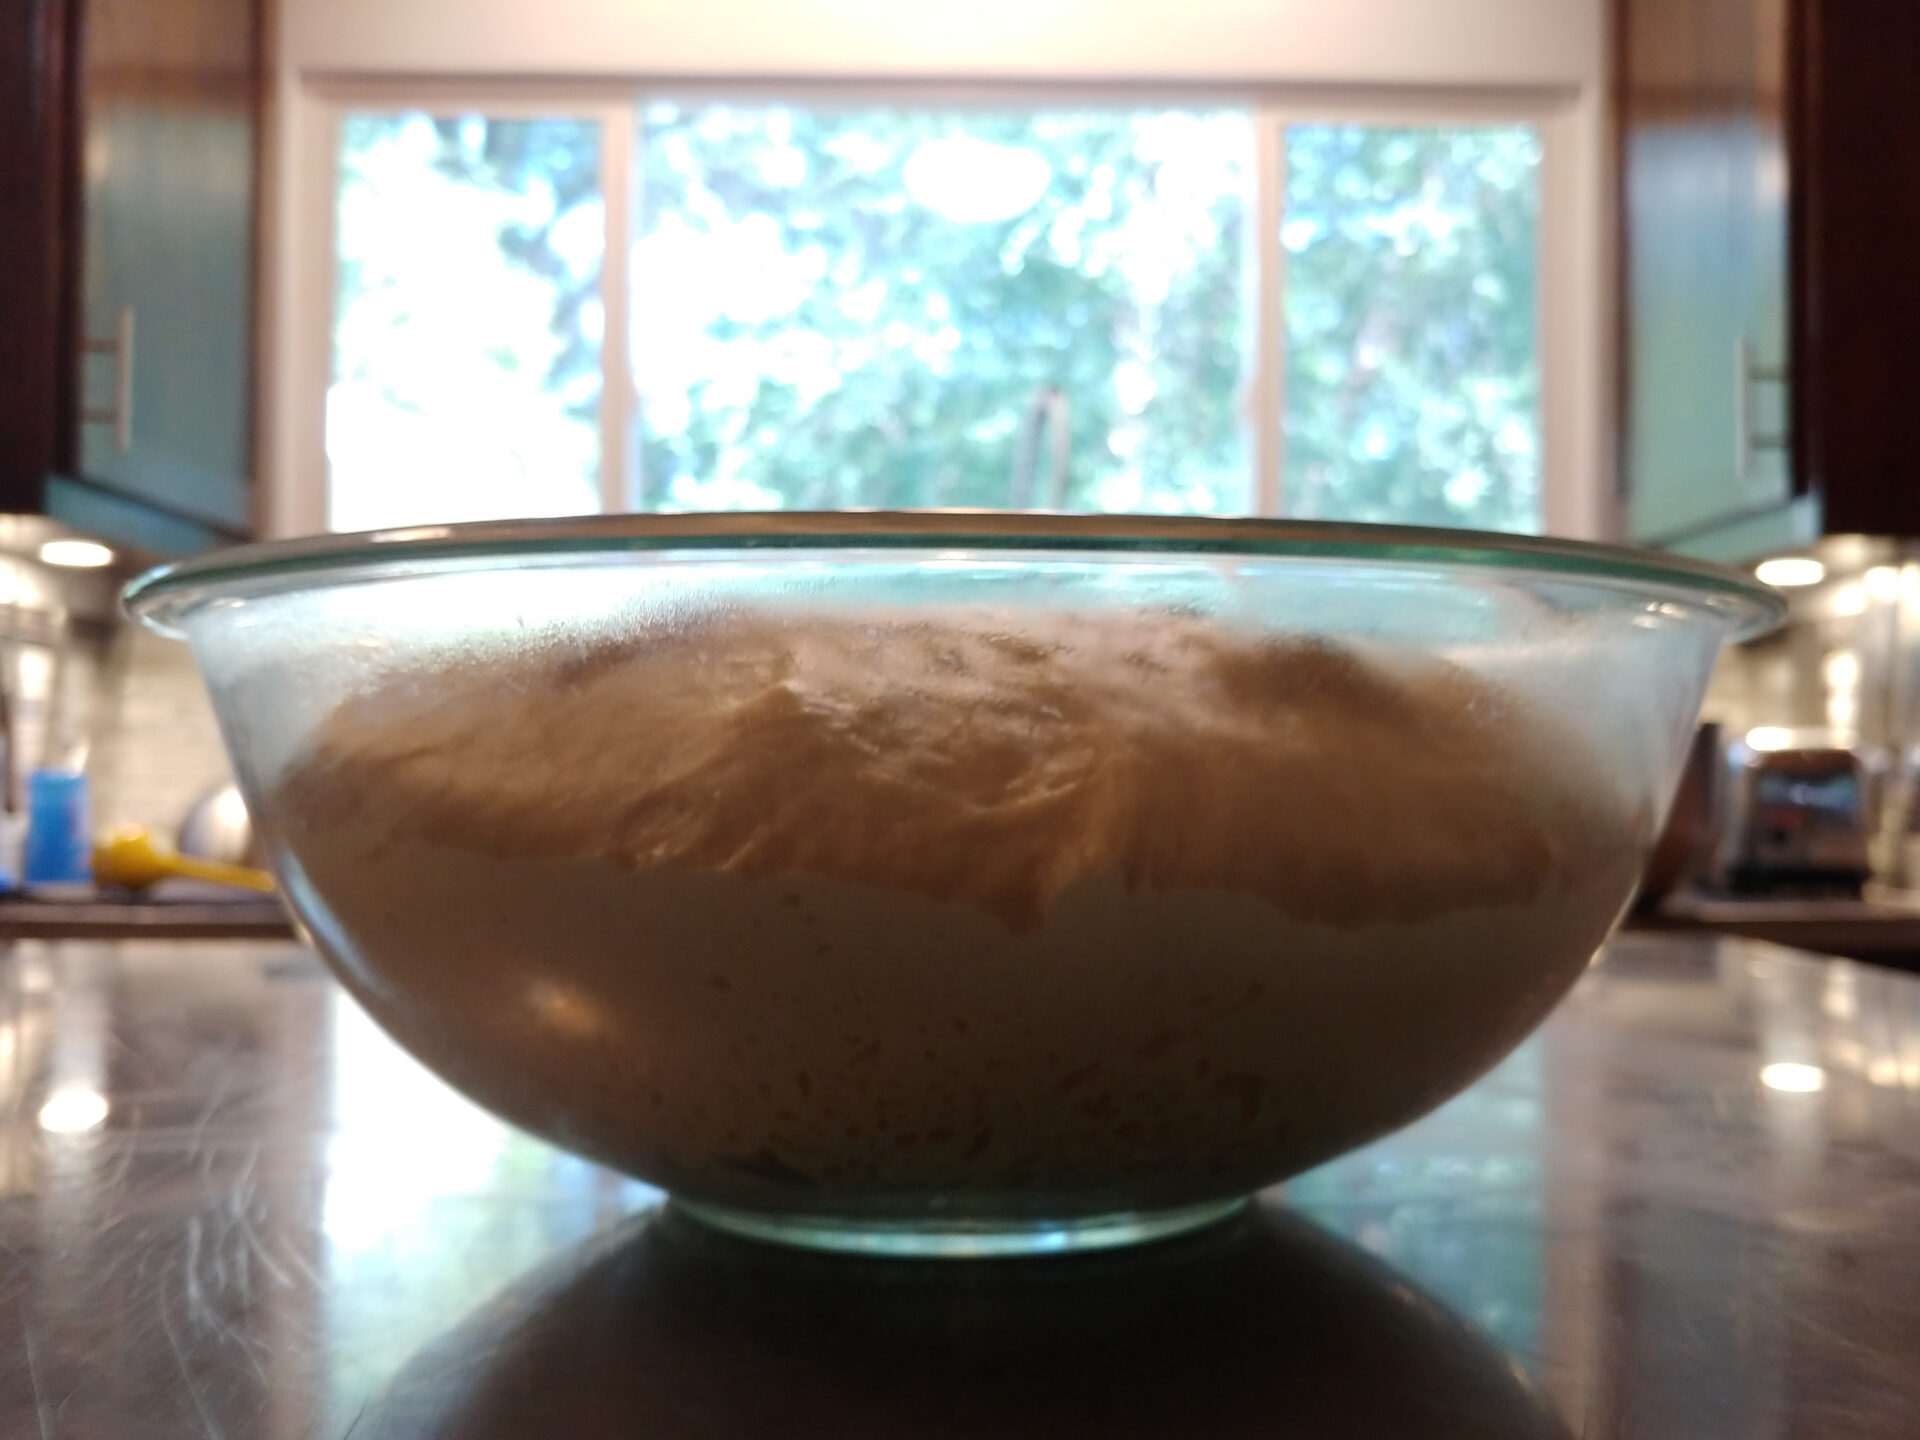
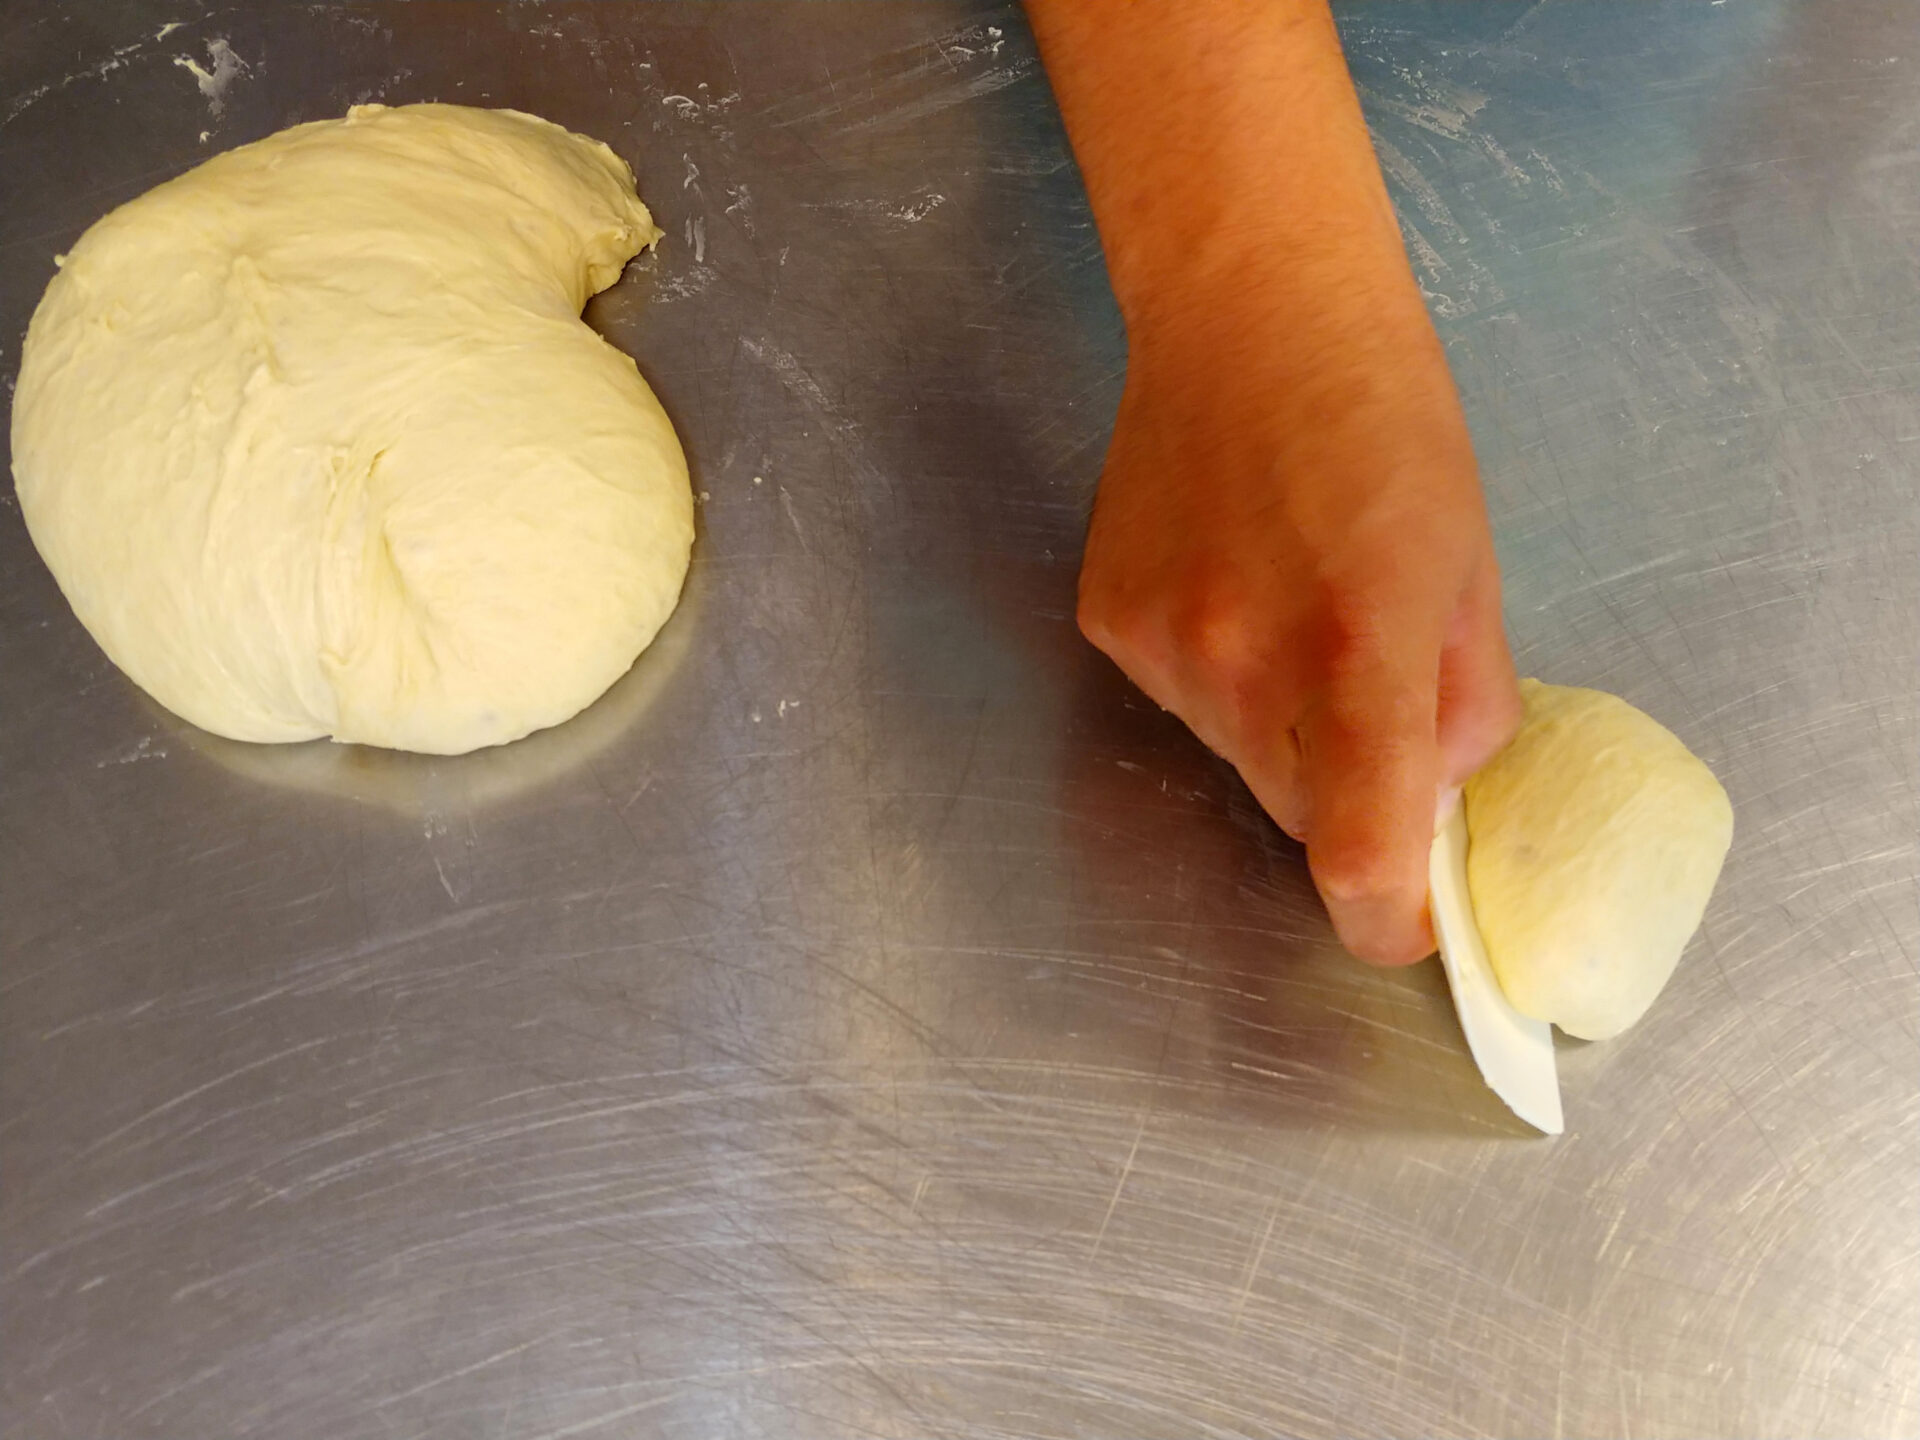
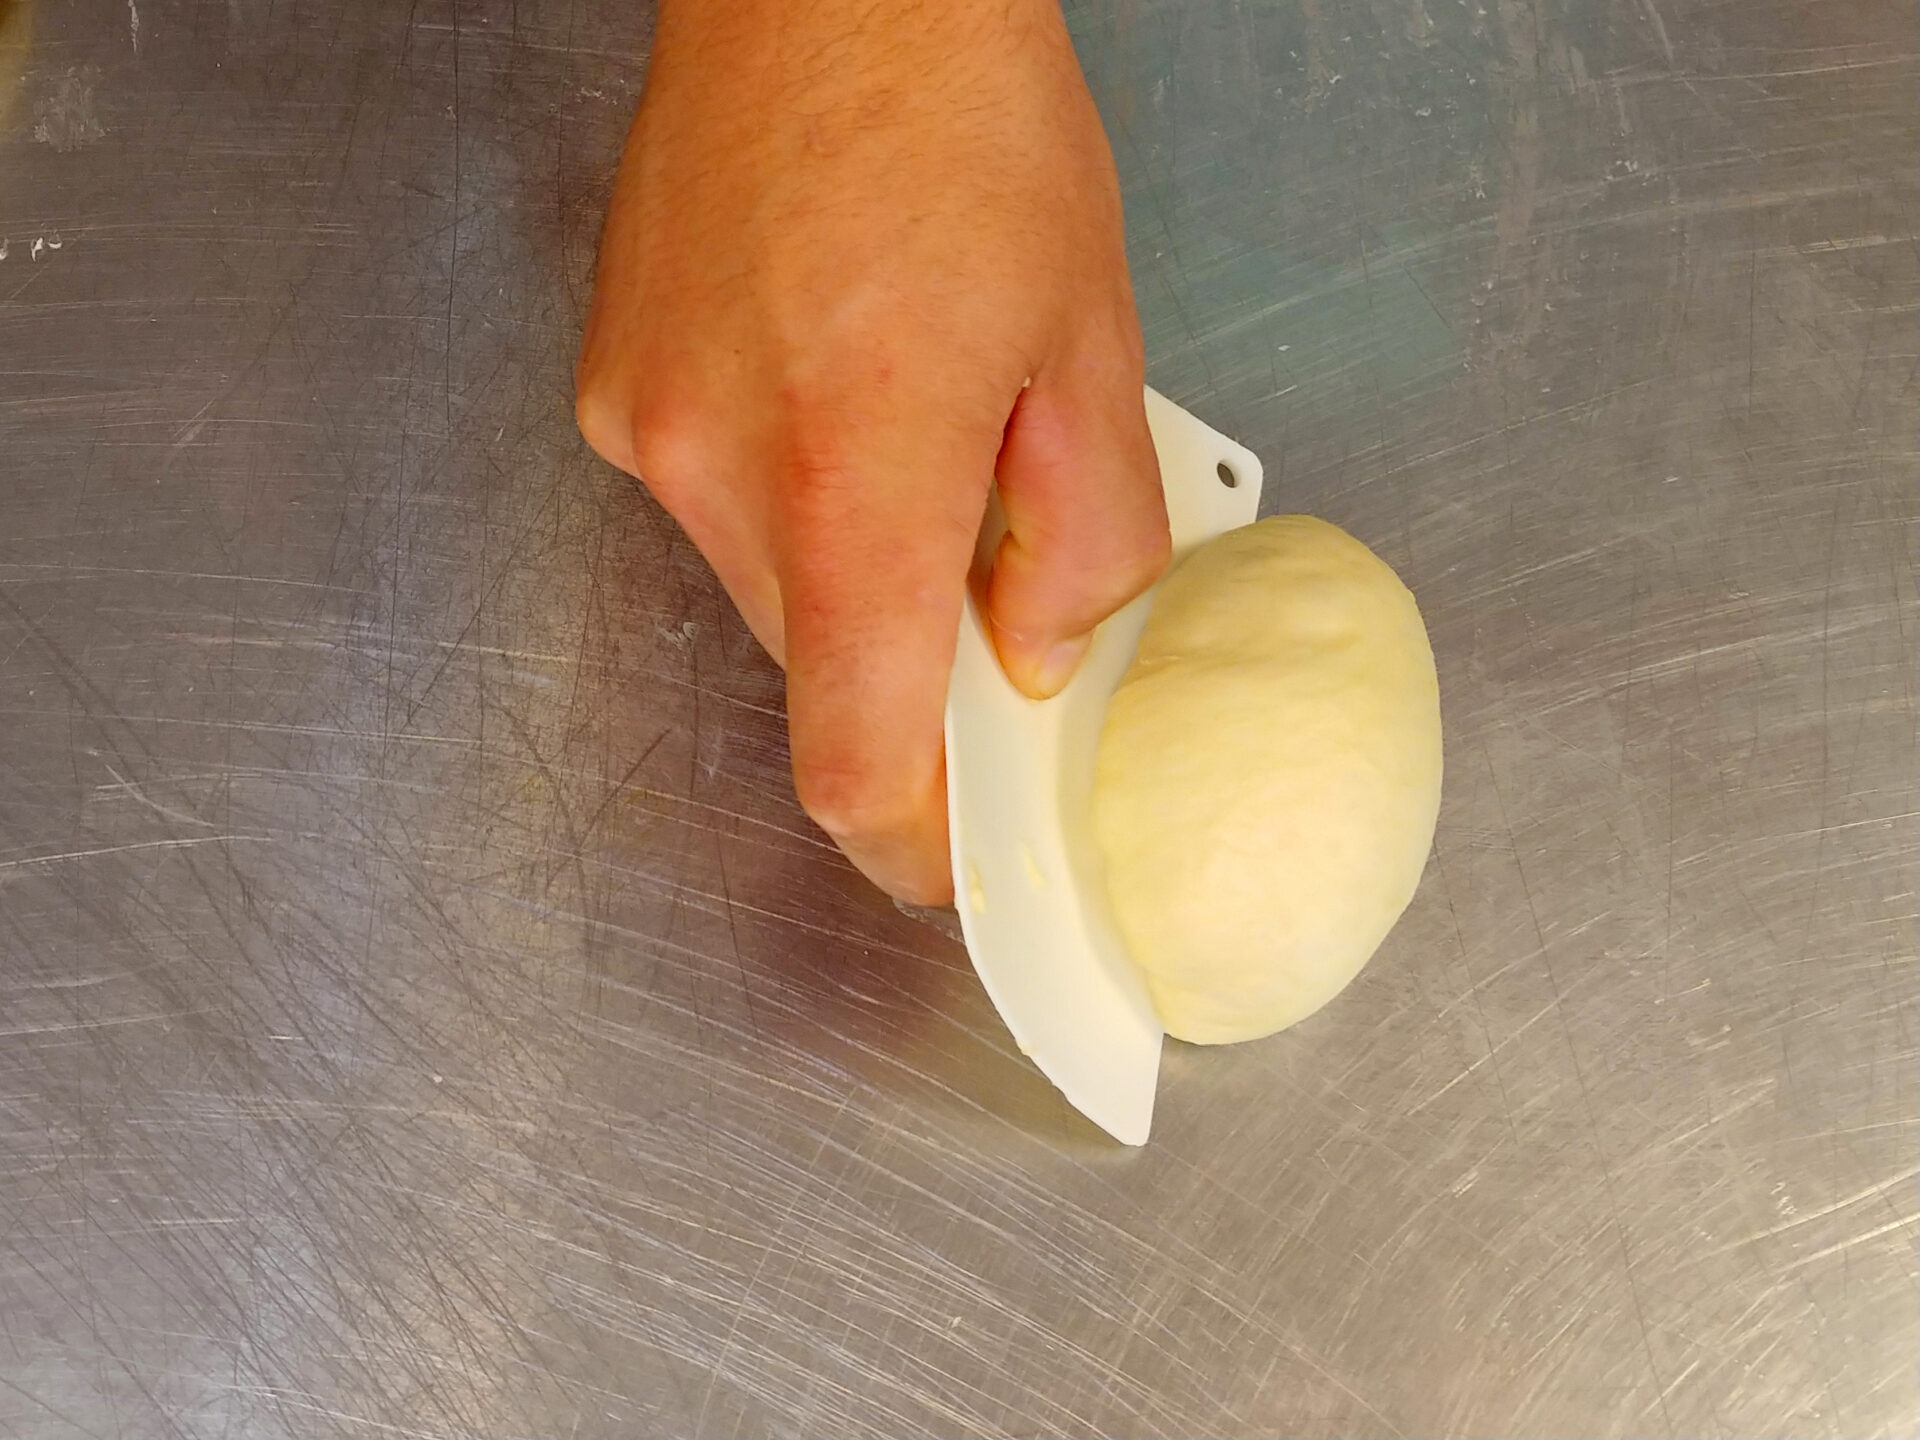
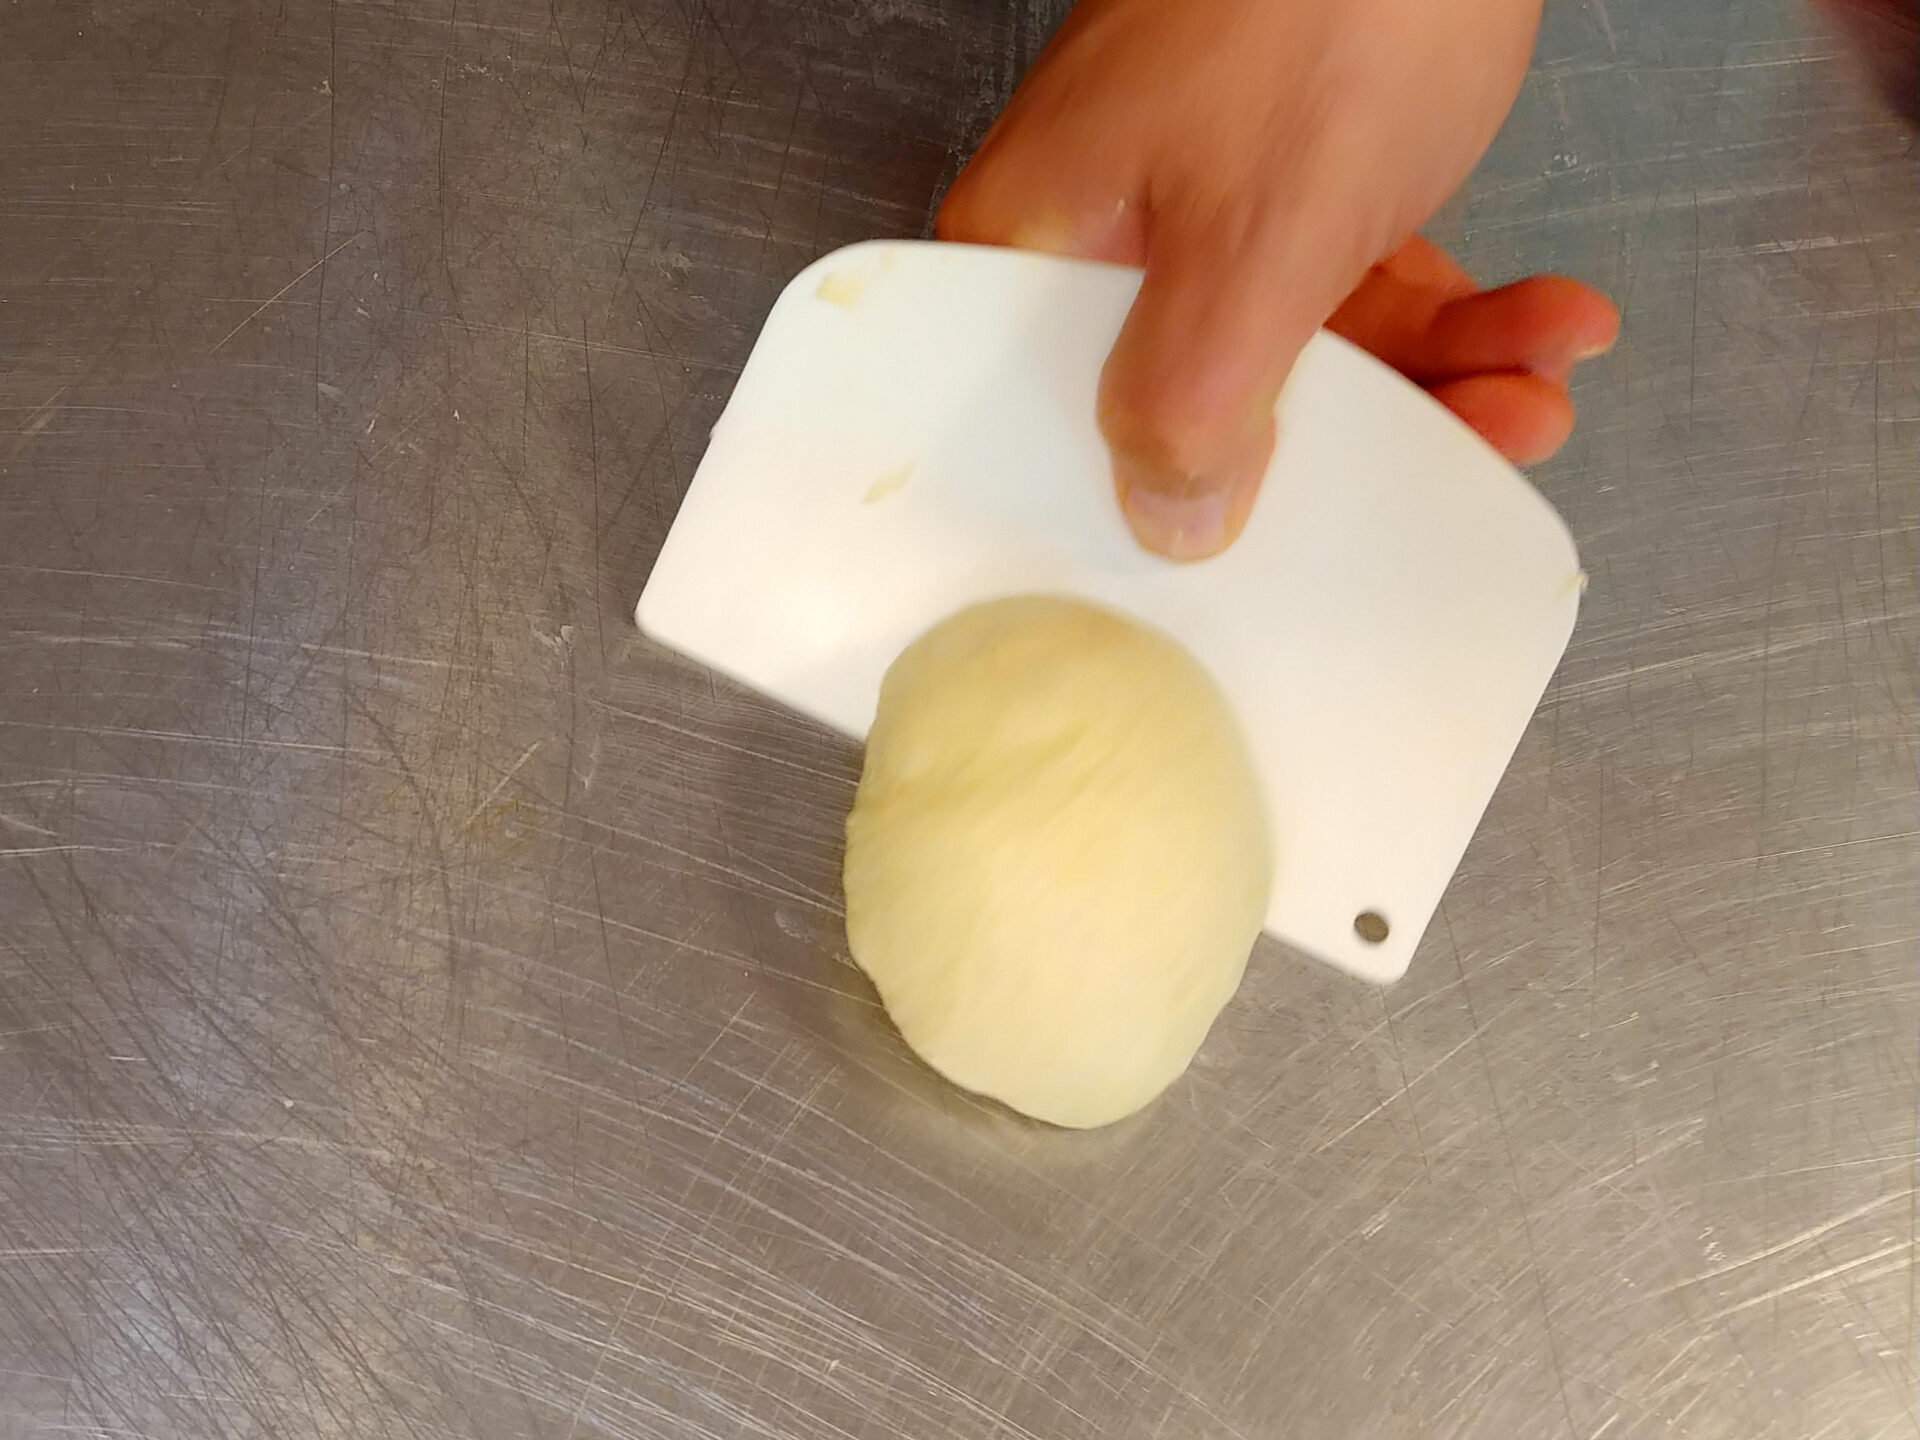
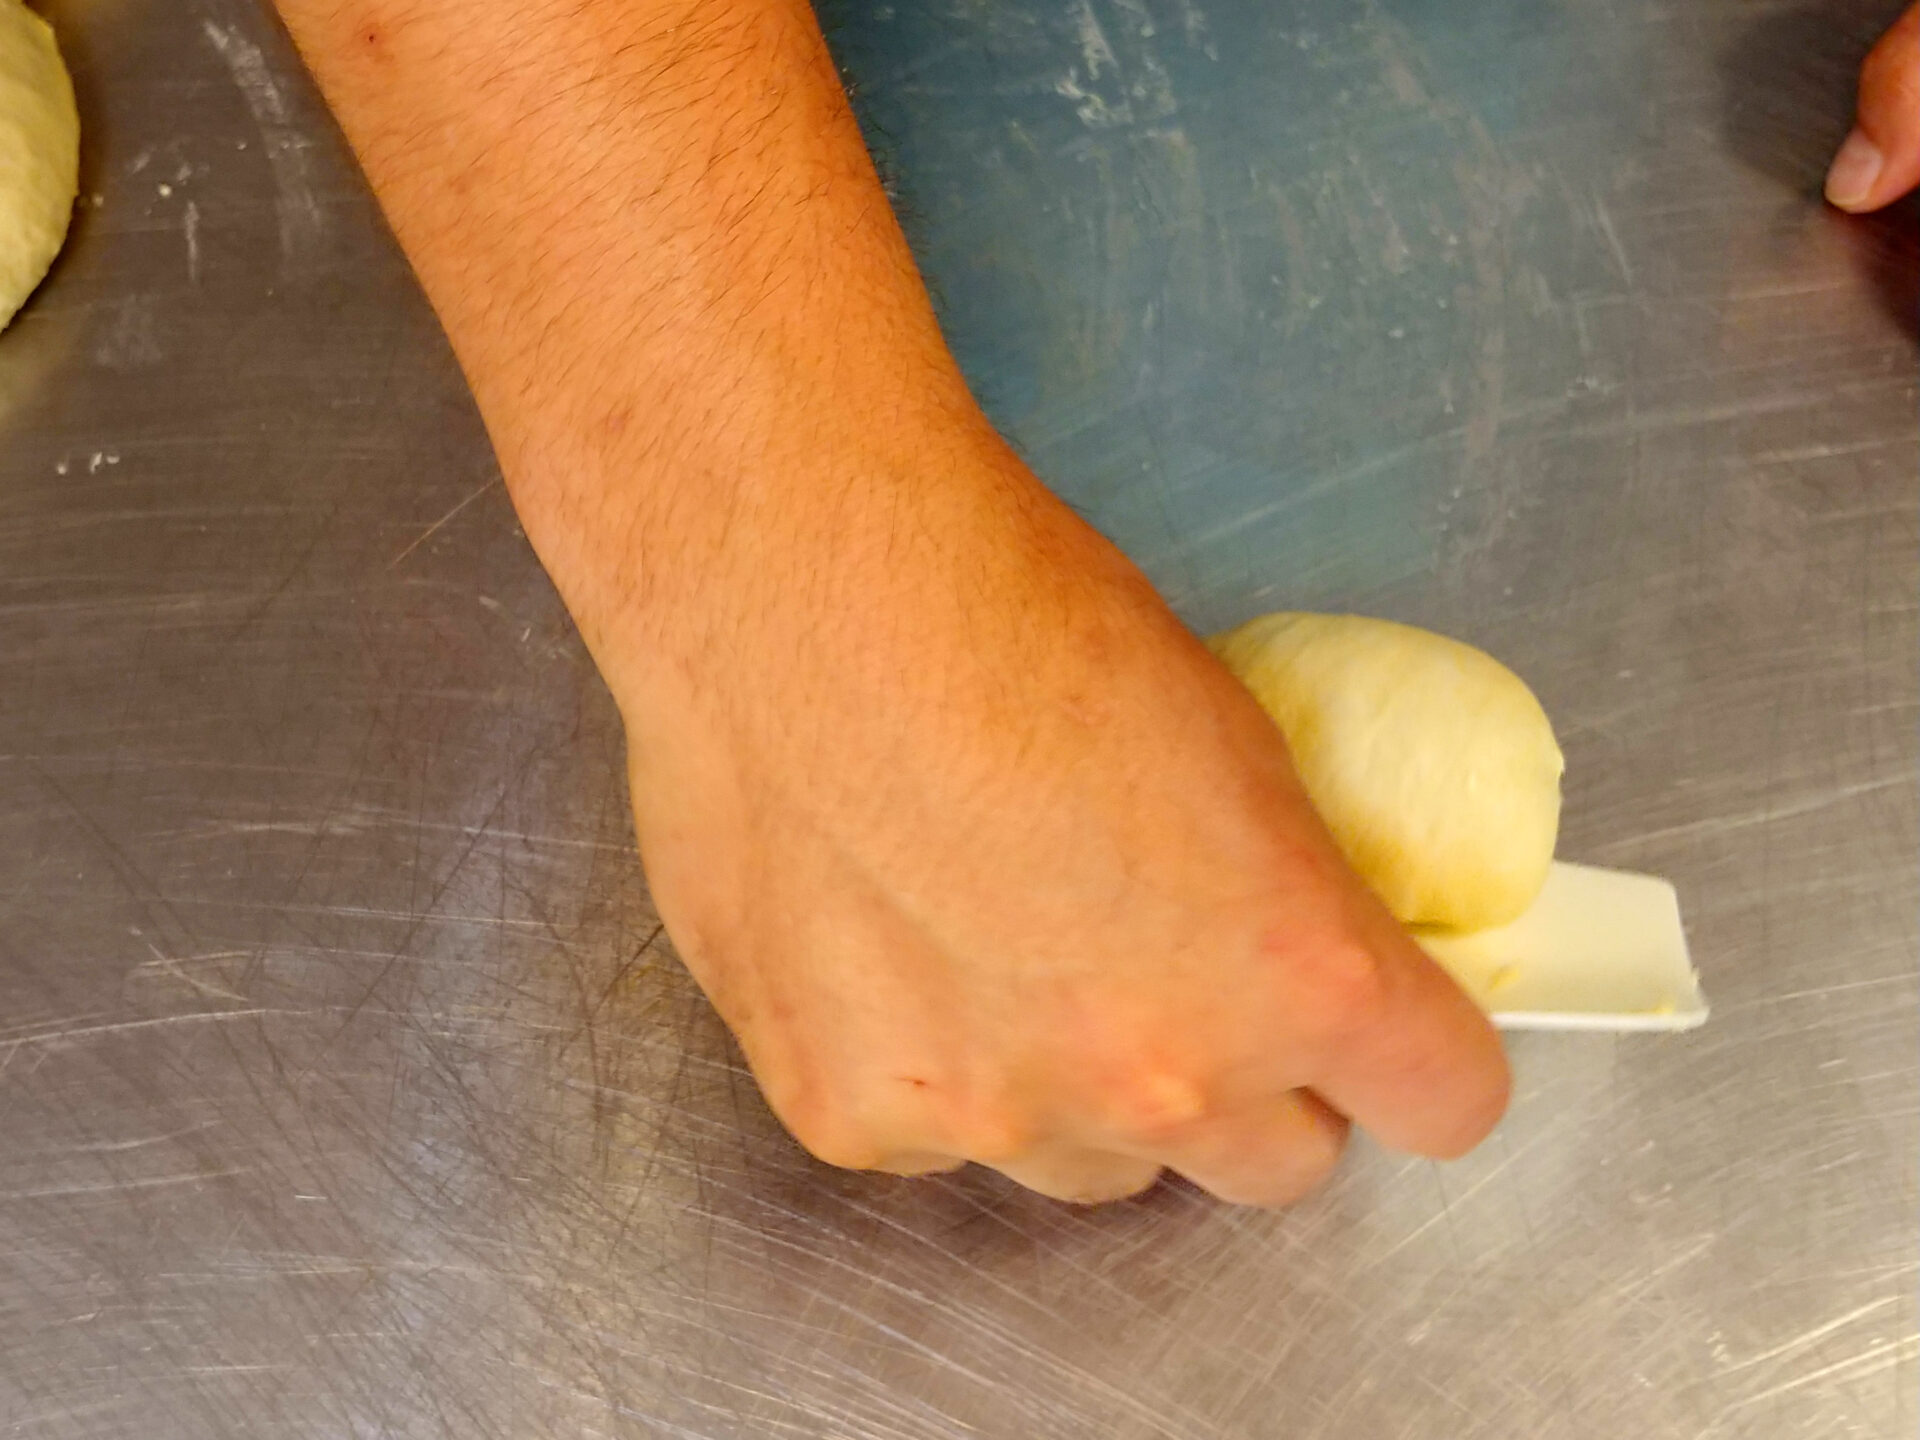
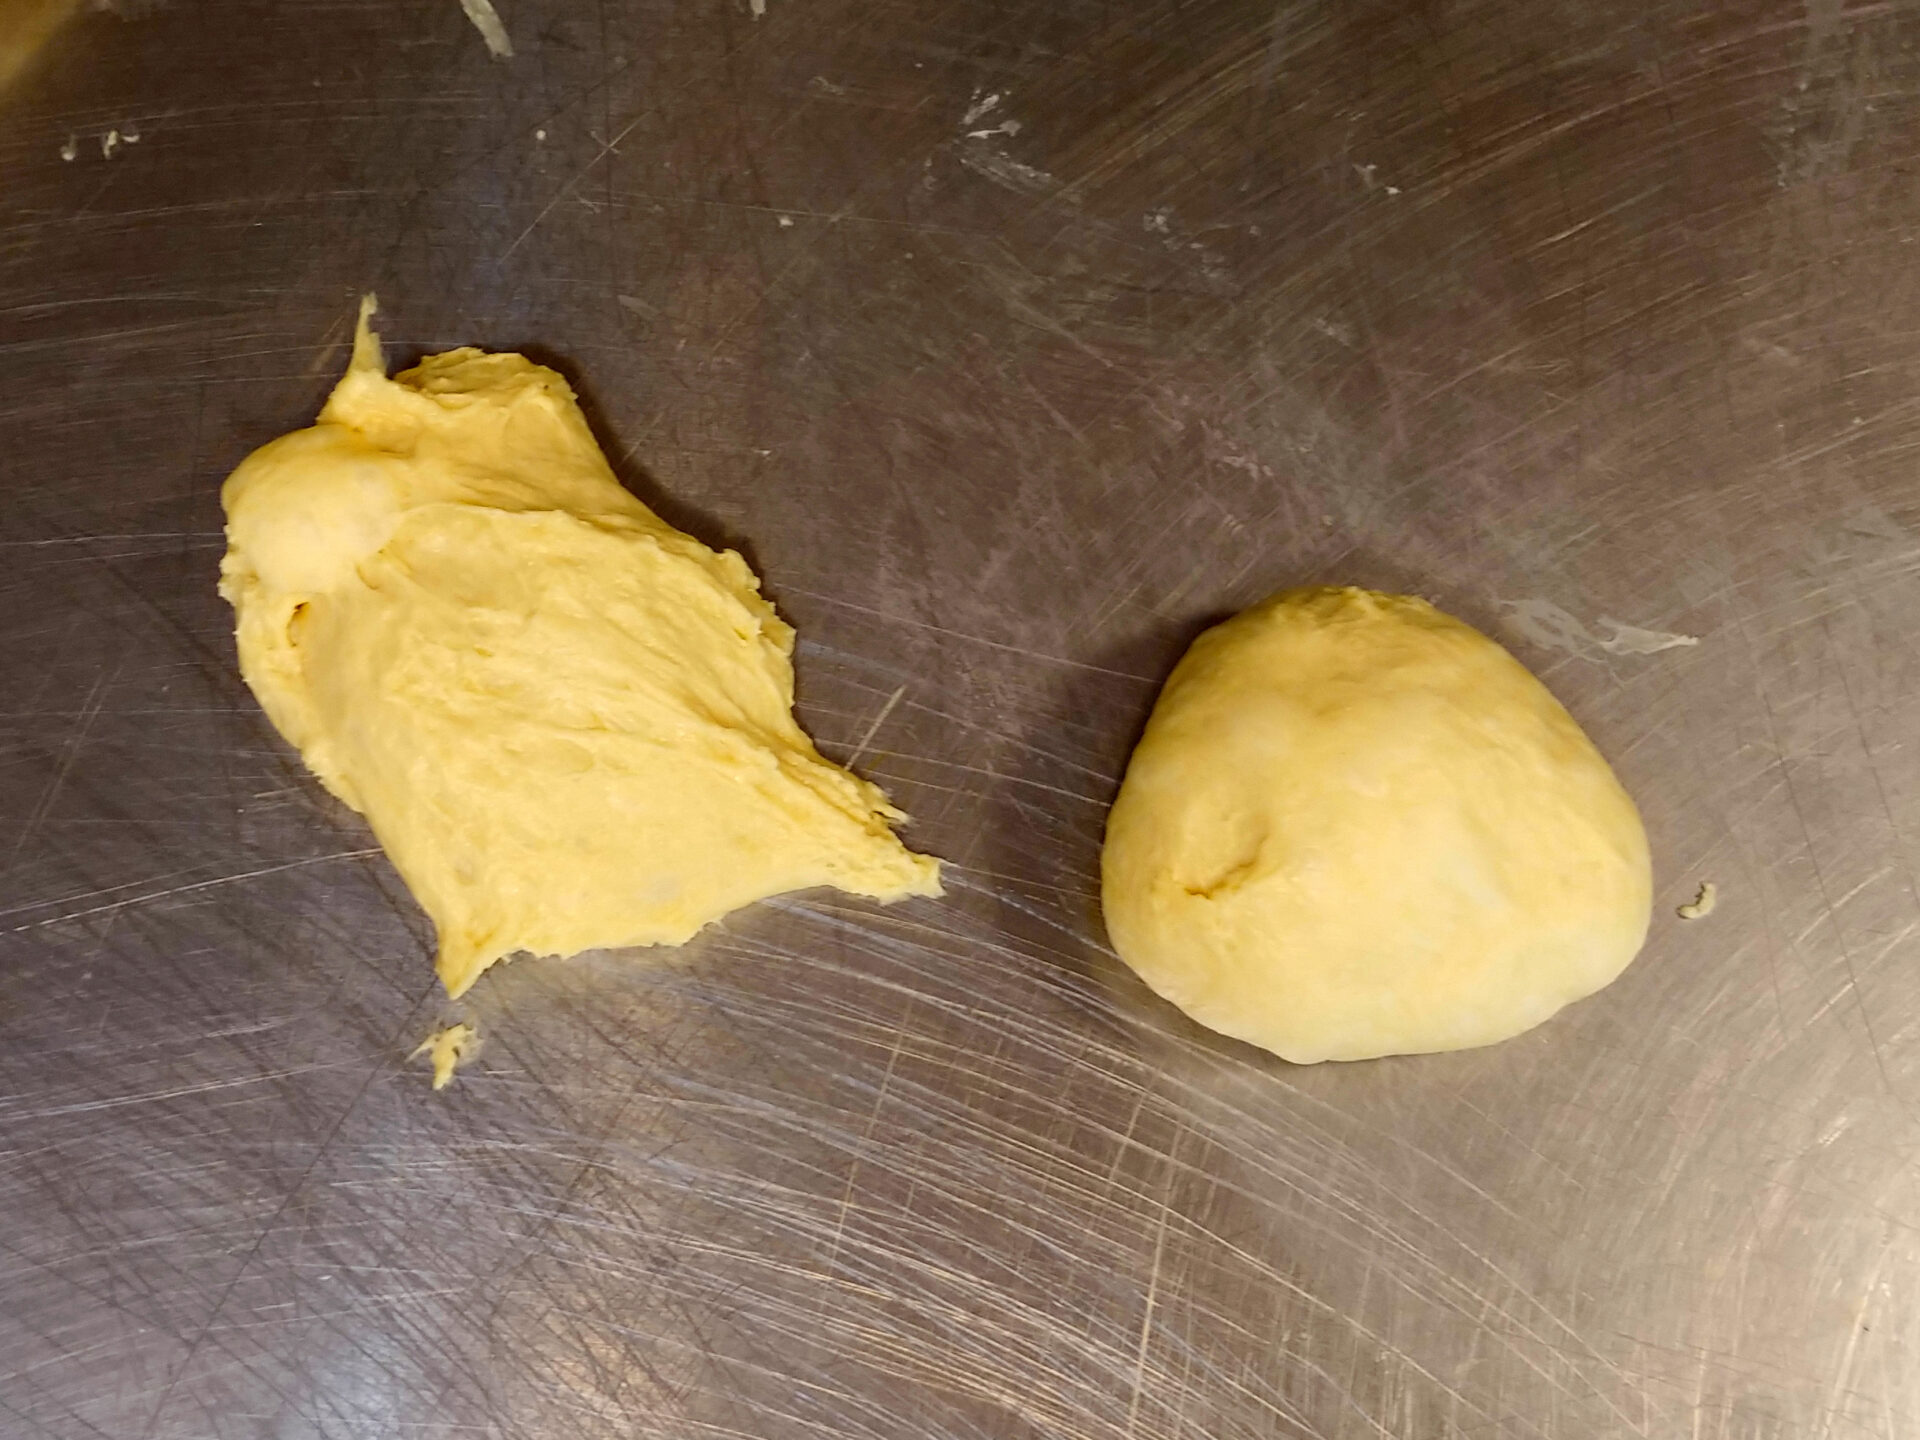
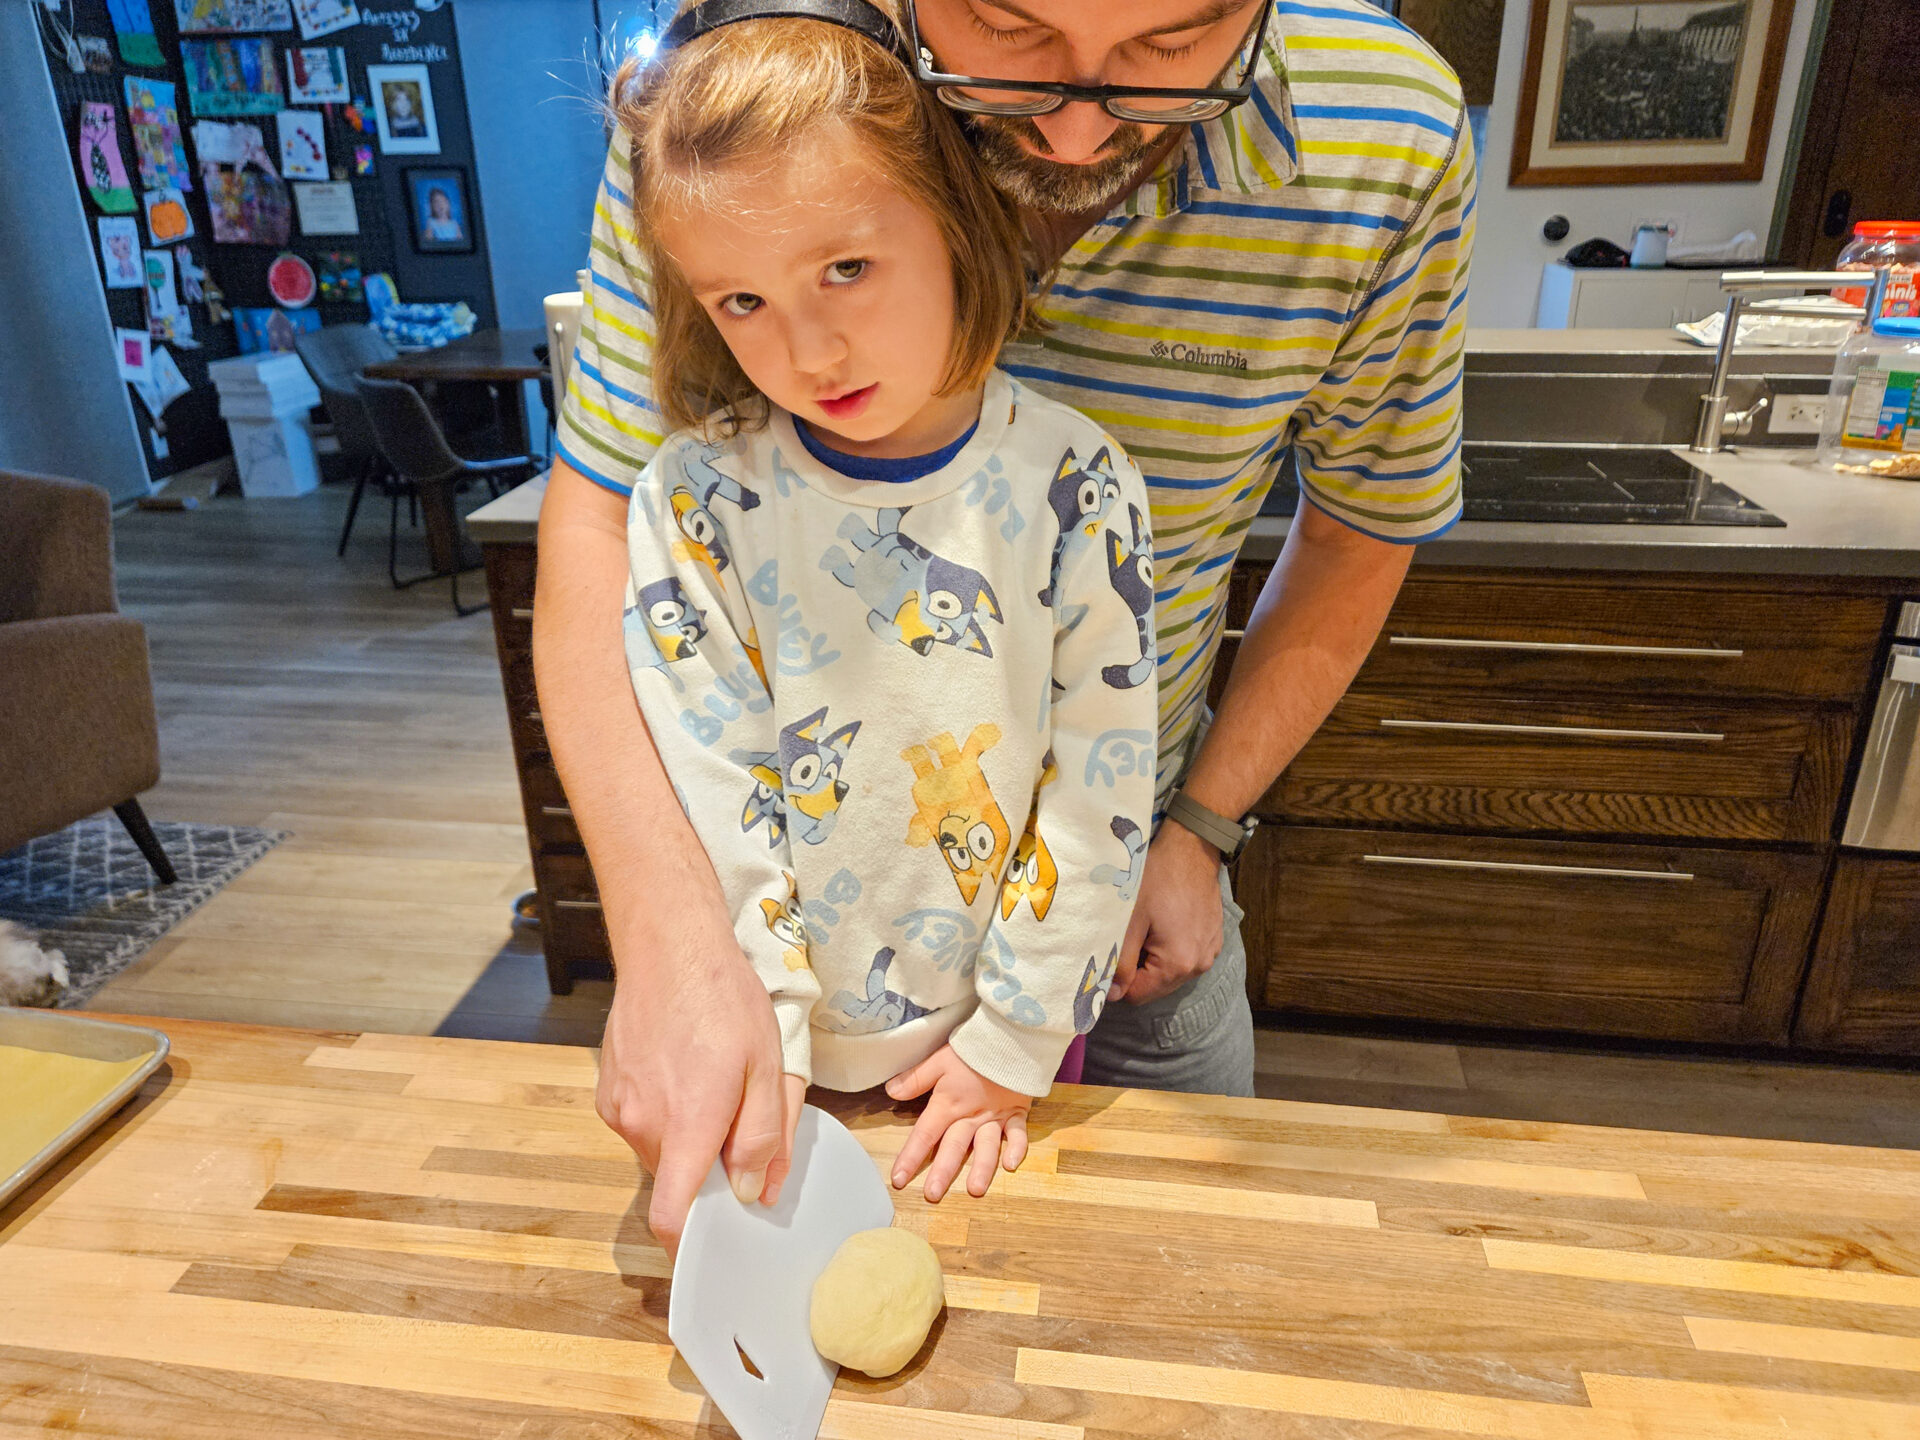
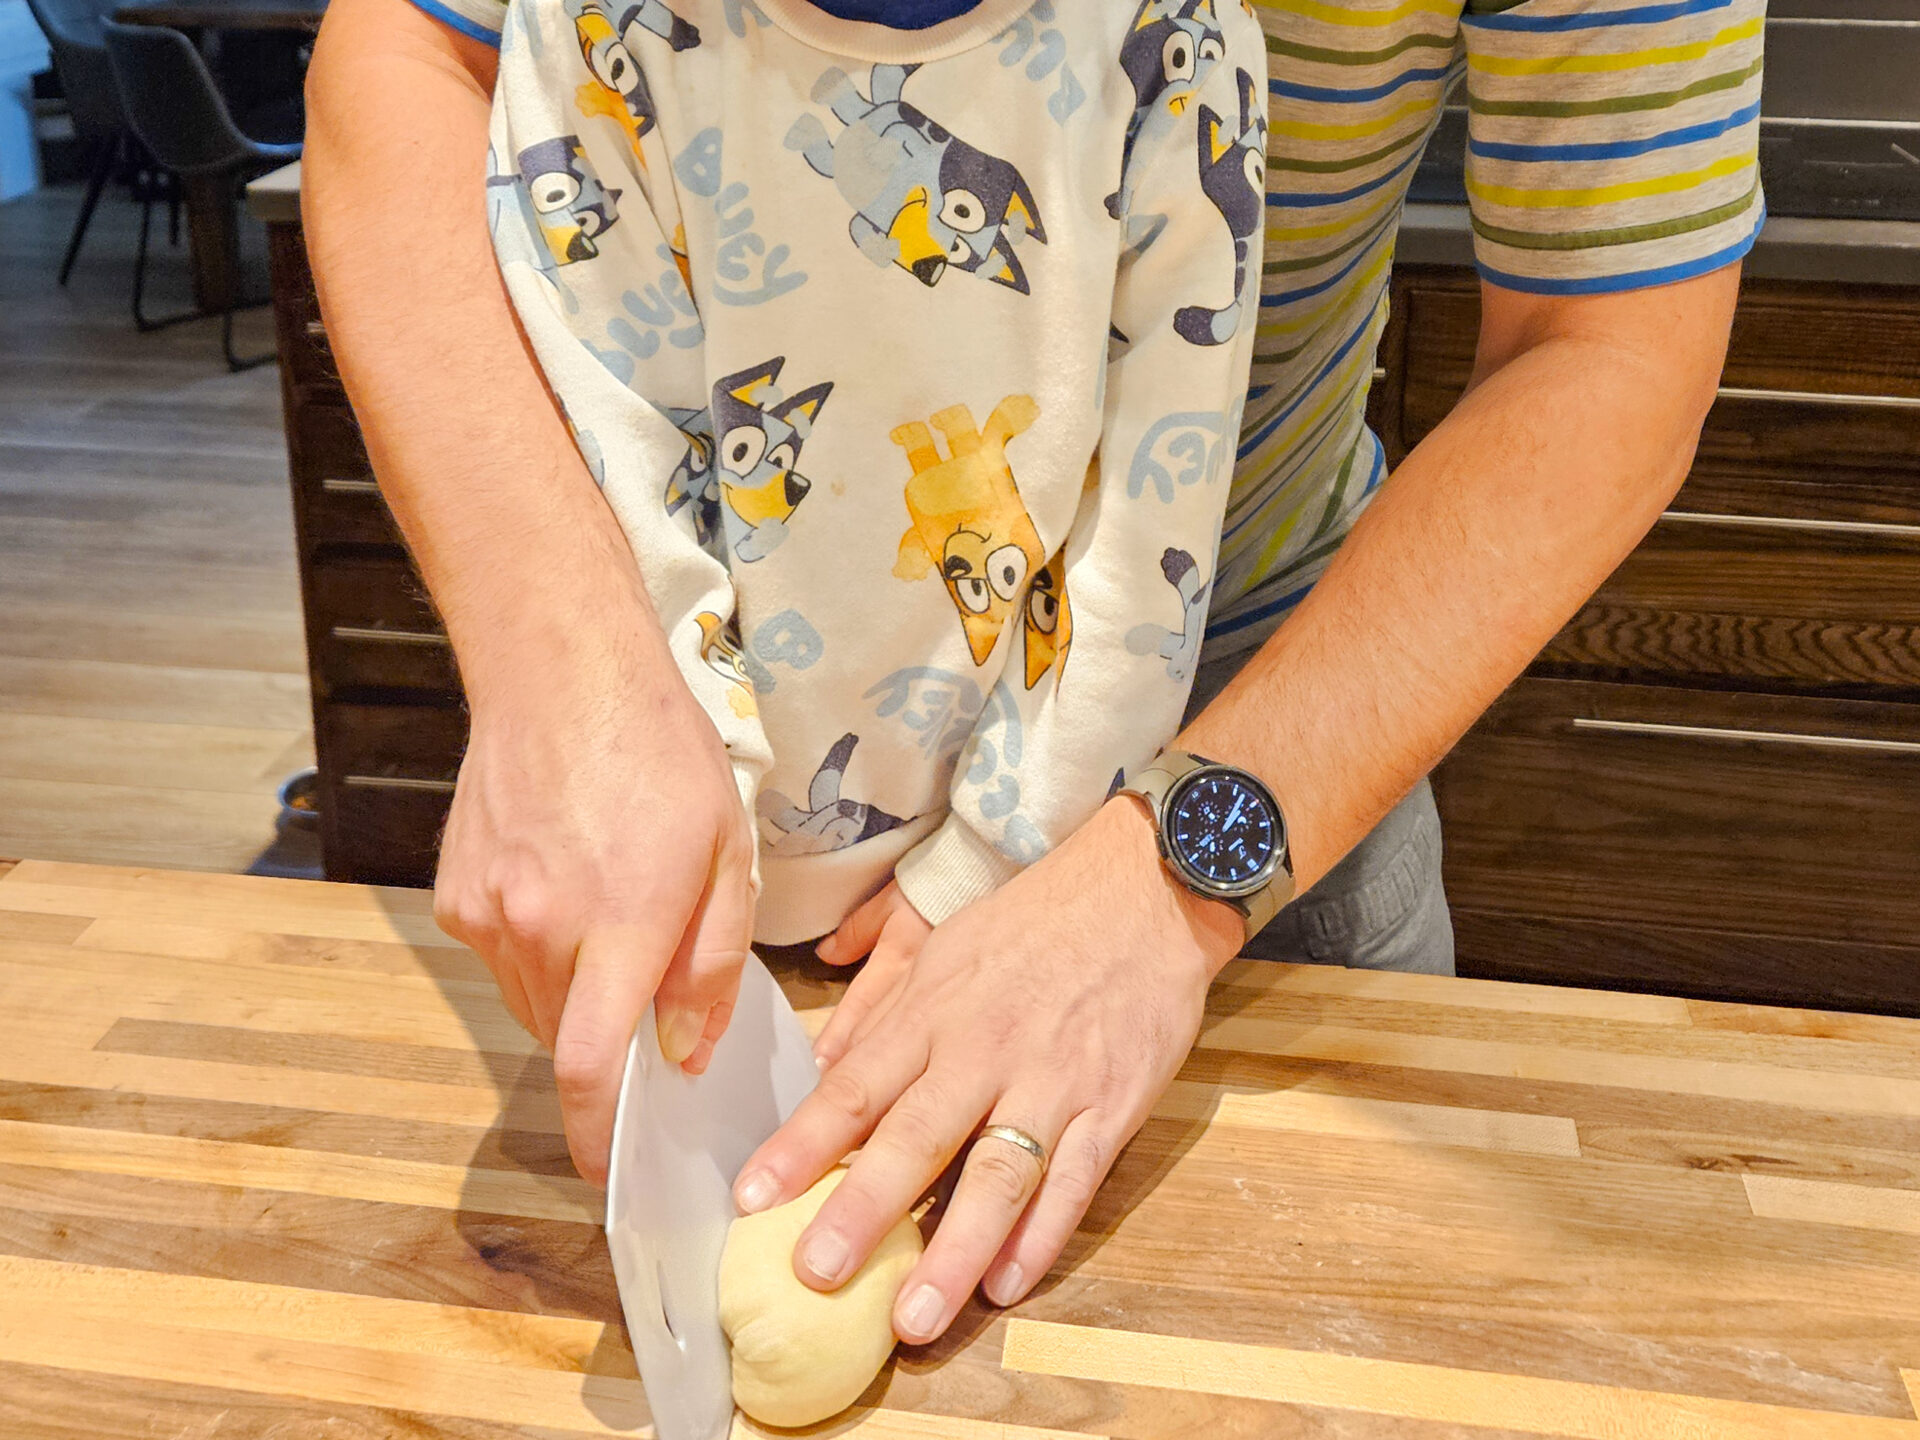
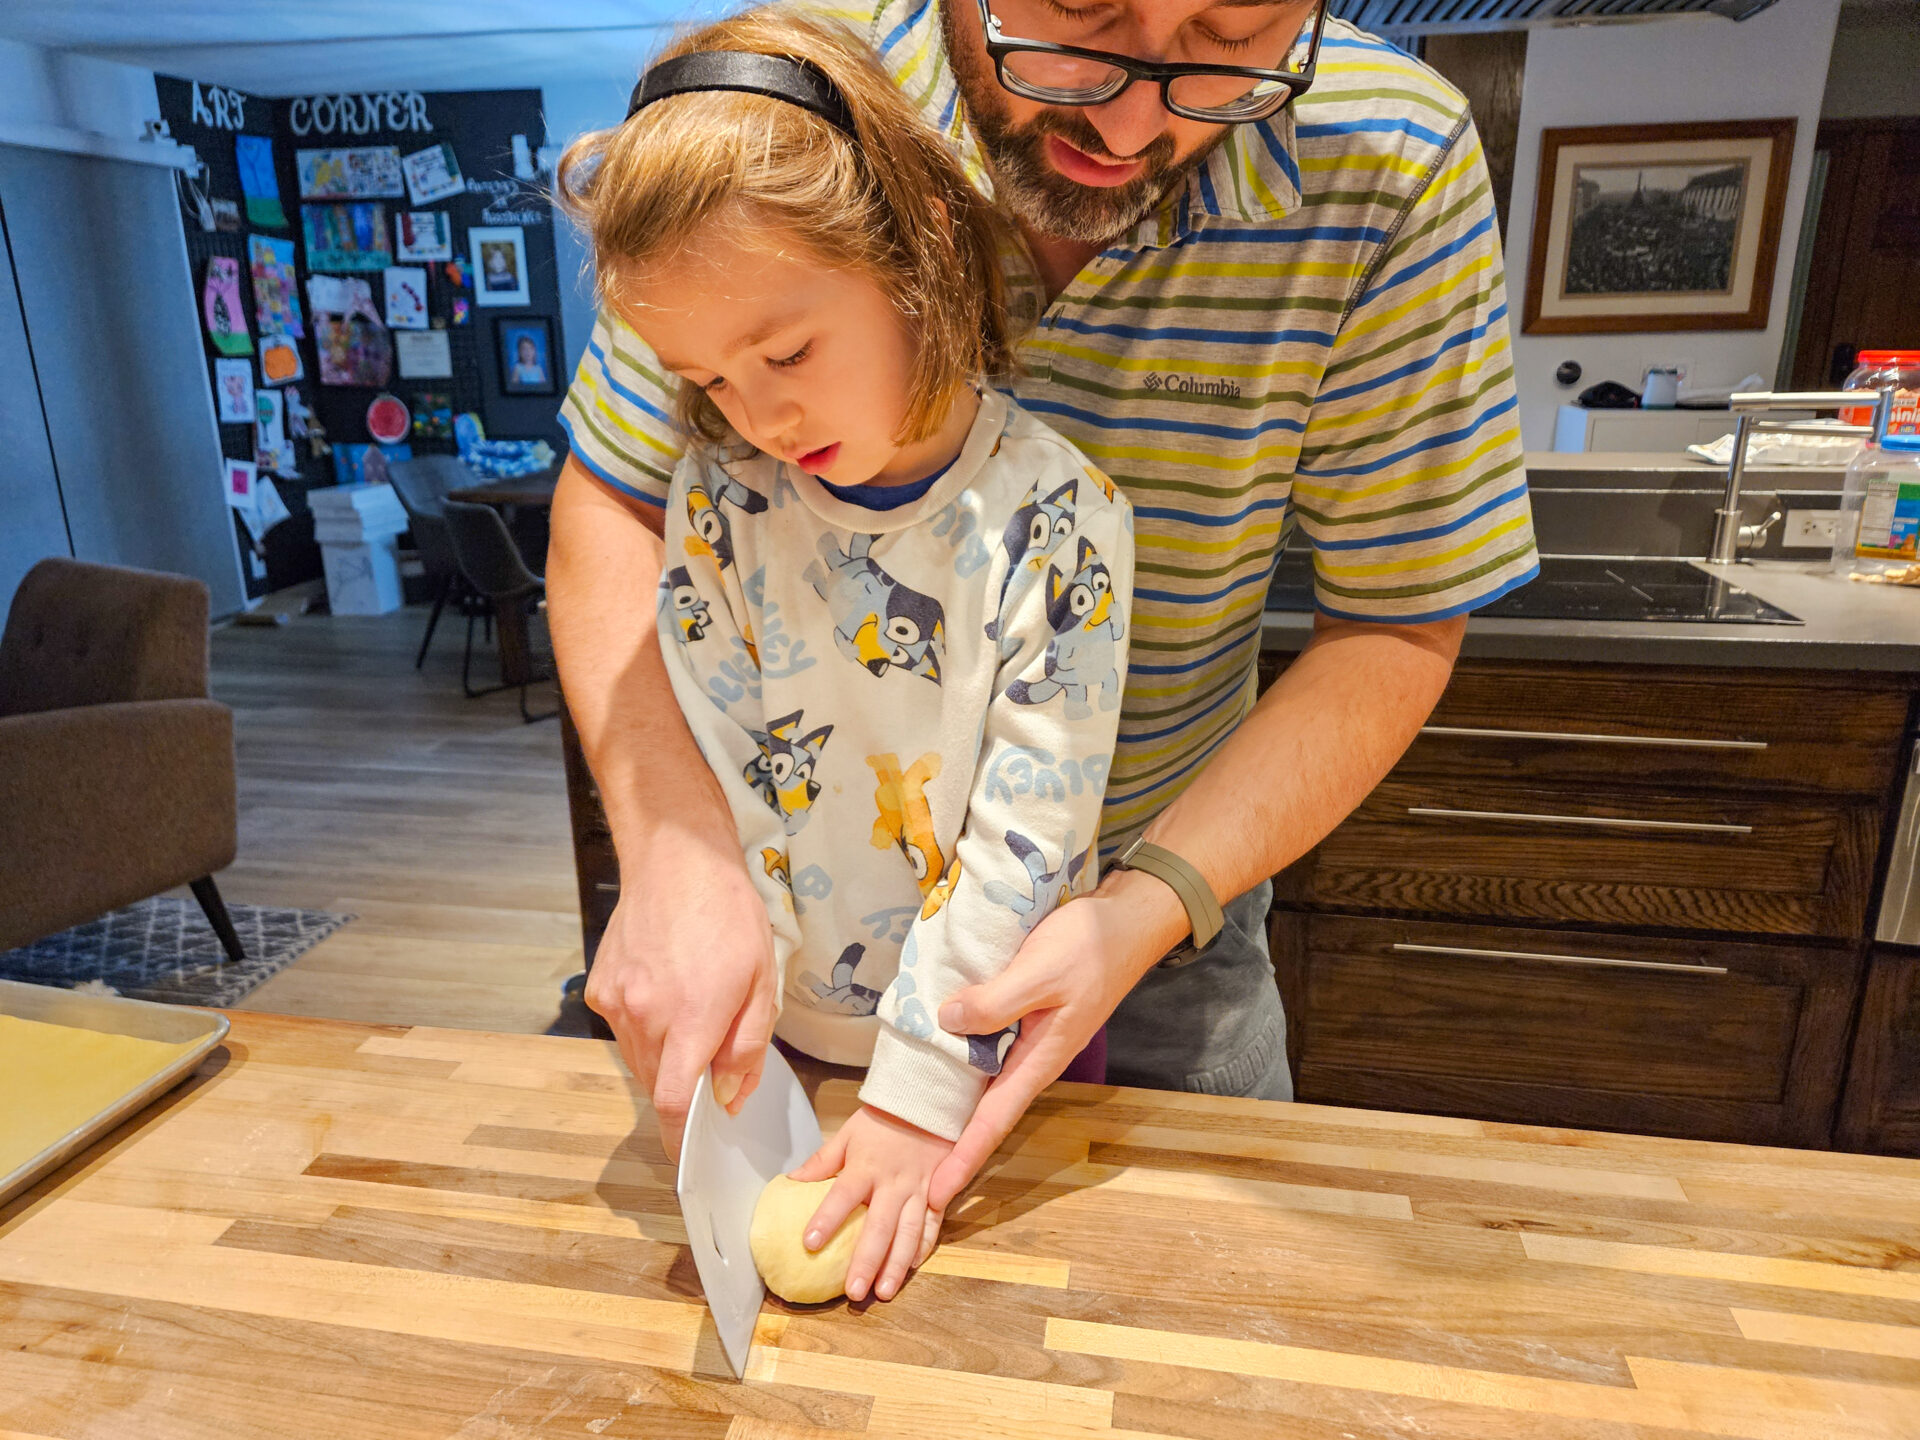
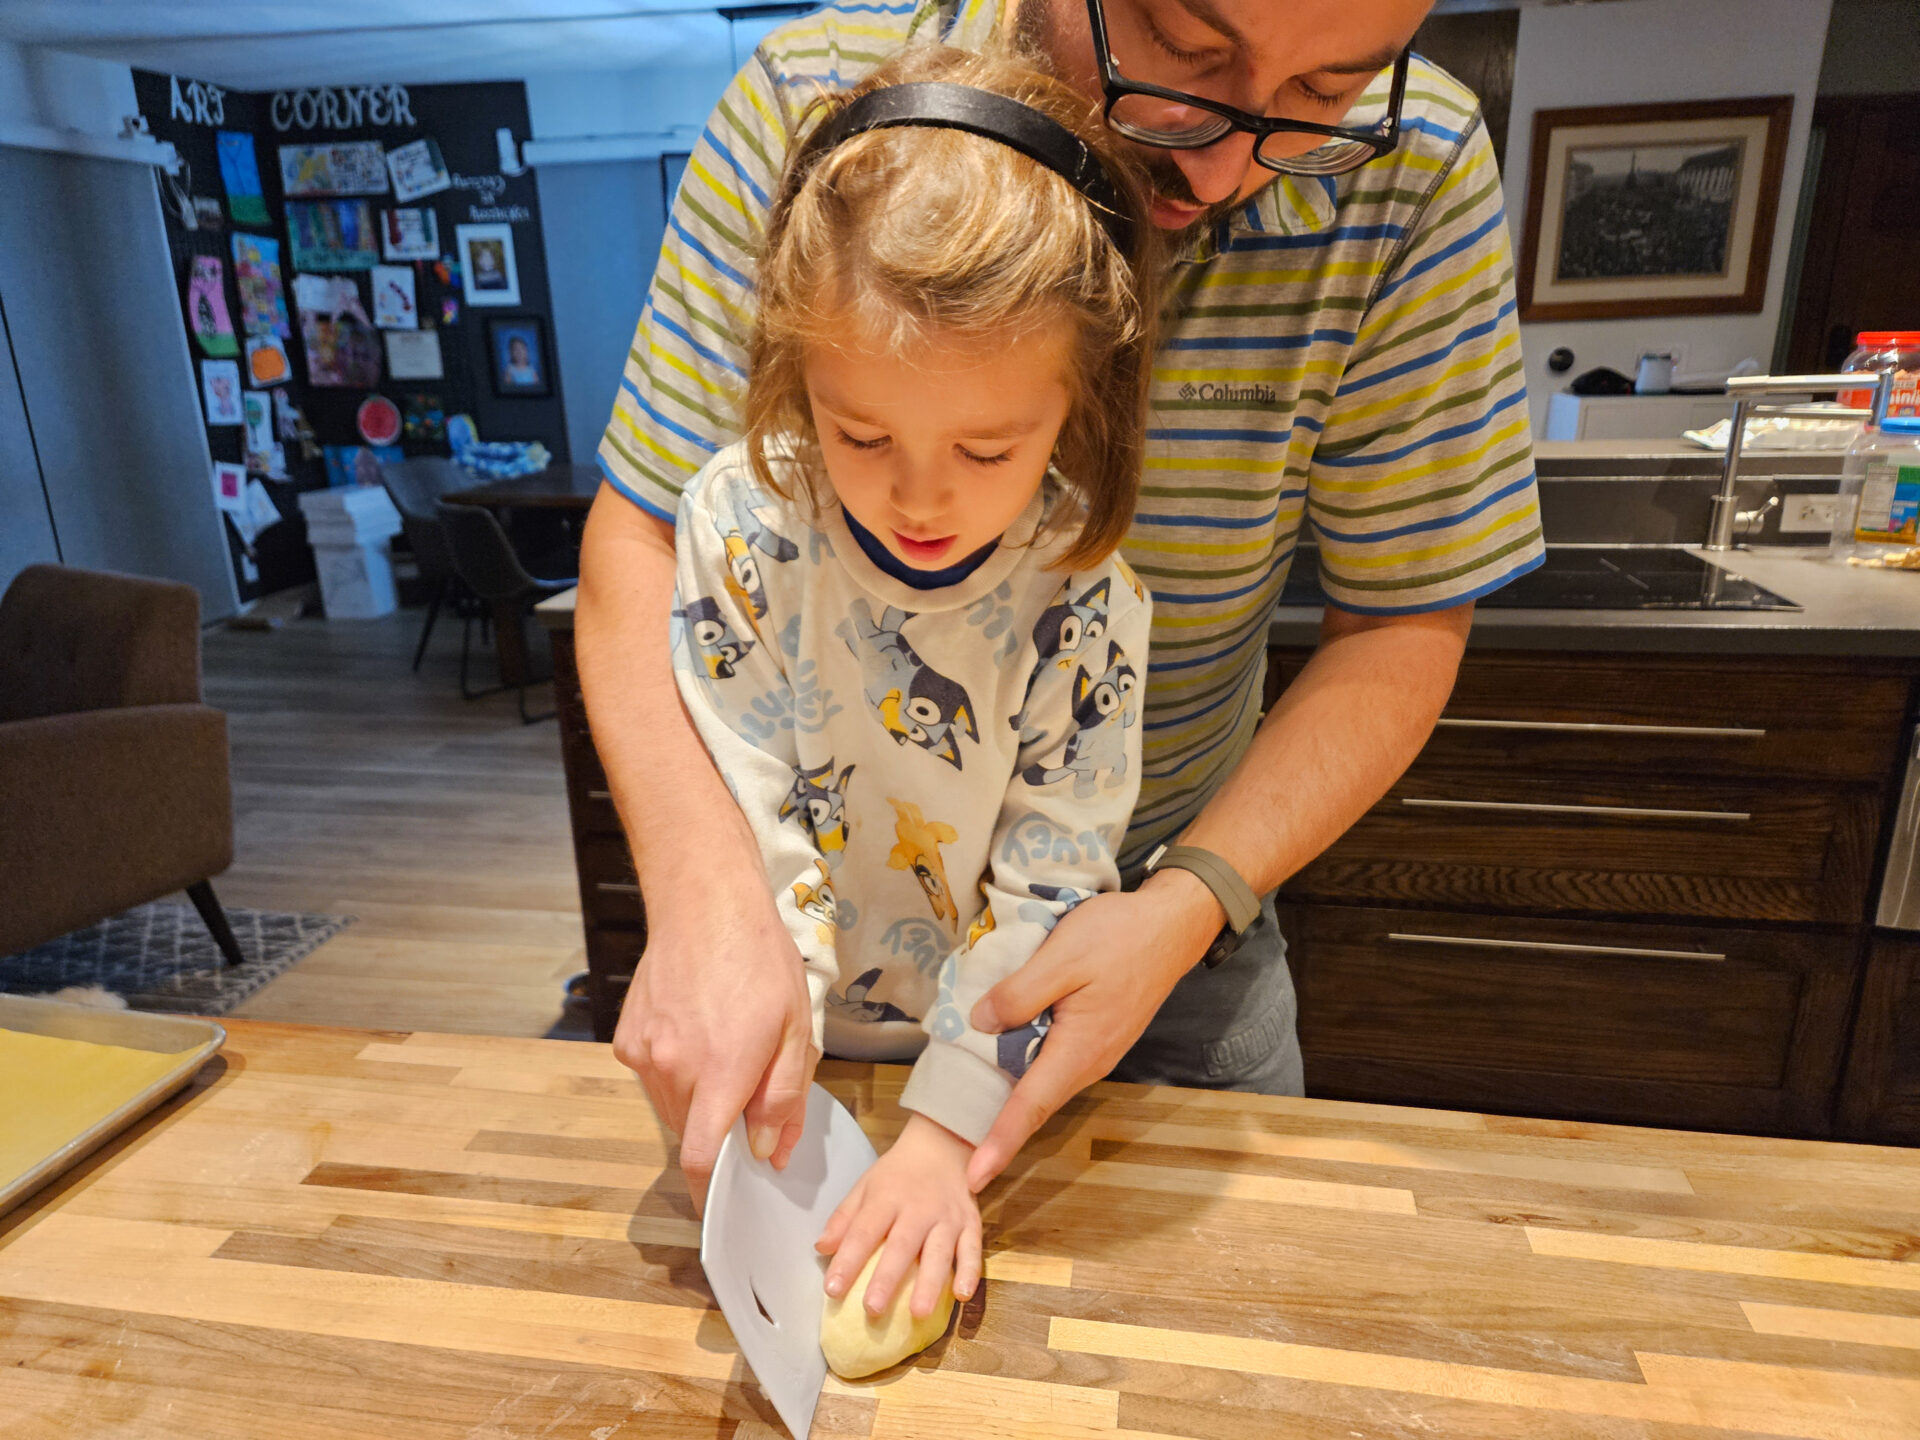
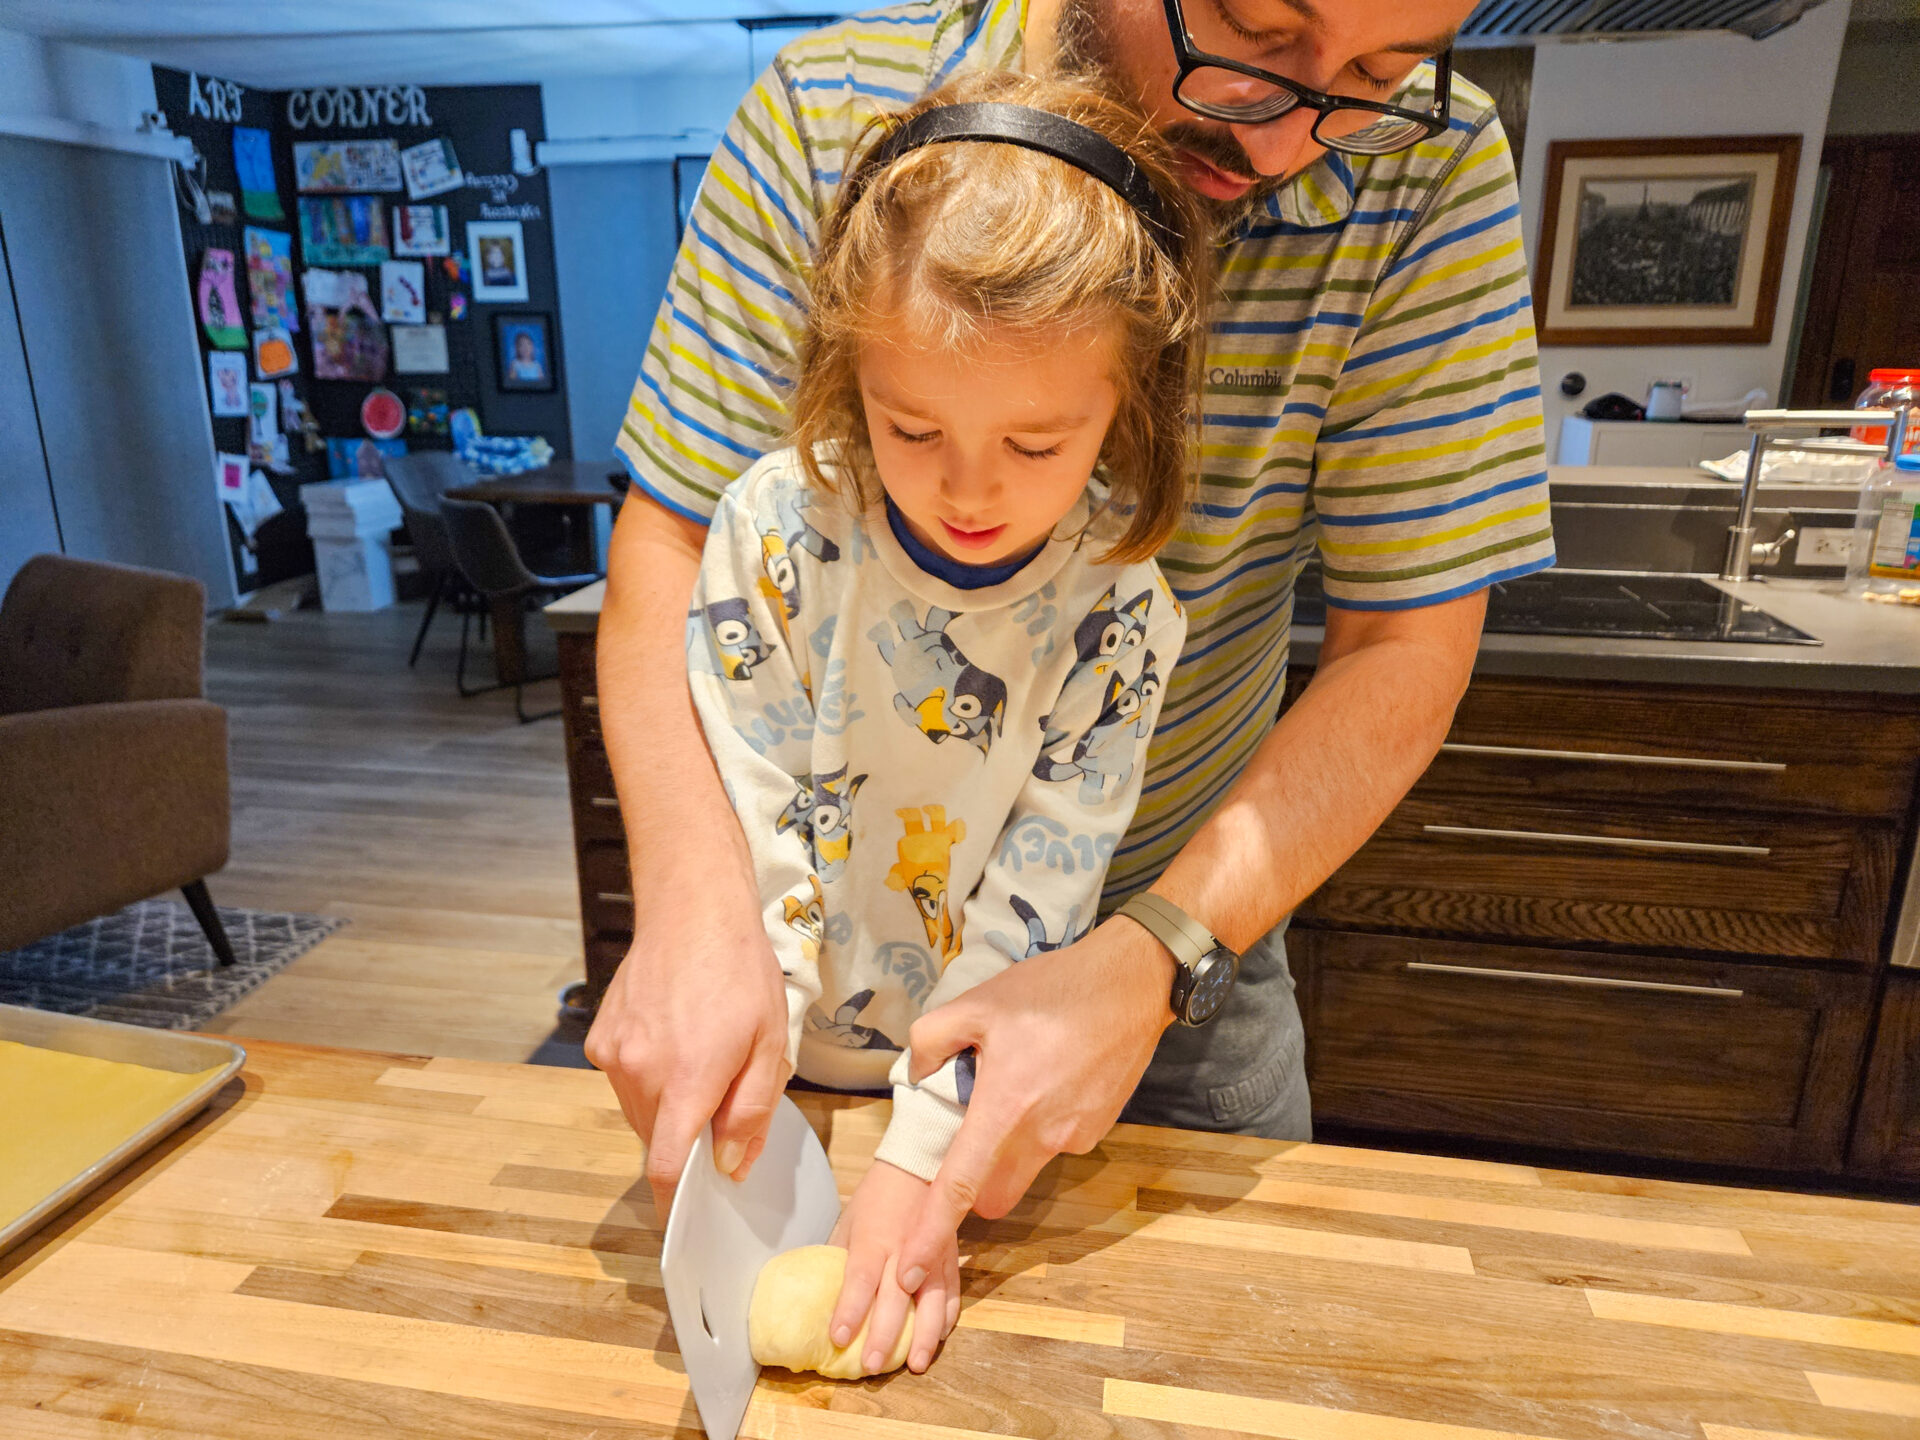
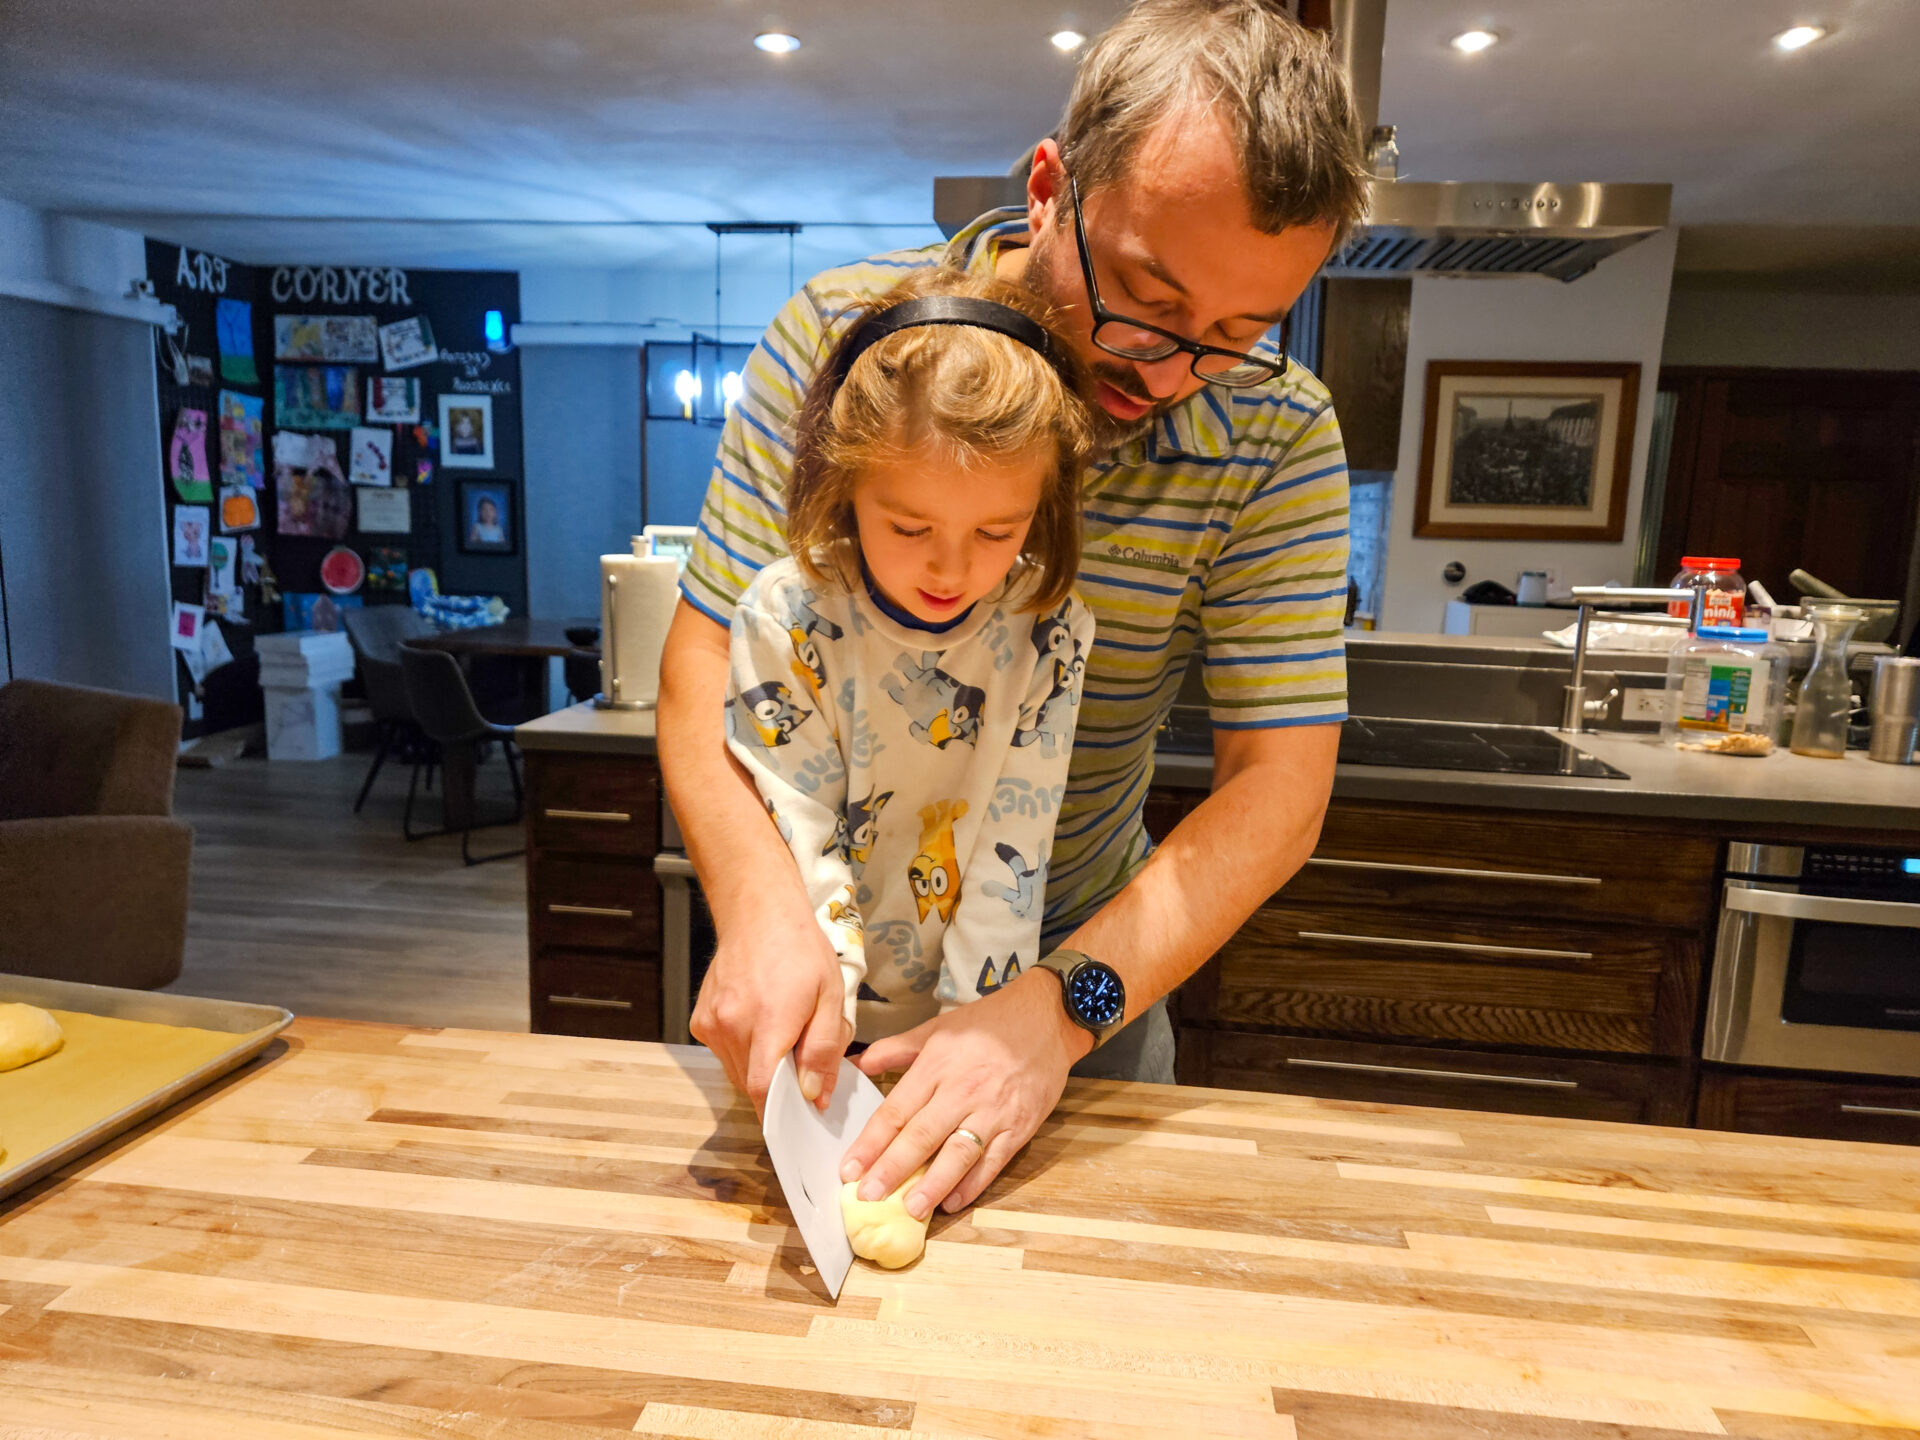
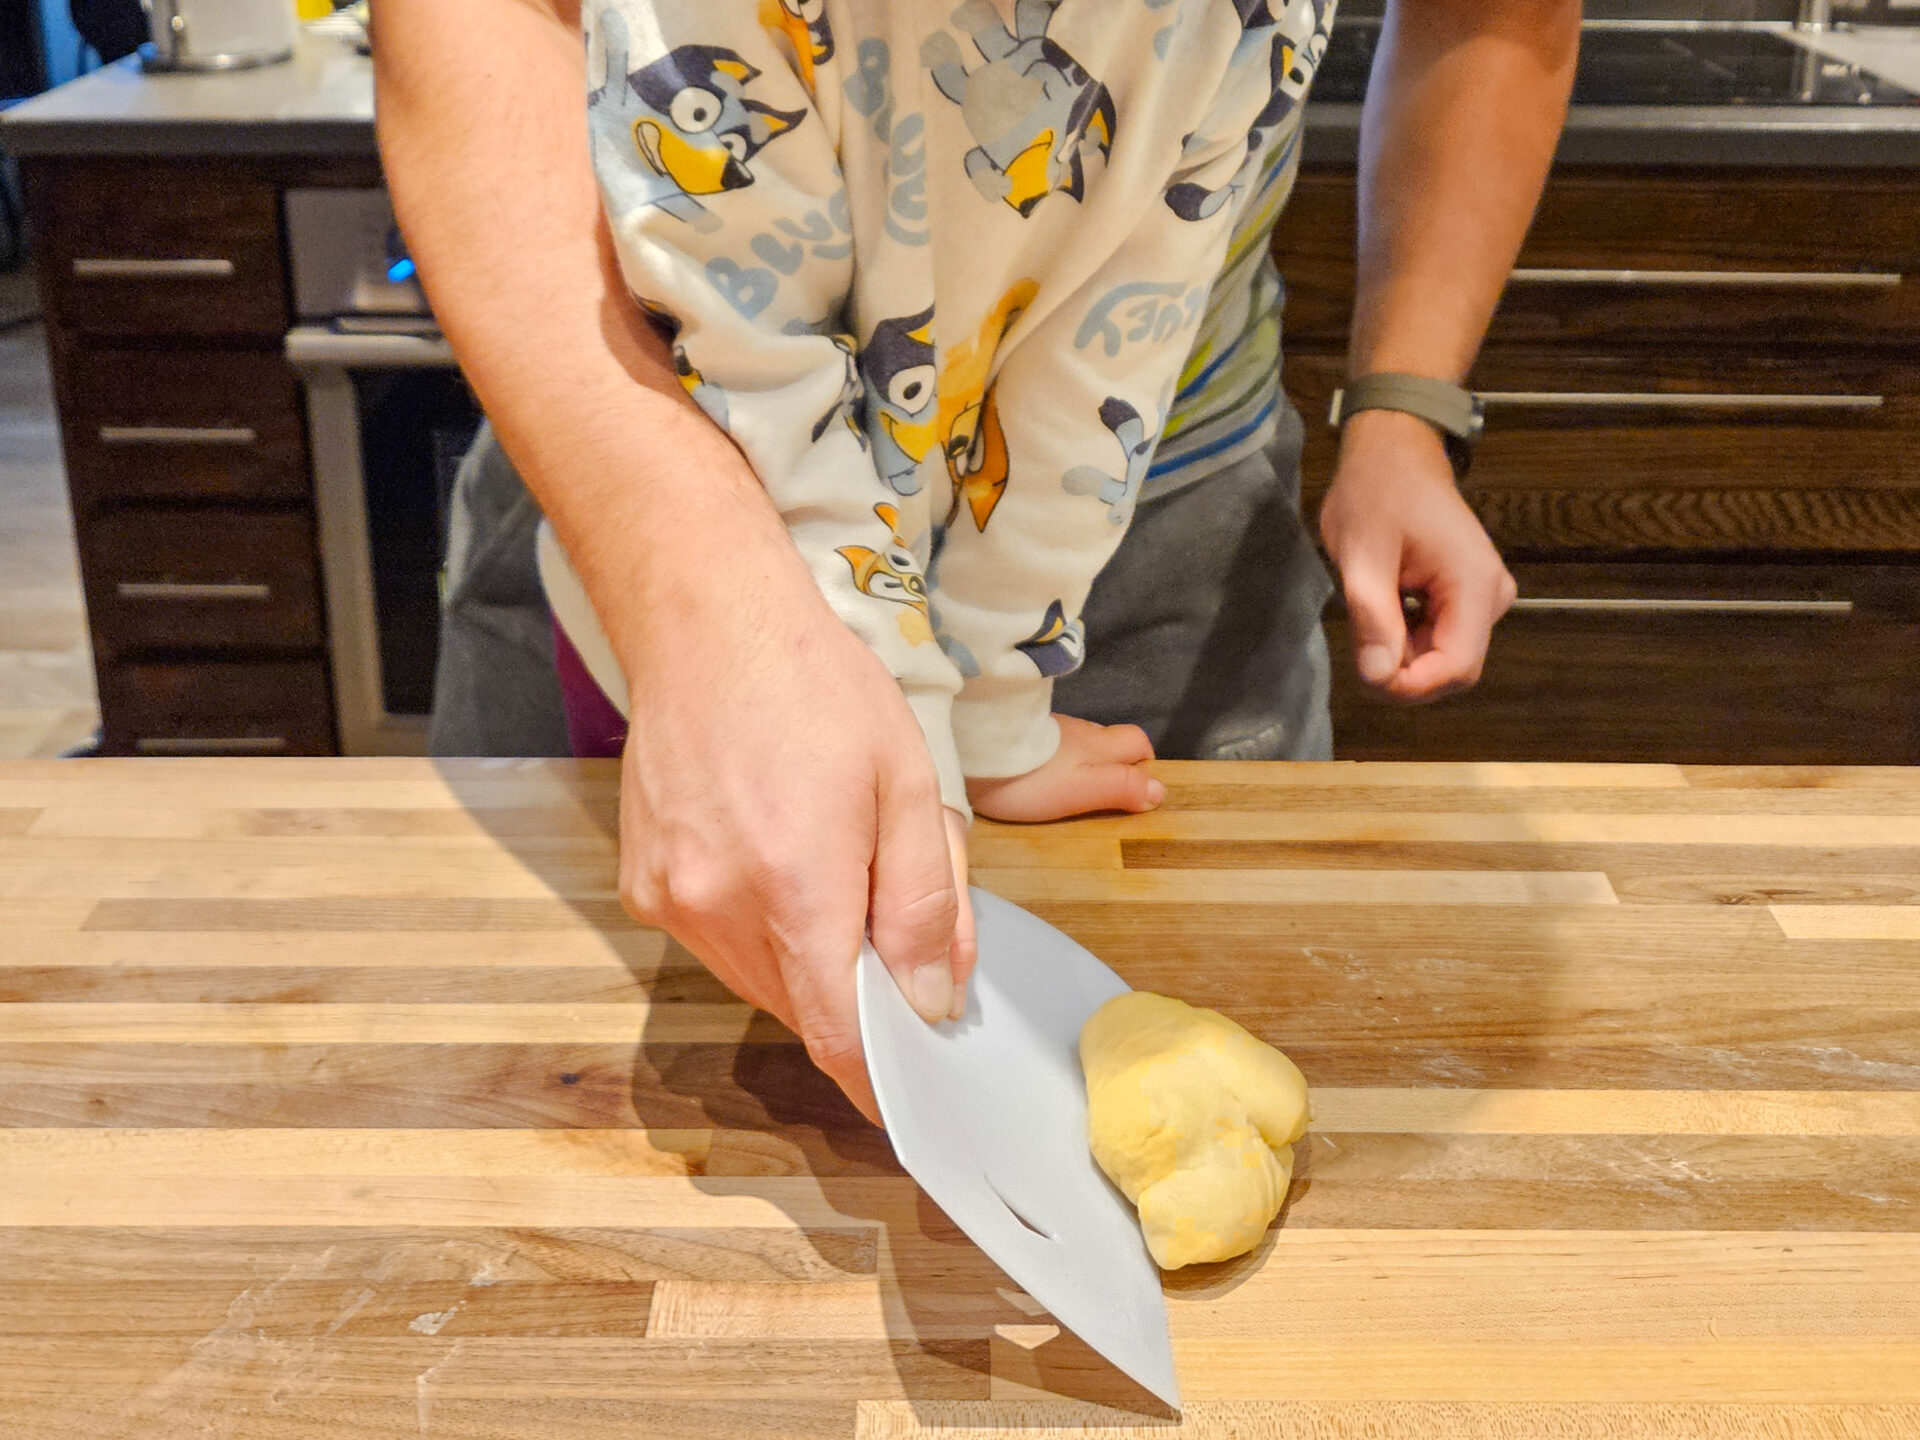
Once your dough has safely rested in a warm place for two to three hours and has doubled to tripled in size, it is time for the shaping phase. My absolute golden rule here is to always work on a non-floured surface. You will separate the dough into twelve even pieces of about 3.8 ounces each using a bowl scraper and a kitchen scale. To shape them, place your bowl scraper at a slight angle against the bottom part of the dough, ensuring the bottom of the scraper touches the table. Keep one hand on the top of the dough and push the scraper to move the dough slightly. It will roll slightly and stretch at the same time. Repeat this, turning the dough 90 degrees to the right each time, until a compact dough ball is formed. Proper shaping ensures your Burger Buns will bake up evenly and hold their round shape beautifully on the baking sheet.
Proofing Your Burger Buns and Applying the Brushing Mixture
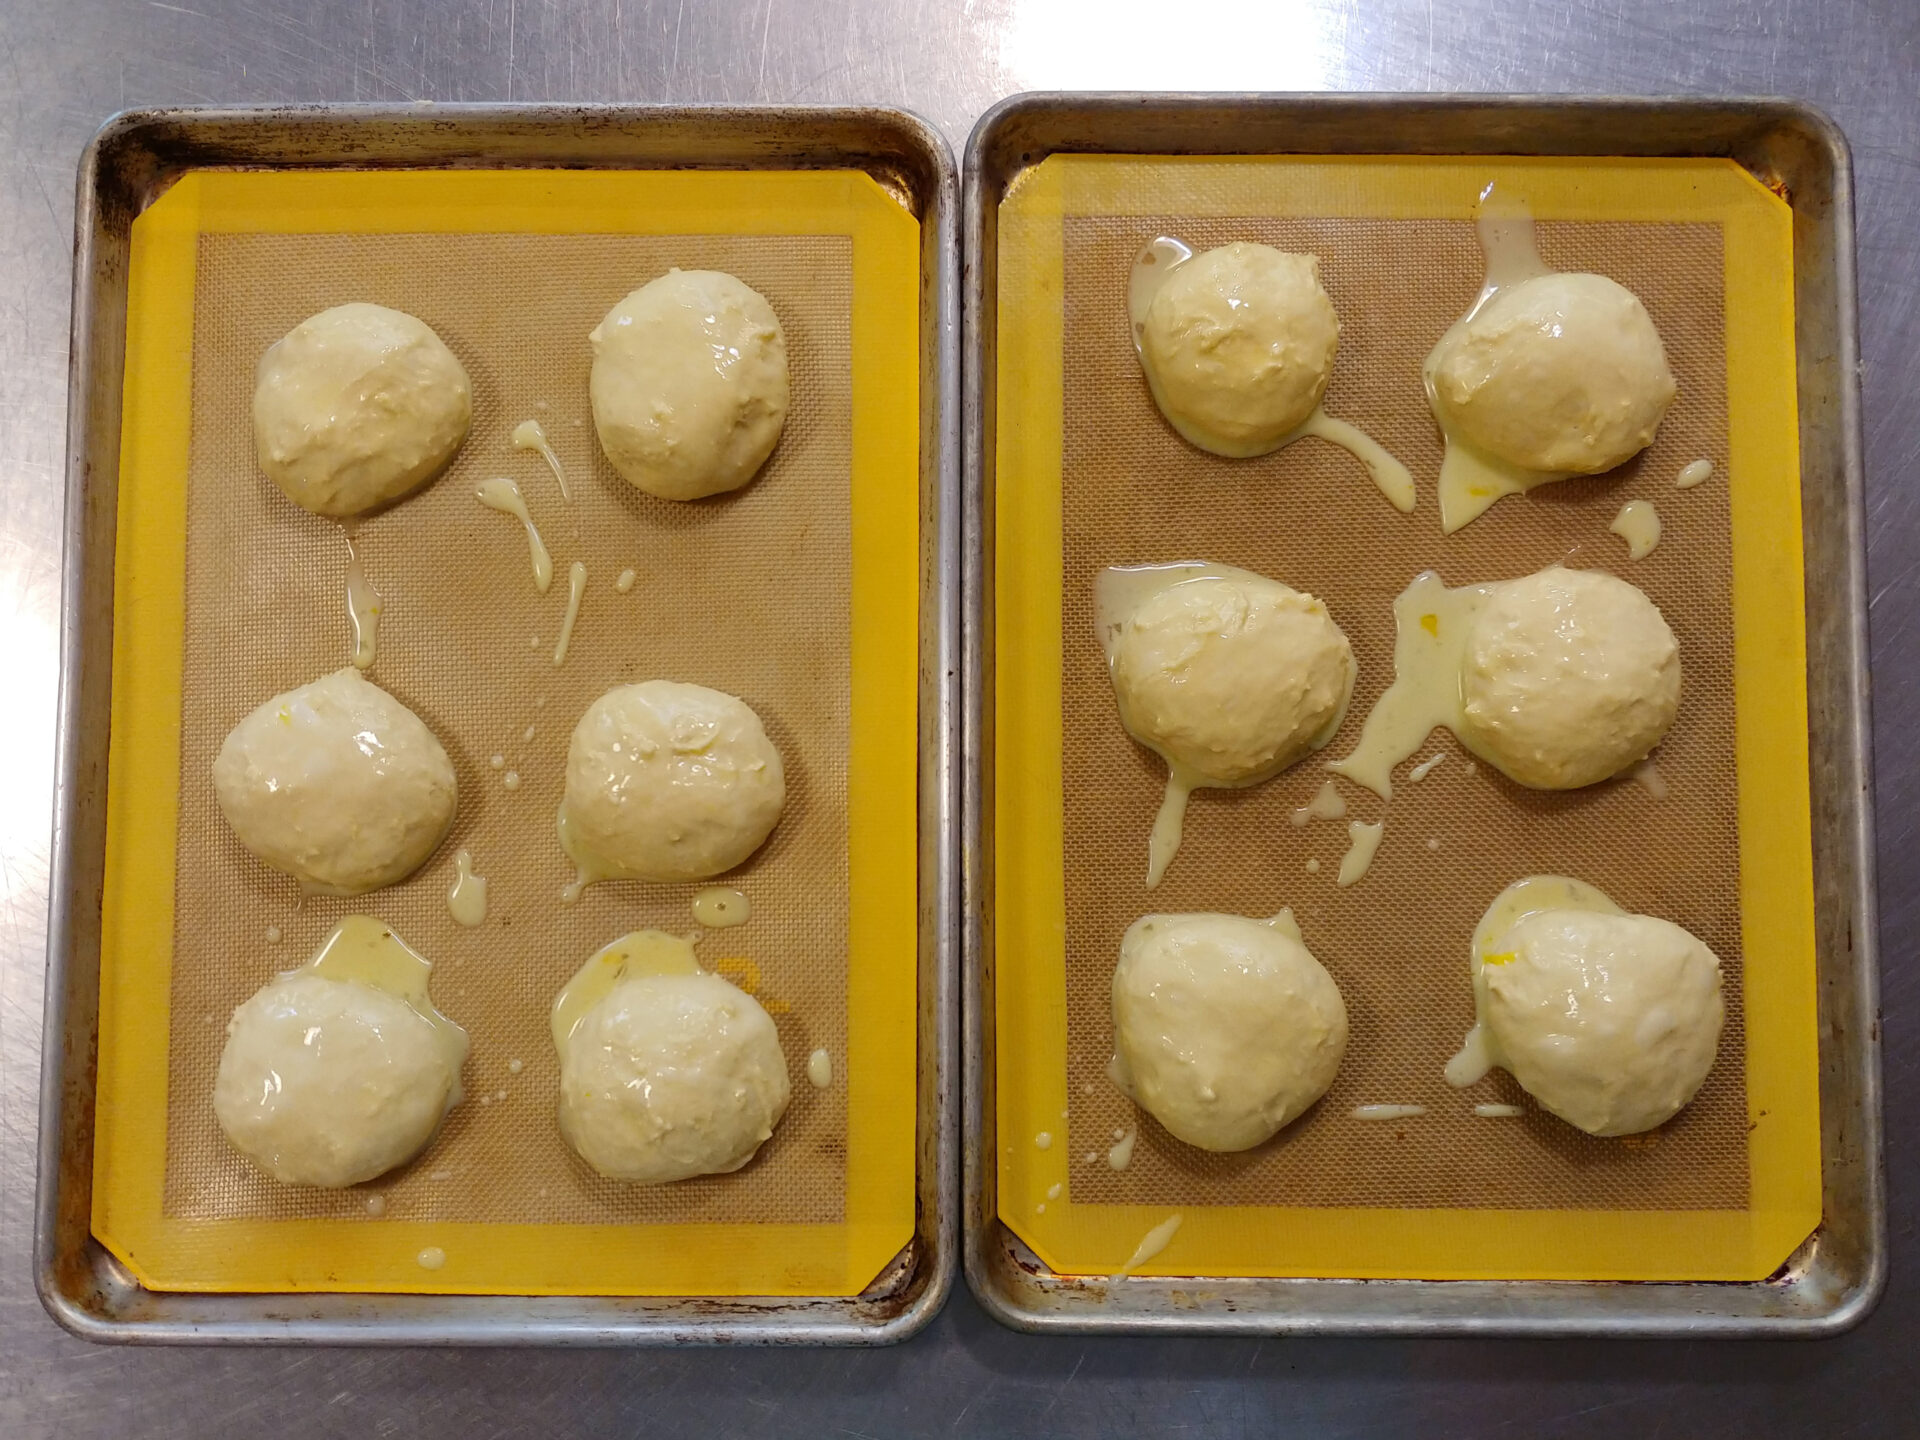
After you have neatly placed six of your shaped pieces onto a baking sheet lined with parchment paper, you need to prepare the brushing mixture. I simply hand whisk one egg with a quarter cup of milk in a small bowl. Brush all the pieces with this brushing mixture, making sure to save the rest for a second brushing right before the oven. Next, let the Burger Buns proof in a warm place for about thirty minutes to an hour until they have doubled in size. It could take longer if your dough ends up denser, so you have to watch them carefully to prevent over-proofing, which can cause them to collapse. The brushing mixture combined with a warm place creates the perfect environment for that final rise, ensuring a gorgeous golden crust on your Burger Buns.
Baking Preparation and Customizing Your Burger Buns
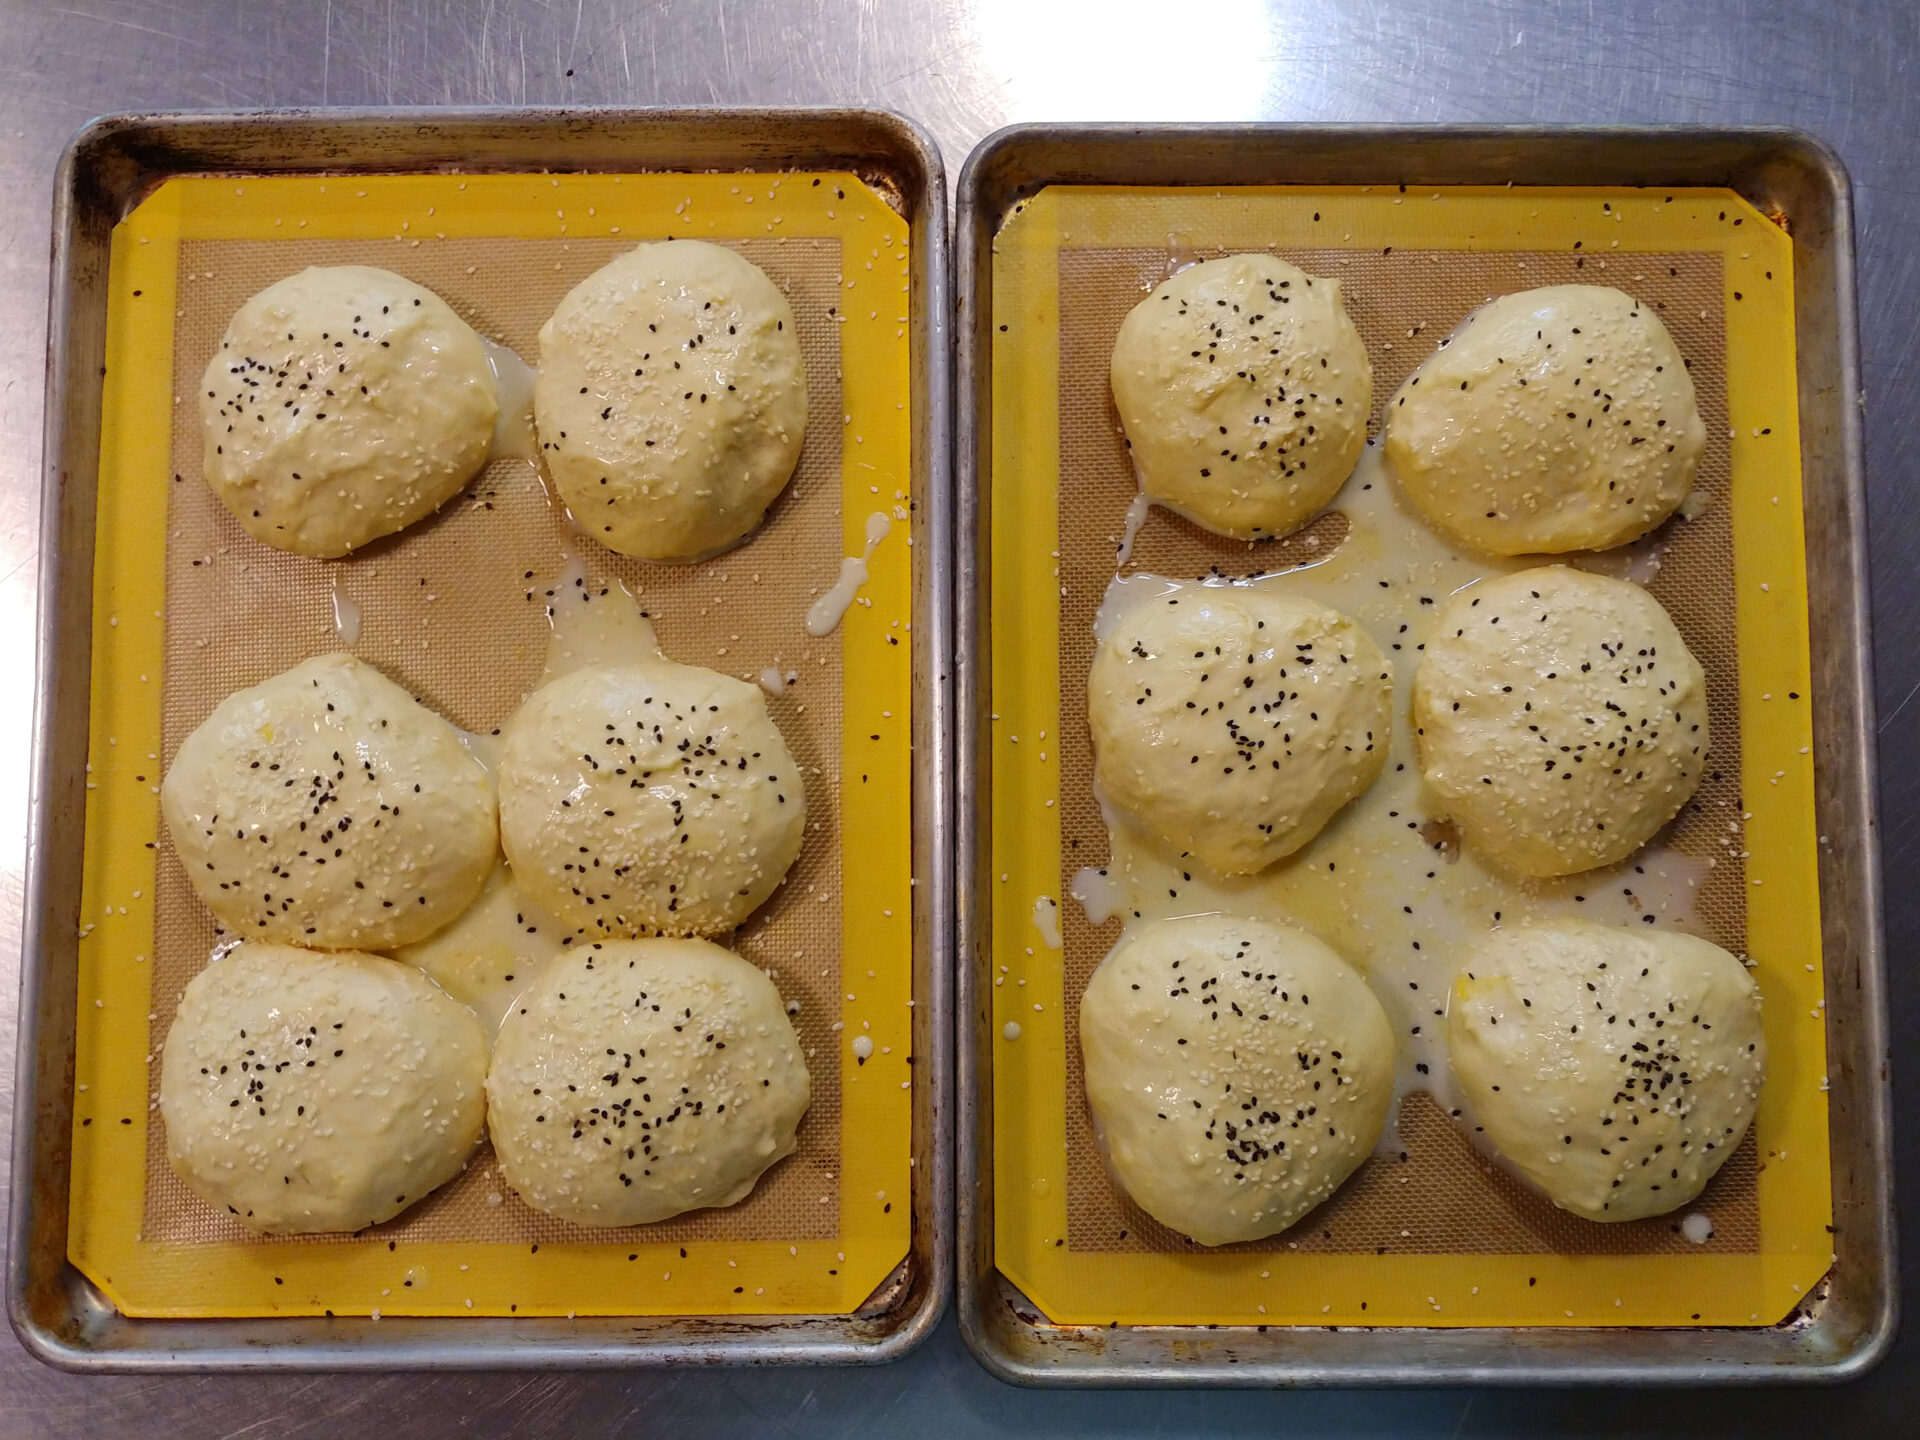
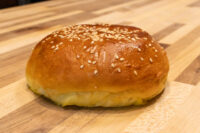
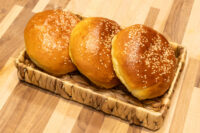
When the proofing step is completely done, set your oven to 400 degrees Fahrenheit. Before placing the baking sheet into the oven, I gently apply a second coat of the brushing mixture to all the dough balls which have now turned into buns. Here is where you can add a fantastic modification that is a modification and not part of the recipe itself: while my recipe suggests sesame seeds, crushed pepper flakes, poppy seeds, or sunflower seeds, you could optionally sprinkle some dried minced garlic or onion flakes on top! Just remember, this specific garlic or onion addition is a modification that is not part of the recipe. If you are not freezing them, sea salt is a great topping too. Once decorated, bake your Burger Buns on the parchment paper for fifteen to twenty minutes, rotating the baking sheet in the middle of baking to ensure a perfectly even bake.
Storing and Freezing Your Burger Buns
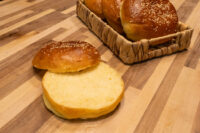
One of the absolute best things about my Burger Buns is how incredibly well they store! If you do not need all twelve servings at once, you can easily bake more buns than you need and freeze them for later usage. They stay absolutely great in the freezer for up to half a year! Whenever I need a fresh dough ball turned into a delicious bun for dinner, I just pull them out, and they defrost in only two hours. Remember, if you plan to freeze or refrigerate your Burger Buns, do not sprinkle them with sea salt before baking, as the moisture would make them soggy. Enjoy the wonderful convenience of having perfect homemade bread flour creations ready whenever you need them!
Burger Buns
Ingredients:
Click any ingredient to learn moreBread:
4 cup of bread flour
5 TSP of active dry yeasts
¼ cup of granulated sugar
2 TSP of salt
1 ½ cups of lukewarm milk (about 90 to 100°F) (preheat in the microwave or on the stove)
3 eggs
¼ cup of Extra Virgin Olive Oil
Brushing mixture:
1 egg
¼ cup of milk
Optionally: Sprinkle with:
- Black and/or white sesame seeds
- Crushed pepper flakes
- Poppy seeds
- Sunflower seeds or any other kind of seeds
- Sea salt (do not use if you are going to freeze or refrigerate the buns – it would make them soggy)
Nutrition per 1 Serving:(recipe split into 12 servings)
EstimatedCalories 257
Protein 8.9 g
Fat 8.1 g
Saturated fat 1.9 g
Carbohydrate 36.9 g
Sugars 6.1 g
Fiber 1.5 g
Sodium 306 mg
Cholesterol 66 mg
Vegetarian
Estimated. Worked out from the ingredients above using the United States Department of Agriculture’s FoodData Central reference data. An estimate, not a measurement — brands, sizes and how much of a marinade actually ends up on the plate all move it.
Directions:
Common mistake:
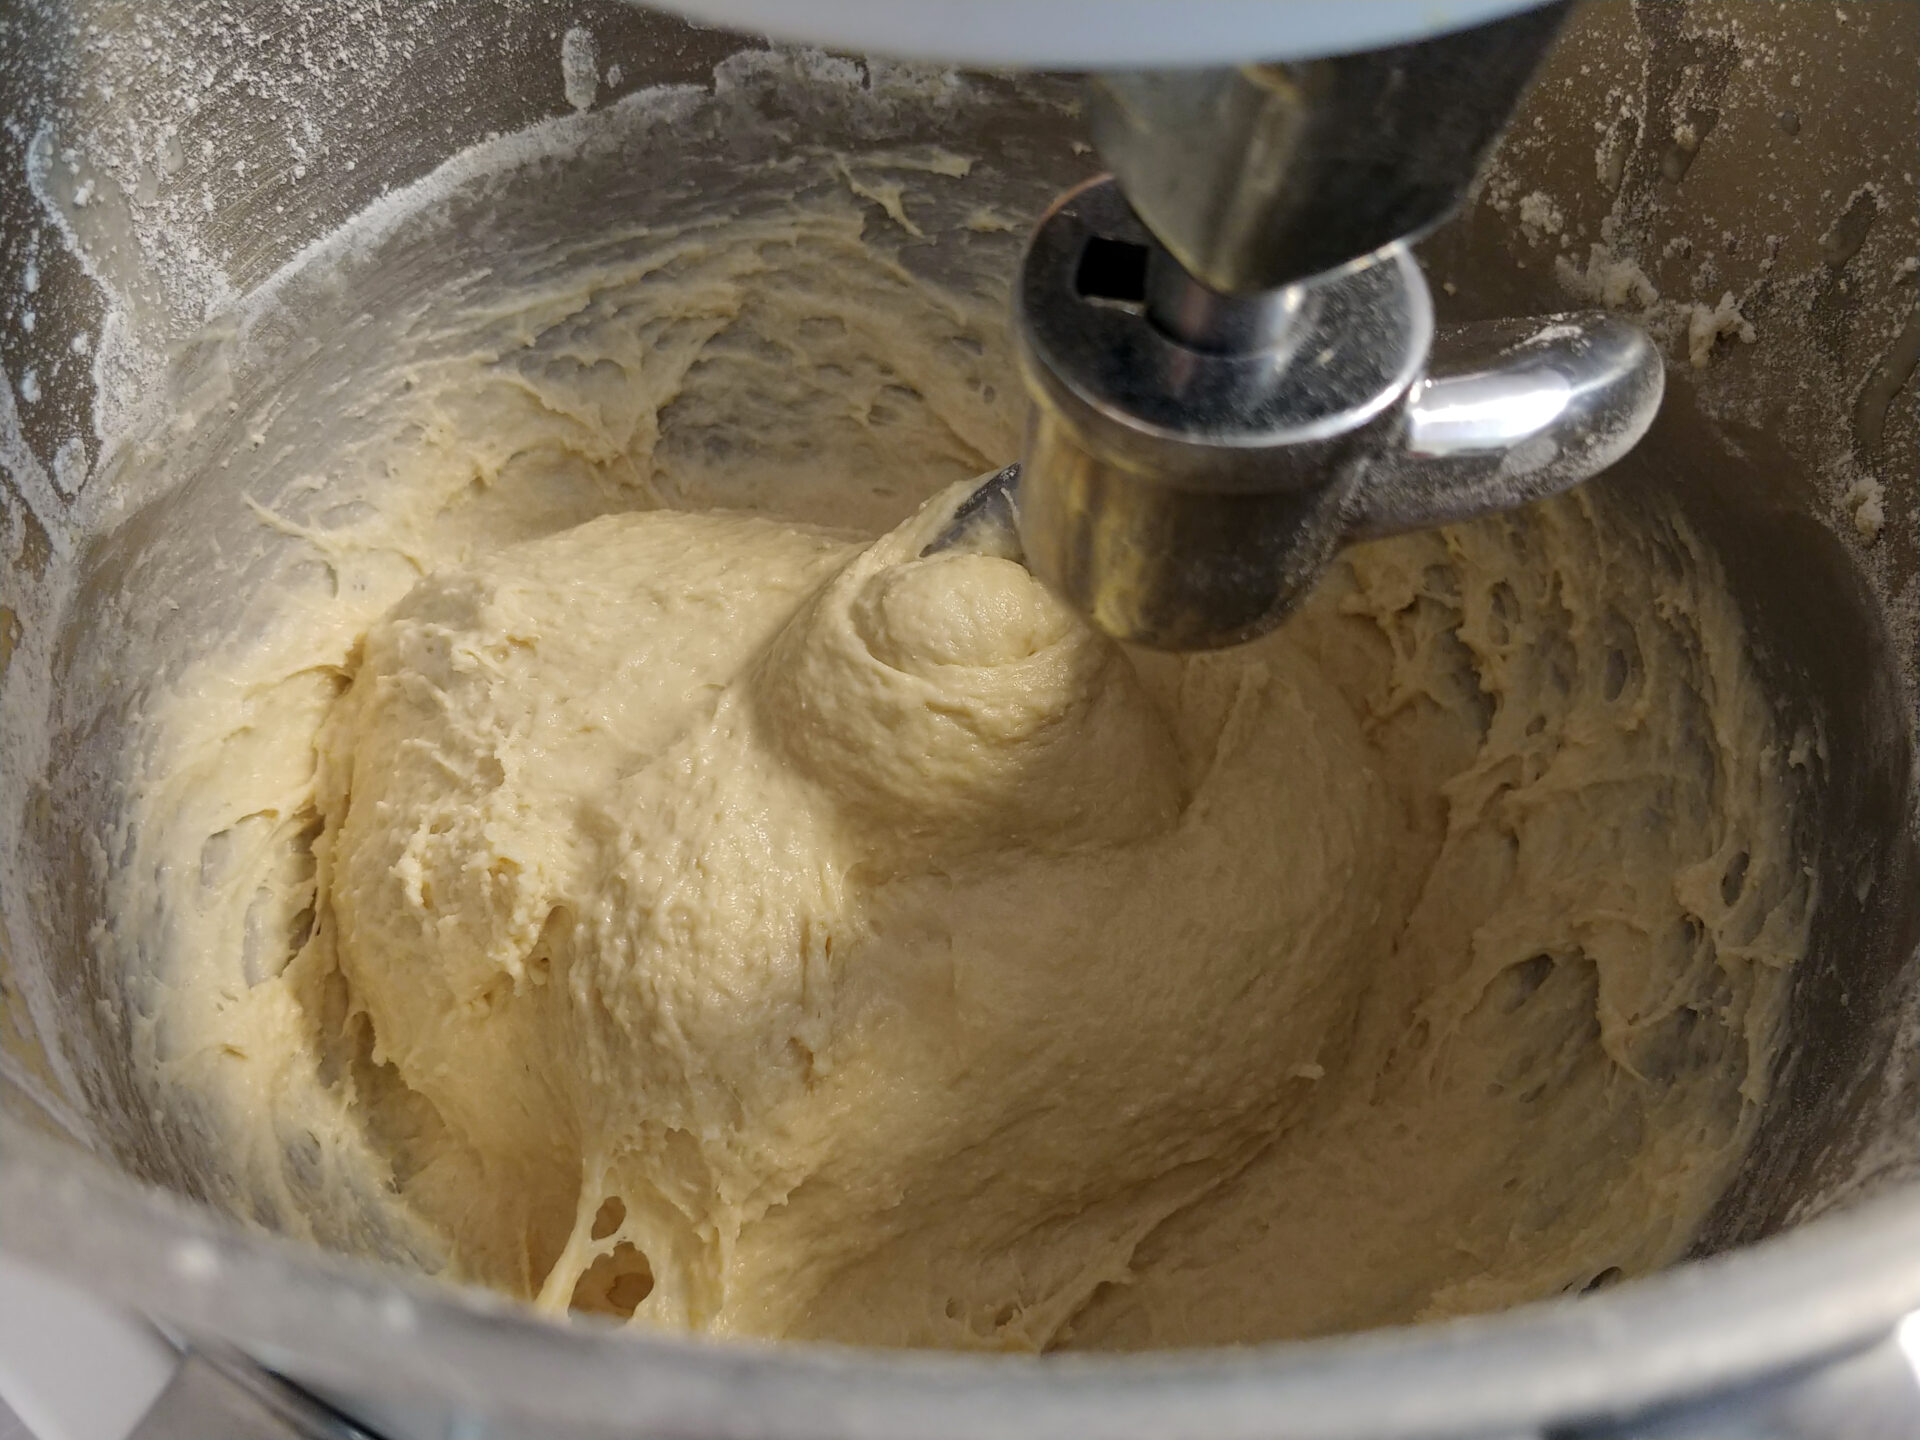
A common problem is that the dough always seems sticky, especially during the final kneading process. This is why some bakers often panic and add extra flour. This is not a good way to go since the final baked product will end up denser than it should. It is very important to not add any more flour and instead knead as long as needed until the dough stops sticking to the bowl and becomes compact and flexible.
1.Dough:
1.1.
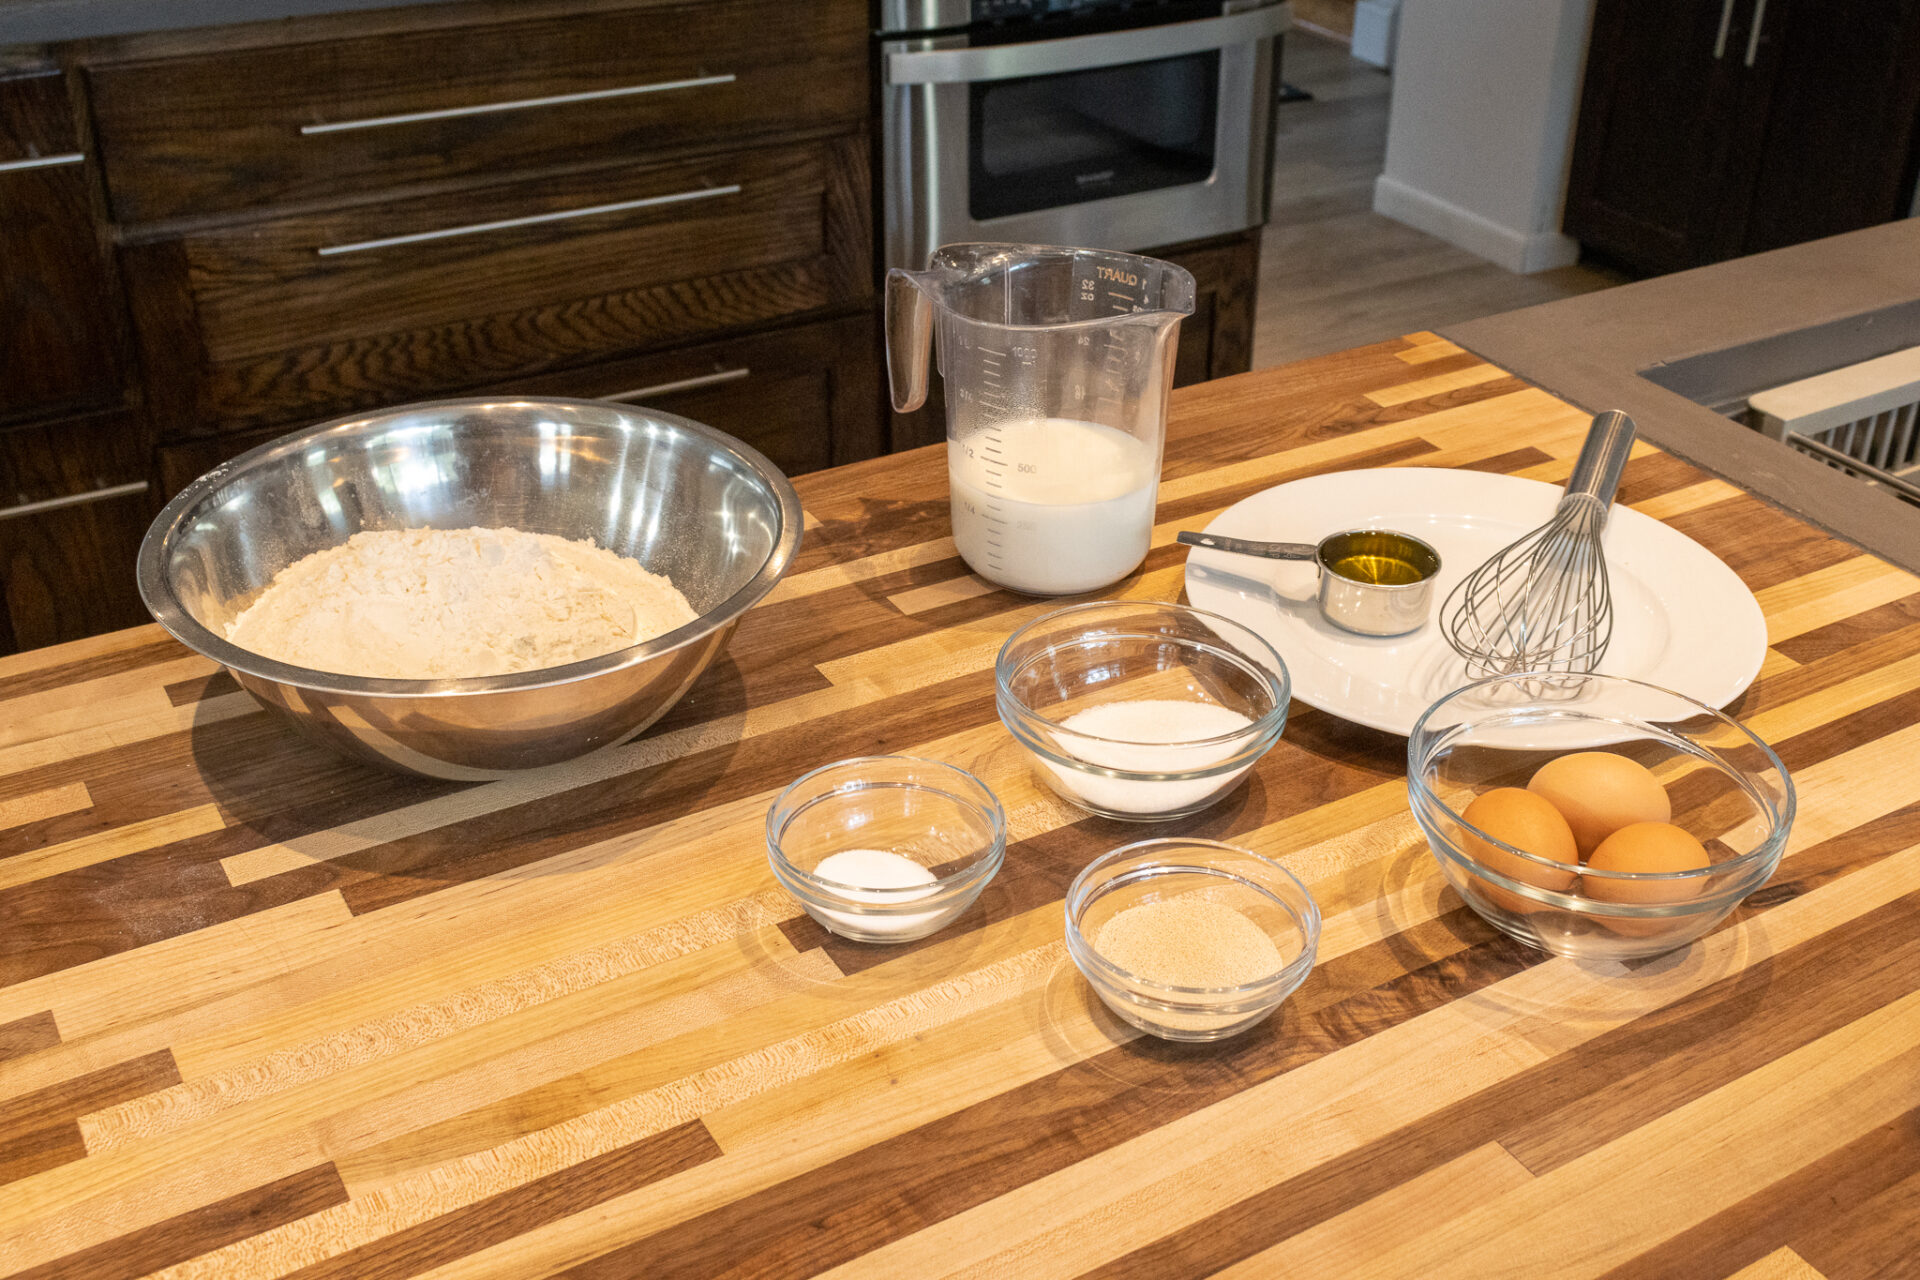
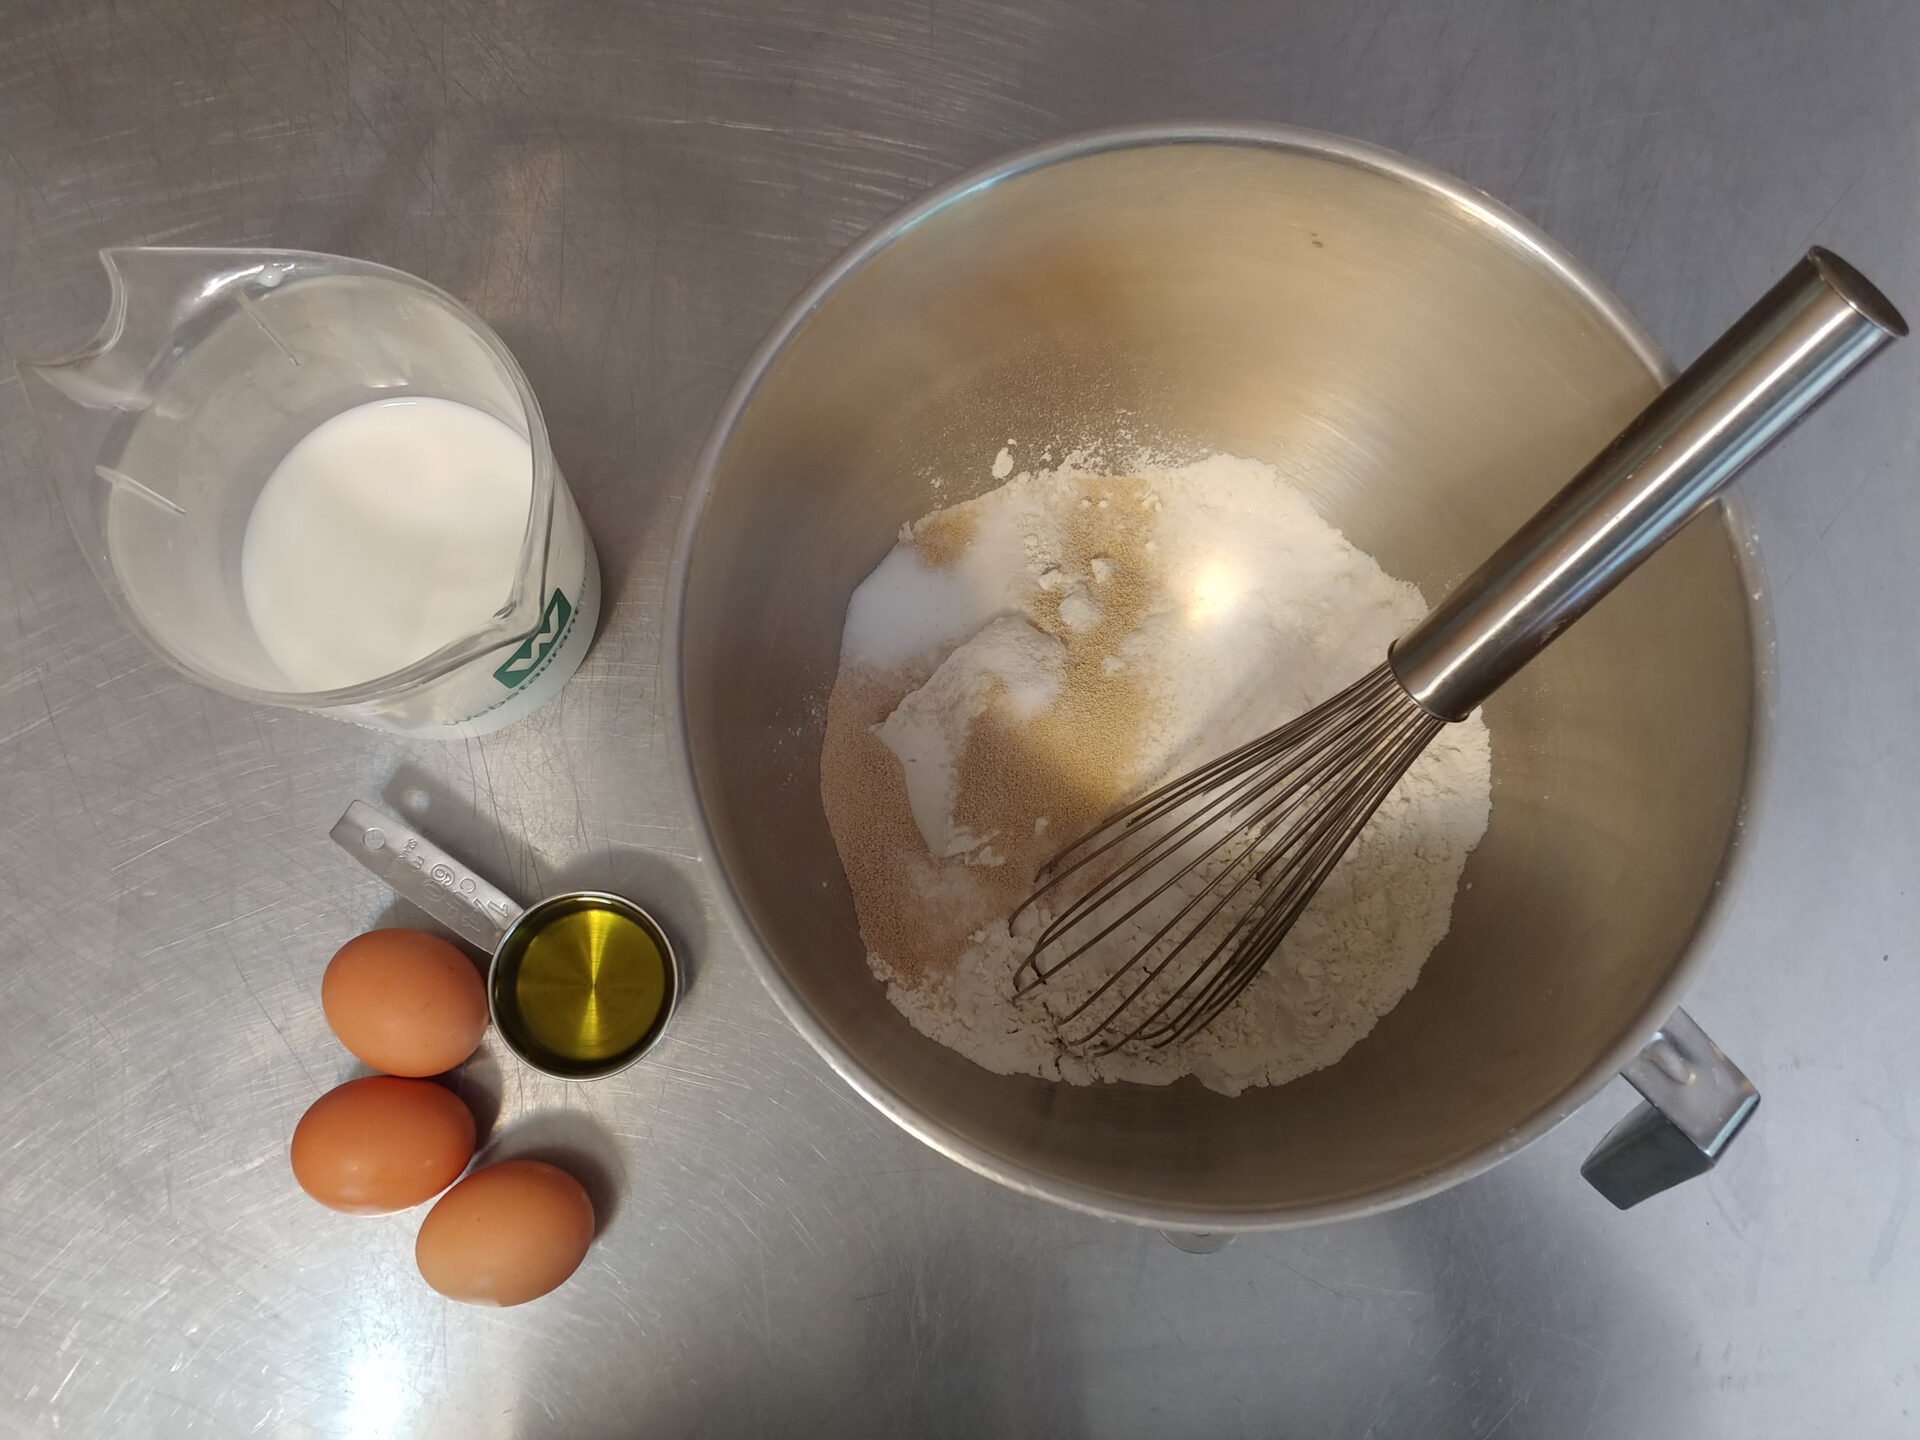
Place into a kitchen mixer with hook attachment:
4 cups of bread flour
5 TSP of active dry yeasts
¼ cup of granulated sugar
2 TSP of salt
Briefly stir with a whisk just enough to combine all ingredients (about 1 minute).
1.2.
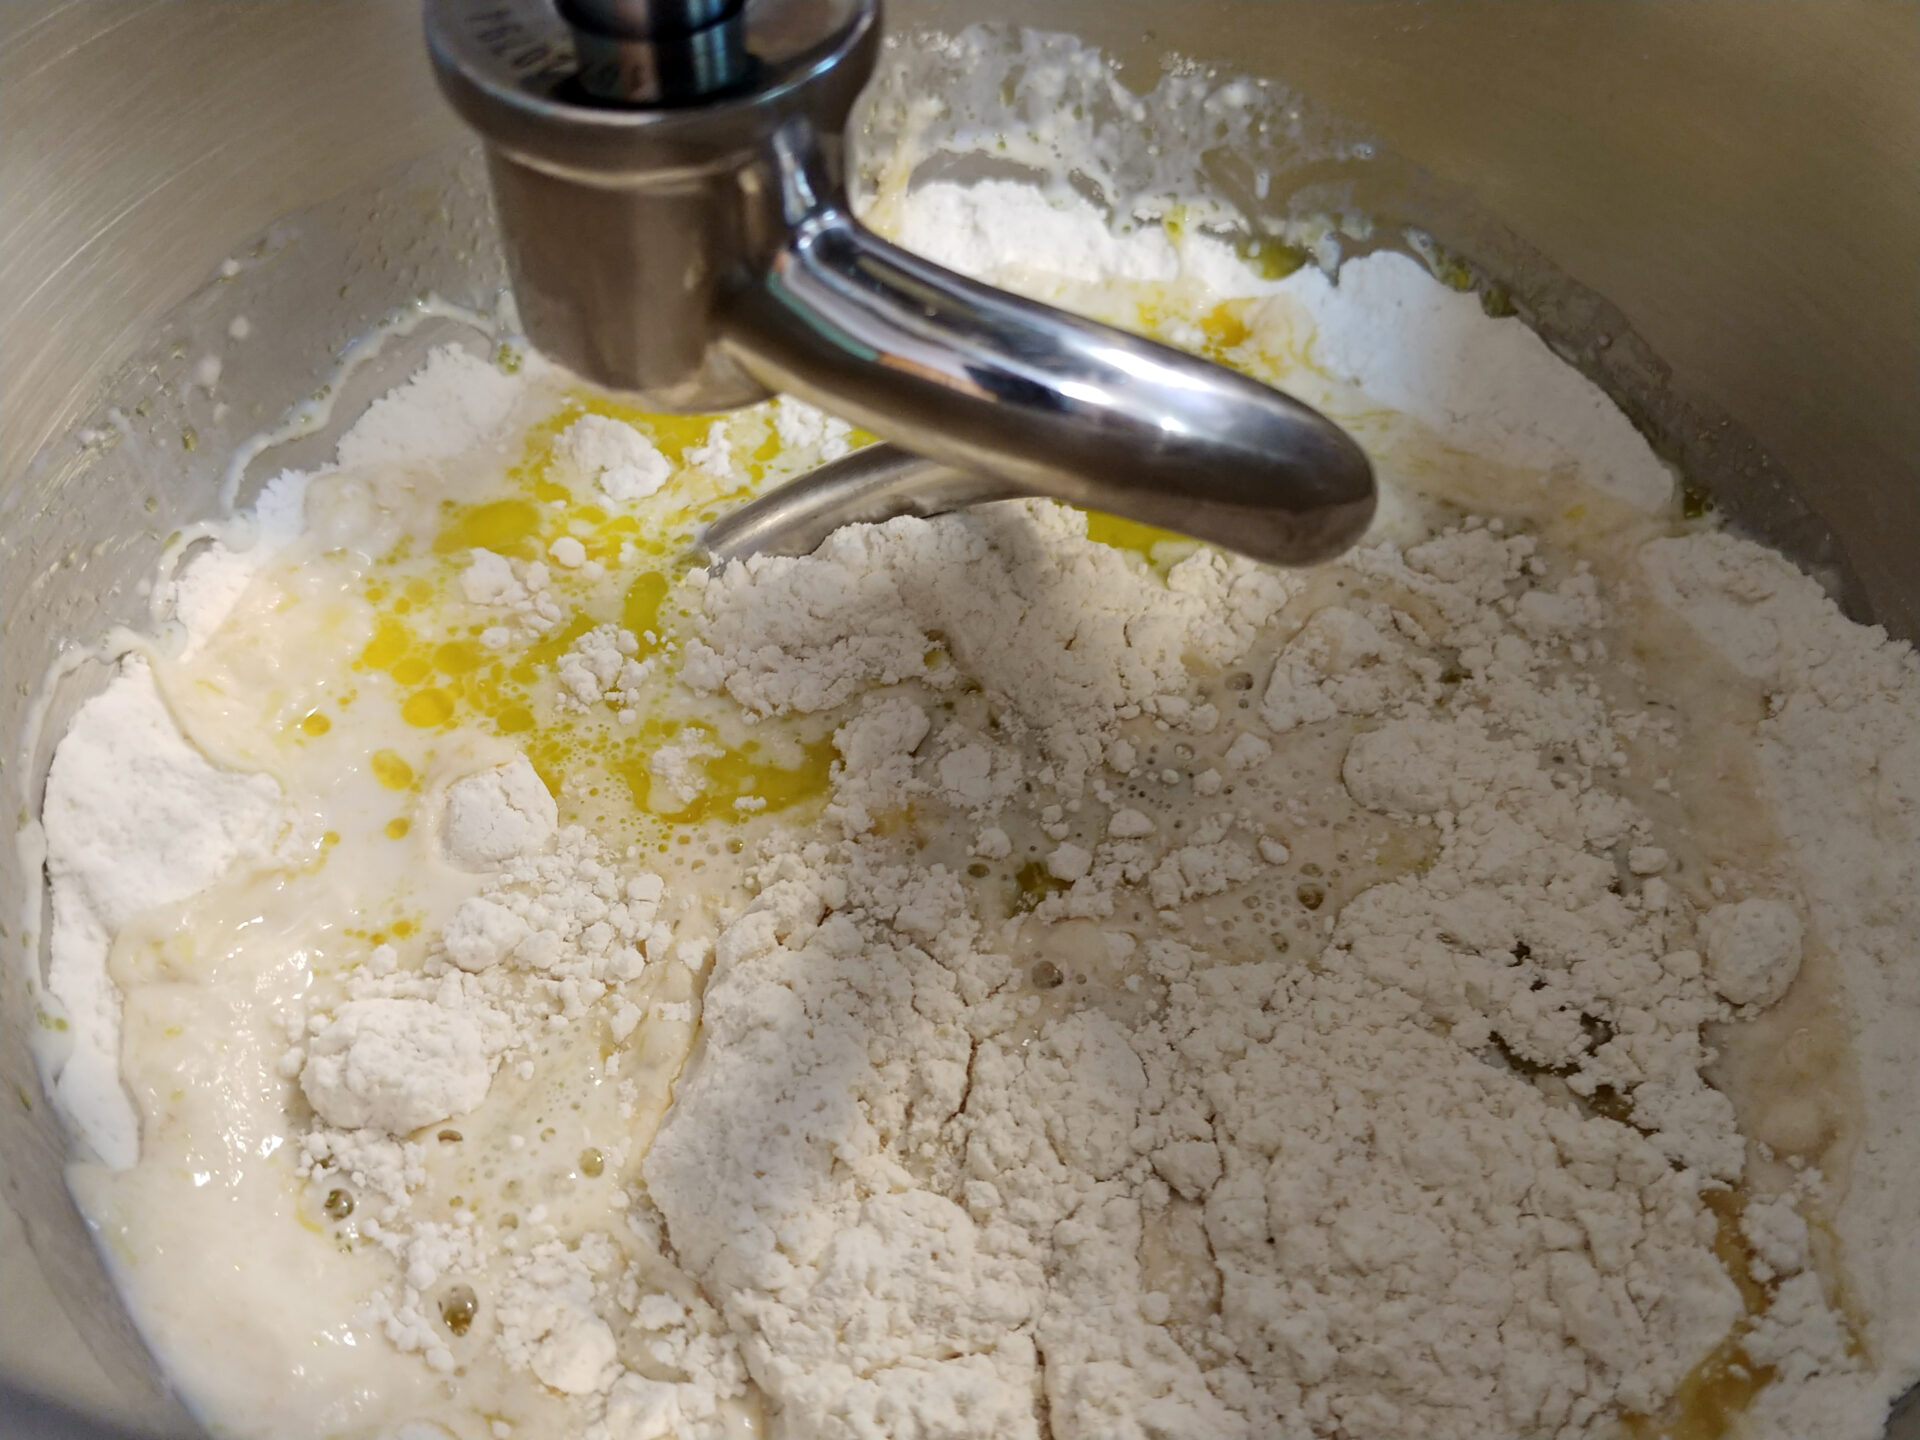
Add:
1 ½ cups of lukewarm milk
3 large eggs
¼ cup of Extra Virgin Olive Oil
Knead on low speed until all ingredients are partially incorporated (about 1 – 2 minutes).
1.3.
Then increase speed to medium-high and knead until the dough is compact and stops sticking to the bowl (about 6 – 9 minutes).
2.Rising the Dough:
2.1.
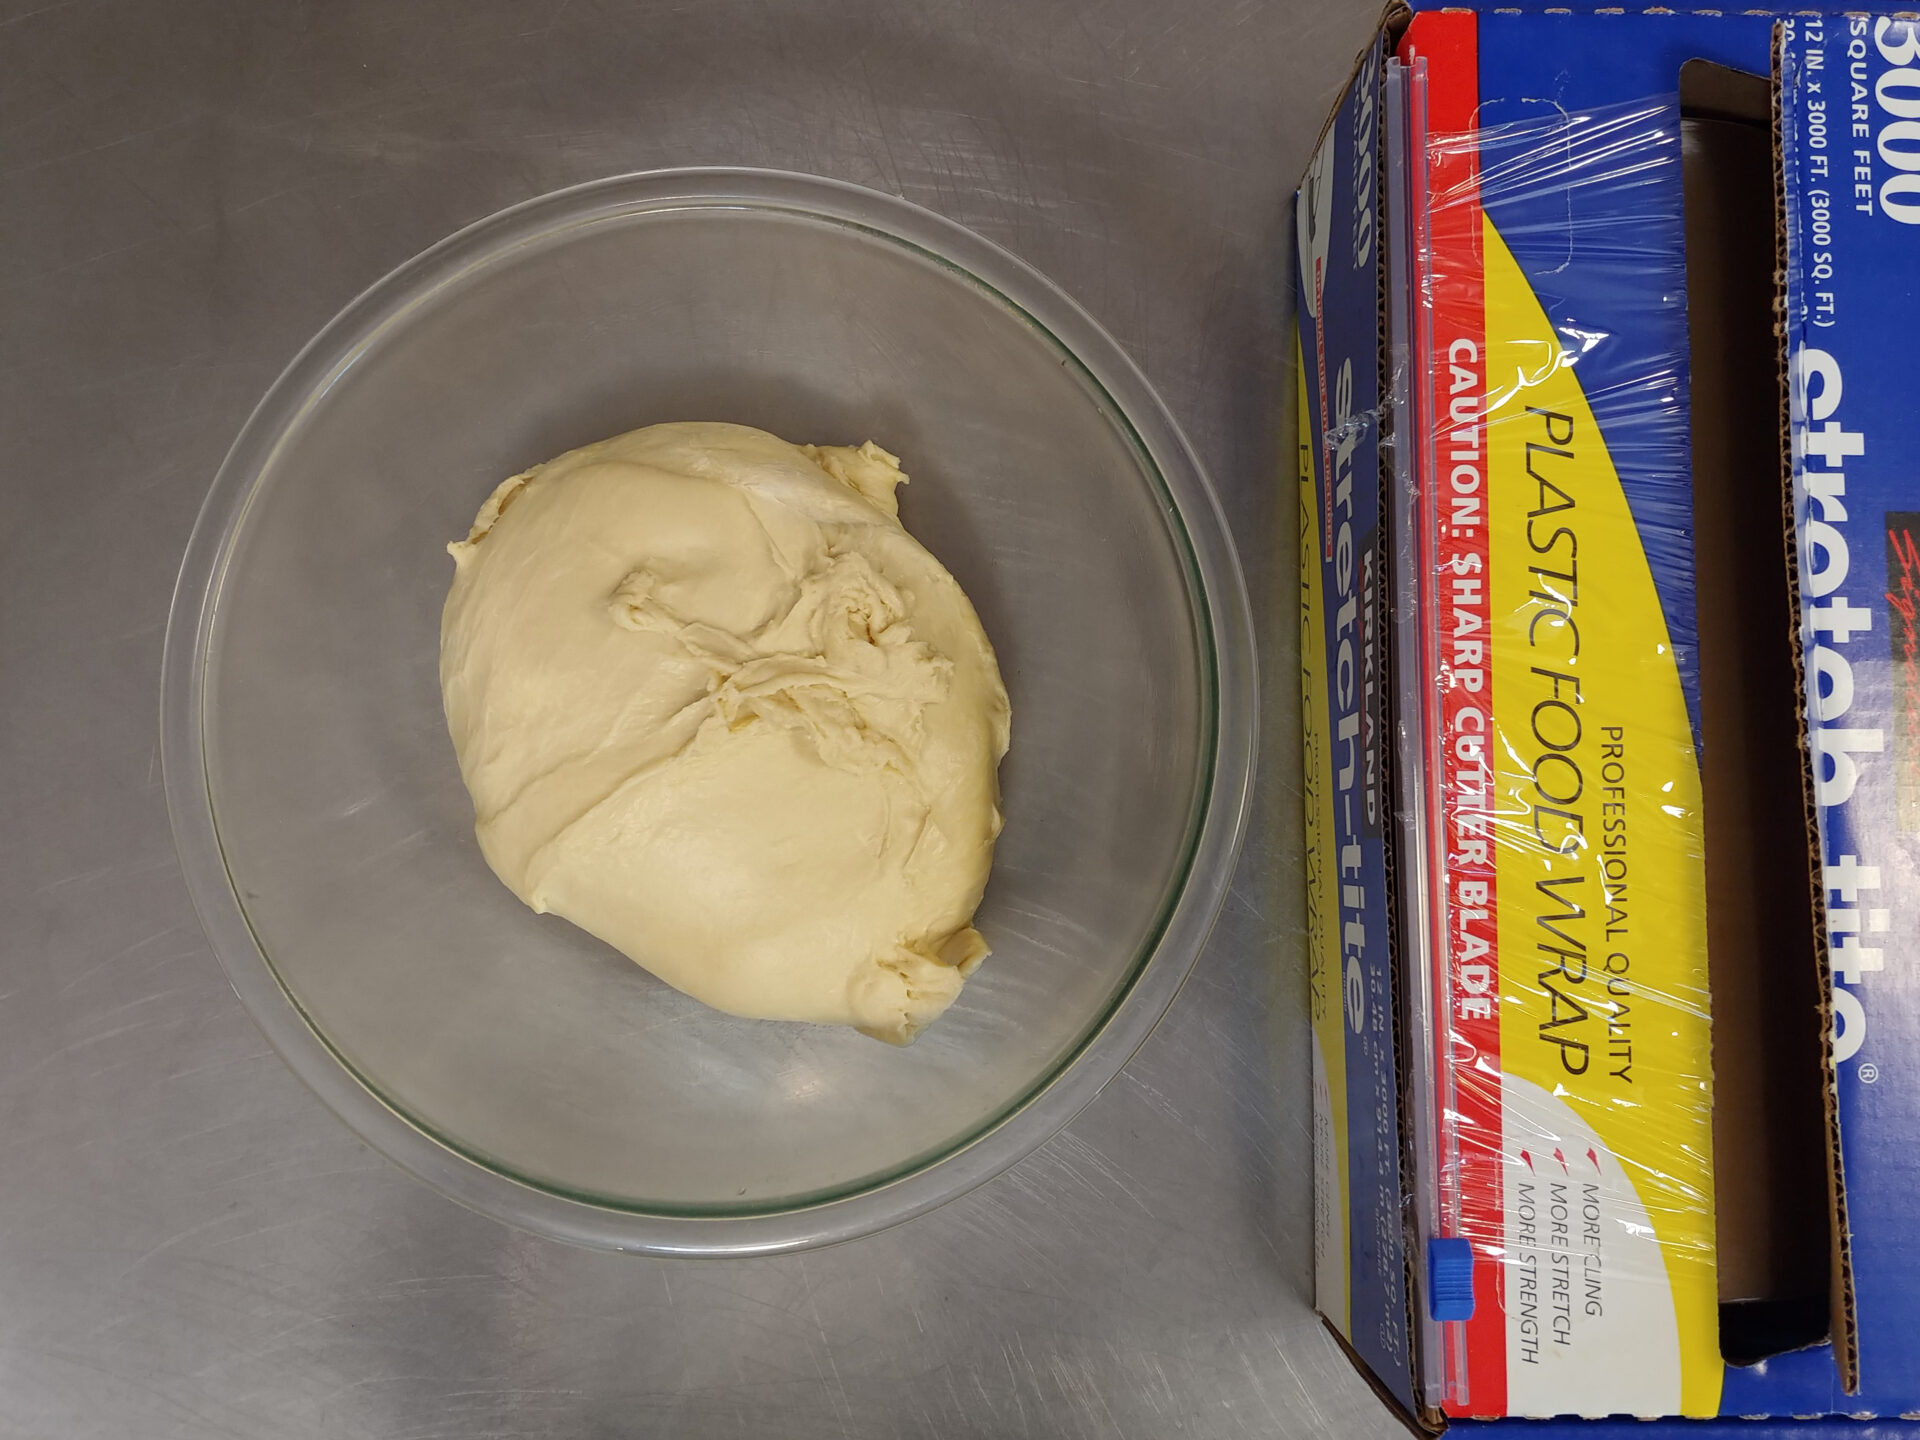
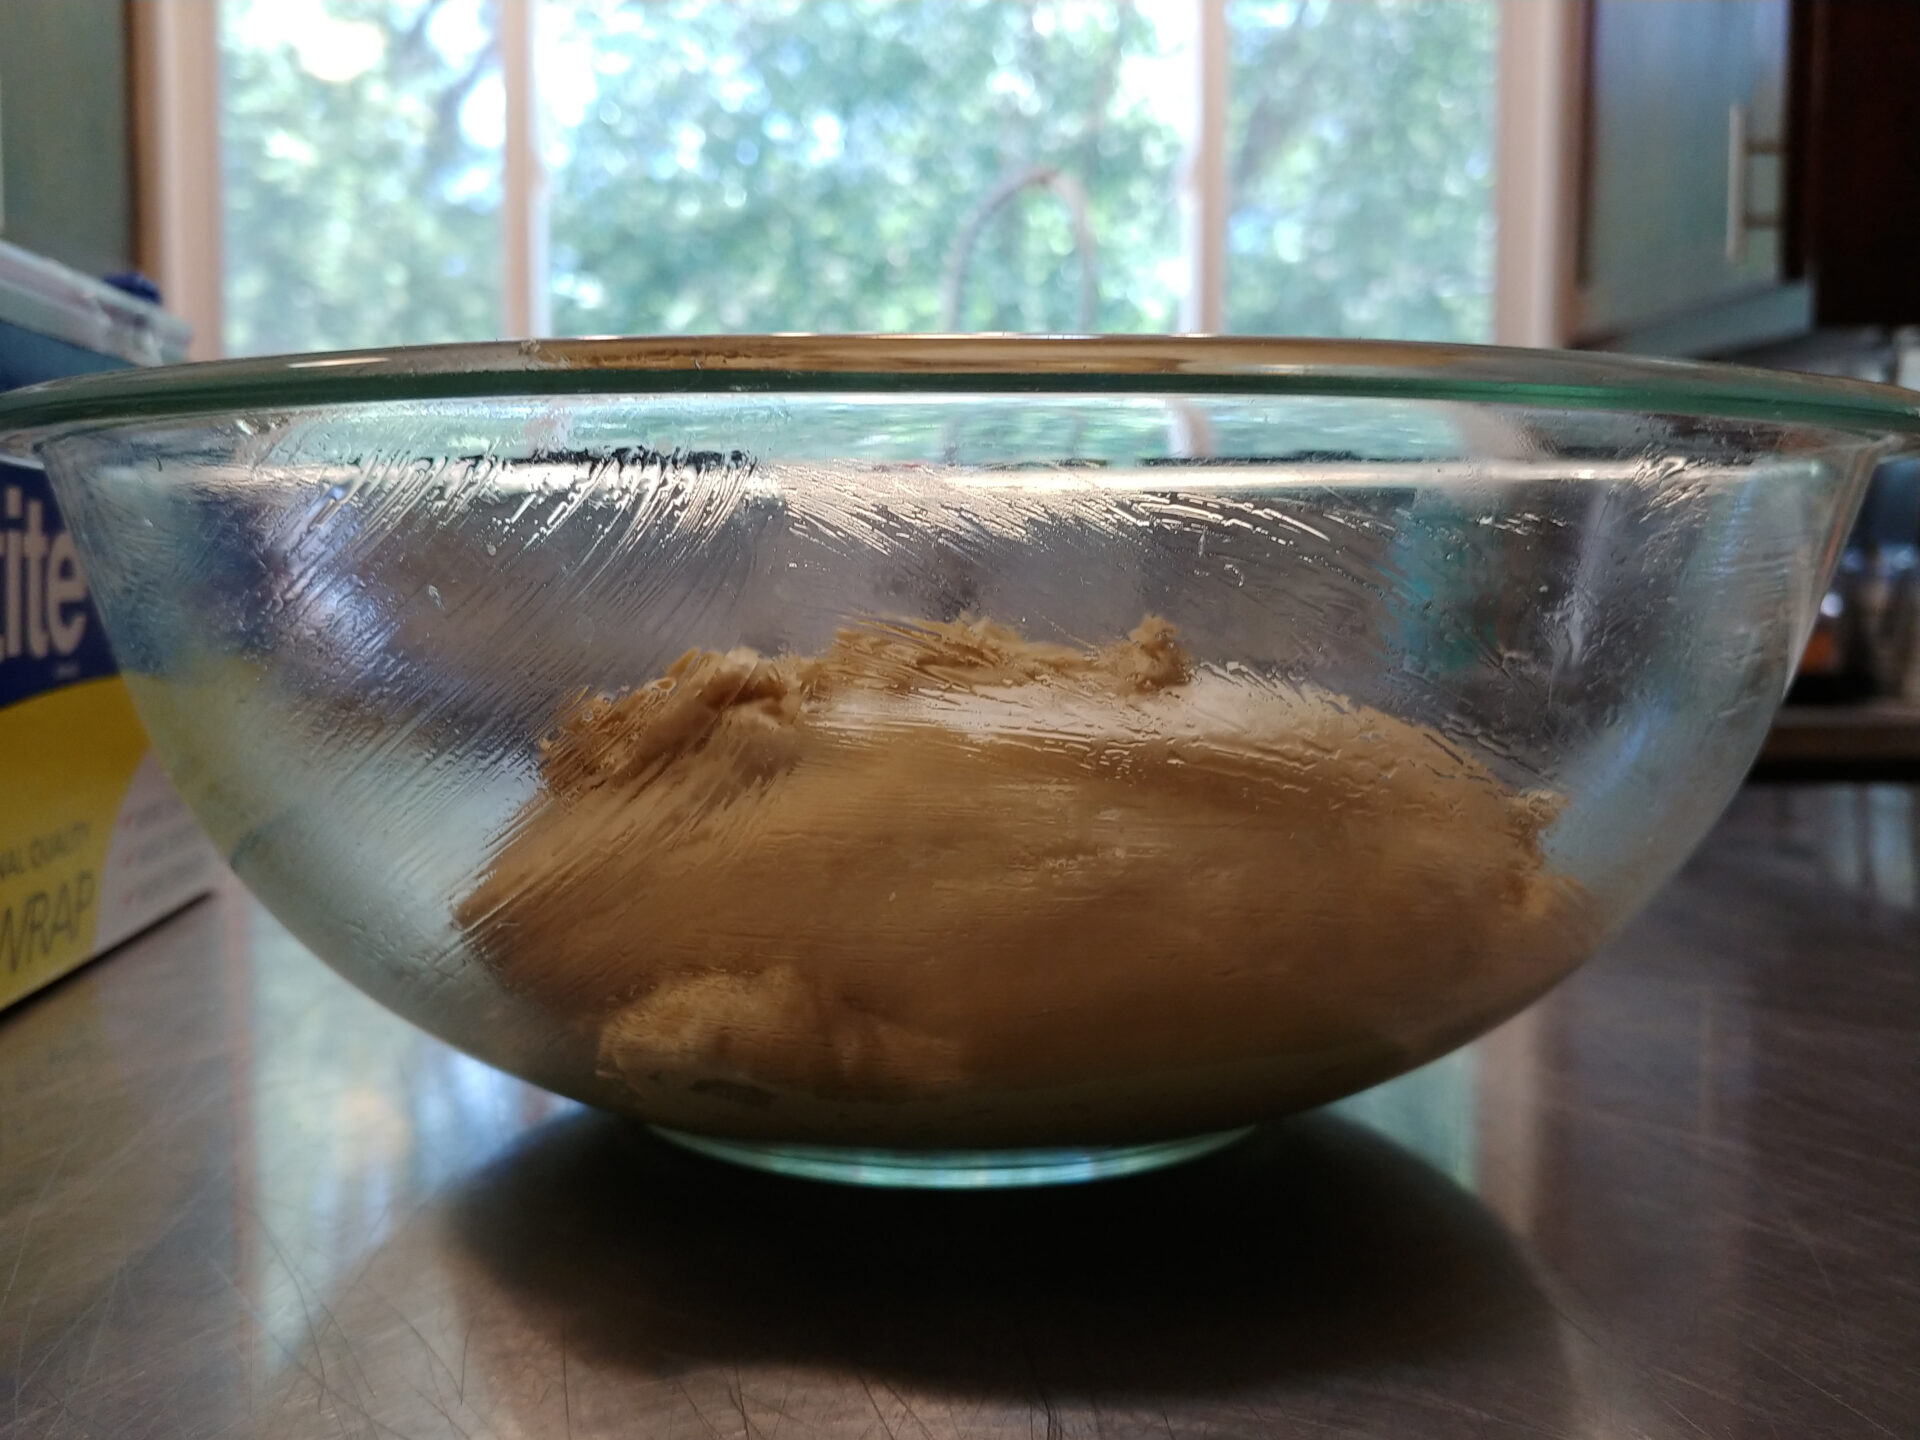
Remove the bowl from the mixer and cover it with plastic wrap.
2.2.
Let it rise in a warm place until it’s doubled to tripled in size (about 2 – 3 hours).
3.Shaping:
Note:
Work on not floured surface.
3.1.
Separate the dough into 12 even pieces, about 3.8 OZ each, using a bowl scraper and scale.
3.2.
Form each piece of dough into a compact dough ball by stretching it:
3.2.1.
To stretch the dough, place the bowl scraper at a slight angle against the bottom part of the dough while making sure that the bottom of the bowl scraper is touching the table.
3.2.2.
Then, keeping one hand on the top of the dough, push the scraper to move the dough slightly. The dough will roll slightly and stretch at the same time.
3.2.3.
Repeat this step a few times until a nice dough ball is shaped. Each time, turn the dough about 90° to the right until a compact dough ball is shaped (usually about 2 times from each of the four sides).
Note:
The proofing process will turn it into a burger bun.
3.3.
Place them on a baking sheet with parchment paper (6 of them on each).
4.Proofing:
4.1.
Prepare a brushing mixture by briefly hand whisking 1 egg with ¼ cup of milk in a small mixing bowl, and then brush all the balls (keep the rest for a second brushing).
4.2.
Then let it proof in a warm place until it has doubled in size (usually about 30 minutes to 1 hour, but it can take longer if your dough ends up denser). Watch carefully in order to prevent over-proofing.
5.Baking Preparation:
5.1.
Set oven to 400°F.
5.2.
Gently brush again all the dough balls which have turned into buns.
5.3.
Optionally, sprinkle with sesame seeds, crushed pepper flakes, or other ingredients of your choice.
6.Baking:
6.1.
Bake in a preheated oven until done (about 15 – 20 minutes).
6.2.
Rotate the baking sheets in the middle of baking.
6.3.
Test with a toothpick.
6.4.
Let at least partially cool on a cooling grate.
Tips:
- You can increase the rising time for up to four hours based on your convenience.
- You can bake more buns than you need and freeze them for later usage (they stay great in the freezer for up to a half year). Defrost in only two hours.
The Epic Saga of the Burger Bun
Read moreFor too long, we have suffered in silence, enduring the tyranny of store-bought buns, those mass-produced, flavorless imposters that crumble under the weight of our culinary creations. But no more! Today, we rise up, armed with flour, yeast, and a burning desire to craft Burger Buns that are worthy of their noble purpose: to cradle our juicy, flavorful burgers in a warm, comforting embrace.
Burger Buns: A Culinary Revolution
Imagine, if you will, a bun that is soft as a cloud, yet sturdy enough to hold its own against the juiciest of patties. A bun with a delicate sweetness that complements the savory flavors of your burger, a hint of richness from olive oil, and a subtle aroma of yeast that whispers promises of deliciousness. This, my friends, is the Burger Bun we are about to create.
But this is no ordinary baking project. This is a culinary revolution! We are not merely following a recipe; we are embarking on a journey of self-discovery, a quest to unlock the secrets of the perfect Burger Bun. We will delve into the science of yeast, the art of kneading, and the magic of proofing. We will become masters of our domain, wielding our ovens with the confidence of seasoned bakers.
The Birth of a Burger Bun: A Tale of Flour, Yeast, and Water
Our adventure begins with a humble mixture of flour, yeast, sugar, and water. These simple ingredients, when combined with a touch of warmth and a sprinkle of love, will transform into a living, breathing dough, a testament to the wonders of nature.
As we knead the dough, we will feel its texture change, becoming smooth and elastic under our hands. We will witness the magic of gluten development, the protein strands intertwining to create a strong and resilient dough that will hold its shape as it rises.
And rise it will! Like a phoenix from the ashes, our dough will double, then triple in size, a testament to the power of yeast. This tiny organism, invisible to the naked eye, will work tirelessly, consuming sugar and releasing carbon dioxide, creating air pockets that will give our Burger Buns their signature lightness and fluffiness.
Shaping Destiny: From Dough Balls to Burger Bun Bliss
With gentle hands, we will divide the dough into equal portions, each one destined to become a glorious Burger Bun. We will shape them into perfect spheres, their smooth surfaces glistening with a promise of deliciousness.
Then, the moment of truth: the proofing stage. As our dough balls rest, the yeast will continue its work, creating even more air pockets, ensuring that our Burger Buns will be light and airy, a perfect complement to our juicy burgers.
The Alchemy of Baking: Transforming Dough into Golden Perfection
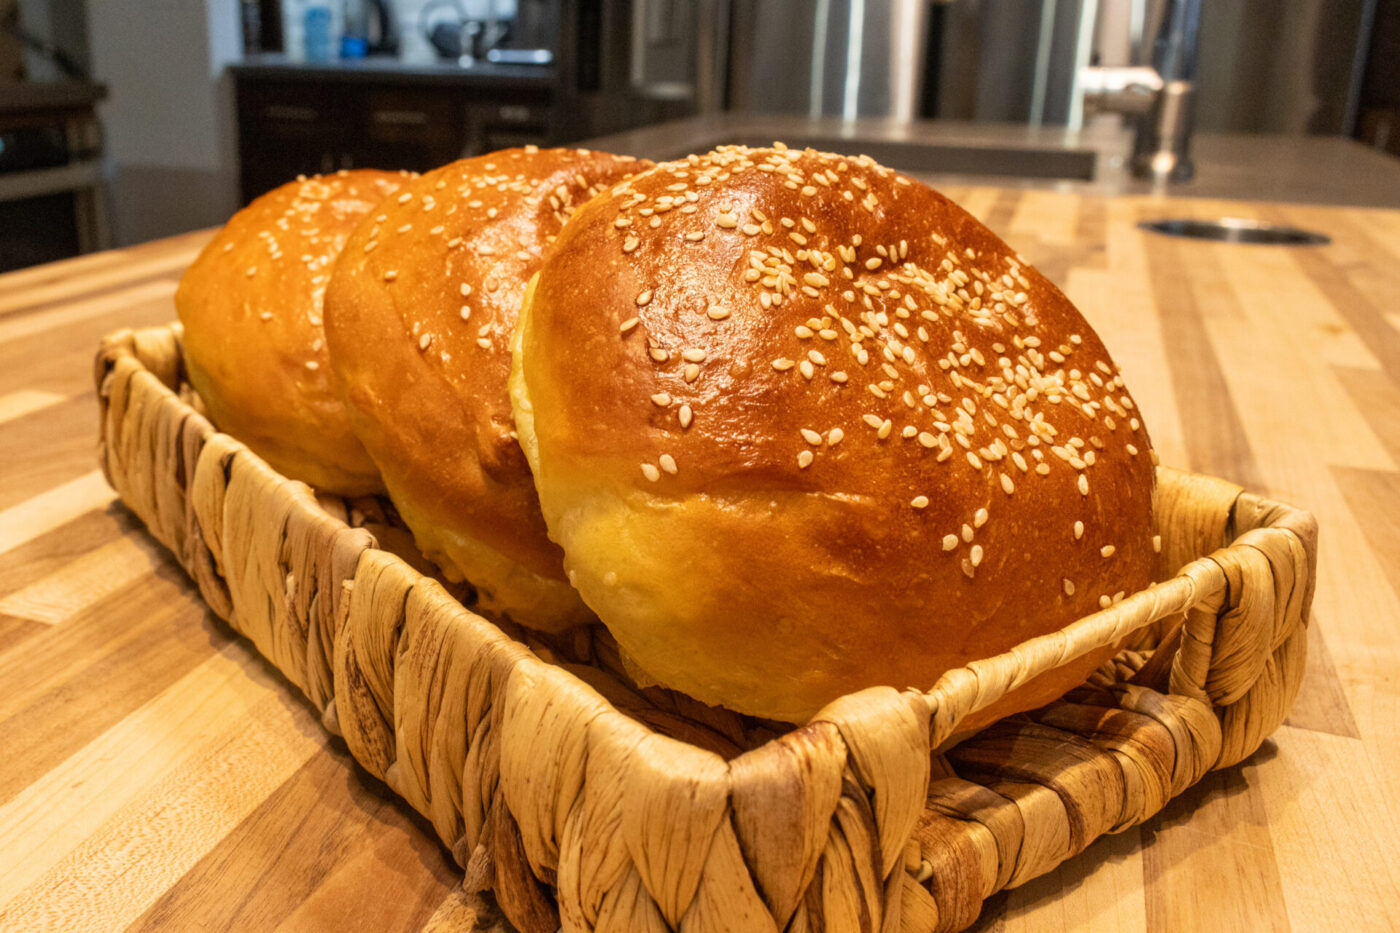
And finally, the climax of our culinary odyssey: the baking. As the heat of the oven penetrates our dough balls, they will undergo a magical transformation. They will rise and expand, their surfaces turning a beautiful golden brown. The aroma of freshly baked bread will fill our kitchens, a siren song that will lure us to the oven door.
With bated breath, we will watch as our Burger Buns reach their peak of perfection. Then, with a triumphant flourish, we will remove them from the oven, their golden crusts crackling with anticipation.
A Feast for the Senses: The Burger Bun’s Grand Finale
And now, the moment we have all been waiting for: the tasting. As we sink our teeth into these homemade Burger Buns, we will be transported to a realm of culinary bliss. The soft, pillowy texture, the subtle sweetness, the delicate aroma – all will combine to create a symphony of flavors that will dance upon our palates.
These Burger Buns, crafted with our own hands, will be a testament to our culinary prowess, a symbol of our dedication to the art of burger-making. They will elevate our burgers to new heights, transforming them from ordinary meals into extraordinary culinary experiences.
So, my friends, let us raise our glasses (filled with a refreshing beverage, of course) to the Burger Bun, the unsung hero of the hamburger world. May its reign be long and glorious!
Read less
Popular questions
Why does my dough seem so sticky when making Burger Buns, and should I add more bread flour to fix it?
A common problem is that the dough always seems sticky, especially during the final kneading process. As I always emphasize, some bakers panic and add extra bread flour. This is not a good way to go since the final baked product will end up denser than it should. It is very important to not add any more flour and instead just let your hook attachment knead as long as needed until the dough stops sticking to the bowl and becomes a compact and flexible dough ball.
Share
Click on the icons below to share "Title of the item to share"