

Before You Start

Let’s talk about important parts of the recipe before you start…

Welcome to my Chicken Steak with Blue Cheese Sauce Recipe

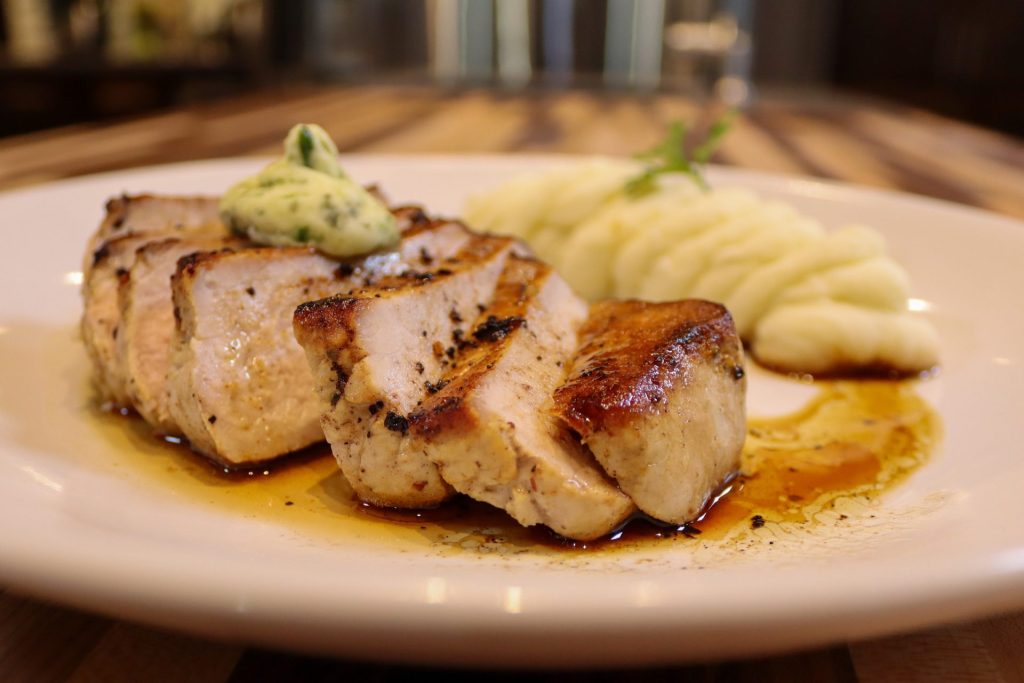
I am so thrilled to bring you my Chicken Steak with Blue Cheese Sauce today. If you want to serve up a restaurant-quality meal without spending hours in the kitchen, this is it! I have designed this recipe to highlight the incredible flavor of chicken breasts when they are treated to a proper pan-searing before finishing in the oven. I will show you exactly how to build an unforgettable blue cheese sauce from scratch using whole milk, heavy cream, and melty mozzarella. I will also share my crucial techniques, like making sure you let the meat rest and always verifying the internal temperature with your food thermometer. Let’s head to the kitchen and start cooking!

Properly Marinating the Chicken Breasts for Chicken Steak with Blue Cheese Sauce

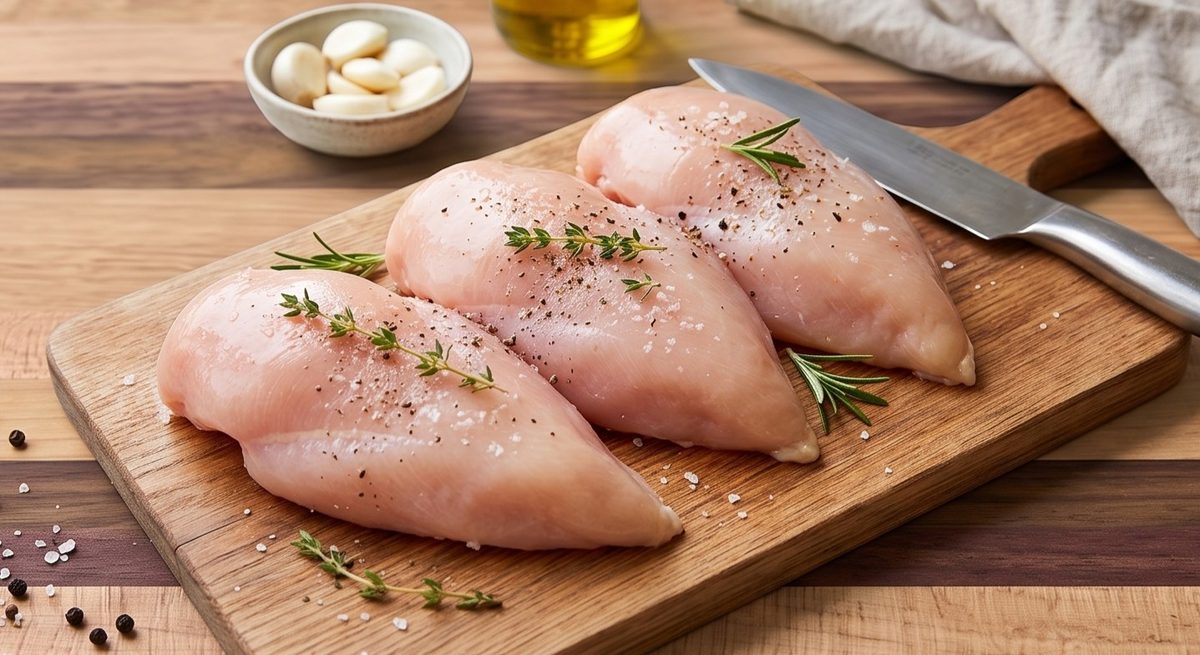
When starting my Chicken Steak with Blue Cheese Sauce, the preparation of the chicken breasts is absolutely critical. First and foremost, it is important that you do not pound the meat. You will place four skinless and boneless breasts on a plate and evenly divide the juice from a large lemon, extra virgin olive oil, and freshly grated garlic across both sides. You need to generously salt and pepper the meat—be especially very generous with the salt, as it will help develop the right flavor. I recommend briefly spreading all the ingredients with a silicone brush for even better distribution, then covering with plastic wrap to marinate at room temperature for about 30 minutes.

Creating the Base for the Blue Cheese Sauce

The blue cheese sauce is what brings this entire dish together. To start the sauce base for the Chicken Steak with Blue Cheese Sauce, you need to place one cup of whole milk and one-half cup of heavy cream into a medium saucepan or small pot. You will bring this dairy mixture to a simmer on medium-high heat. It is very important to use occasional stirring during this phase so that the whole milk and heavy cream heat evenly without scorching the bottom of your pan.

Melting and Finishing the Blue Cheese Sauce

Once your sauce base is simmering, we move on to the finishing phase of the blue cheese sauce. Lower the heat to medium and add three-quarters of a cup of crumbled blue cheese, one-half cup of shredded mozzarella, one clove of peeled and grated garlic, and a pinch of freshly ground salt and pepper. You must cook this with constant stirring until the cheese completely melts and the sauce thickens, which takes about two to three minutes. Once thickened, remove it from the stove and taste it; you can add more salt and pepper if needed.

Mastering the Pan-Searing and Finishing in the Oven

For the perfect cook on your chicken breasts, I love using a combination of pan-searing and finishing in the oven. Set your oven to preheat at 350 degrees. Preheat an oven-safe fry pan on high heat with frying oil, and briefly sear the chicken until golden brown and a crust forms, which takes about one to two minutes on each side. Next, pour the liquid from the marinade over the meat and add two slices of butter onto each breast. Place the pan into your preheated oven until the meat is fully cooked, taking about seven to nine minutes. Remember to turn the meat halfway through and pour the pan juices over it!

Letting the Meat Rest and Plating the Chicken Steak with Blue Cheese Sauce

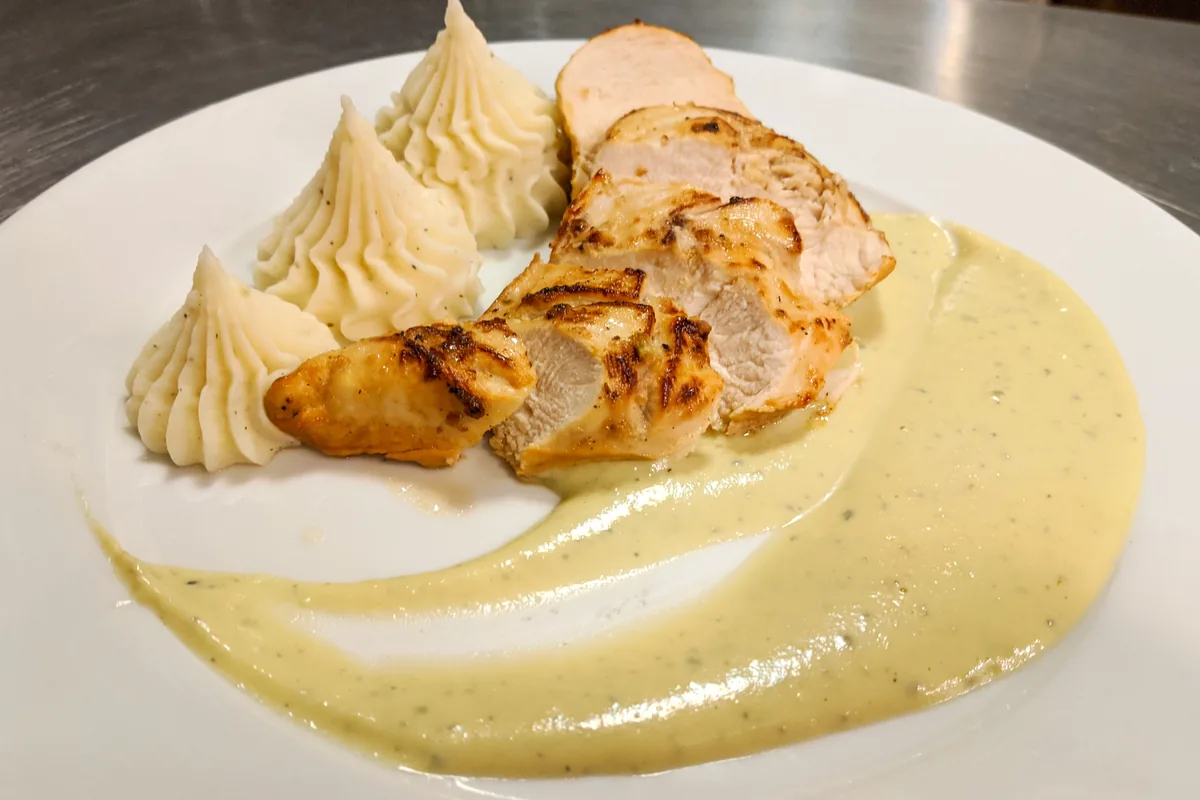
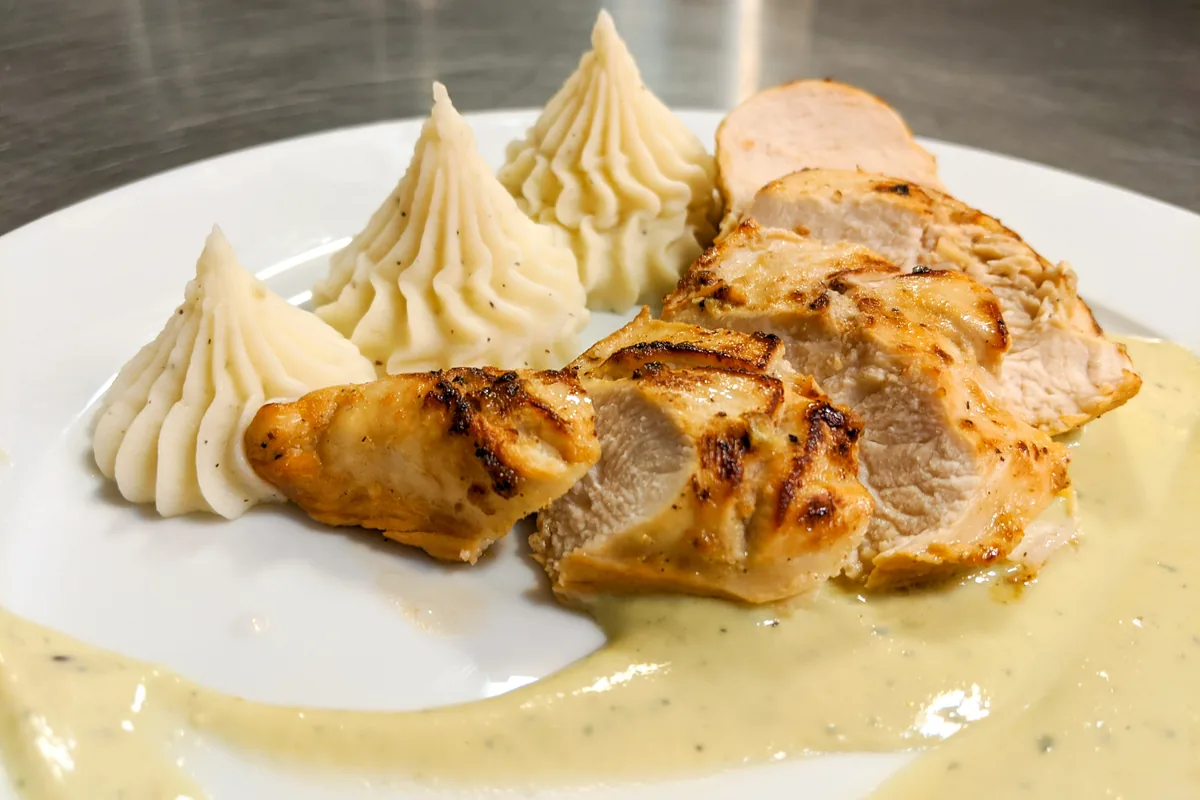
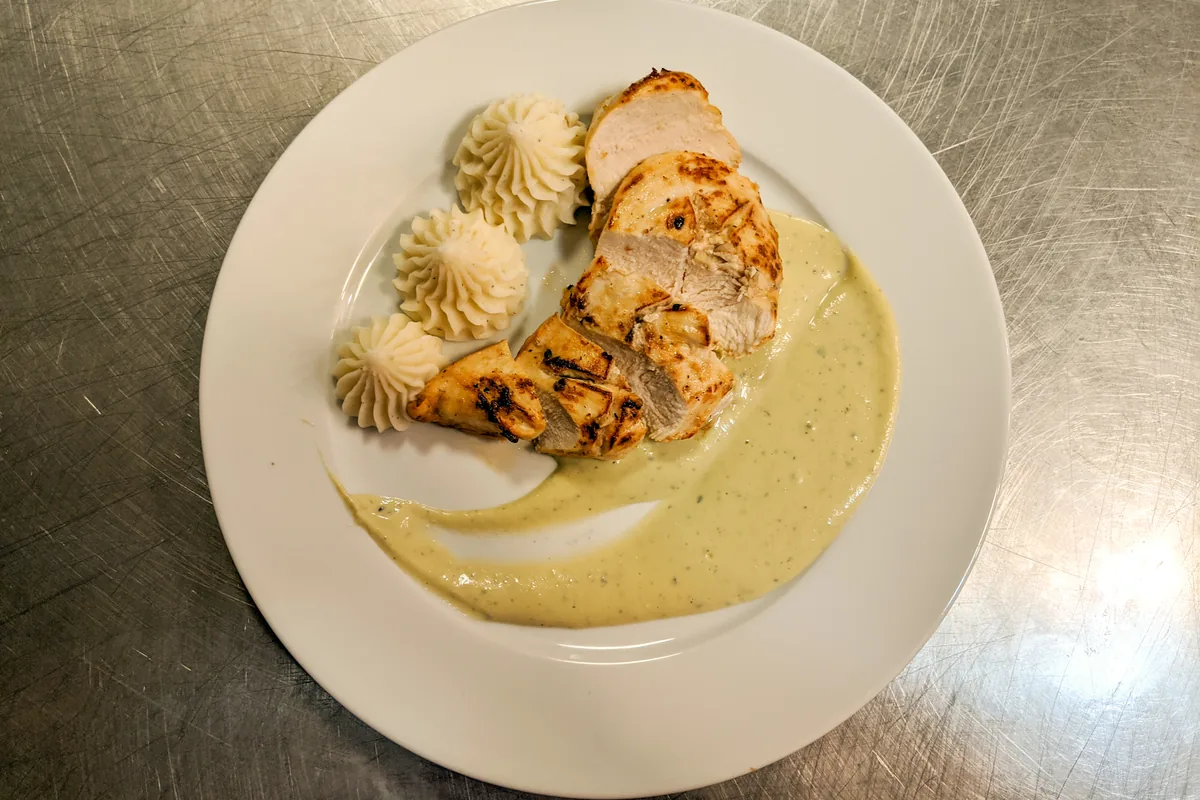
Patience is key for the final step of my Chicken Steak with Blue Cheese Sauce. You must let the meat rest on a cutting board for about two minutes before serving. To ensure food safety, always check with a food thermometer to make sure you have reached the minimum recommended safe serving temperature of 165 degrees for poultry. While the meat rests, you can plate your potatoes—optionally, as a modification not in the base instructions but suggested in the recipe tools, you can do this by piping from a pastry bag—followed by plating the sauce. When the chicken has rested, cut each breast into four to five pieces, place on the plate, and serve!

Recipe

(click any ingredient or tool to shop Tom's Amazon recommendations)

  • 30 min.
  • 30 min.
  • 1/5

Ingredients:

Main Ingredients:

Final Touch:

  • of chives or parsley - finely chopped (adjust if needed)
  • of Salt and pepper - ideally freshly ground (adjust if needed)

Directions:

Buffalo Cauliflower Steaks - steps-01

All ingredients that you are going to need to prepare Buffalo Cauliflower Steak

1. Cauliflower Preparation:

Let’s start the preparation of the Buffalo Cauliflower Steak by preparing the cauliflower.

1.1.

Thoroughly rinse the cauliflower under cold water.

1.2.

Remove and dispose of the side leaves, if present, and the stem (if it is sticking out).

Buffalo Cauliflower Steaks - steps-02Buffalo Cauliflower Steaks - steps-03Buffalo Cauliflower Steaks - steps-04

1.3. Trim the left and right sides of the cauliflower, then cut the cauliflower into 4 evenly thick steaks, each at least 1 inch thick.

Tip: The end pieces, as well as any pieces that may fall apart, can optionally be placed on skewers and further processed, or placed on a baking sheet or grill and prepared as bite-sized portions.

Buffalo Cauliflower Steaks - steps-06Buffalo Cauliflower Steaks - steps-07

2. Brushing Mixture:

2.1. Prepare the brushing mixture by placing the following into a small mixing bowl:

½ cup of buffalo sauce
¼ cup of butter – melted
½ TSP of salt
A pinch of pepper

2.2.

Thoroughly stir.

Buffalo Cauliflower Steaks - steps-09

3. Cauliflower Steak Preparation:

3.1.

Set the oven or grill to preheat to 400°F.

3.2.

Place the cauliflower on a baking sheet lined with parchment paper.

3.3. Brush all 4 steaks on both sides with the brushing mixture.

Tip:
If you have any mixture left over, just pour it evenly over the cauliflower on the baking sheet.

Buffalo Cauliflower Steaks - steps-11Buffalo Cauliflower Steaks - steps-12Buffalo Cauliflower Steaks - steps-13Buffalo Cauliflower Steaks - steps-14

4. Oven Roast or Grill:

A.

Oven Roast:

1.

Optionally, sprinkle all four cauliflowers with blue cheese crumbles.

2. Place it in the oven and roast until done – the cauliflower is cooked and tastes tender (usually for about 20 minutes).

Important: Perform a taste test before you stop cooking.

B.

Grill:

1. Place the cauliflower steaks on the indirect heat of the grill, close the lid, and grill on one side until a nice sear is reached (usually 5–10 minutes).

Notes:

  • Since cauliflower steaks are thick and take time to become tender, it is best to cook them over an indirect or low flame. This method prevents the outside from burning before the inside is cooked through. It also helps prevent the buffalo sauce from scorching, as the sauce can drip and ignite over a stronger flame, charring the cauliflower.
  • However, if the cauliflower is tender but you’d like more color, you can place the steaks over high direct heat for the last couple of minutes of grilling to achieve a perfect char.
Buffalo Cauliflower Steaks - steps-15Buffalo Cauliflower Steaks - steps-16

2. Then, turn, optionally sprinkle all four of the cauliflower steaks with blue cheese, and cook for another 5–10 minutes, until the cauliflower has a nice color and is tender.

Important: Perform a taste test before you stop cooking.

Buffalo Cauliflower Steaks - steps-17Buffalo Cauliflower Steaks - steps-18

5. Serve Buffalo Cauliflower Steak:

5.1.

Serve on individual plates with your favorite side, on a serving tray, or as a sandwich.

Buffalo Cauliflower Steaks - steps-19

Dive into the world of buffalo sauce, the iconic American condiment that transformed the humble chicken wing into a culinary legend. From its surprising origins in Buffalo, New York, to its endless modern-day applications, this article explores everything you need to know about the beloved buffalo sauce.

Disclaimer

  1. General Information Content on this page above, including the content provided on www.CookingHub.com, including all recipes, articles, and other materials, is for general informational purposes only. This content reflects the personal opinions and experiences of its authors and is not intended to provide professional dietary, medical, legal, or political advice. Please consult a qualified professional before making any decisions based on the information presented here.
  2. Content Ownership and Use Content on this page above, including content published on CookingHub.com is owned by the individual authors who created it. Only the authors can access, modify, or delete their content from the platform. Our content may be embedded on third-party websites and blogs without modification. No reimbursement will be provided for this use. If an author removes content from CookingHub.com, it will no longer be available through any embedded links.
  3. Limitation of Liability Neither www.CookingHub.com (operated by the CookingHub Foundation) nor content authors are responsible for any outcome or consequence resulting from the use of information on this site. This includes, but is not limited to:
    • Food Safety: Any health risk related to food handling, food quality, or failure to follow USDA recommendations (including minimum safe cooking temperatures).
    • Preparation Safety: The proper and safe handling of cooking equipment or its suitability for any given task.
    • Recipe Outcomes: The final look, taste, or success of following a recipe.
    • Ingredients and Equipment: The sourcing of ingredients, tools, equipment, or anything else related to the preparation and consumption of food.
    • Nutritional and Dietary Information: The accuracy of nutritional data. This information is provided as a courtesy and should not replace advice from a medical provider. You are responsible for verifying that a diet is suitable for your personal health needs.
    • Errors and Omissions: Any potential errors, typos, or unclear directions in articles and recipes.
  4. User Responsibility All readers, visitors, and users of embedded content are solely responsible for evaluating recipes and articles. You must make your own decisions about whether to follow the steps and recommendations provided. It is your responsibility to ensure that ingredients and preparation methods are safe and appropriate for your personal dietary restrictions and health conditions.

As an Amazon Associate I earn from qualifying purchases. Some of the ingredient and tool links above are affiliate links: if you buy through them the price is the same for you, and it helps keep these recipes free. #ad

Comments

Subscribe For Newsletters

  • Receive the ebook: 10 Recipes That Will Change Your Life
  • Receive the best recipes and columns by email (about 1–3 emails per month).
  • Stay Connected!

Advertisement: