
Side Recipes

Gravy

10 – 12 servings

A great gravy ties the whole holiday plate together, and it’s easier than you think! We build deep flavor in chicken broth, then thicken it with a quick flour slurry for a lump-free, stress-free sauce. You can use roasted skin and bones from your turkey, or simply reduce an extra Read More

☆☆☆☆☆0x(write a review)👁11x
Side Recipes
Dairy-free
20 min.
25 min.
1/5

Before You Start

Let’s talk about important parts of the recipe before you start…

Jump to Recipe

Gravy Made While the Bird Rests

Gravy has a reputation for being the stressful part of the meal, and I have never understood why. This one is two cups of chicken broth, whatever juices came out of the roasting pan, a handful of bones and skin for depth, and a small slurry of water and flour to bring it together. That is the whole thing. No roux to burn, no lumps to chase, no last-minute panic while everything else goes cold.

The timing is the part I like best. If you are serving this gravy with a freshly roasted turkey, you start it the moment the bird leaves the oven or rotisserie, and by the time the gravy is poured into the gravy boat the turkey has had just the right amount of resting time without going cold. One job slots neatly inside another, and you end up with a warm turkey gravy and a rested bird at the same moment.

Bones and Skin Are Where the Flavor Comes From

The handful of bones and skin is the step that turns broth into gravy. If you are making this for a freshly roasted turkey, consider removing the wings, some skin, and possibly one drumstick before you carve, just to get bones for the pot — wingtips are perfect for this, and other roasted parts work too. Bones and skin left over from a roasted chicken work just as well, so this is a great thing to make the day after a roast chicken dinner. Let them simmer in the broth with occasional stirring for about five to ten minutes until the flavors blend, then fish everything out with tongs or a slotted spoon. If you do not have bones and skin, use one extra cup of broth instead and cook it two minutes longer so the liquid reduces a little more and the flavor concentrates.

The Pan Juices Are Optional but Worth Using

Up to one cup of the juices from baking the turkey or chicken can go straight into the saucepan with the broth. This is the most concentrated flavor in the entire meal, and it costs you nothing — it is already sitting in the roasting pan. Measure it so you know where you stand: up to one cup, no more, going in alongside the two cups of chicken broth. If there are no juices to be had, the gravy still works perfectly well on broth alone. That is why they are optional in the ingredient list and not a requirement.

Making the Slurry Properly

While the base is simmering, take a small mixing bowl and whisk together a quarter cup of water, one tablespoon of all-purpose flour, a pinch of salt, and a pinch of ground pepper. Whisk until it is fully combined — you want no dry pockets of flour anywhere in that bowl — and then set it aside. This is the whole thickening system for the gravy, and doing it in cold water in a separate bowl is exactly why you will not get lumps. Using the time while the broth is on the heat means the slurry is ready and waiting when you need it, rather than being mixed in a hurry over a hot pan.

Stir the Slurry One More Time Before It Goes In

This is the step people rush, and it is the one that matters most. In the few minutes the slurry sits on the counter, the flour settles out and packs down at the bottom of the bowl. If you pour without remixing, you send mostly water into the pan first and then a sludge of flour at the end, and that is exactly how you get lumps in a gravy that was going perfectly. Give it one final stir right before using, so what leaves the bowl is the same mixture you whisked together in the first place.

Drizzle Slowly and Whisk Constantly

Once the base is ready and the bones and skin have been removed, slowly drizzle the slurry into the hot liquid while whisking constantly. Slowly and constantly are both doing work in that sentence. A thin stream going into a moving whisk disperses instantly; a single splash dumped into a still pan sets into a knot before you can break it up. Keep the whisk going until the slurry is fully incorporated and the gravy looks uniform, and only then can you ease off and let it cook.

Knowing When the Gravy Is Thick Enough

After the slurry is in, cook with occasional whisking for about three to five minutes, until the desired thickness is reached. That range is a guide, not a timer — the right answer is the consistency you want on the plate, and you are the one who decides that. Watch it as it goes, because the flour needs that short cook to do its job and to lose any raw edge. Keep the whisk moving through it now and then so nothing catches on the bottom of the saucepan while it comes together.

Season at the End, Not the Beginning

There is a pinch of salt and a pinch of ground pepper in the slurry, and that is deliberately modest. The broth brings its own salt, the pan juices bring more, and the bones and skin add their share, so the gravy can arrive at the right seasoning on its own. Once it has reached the thickness you want, taste it and add extra salt and pepper if it needs it — freshly ground pepper is the better choice here. Seasoning at the end, after the liquid has reduced and the flavors have blended, is the only way to judge it honestly.

The Right Pan and Tools

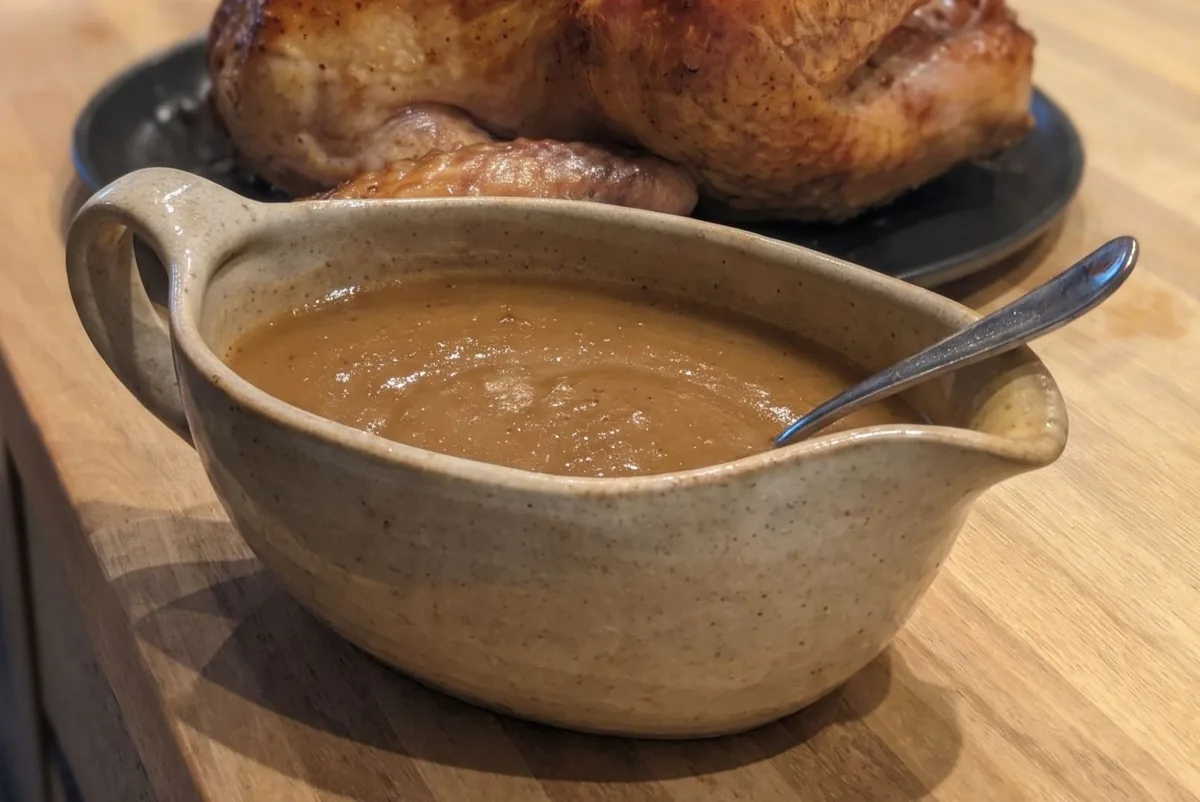
Use a large saucepan or a medium pot of about six quarts over medium-high heat. That is more room than three cups of liquid strictly needs, and that is the point — the extra width gives you space to whisk hard without sloshing gravy over the rim, and it helps the base reduce while the bones and skin steep. You will also want measuring spoons and measuring cups, a small mixing bowl, a whisk, and tongs or a slotted spoon if you are going the bones-and-skin route. A gravy boat is optional, but it makes the serving easy.

Timing It With the Turkey

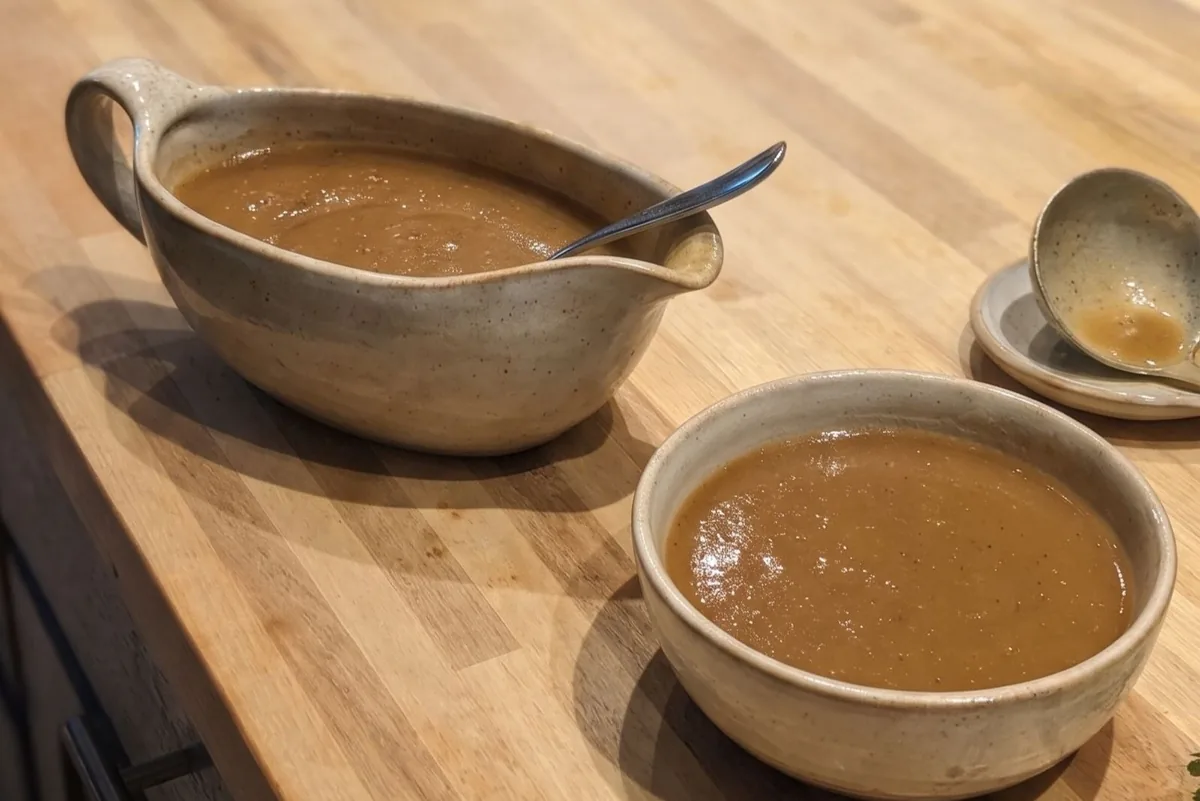
Start the gravy right after you pull the turkey from the oven or rotisserie. Between the twenty minutes of preparation and the twenty-five minutes of cooking, the gravy occupies exactly the window the bird needs to rest, and nothing sits around going cold. It also means the pan juices go in warm and the bones you pulled off the bird go straight into the saucepan. Pour the finished gravy into a gravy boat or a small serving bowl and bring the turkey gravy to the table warm, right as the bird is carved.

Popular questions

What's the best way to avoid lumps in gravy?

You can make a flour slurry by whisking together water and all-purpose flour in a small bowl, then slowly drizzle it into your hot broth while whisking constantly.

Gravy

10 – 12 servings ☆☆☆☆☆0x(write a review)👁11x
20 min.
25 min.
1/5
🖨Print

Ingredients:

Click any ingredient to learn more
Gravy
2 cups of chicken broth
Optionally: up to 1 cup of juices from baking the turkey or chicken
¼ cup of water
1 TBSP of all-purpose flour
Pinch of salt
Pinch of ground pepper
Extra salt and pepper – preferably freshly ground
Handful of bones and skin * (skin and bones, wingtips, and optionally, other parts of the roasted turkey or leftover chicken) or 1 extra cup of broth
* If you are making the gravy for a freshly roasted turkey, consider removing the wings, some skin, and possibly one drumstick to get bones for the gravy. Bones and skin left over from a roasted chicken work just as well.

Nutrition:(recipe split into 10 servings)

Dairy-free
Nutrition is not available for this recipe — the figures its ingredients give did not pass our accuracy checks, so we would rather show nothing than a number we cannot stand behind.
Directions:

1.Base:

Let’s start preparing the Gravy.

Before you start: If you are serving this gravy with a freshly roasted turkey, start making it right after you remove the turkey from the oven or rotisserie. The time it takes to cook the gravy provides just the right amount of resting time without the bird getting cold.

1.1.
Place a large saucepan on medium-high heat and add:
2 cups of chicken broth
Optionally: up to 1 cup of juices from baking
Handful of bones and skin or 1 extra cup of broth

Let cook together with occasional stirring until the flavors blend (about 5-10 minutes). Then remove the skin, meat, and bones.

Note: If you use 1 extra cup of broth, cook 2 minutes longer to reduce the liquid more.

1.2.
Meanwhile, prepare the slurry. In a small mixing bowl, whisk together:
¼ cup of water
1 TBSP of all-purpose flour
Pinch of salt
Pinch of ground pepper

Whisk until fully combined, then set aside.

Important: Just before using, give the slurry one final stir to remix any flour that has settled to the bottom.

2.Finishing:

2.1.

Slowly drizzle the slurry into the hot base, whisking constantly until it is fully incorporated.

2.2.

Then cook with occasional whisking until the desired thickness is reached (about 3 – 5 minutes).

2.3.

Taste and add extra salt and/or pepper if needed.

3.Serving Gravy:

3.1.

Pour the gravy into a gravy boat or a small serving bowl and serve the Turkey Gravy warm.

Gravy
GravyGravy

Cook to safe temperatures and check for allergens. Nutrition values and results are estimates and may vary.

As an Amazon Associate I earn from qualifying purchases. Some of the ingredient and tool links above are affiliate links: if you buy through them the price is the same for you, and it helps keep these recipes free. #ad

Show moreShow less of the Disclaimer

Disclaimer

Last updated October 27, 2026

GENERAL INFORMATION

The content provided by Checked Solutions, LLC (doing business as Tom the Chef) ("we," "us," or "our") on https://www.tomthechef.com (the "Site") and through our related services — including recipes, articles, columns, live and recorded cooking classes, and other materials — is for general informational and educational purposes only and reflects the personal opinions and experience of the author. All information is provided in good faith; however, we make no representation or warranty of any kind, express or implied, regarding the accuracy, adequacy, validity, reliability, availability, or completeness of any information. Your use of the Site and your reliance on any information is solely at your own risk.

NO PROFESSIONAL ADVICE

Our content is not intended to provide, and does not constitute, professional dietary, medical, nutritional, or legal advice. Before making any health- or diet-related decision based on our content, consult a qualified medical or nutritional professional.

COOKING, FOOD SAFETY, AND YOUR RESPONSIBILITY

You are solely responsible for evaluating our recipes and instructions and using your own judgment before following them. To the fullest extent permitted by law, we are not responsible for any outcome or consequence resulting from your use of the Site or our content, including but not limited to:

  • Food Safety: any health risk related to food handling, food quality, cross-contamination, or failure to follow USDA recommendations (including minimum safe cooking temperatures).
  • Preparation Safety: the safe handling of cooking equipment, hot surfaces, sharp knives, or the suitability of tools for any task.
  • Allergies and Dietary Restrictions: any allergic reaction or health issue arising from ingredients in our recipes. You are responsible for ensuring that all ingredients and methods are safe and appropriate for your dietary restrictions, allergies, and health.
  • Recipe Outcomes: the final look, taste, yield, or success of a recipe, which may vary based on ingredients, equipment, oven temperatures, altitude, humidity, and skill.
  • Ingredients and Equipment: the sourcing, quality, and condition of ingredients, tools, or equipment.
  • Nutritional Information: the accuracy of any nutritional data, which is an estimate provided as a courtesy and should not be relied on as a guarantee.
  • Errors and Omissions: any errors, typos, or unclear directions in our content.

EXTERNAL LINKS

The Site may contain links to third-party websites or content, including in banners or other advertising. We do not investigate, monitor, or guarantee the accuracy or reliability of third-party sites. We are not responsible for them or for any transaction between you and a third party. Accessing third-party sites is at your own risk.

TESTIMONIALS, REVIEWS, AND COMMENTS

The Site may contain testimonials, reviews, and comments from users. These reflect the personal experiences and opinions of individual users and may not be representative of all users; your individual results may vary. Testimonials and reviews may be shortened for brevity or corrected for grammar. The views expressed belong solely to the individual. They are not intended as claims that our products or services diagnose, treat, cure, or prevent any disease or medical condition.

CONTENT OWNERSHIP

All content published by Tom the Chef is the intellectual property of Checked Solutions, LLC and its author, unless otherwise noted, and may not be used except as permitted in our Terms of Use.

AFFILIATE DISCLOSURE

As an Amazon Associate, we earn from qualifying purchases. Some ingredient and tool links on the Site are affiliate links. If you buy through them, the price is the same for you, and it helps support our content. We only recommend products we genuinely use and trust.

LIMITATION OF LIABILITY

Under no circumstances shall Checked Solutions, LLC or Tom the Chef have any liability to you for any loss or damage of any kind incurred as a result of the use of the Site or reliance on any information provided. This Disclaimer forms part of, and is subject to, our Terms of Use.