


Dessert Recipes

Tiramisu

4 portions
NEW

Ciao! This is my classic Tiramisu, and I can't wait for you to try it. We'll whip egg whites to firm peaks and fold them into a silky mascarpone cream with a touch of vanilla — no heavy cream needed. Ladyfingers get a quick dip in strong black coffee and Amaretto, then we layer e Read More

☆☆☆☆☆0x(write a review)👁7x
Published: 11.19.2026
Dessert Recipes
NEW
20 min.
50 min.
2/5
244 calories Per Serving (of 4) Read More

Before You Start

Let’s talk about important parts of the recipe before you start…

Jump to Recipe

Tiramisu, the way I make it

This tiramisu is a no-bake dessert built from two eggs, mascarpone, sugar, vanilla, and ladyfingers dipped in a mix of cold strong black coffee and Amaretto. I whip the egg whites first, build the yolk and mascarpone cream second, and fold the two together so the cream stays light instead of heavy.

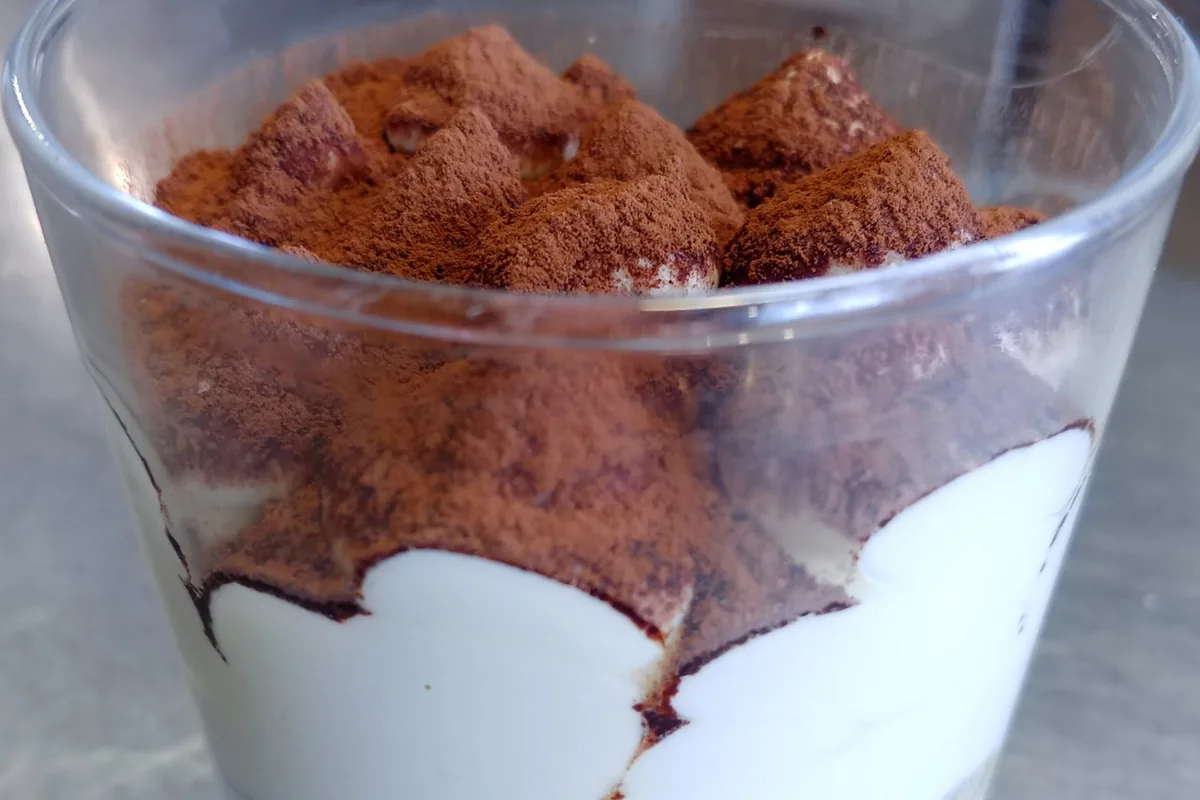
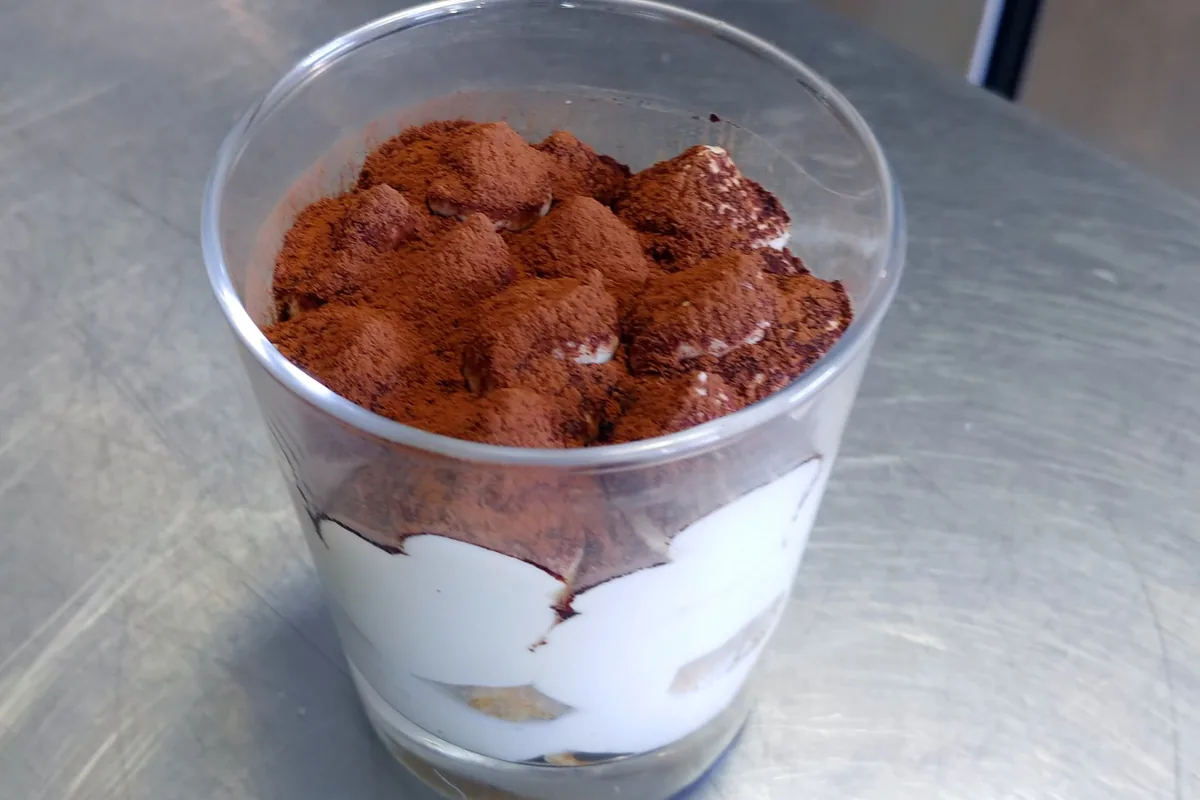
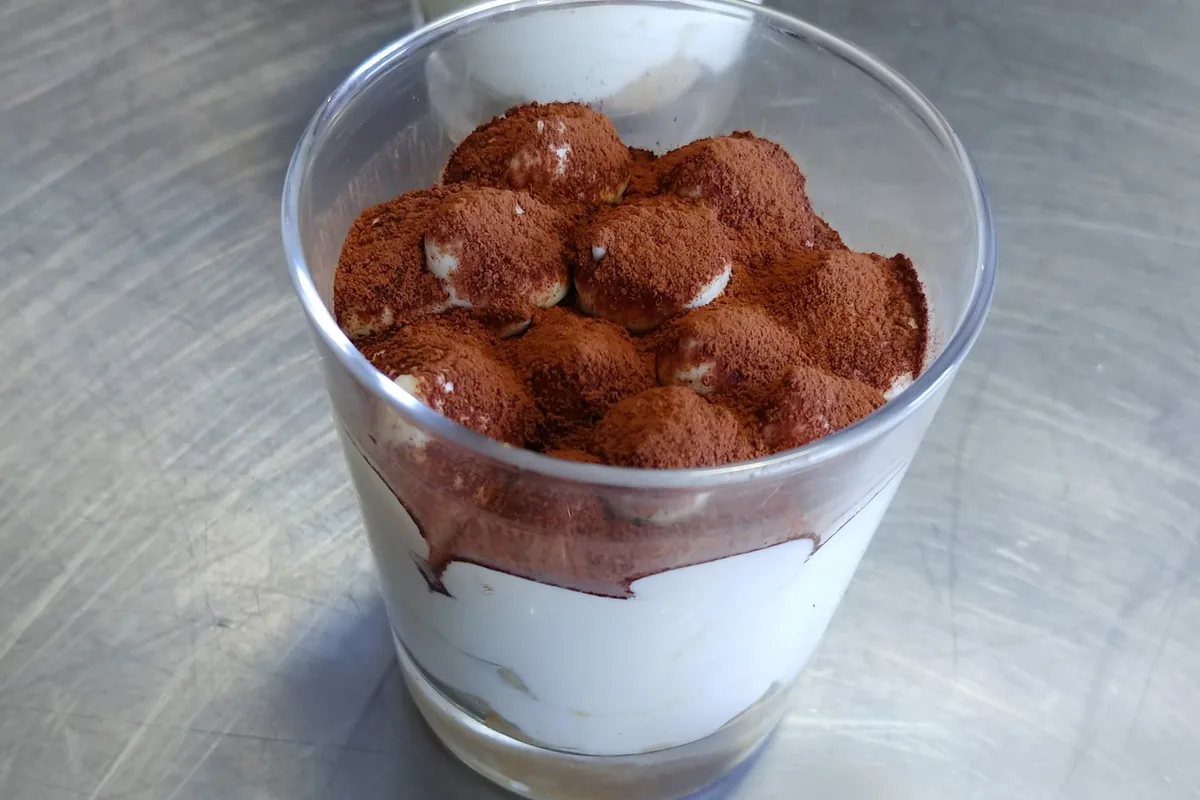
You can assemble it in four individual glasses or cups, which saves you from portioning later, or in one large glass bowl about 8 to 10 inches across. Either way it goes three layers of ladyfingers and three layers of cream, finished with cocoa powder dusted through a sieve. One thing to know before you begin: this recipe includes raw eggs, and the decision to consume them is entirely your responsibility.

Tiramisu

Raw eggs: read this first

The final tiramisu prepared from this recipe includes raw eggs, both the whites and the yolks, and nothing in the method cooks them. The decision to consume it is totally your responsibility, including all potential health consequences. Raw eggs are not recommended for infants, pregnant women, the elderly, or people with compromised immune systems. To reduce the risk of Salmonella, use raw eggs only from verified sources, or use pasteurized eggs instead. I would rather tell you this at the start than have it be a surprise at the table.

Whipping the egg whites to firm peaks

This is the step that decides how light your tiramisu cream will be, so give it the attention it deserves. Separate the two large eggs carefully, the whites into the kitchen mixer bowl with the whisk attachment, the yolks into a small bowl because you need them in the next stage. Start whisking at medium speed for about 2 to 3 minutes, which is how you work air into the whites rather than just moving them around. Then increase to high speed and whisk until firm peaks form, roughly 1 to 2 minutes, and confirm with your own eyes rather than the clock. Once they are there, transfer the whipped egg whites into a medium mixing bowl and set them aside for later.

Building the mascarpone cream in stages

The tiramisu cream goes into the mixer in a deliberate order, and each stage has its own finish line. First the egg yolks alone, whisked at high speed for about 2 minutes until they are nicely airy. Then the 5 tablespoons of granulated sugar, again at high speed for about 2 minutes, until it is fully incorporated and creamy. Last comes 1 cup of plain mascarpone together with ½ teaspoon of vanilla extract, whisked at high speed for only about 30 to 45 seconds, just until nicely combined and creamy. Adding the sugar to the yolks before the mascarpone is what gives you a smooth, even cream rather than a grainy one.

Folding, not whisking

Here is the step people rush, and it is the one that costs them. Take the bowl off the mixer and use a silicone spatula to fold the mascarpone mixture into the whipped egg whites, gently but thoroughly. Add it in 2 to 3 parts and work slowly, turning the mixture over itself rather than stirring it around. All the air you built into those whites lives or dies in this minute. When it is evenly combined with no streaks left, stop; going further only deflates the tiramisu cream you just made.

The coffee and Amaretto dip

The dipping mixture is simple: ½ cup of strong black coffee, cold, and ½ cup of Amaretto, stirred together with a whisk in a small mixing bowl until fully incorporated. The coffee needs to be cold, so brew it ahead and let it come down in temperature before you start, otherwise it is the one thing that will hold up the whole assembly. Dip each ladyfinger briefly and move on. Do not leave them sitting in the coffee mixture, because a ladyfinger that has drunk too much will collapse into the cream and turn the layer to mush.

Layering in glasses or one large bowl

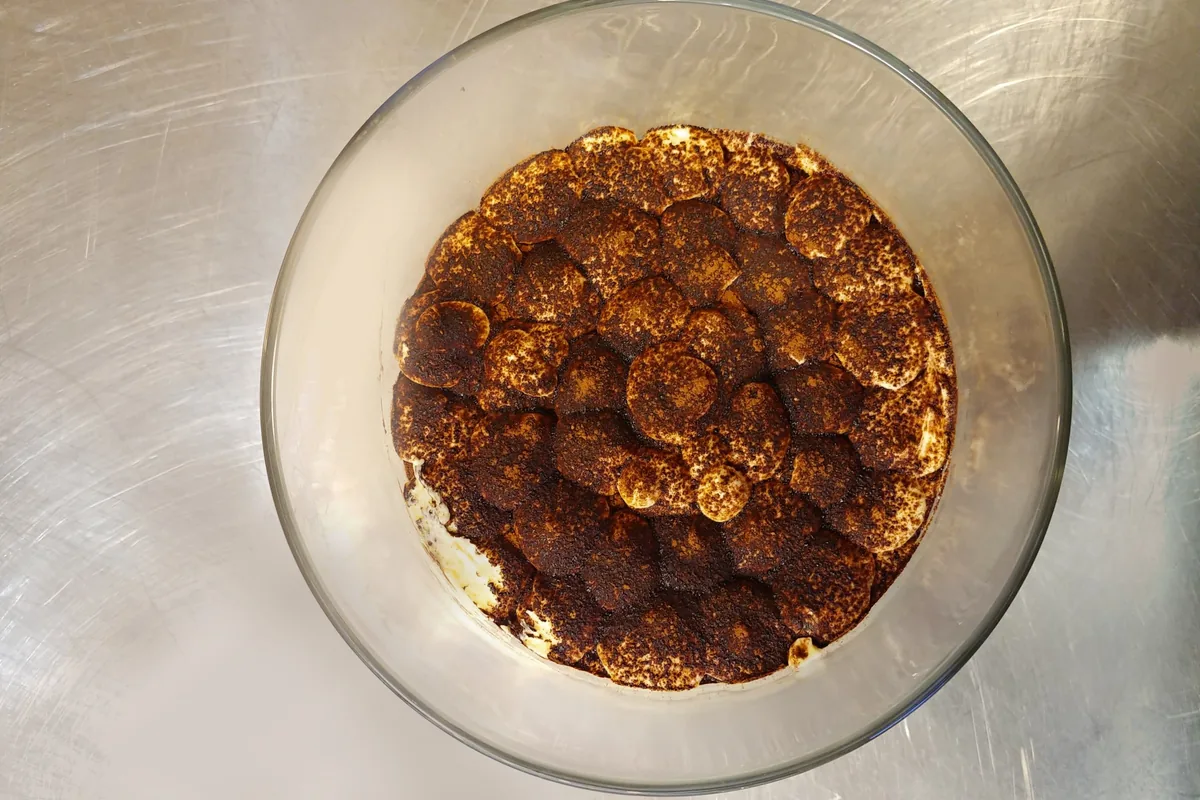
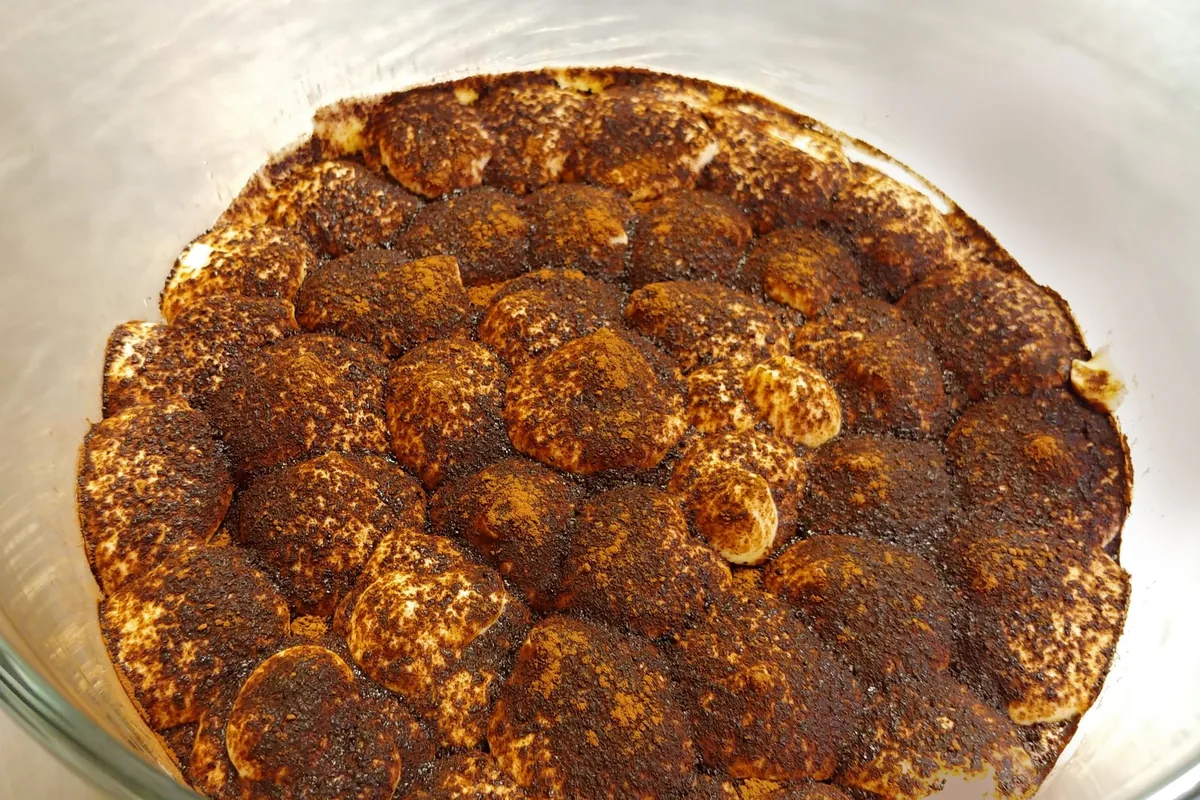
You have a choice here. Individual glasses, cups, or bowls mean you never have to portion the tiramisu, and straight sides show the layers off best. One large glass bowl, about 8 to 10 inches in diameter, means you serve it out at the table. Either way, dipped ladyfingers go on the bottom, then about a third of the tiramisu cream on top, and you repeat that pair twice more for three layers of ladyfingers and three layers of cream. If your cups or bowls are wider than usual, you may want to reduce the number of layers rather than stretch the cream too thin.

Tiramisu

A pastry bag makes the layers neat

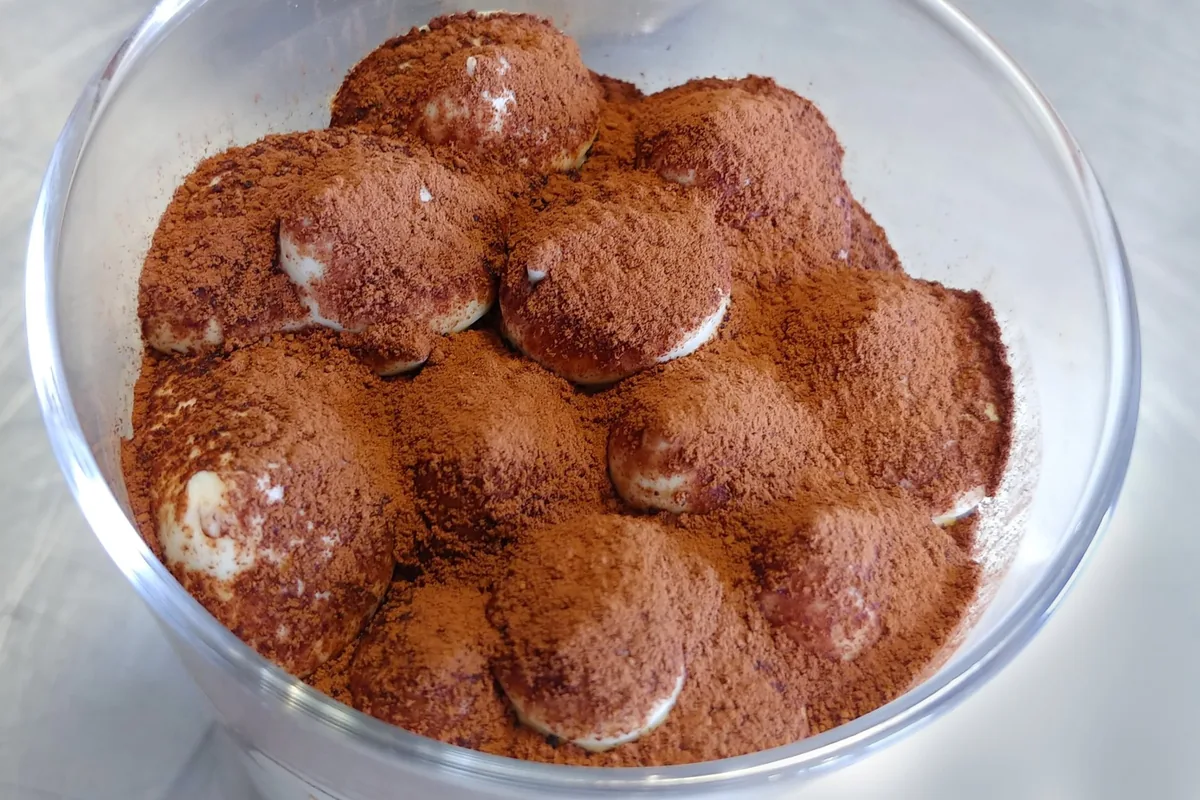
Filling a pastry bag with the tiramisu cream is optional, but it makes covering the ladyfingers much tidier, especially in narrow glasses where a spoon fights you. You do not need a pastry tip at all. Simply cut the tip off the bag right after you fill it and pipe the cream straight onto the ladyfingers. If you would rather keep the washing-up down, spooning the cream on at the assembly stage works perfectly well.

Dusting the cocoa powder

Finish the top with 2 tablespoons of cocoa powder, and adjust the amount if you need to for the surface you are covering. Use a sieve and dust gently, so the cocoa falls as an even veil rather than in clumps that sit heavy on the cream. This is the last thing you do before the tiramisu goes into the refrigerator, and it is what makes the dessert look finished the moment you bring it out.

Resting time and serving

The tiramisu needs to rest in the refrigerator for at least 30 minutes, and for the best results, overnight. That rest is not idle time; it is when the ladyfingers settle into the cream and the whole dessert firms up enough to hold its shape on the spoon. This makes tiramisu an ideal dessert to make the day before, which is exactly how I like to handle it when I have people coming. Serve it chilled, straight from the fridge.

Popular questions

How long should tiramisu rest before serving?

Let the tiramisu rest in the refrigerator for at least 30 minutes, though for best results you should let it rest overnight.

Tiramisu

4 portionsNEWPublished: 11.19.2026 ☆☆☆☆☆0x(write a review)👁7x
20 min.
50 min.
2/5
🖨Print

Ingredients:

Click any ingredient to learn more
1 Cup of mascarpone - plain
½ TSP of vanilla extract
½ Cup of strong black coffee - cold
½ Cup of Amaretto
2 TBSP of cocoa powder - adjust if needed

Tools:

Click any tool to learn more
4 individual glasses, cups, or bowls, or one large glass bowl (about 8 to 10" in diameter) - any kind you like, preferably with straight sides.
Sieve (for sifting cocoa powder)
Disclaimer: The final product prepared based on this recipe includes raw eggs. The decision to consume is totally your responsibility (including all potential health consequences). Note that raw eggs are not recommended for infants, pregnant women, the elderly, and people with compromised immune systems. To reduce the risk of Salmonella, consume raw eggs only from verified sources or use only pasteurized eggs.

Nutrition per 1 Serving:(recipe split into 4 servings)

Estimated
Calories 244 Protein 7.9 g Fat 6.3 g Saturated fat 2.3 g Carbohydrate 40.4 g Sugars 25.2 g Fiber 1.8 g Sodium 92 mg Cholesterol 177 mg
Estimated. Worked out from the ingredients above using the United States Department of Agriculture’s FoodData Central reference data. An estimate, not a measurement — brands, sizes and how much of a marinade actually ends up on the plate all move it.
Directions:

1.Whipped Egg Whites:

Let’s start preparing the Tiramisu!

1.1.

Prepare in a kitchen mixer with a whisk attachment.

1.2.

Separate 2 eggs - place the egg whites into the kitchen mixer bowl and the egg yolks into a small bowl (for later steps).

1.3.

Whisk at a medium speed in order to get more air into the egg whites (about 2 - 3 minutes).

1.4.

Then increase the speed to high and whisk until firm peaks form (about 1 - 2 minutes; please confirm the time).

1.5.

Transfer the whipped egg whites into a medium mixing bowl for later steps.

2.Tiramisu Cream:

2.1.
Place into the kitchen mixer with the whisk attachment:

Egg yolks - from step 1.2.

Whisk at high speed until nicely airy (about 2 minutes).

2.2.
Add:

5 TBSP of granulated sugar

Whisk at high speed until fully incorporated and creamy (about 2 minutes).

2.3.
Add:
1 cup of mascarpone
½ TSP of vanilla extract

Whisk at high speed until nicely combined and creamy (about 30 to 45 seconds).

2.4.

Remove the bowl from the kitchen mixer and, using a silicone spatula, gently but thoroughly fold it into the whipped egg whites (work slowly and add it in 2 - 3 parts).

2.5.
Optional: Fill a pastry bag with the tiramisu cream (or spoon the cream on in step 4.3).

Tip:

You don’t have to use a pastry tip; simply cut off the pastry bag's tip right after filling.

3.Coffee Mixture:

Note: For dipping ladyfingers.

3.1.
Place into a small mixing bowl:
½ cup of strong black coffee - cold
½ cup of Amaretto

Stir with a whisk until fully incorporated.

4.Assemble:

4.1.

Assemble the tiramisu in individual cups (to avoid portioning it) or in a large bowl (you will have to separate it into portions).

4.2.
Briefly dip the ladyfingers into the coffee mixture and place them into the bottom of the cups

Important:

Do not leave them in the coffee mixture.

4.3.

Cover the ladyfingers with tiramisu cream by piping (or spooning) the mixture onto the top of the ladyfingers (about ⅓ of the total amount).

4.4.
Then repeat steps 4.2 and 4.3. 2x to reach a total of 3 layers of ladyfingers and 3 layers of tiramisu cream.

Important:

If you have wider cups or bowls, you may want to reduce the number of layers.

4.5.

Using a sieve, gently dust the top of the tiramisu with 2 TBSP of cocoa powder.

5.Resting and Serving Tiramisu:

5.1.

Let the tiramisu rest in the refrigerator for at least 30 minutes; for best results, overnight.

5.2.

Serve chilled.

Tiramisu
TiramisuTiramisuTiramisuTiramisuTiramisuTiramisu

Cook to safe temperatures and check for allergens. Nutrition values and results are estimates and may vary.

As an Amazon Associate I earn from qualifying purchases. Some of the ingredient and tool links above are affiliate links: if you buy through them the price is the same for you, and it helps keep these recipes free. #ad

Show moreShow less of the Disclaimer

Disclaimer

Last updated October 27, 2026

GENERAL INFORMATION

The content provided by Checked Solutions, LLC (doing business as Tom the Chef) ("we," "us," or "our") on https://www.tomthechef.com (the "Site") and through our related services — including recipes, articles, columns, live and recorded cooking classes, and other materials — is for general informational and educational purposes only and reflects the personal opinions and experience of the author. All information is provided in good faith; however, we make no representation or warranty of any kind, express or implied, regarding the accuracy, adequacy, validity, reliability, availability, or completeness of any information. Your use of the Site and your reliance on any information is solely at your own risk.

NO PROFESSIONAL ADVICE

Our content is not intended to provide, and does not constitute, professional dietary, medical, nutritional, or legal advice. Before making any health- or diet-related decision based on our content, consult a qualified medical or nutritional professional.

COOKING, FOOD SAFETY, AND YOUR RESPONSIBILITY

You are solely responsible for evaluating our recipes and instructions and using your own judgment before following them. To the fullest extent permitted by law, we are not responsible for any outcome or consequence resulting from your use of the Site or our content, including but not limited to:

  • Food Safety: any health risk related to food handling, food quality, cross-contamination, or failure to follow USDA recommendations (including minimum safe cooking temperatures).
  • Preparation Safety: the safe handling of cooking equipment, hot surfaces, sharp knives, or the suitability of tools for any task.
  • Allergies and Dietary Restrictions: any allergic reaction or health issue arising from ingredients in our recipes. You are responsible for ensuring that all ingredients and methods are safe and appropriate for your dietary restrictions, allergies, and health.
  • Recipe Outcomes: the final look, taste, yield, or success of a recipe, which may vary based on ingredients, equipment, oven temperatures, altitude, humidity, and skill.
  • Ingredients and Equipment: the sourcing, quality, and condition of ingredients, tools, or equipment.
  • Nutritional Information: the accuracy of any nutritional data, which is an estimate provided as a courtesy and should not be relied on as a guarantee.
  • Errors and Omissions: any errors, typos, or unclear directions in our content.

EXTERNAL LINKS

The Site may contain links to third-party websites or content, including in banners or other advertising. We do not investigate, monitor, or guarantee the accuracy or reliability of third-party sites. We are not responsible for them or for any transaction between you and a third party. Accessing third-party sites is at your own risk.

TESTIMONIALS, REVIEWS, AND COMMENTS

The Site may contain testimonials, reviews, and comments from users. These reflect the personal experiences and opinions of individual users and may not be representative of all users; your individual results may vary. Testimonials and reviews may be shortened for brevity or corrected for grammar. The views expressed belong solely to the individual. They are not intended as claims that our products or services diagnose, treat, cure, or prevent any disease or medical condition.

CONTENT OWNERSHIP

All content published by Tom the Chef is the intellectual property of Checked Solutions, LLC and its author, unless otherwise noted, and may not be used except as permitted in our Terms of Use.

AFFILIATE DISCLOSURE

As an Amazon Associate, we earn from qualifying purchases. Some ingredient and tool links on the Site are affiliate links. If you buy through them, the price is the same for you, and it helps support our content. We only recommend products we genuinely use and trust.

LIMITATION OF LIABILITY

Under no circumstances shall Checked Solutions, LLC or Tom the Chef have any liability to you for any loss or damage of any kind incurred as a result of the use of the Site or reliance on any information provided. This Disclaimer forms part of, and is subject to, our Terms of Use.