
Dessert Recipes
Peanut Butter Cookies
About 24 – 28 cookies
I am excited to share my favorite Peanut Butter Cookies, a recipe that brings together the rich, creamy texture of high-quality peanut butter and the satisfying crunch of roasted peanuts. These treats are designed to be both nutritious and incredibly delicious, utilizing all-purpose flour, unsalted butter, and a perfect balance of granulated sugar and brown sugar for that classic golden finish. Read More
Dessert Recipes
Vegetarian
Before You Start
Let’s talk about important parts of the recipe before you start…
Bake the Best Peanut Butter Cookies with Tom the Chef
Welcome to my kitchen! As the founder of CookingHub, I’ve refined this Peanut Butter Cookies recipe to ensure every bite is packed with authentic flavor. These aren’t just your average store-bought treats; we use real unsalted butter, large eggs, and baking powder to create a cookie that is soft on the inside and perfectly textured on the outside. Whether you are using a kitchen mixer or forming them by hand with a disher, these Peanut Butter Cookies are a simple joy to make. We focus on using 100% natural peanut butter to keep things wholesome and “the bomb” in terms of flavor. Let’s get baking!
The Importance of Room Temperature Unsalted Butter
In my Peanut Butter Cookies recipe, I specify using two sticks of unsalted butter at room temperature. This is a critical first step. When the butter is softened, it integrates seamlessly with the peanut butter, granulated sugar, and brown sugar during the mixing process. Using cold butter would result in a chunky dough, whereas room temperature butter allows the kitchen mixer to create a creamy, aerated base. This aeration is what helps the baking powder lift the dough, ensuring your Peanut Butter Cookies have the perfect structure.
Selecting High-Quality Peanut Butter
For these Peanut Butter Cookies to be truly nutritious and harmless to your body, I insist on using 100% natural peanut butter. You want a product made just from peanuts, without hydrogenated oils or added sugars. Whether you choose certified organic or a high-quality non-certified version, the purity of the peanut butter dictates the final taste. This natural oil content interacts with the all-purpose flour and large eggs to provide a rich mouthfeel that processed brands simply cannot replicate in these Peanut Butter Cookies.
Achieving the Perfect Creamy Texture
When you begin step 1.1 of the Peanut Butter Cookies, I recommend processing the butter, peanut butter, large eggs, and sugars on high speed for about 3 to 5 minutes. This duration is necessary to reach a fully incorporated, creamy texture. This stage is where the flavor profile of the Peanut Butter Cookies is built. If you see ingredients sticking to the sides of the kitchen mixer, I always suggest stopping to use a silicone spatula to scrape them back in, ensuring every bit of brown sugar and granulated sugar is dissolved into the fats.
Mixing the Dry Ingredients Correctly
Once your base is creamy, adding the all-purpose flour, baking powder, and salt requires a change in technique. I process these on a slow speed initially to avoid a “flour cloud” and to prevent overworking the gluten. Over-mixing at this stage can make the Peanut Butter Cookies tough rather than tender. I then increase the speed to medium-high for just 2 minutes until nicely combined. This careful balance ensures the Peanut Butter Cookies remain light and airy.
The Optional Crunch of Roasted Peanuts
If you want to take these Peanut Butter Cookies to the next level of “crunchy perfection,” I highly recommend the optional addition of 1/2 cup of crushed roasted peanuts. You can use salted or unsalted depending on your preference. Adding these at the very end of the mixing process (Step 1.4) ensures the pieces are evenly distributed throughout the dough without being pulverized. This addition reinforces the star ingredient of the Peanut Butter Cookies and adds a wonderful contrast to the soft dough.
Mastering the Cooling Process
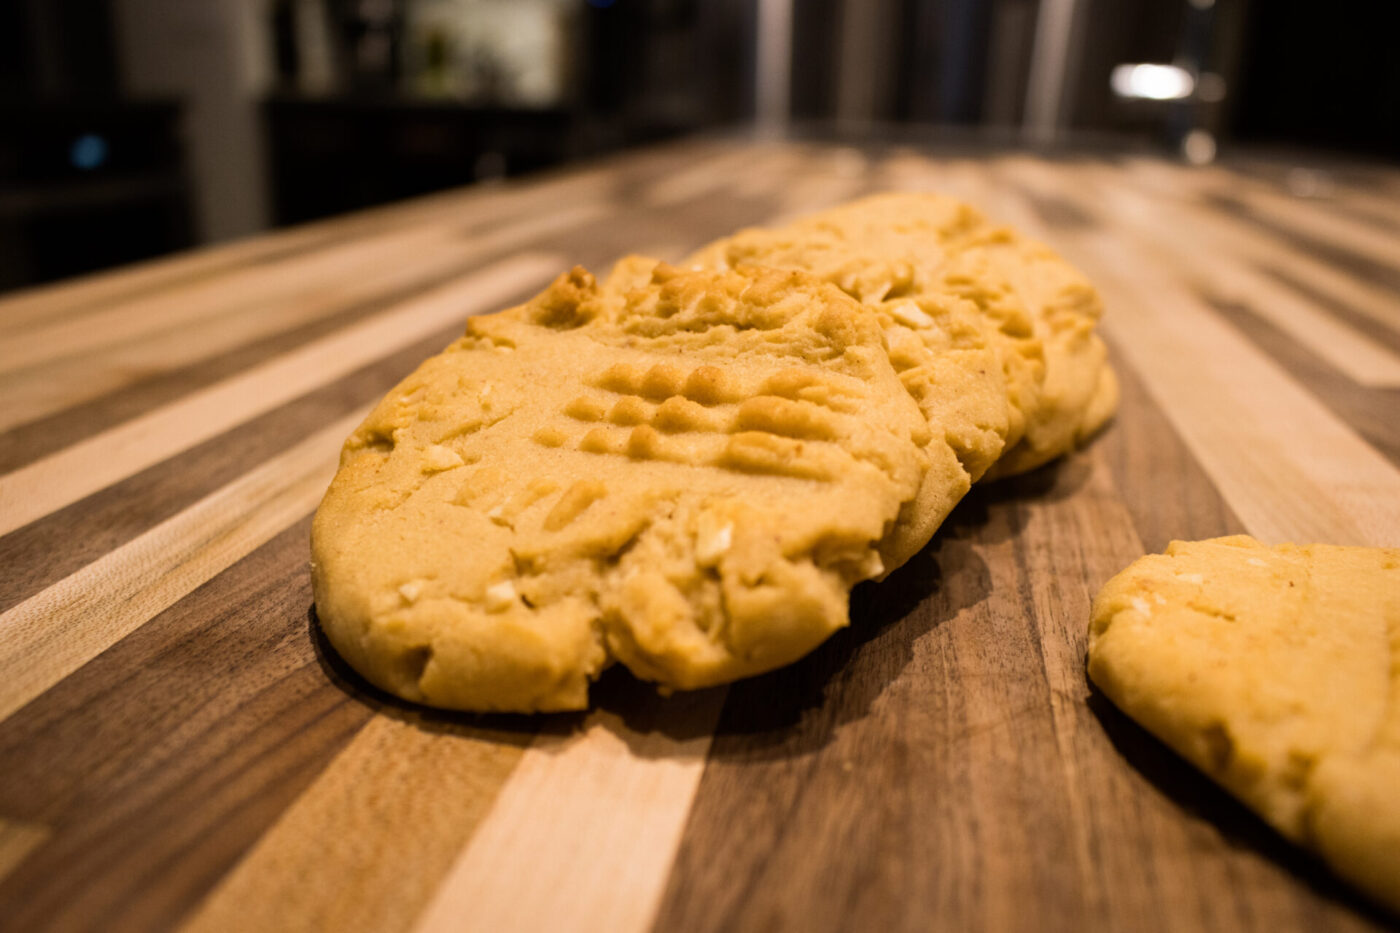
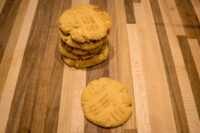
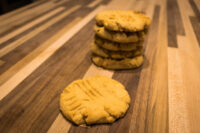
A vital tip for my Peanut Butter Cookies is the cooling stage. When you take them out of the oven after 12 minutes, they will be much softer than you expect. It is important to let them cool directly on the baking sheet with the parchment paper. The residual heat from the pan finishes the baking process, allowing the Peanut Butter Cookies to harden enough to be handled. Patience here is key to achieving that perfect texture!
Modification: Adding Chocolate Chips
While not part of the original recipe, a modification you could consider is adding half a cup of dark chocolate chips during the final mixing stage. Please note that this is a modification that is not part of the recipe, but it pairs wonderfully with the peanut butter and peanuts for those who enjoy a sweet and salty combination in their Peanut Butter Cookies.
Peanut Butter Cookies
Ingredients:
Click any ingredient to learn more2 sticks of unsalted butter - room temperature (½ LB)
1 cup of peanut butter (*)
2 eggs
1 cup of granulated sugar
¼ cup of brown sugar
2 cups of all-purpose flour
2 TSP of baking powder
¼ TSP of salt
Optionally: ½ cup of peanuts - crushed (roasted is a best option, can be salted or unsalted)
*If you want your cookies to be not only tasty but also nutritious and harmless to your body, then you have to use only high-quality peanut butter that is 100% natural and is made just from peanuts. This means buying peanut butter that does not contain hydrogenated oils or other added ingredients. Purchasing certified organic products should deliver this kind of peanut butter, but you can also find non-certified organic products, which will deliver to you peanut butter of equal quality.
Tools:
Click any tool to learn more1x Disher (Preferably 1 FL OZ size or set of spoons. Leveled 1 OZ scoop will create a portion of about 1.5 OZ for each cookie. Use smaller or larger disher if you want to reach the different sizes of cookies.)
1x Fork
Nutrition per 1 Serving:(recipe split into 24 servings)
EstimatedCalories 205
Protein 3.9 g
Fat 12.7 g
Saturated fat 5.6 g
Carbohydrate 20.5 g
Sugars 11.2 g
Fiber 0.9 g
Sodium 43 mg
Cholesterol 36 mg
Vegetarian
Estimated. Worked out from the ingredients above using the United States Department of Agriculture’s FoodData Central reference data. An estimate, not a measurement — brands, sizes and how much of a marinade actually ends up on the plate all move it.
Directions:
1.Dough:
1.1.
Place into a kitchen mixer with a flat beater attachment:
2 sticks of butter (room temperature)
1 cup of peanut butter
2 large eggs
1 cup of granulated sugar
¼ cup of brown sugar
Process on high speed until fully incorporated and you reach a creamy texture (about 3 – 5 minutes).
1.2.
Add:
2 cups of all-purpose flour
2 TSP of baking powder
¼ TSP of salt
Process on slow speed until all ingredients are partially combined.
1.3.
Then, increase the speed to medium-high and process until nicely combined (about 2 minutes).
1.4.
Optionally add:
½ cup of crushed roasted peanuts
And process on low to medium speed until fully incorporated (about 1 minute).
2.Scoop & Bake:
2.1.
Set oven to 350°F.
2.2.
Form each cookie one-by-one:
2.2.1.
Scoop the dough using a 1 OZ disher or set of spoons in combination with scale.
2.2.2.
Form by hand into a ball.
2.2.3.
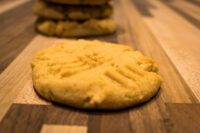
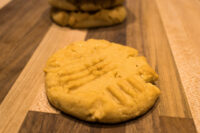
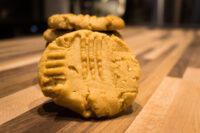
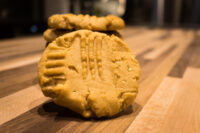
Then place on a baking sheet and press with a fork in the center to form the cookie:
2.2.3.1.
Partially press with a fork.
2.2.3.2.
Then turn the fork about 90° and press again to a final thickness of about ½”.
2.3.
Place 12 – 15 individual cookies on each of the two baking sheets (with parchment paper).
2.4.
Bake in a preheated oven until fully baked (about 12 minutes). Rotate the baking sheets in the middle of baking.
Important:
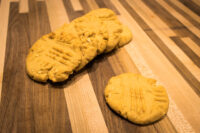
Cookies will be softer after baking, more than you may have expected. It is important to let them cool on the baking sheet to harden.
2.5.
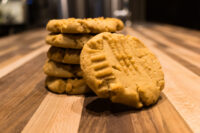
Let cool on the baking sheets: the cookies will finish baking while cooling on the baking sheets.
If parts of the ingredients stick to the side of the kitchen mixer during processing, stop the mixer, and use a spatula to mix it back in. Then, continue processing.
Popular questions
Why do my Peanut Butter Cookies feel so soft and fragile when I first take them out of the oven?
Don't worry, that is exactly how they should be! In my Peanut Butter Cookies recipe, the cookies finish the baking process using the residual heat from the baking sheet while they cool. If you try to move them too soon, they might break. Letting them rest on the parchment paper for several minutes allows the unsalted butter and sugars to set, giving you that perfect crunch.
Share
Click on the icons below to share "Title of the item to share"