

Before You Start

Let’s talk about important parts of the recipe before you start…

Welcome to my Herb Butter Recipe

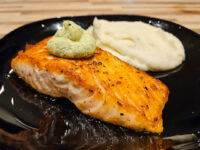
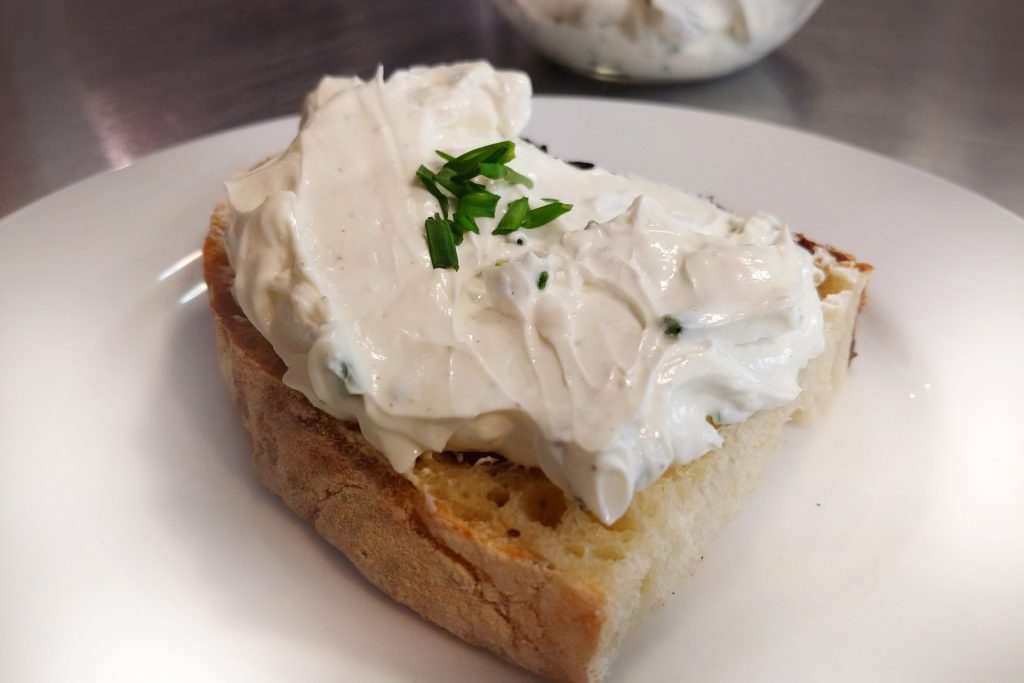
I am so excited to share my Herb Butter with you today. There is nothing like the amazing taste of fresh herbs from your garden or the local market, and I’m going to show you how to turn that vibrant, green flavor into a rich, savory herb butter you can keep on hand all year. You will love how incredibly easy it is to make using just a food processor. You can melt this wonderful Herb Butter over a hot steak or fish fillet, spread it on crusty bread, or use it as a veggie dip. Ensuring your two sticks of butter are fully at room temperature and adding a touch of extra virgin olive oil makes all the difference in the final texture. Let’s get to the kitchen and prepare this delicious spread!

Preparing the Fresh Herbs and Garlic for Herb Butter

Let’s start preparing the Herb Butter by getting our fresh herbs and garlic ready. You will need one-half cup of fresh herbs, and the combination is totally up to you and your imagination. I have even used a mix of basil, sage, oregano, chives, parsley, and rosemary. First, rinse the fresh herbs and pat them completely dry with a kitchen towel or paper towel. Remove the leaves from the stems, because the stems are often hard and should not be eaten, with the exception of chives where the whole green stem is tender and can go straight into the processor. Chop the herbs briefly on your cutting board before placing them into the food processor, which will do the fine work. Finally, peel one clove of garlic and add it into the food processor as well.

Softening Butter to Room Temperature for Herb Butter

Before you start mixing the Herb Butter, it is critical to take the two sticks of butter out of the refrigerator at least one hour ahead so it softens to room temperature butter. Cold butter will not process smoothly in your food processor, so this step ensures that our savory herb butter gets the perfect fluffy texture. Having your butter at room temperature will allow it to blend seamlessly with the extra virgin olive oil, salt, and ground pepper.

Mixing Ingredients in the Food Processor for Herb Butter

Once everything is prepped, add the two sticks of room temperature butter, one teaspoon of extra virgin olive oil, one-quarter teaspoon of salt, and a pinch of ground pepper into the food processor alongside the garlic and fresh herbs. Process on high speed until the butter is smooth, fluffy, and evenly flecked with green, which usually takes about three to four minutes. If the ingredients climb the side of the bowl during processing, stop the machine, scrape everything back down with a silicone spatula, and continue. Taste and add salt or pepper if needed, then pulse once or twice to combine the Herb Butter perfectly.

Portioning the Herb Butter

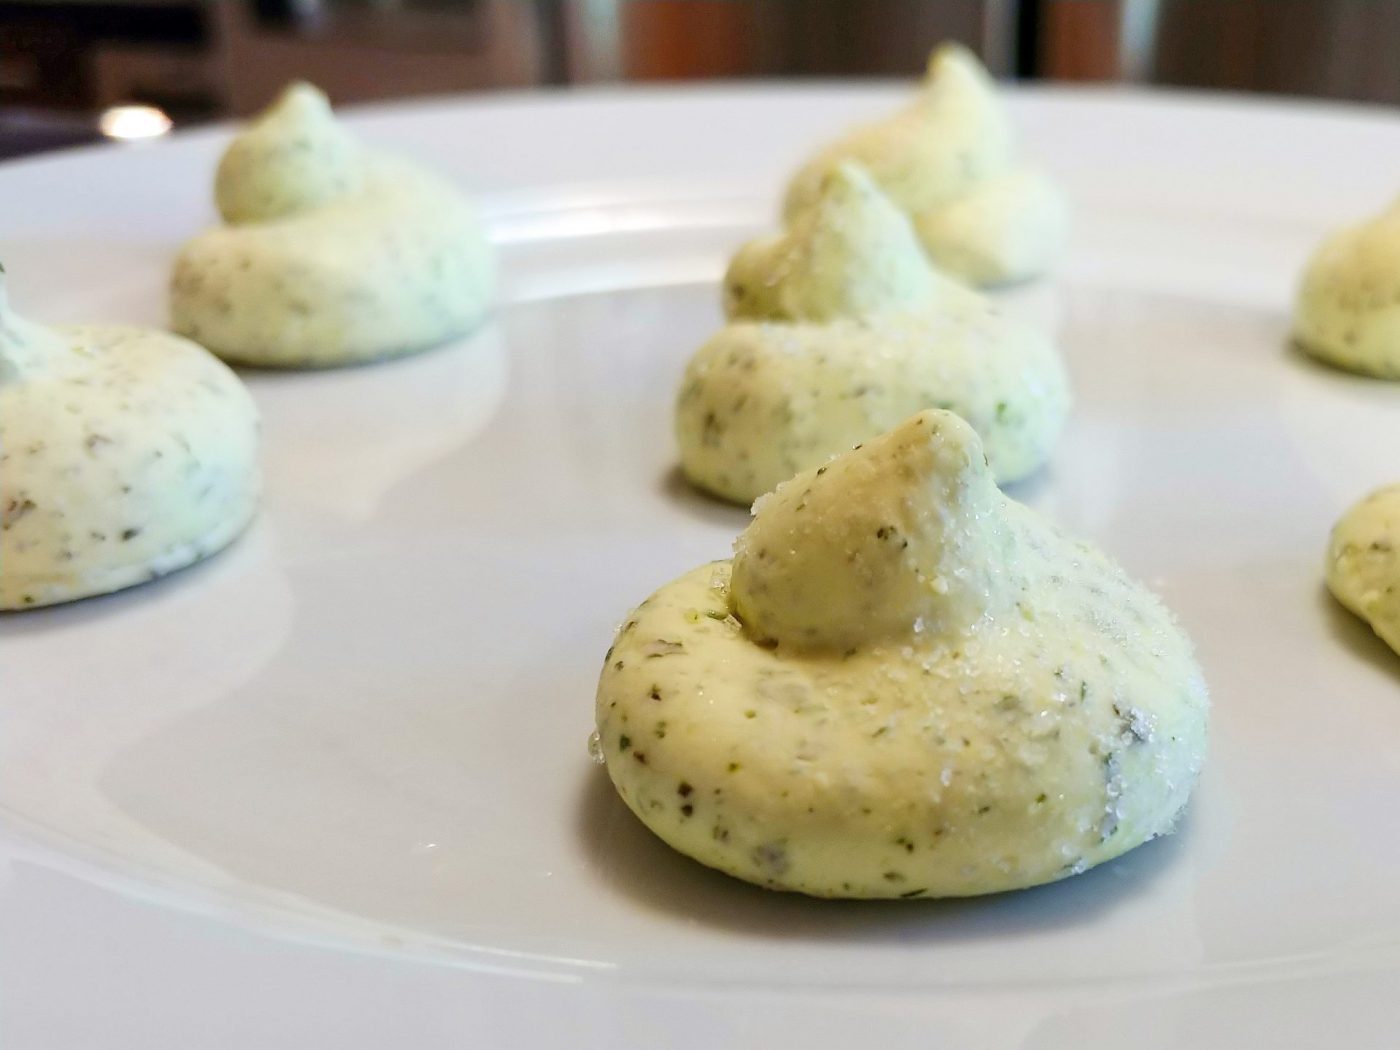
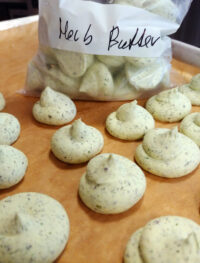
I love giving you options for portioning your Herb Butter into individual portions. For the best visual effect, fit a decorating tip to a pastry bag, fill it with the herb butter, and pipe single rosette individual portions onto a parchment-lined baking sheet or large plate. Alternatively, you can scoop even individual portions with a small disher that holds about 0.75 to 1 ounce, or shape neat quenelles between two small spoons and set them on the lined baking sheet. If you prefer a butter log, spoon all of the herb butter onto a sheet of plastic wrap, fold the wrap over, and roll it into a firm cylinder the size of a stick of butter, twisting both ends closed.

Chilling and Freezing the Herb Butter

After shaping, refrigerate the individual portions or log of Herb Butter on the baking sheet until firm, which takes at least 30 minutes, before transferring them to a covered container. Herb butter freezes beautifully! To freeze, place the individual portions on the parchment-lined baking sheet until solid, then move them to a freezer bag where they keep well for about a year. When you need some, a portion defrosts in roughly 30 minutes on the counter, or instantly on a hot steak. If you want to experiment, you can add a squeeze of fresh lemon juice into the mixture, but please note that this is a modification that is not part of the recipe.

Essential Tools for Creating Herb Butter

Having the right tools is just as important as the ingredients when making the Herb Butter. You will need a food processor with about a seven to eleven cup capacity to ensure the mixture is perfectly smooth. A silicone spatula is necessary to scrape down the sides during processing. For portioning, a pastry bag with a decorating tip set, a small disher, or a set of two small spoons will give you beautifully shaped individual portions. Finally, make sure you have a baking sheet lined with parchment paper or a large plate ready to hold your savory herb butter while it chills.

Recipe

(click any ingredient or tool to shop Tom's Amazon recommendations)

  • 10 min.
  • 10 min.
  • 1/5

Ingredients:

* The combination is up to you and your imagination. I have even used a combination of basil, sage, oregano, chives, parsley, and rosemary. If you prefer a stronger herb flavor, double the amount of herbs. Remove the leaves from the stem (the stem is often hard and should not be eaten, with the exception of chives). Chop the herbs briefly, the final chopping will be done in a food processor.

Recipes

Best served with:

Directions:

1. Prepare Herb Butter Recipe:

Let’s start with the preparation of an herb butter recipe!

1.1. Place all ingredients into a kitchen food processor:

½ cup of herbs of your choice – roughly chopped
1 clove of garlic – peeled and grated
2 sticks of unsalted butter – room temperature
1 TSP of Extra Virgin Olive Oil
¼ TSP of salt
Pinch of pepper

1.2.

Process until smooth on high speed (about 3 – 4 minutes).

Fruit and vegetables are nutritious, full of vitamins, and are very flavorful. Even if you are not interested in gaining the health benefits or appreciate the initial taste, fruit and vegetables are often very important for creating a final flavor in many meals (creating important flavor elements). The following are ways to wash, peel, and cut your produce. In this section, I’m not able to cover all fruits and vegetables but have chosen the most common ones. In this section I’m not able to cover all fruits and vegetables but have chosen the most common ones.

Tom the Chef Tom the Chef Founder

2. Create Portions:

Create portions of herb butter using one of these methods:

A.

For the best visual effect, fill the pastry bag with herb butter and then pipe out single portions on a baking sheet or plate.

B.

You can avoid using a pastry bag by forming a single portion with a small disher or a set of two spoons.

C.

Or, place a large amount of herb butter (or all) on plastic wrap and roll it into a single stick of butter.

3. Cool and Serve:

3.1.

Let it cool in the refrigerator (for at least 30 minutes).

3.2.

Then serve or freeze.

Tips for Herb Butter Recipe

  • If parts of the ingredients stick on the side of the food processor during processing, stop the food processor and use a spatula to mix it back in. Then, continue processing.
  • You can freeze your herb butter and use it anytime you want with steaks and other meals. Place individual portions on a baking sheet with parchment paper, freeze, and then place in a freezer bag. This way, you will have individual portions ready to use when you need them! It stays great in your freezer for about a year and takes about 30 minutes to defrost (or none if you place on a hot steak).

Disclaimer

  1. General Information Content on this page above, including the content provided on www.CookingHub.com, including all recipes, articles, and other materials, is for general informational purposes only. This content reflects the personal opinions and experiences of its authors and is not intended to provide professional dietary, medical, legal, or political advice. Please consult a qualified professional before making any decisions based on the information presented here.
  2. Content Ownership and Use Content on this page above, including content published on CookingHub.com is owned by the individual authors who created it. Only the authors can access, modify, or delete their content from the platform. Our content may be embedded on third-party websites and blogs without modification. No reimbursement will be provided for this use. If an author removes content from CookingHub.com, it will no longer be available through any embedded links.
  3. Limitation of Liability Neither www.CookingHub.com (operated by the CookingHub Foundation) nor content authors are responsible for any outcome or consequence resulting from the use of information on this site. This includes, but is not limited to:
    • Food Safety: Any health risk related to food handling, food quality, or failure to follow USDA recommendations (including minimum safe cooking temperatures).
    • Preparation Safety: The proper and safe handling of cooking equipment or its suitability for any given task.
    • Recipe Outcomes: The final look, taste, or success of following a recipe.
    • Ingredients and Equipment: The sourcing of ingredients, tools, equipment, or anything else related to the preparation and consumption of food.
    • Nutritional and Dietary Information: The accuracy of nutritional data. This information is provided as a courtesy and should not replace advice from a medical provider. You are responsible for verifying that a diet is suitable for your personal health needs.
    • Errors and Omissions: Any potential errors, typos, or unclear directions in articles and recipes.
  4. User Responsibility All readers, visitors, and users of embedded content are solely responsible for evaluating recipes and articles. You must make your own decisions about whether to follow the steps and recommendations provided. It is your responsibility to ensure that ingredients and preparation methods are safe and appropriate for your personal dietary restrictions and health conditions.

As an Amazon Associate I earn from qualifying purchases. Some of the ingredient and tool links above are affiliate links: if you buy through them the price is the same for you, and it helps keep these recipes free. #ad

Comments

Subscribe For Newsletters

  • Receive the ebook: 10 Recipes That Will Change Your Life
  • Receive the best recipes and columns by email (about 1–3 emails per month).
  • Stay Connected!

Advertisement: