
Dessert Recipes
Gingerbread Heart Cookies
About 3 large cookies
I am delighted to share my Gingerbread Heart Cookies, a recipe that brings together the warmth of aromatic gingerbread spice with the sweetness of a honey-infused dough. These large, beautiful cookies are particularly popular for Valentine’s Day, offering a heartfelt way to show your love through baking. The process is a joy from start to finish—from grinding your own spices to the delicate art of piping decoration—resulting in a stunning gift that tastes even better than it looks. Read More
Dessert Recipes
Vegetarian
Before You Start
Let’s talk about important parts of the recipe before you start…
Baking from the Heart with My Gingerbread Heart Cookies
As the founder of CookingHub, I always believe that the best gifts are handmade, and there is nothing quite as special as these Gingerbread Heart Cookies. I have designed this recipe to be more than just a treat; it is an experience in traditional baking. By using a blend of fresh gingerbread spice, rich butter, and sweet honey, I’ve created a dough that is both flavorful and perfect for shaping into large, impressive hearts. Whether you are preparing these for a special someone or as a fun project for yourself, these Gingerbread Heart Cookies will fill your kitchen with a heavenly aroma and your heart with pride. Let’s get into the kitchen and start baking these aromatic Gingerbread Heart Cookies together!
The Importance of Custom Gingerbread Spice in Gingerbread Heart Cookies
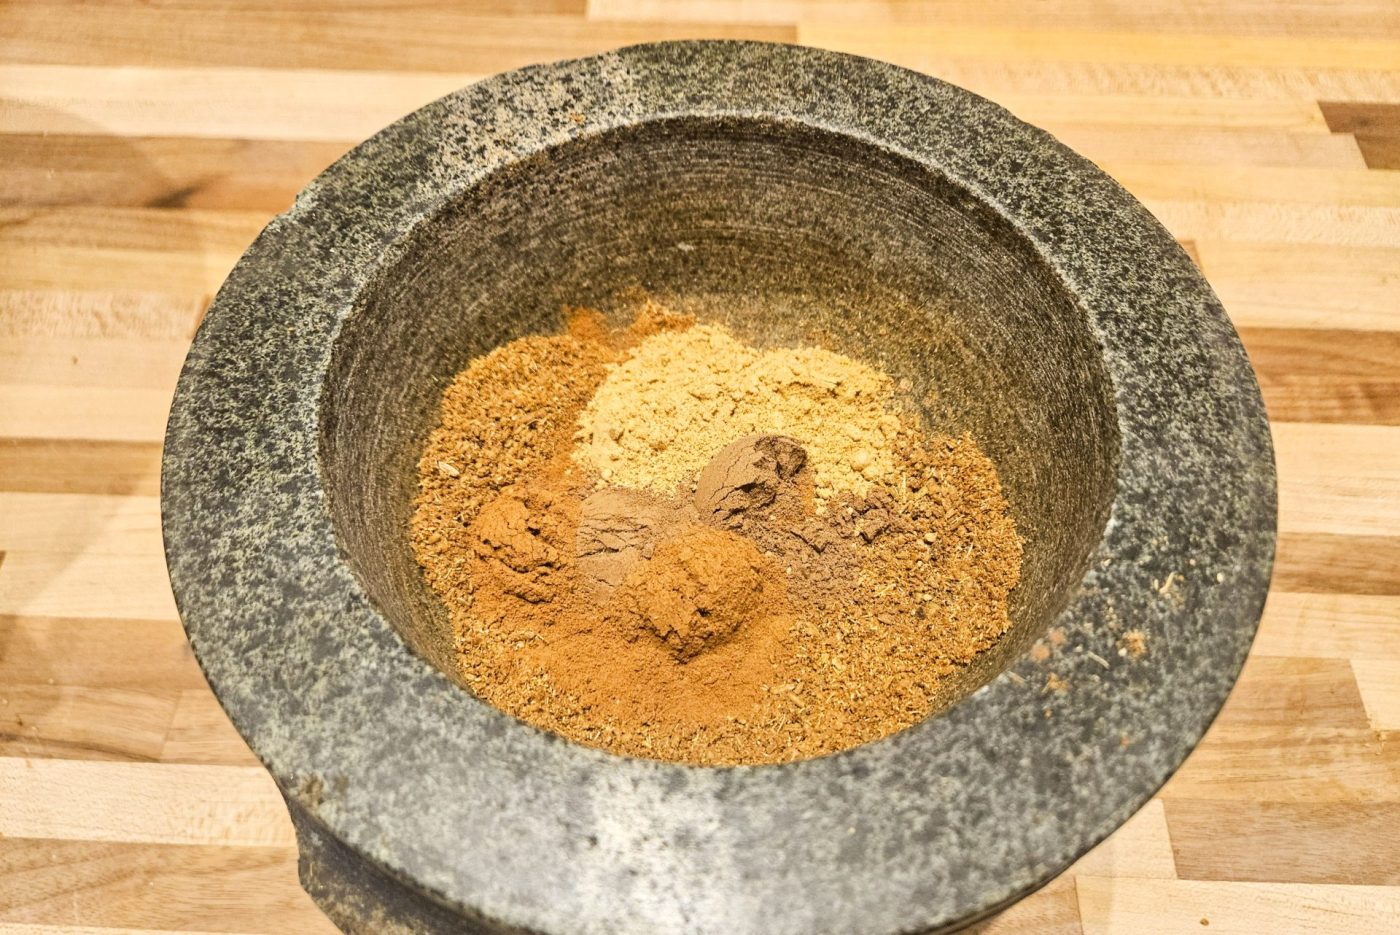
When I prepare my Gingerbread Heart Cookies, I never rely on store-bought mixes. The soul of this recipe lies in the gingerbread spice that we create from scratch. By using a mortar and pestle to process whole anise seeds, fennel seeds, and cloves along with ground cinnamon, allspice, and ginger, I ensure that the oils in the spices are freshly released. This creates a depth of flavor that is unattainable with pre-ground alternatives. I find that this specific aromatic blend is what defines the character of the Gingerbread Heart Cookies, making every bite a complex experience of warmth and spice. It is the first and most vital step in my process to guarantee the best SEO-friendly results for your palate.
Achieving the Perfect Texture for Gingerbread Heart Cookies Dough
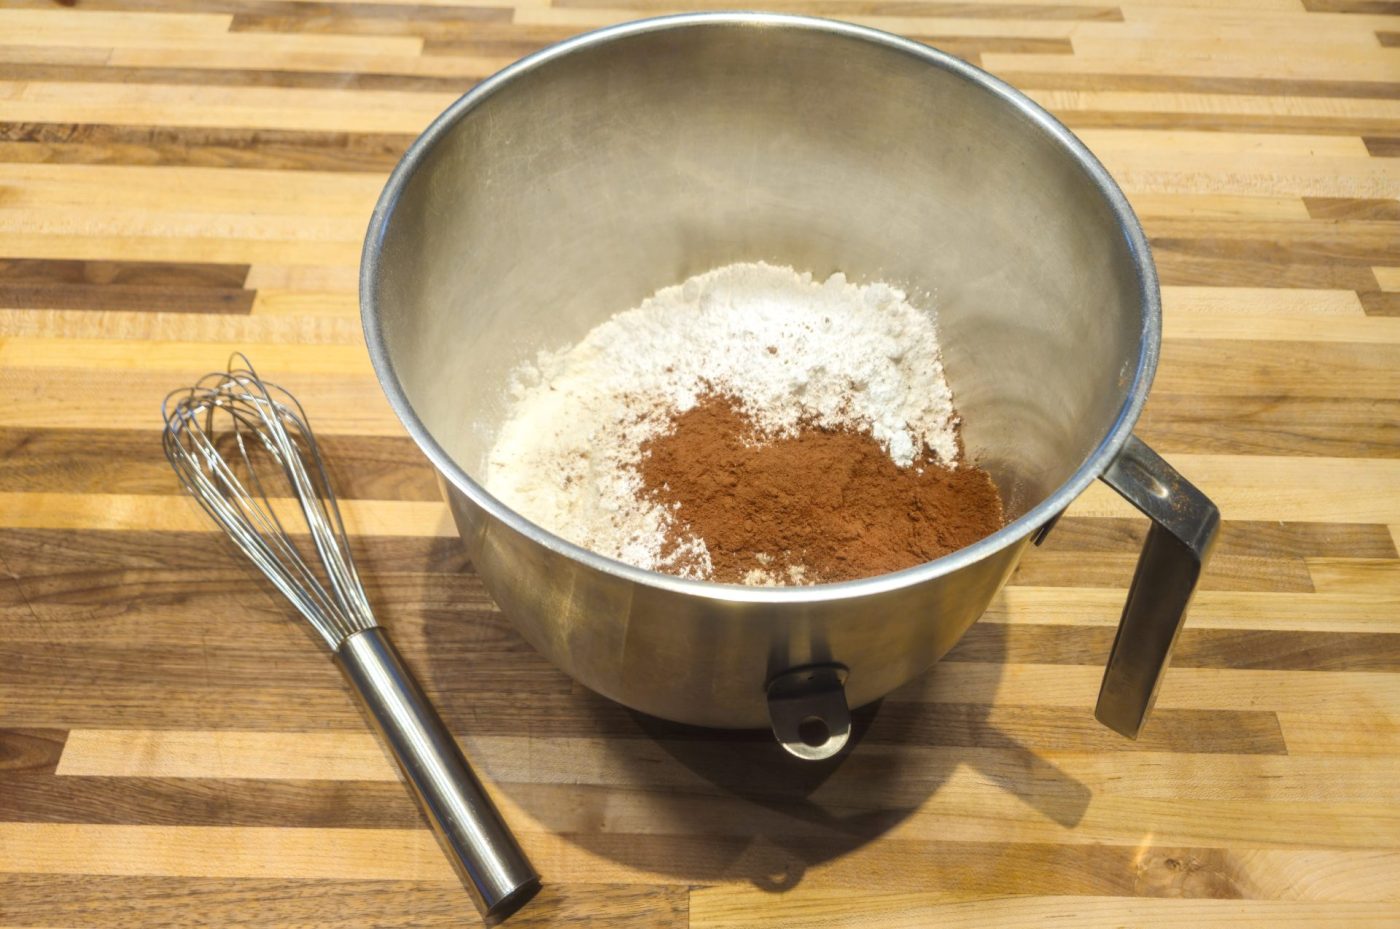
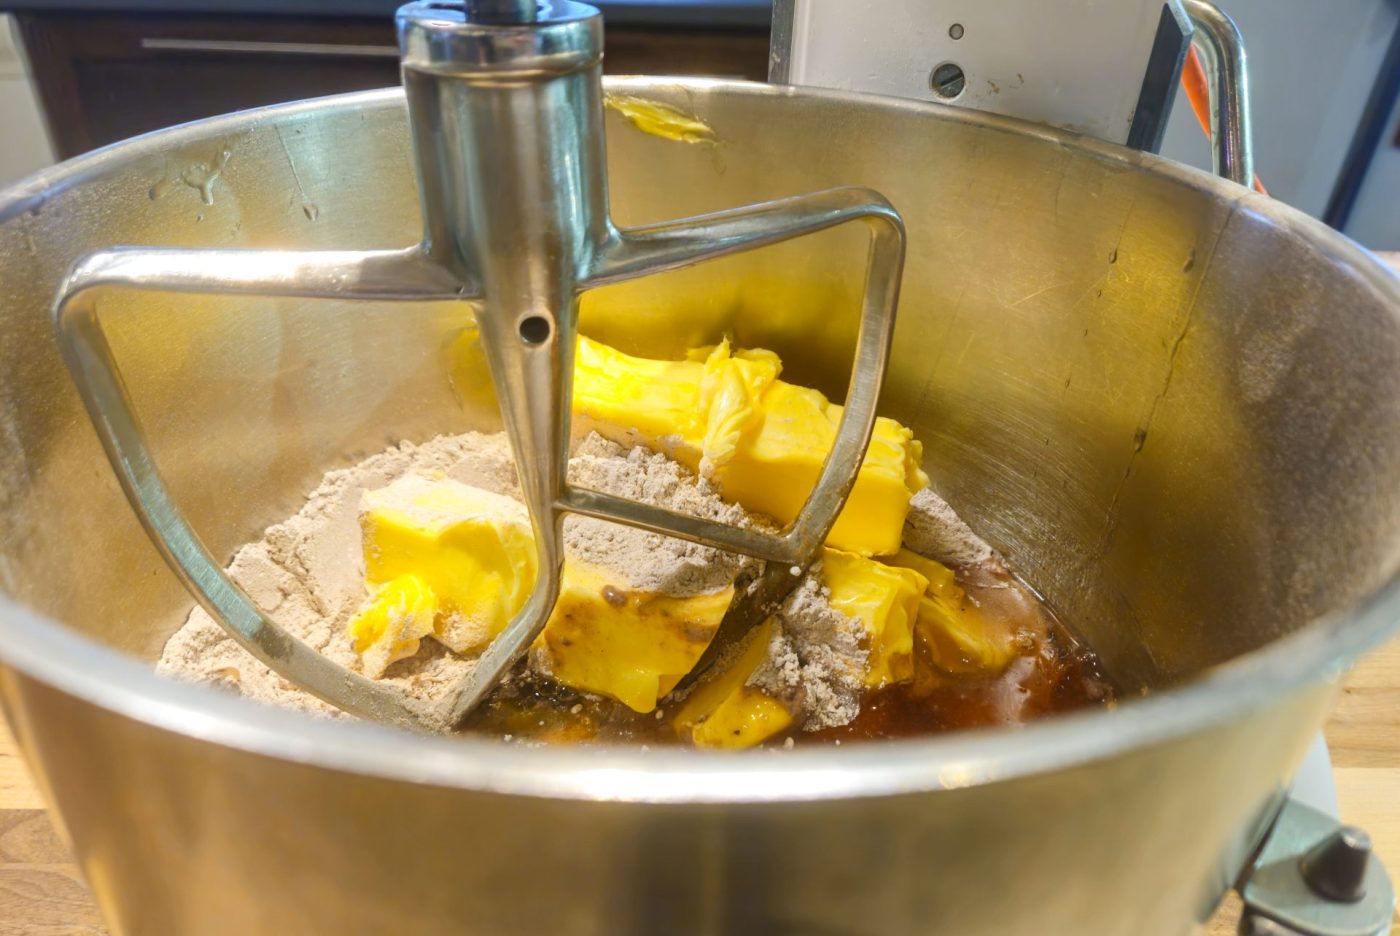
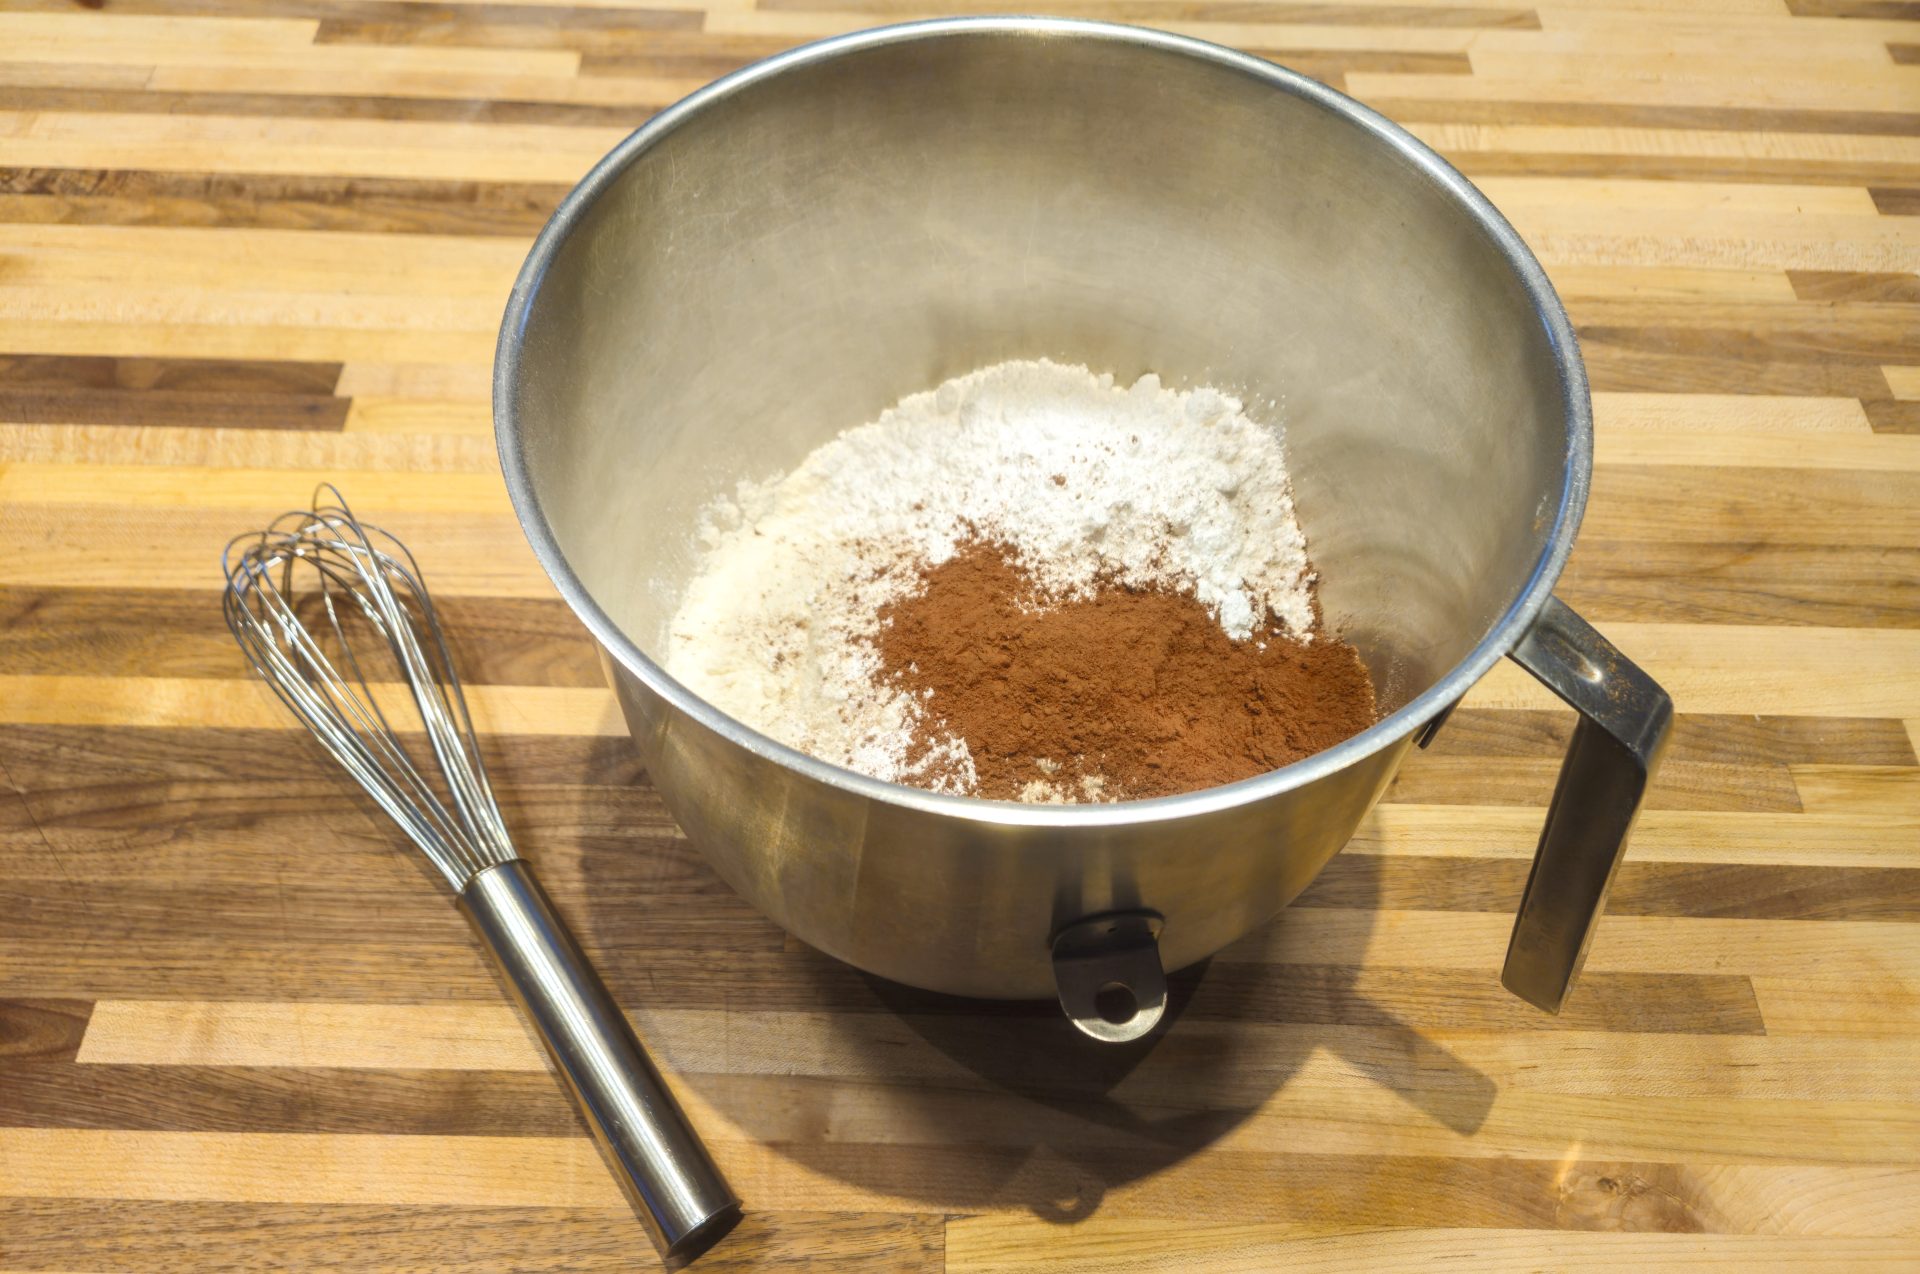
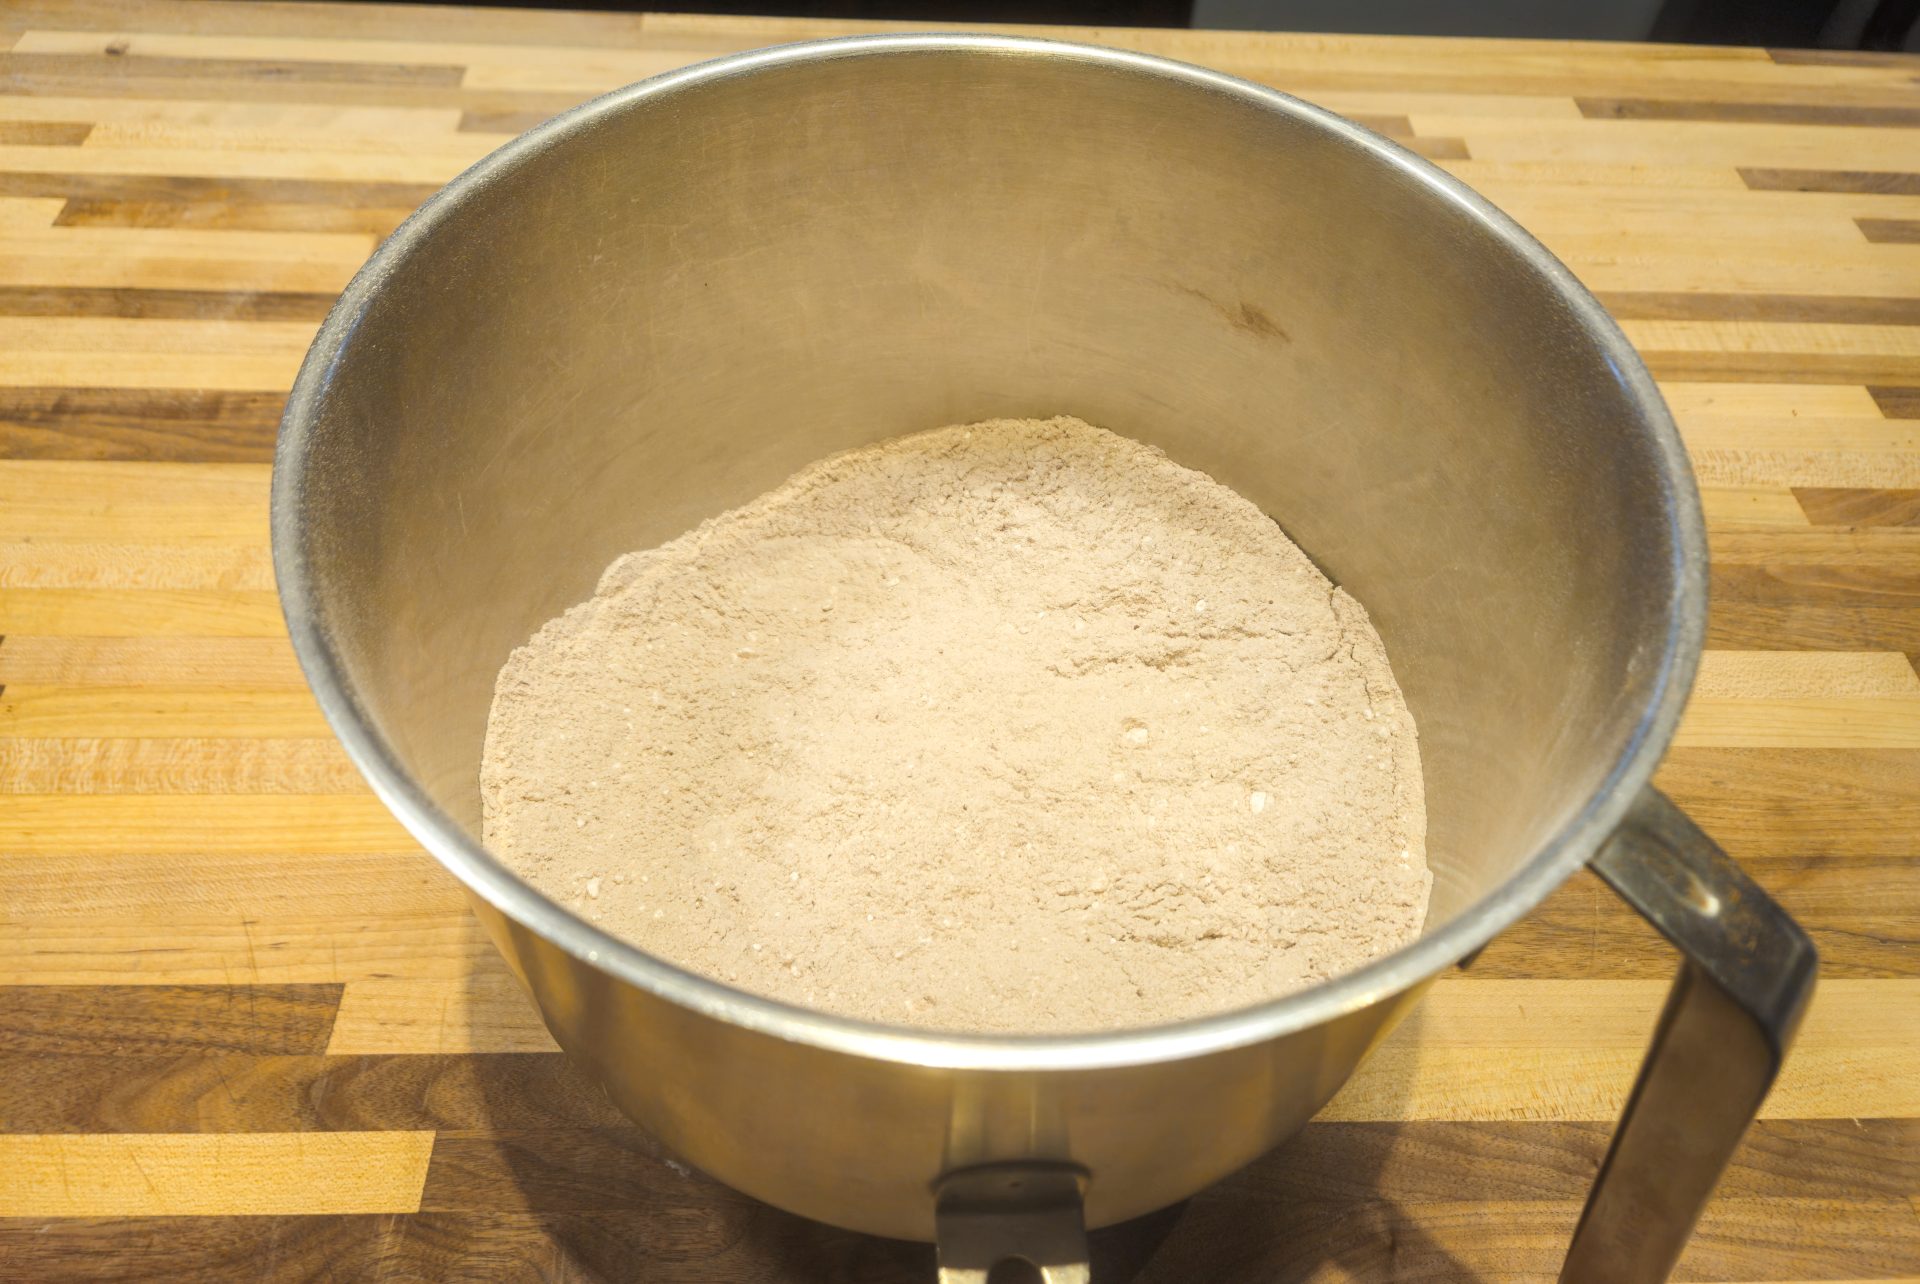
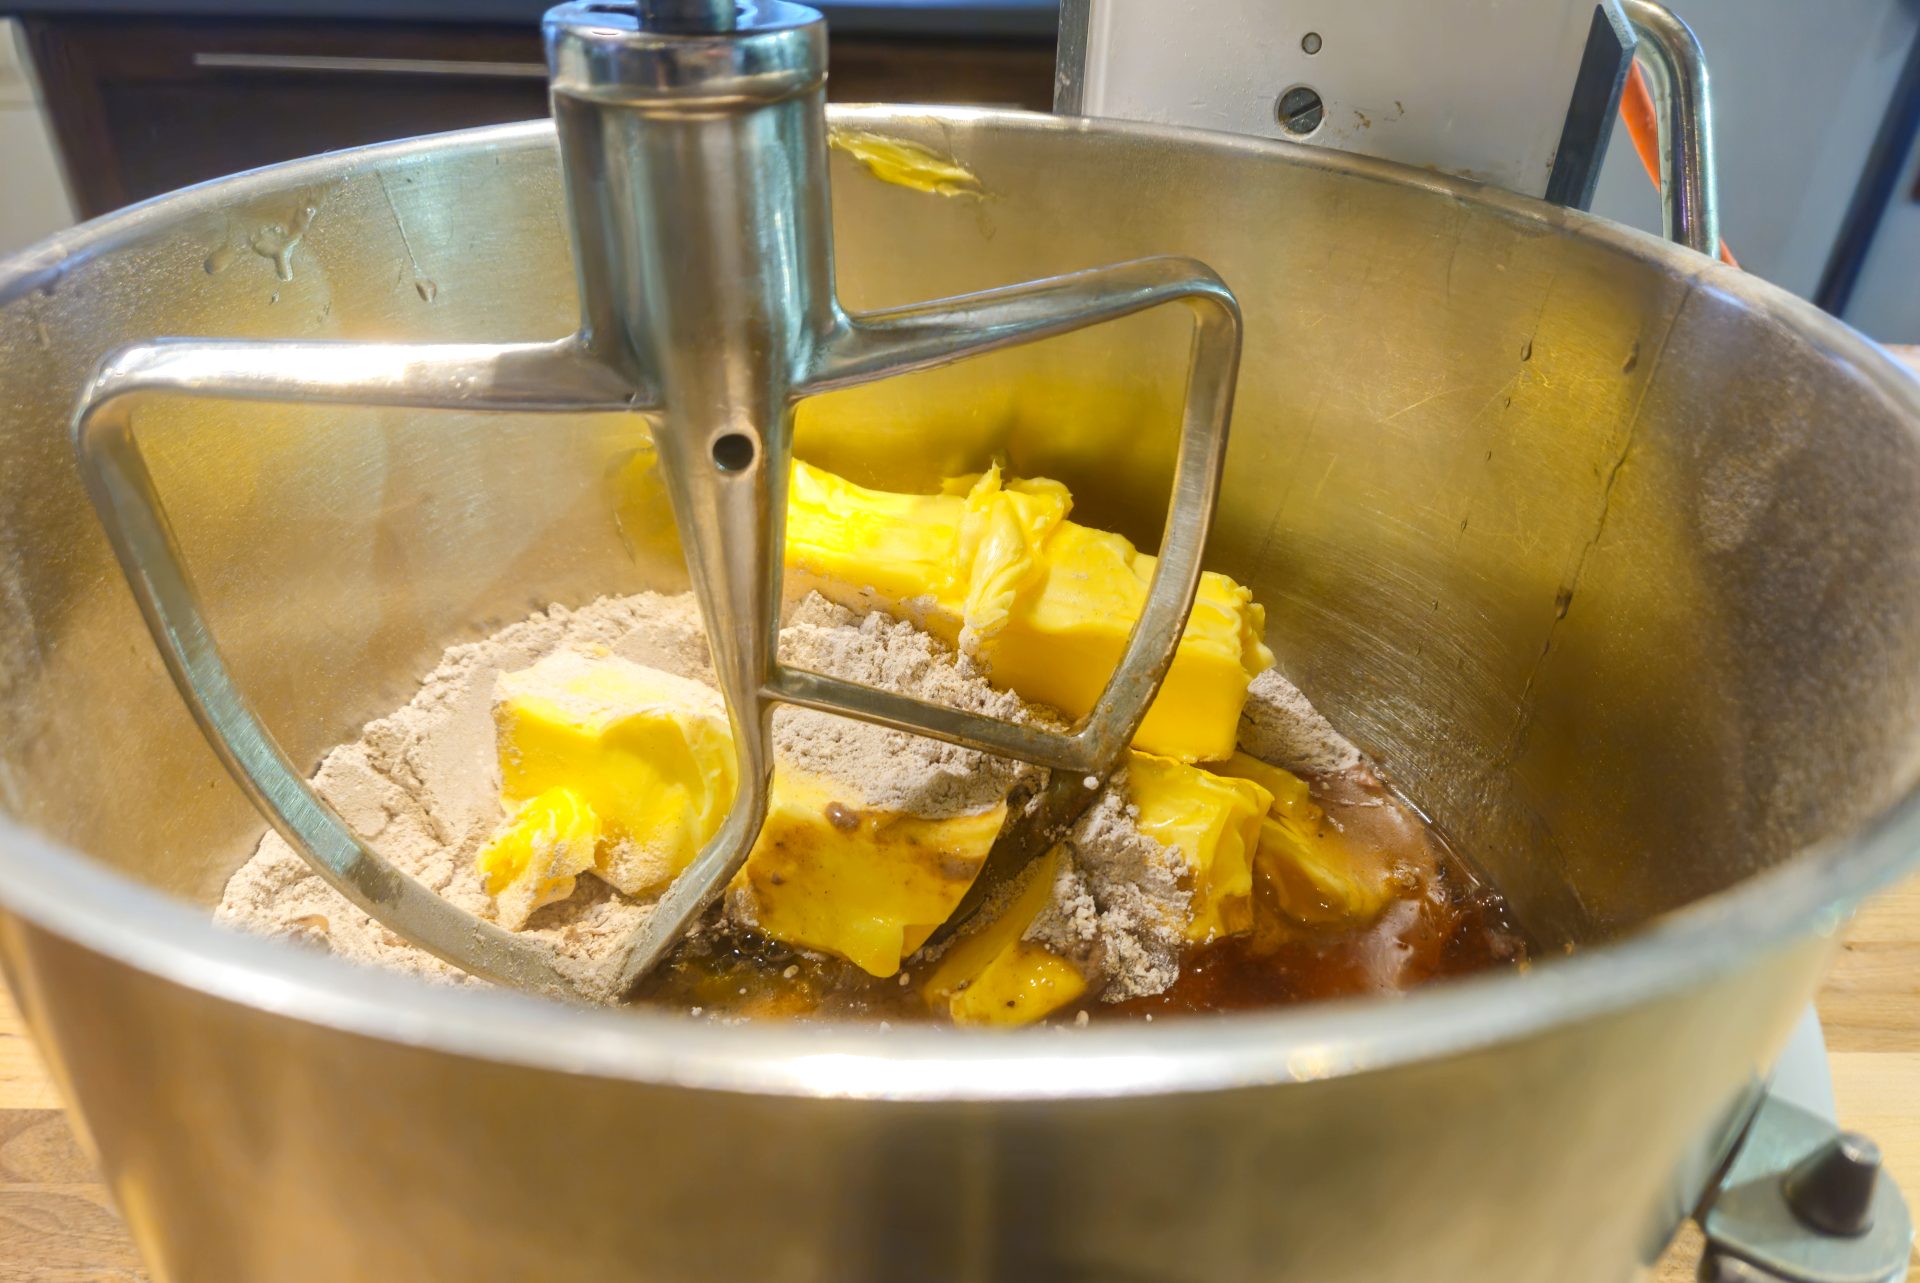
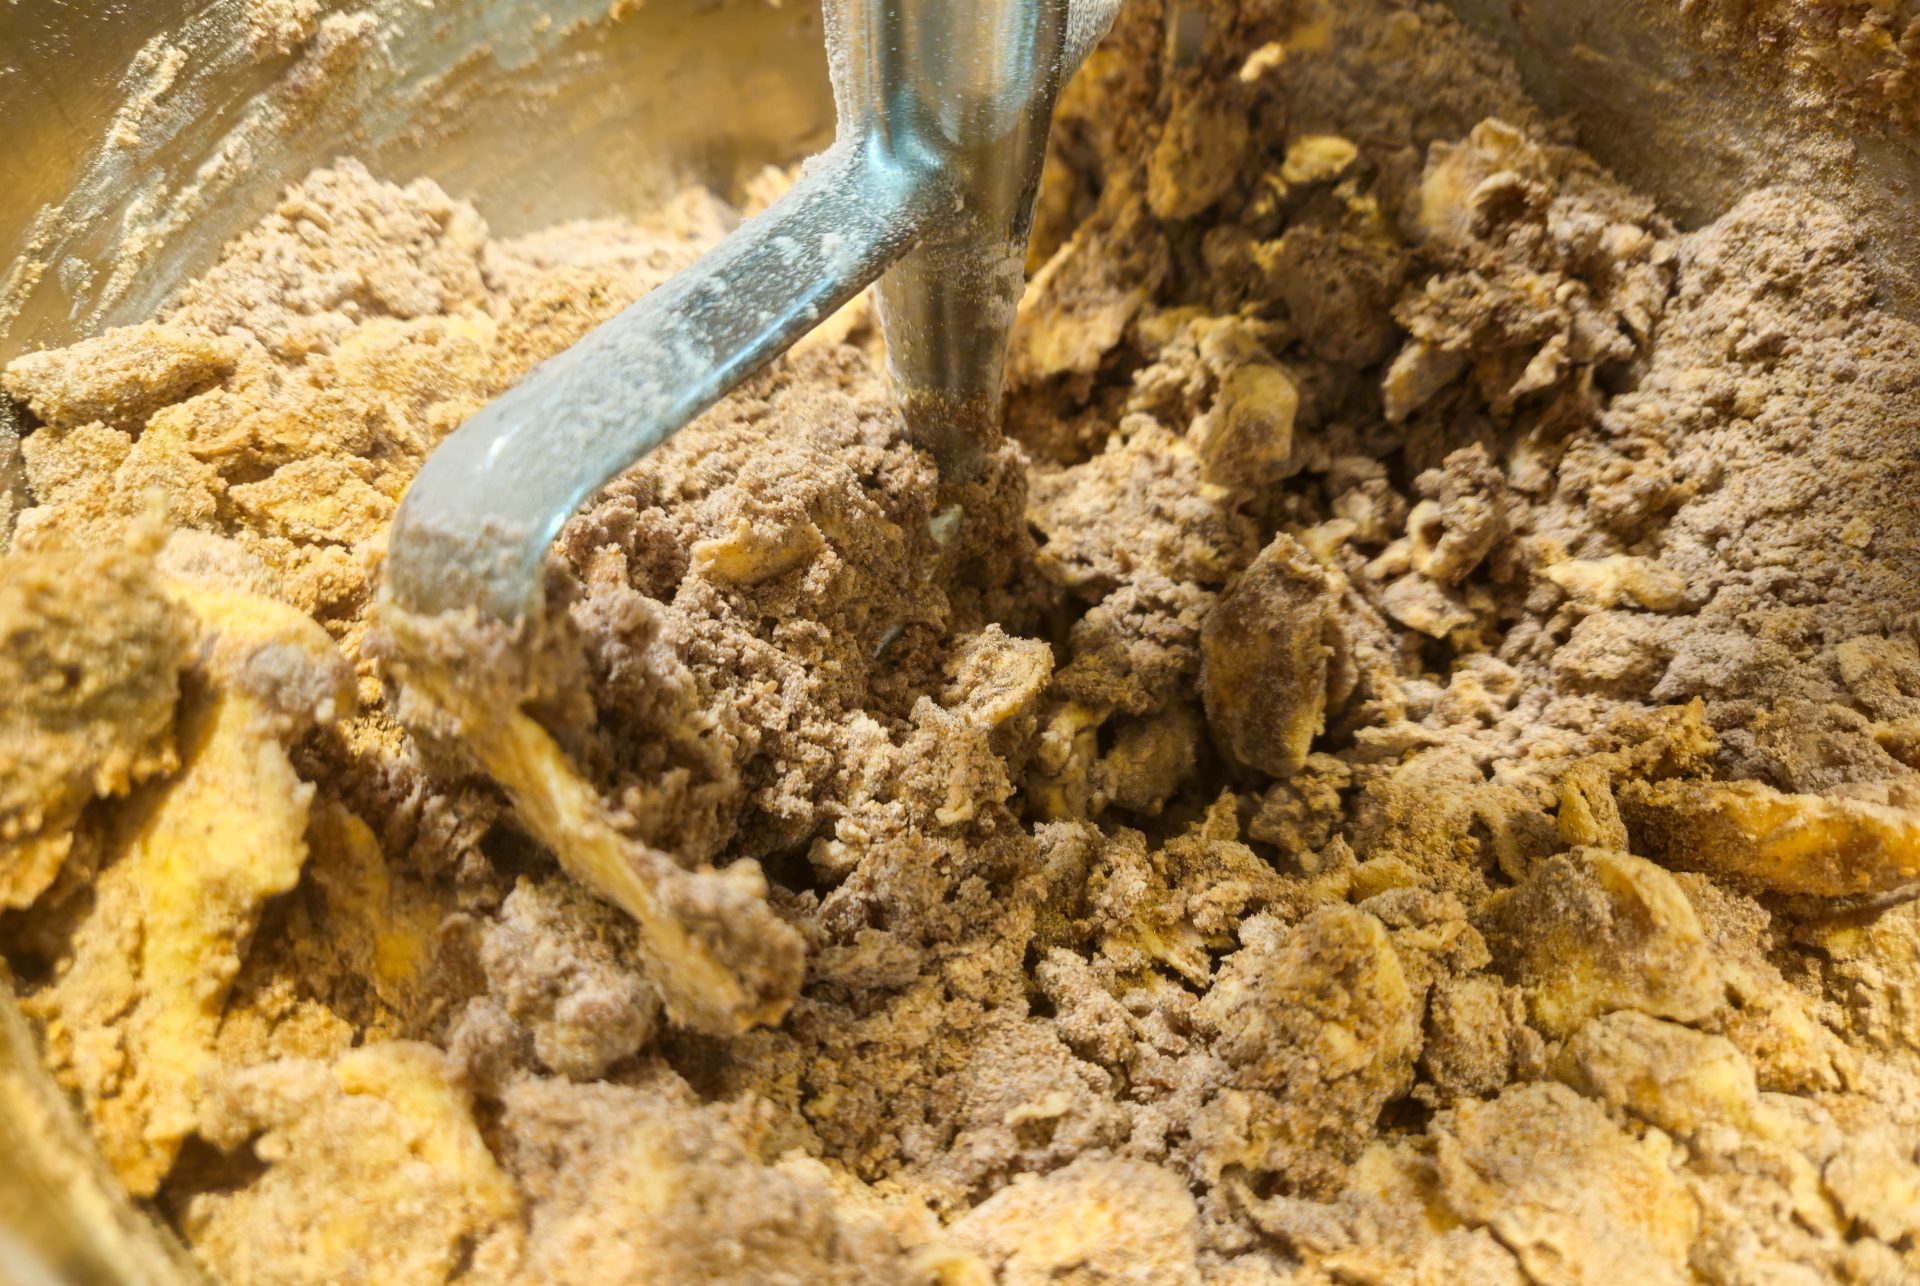
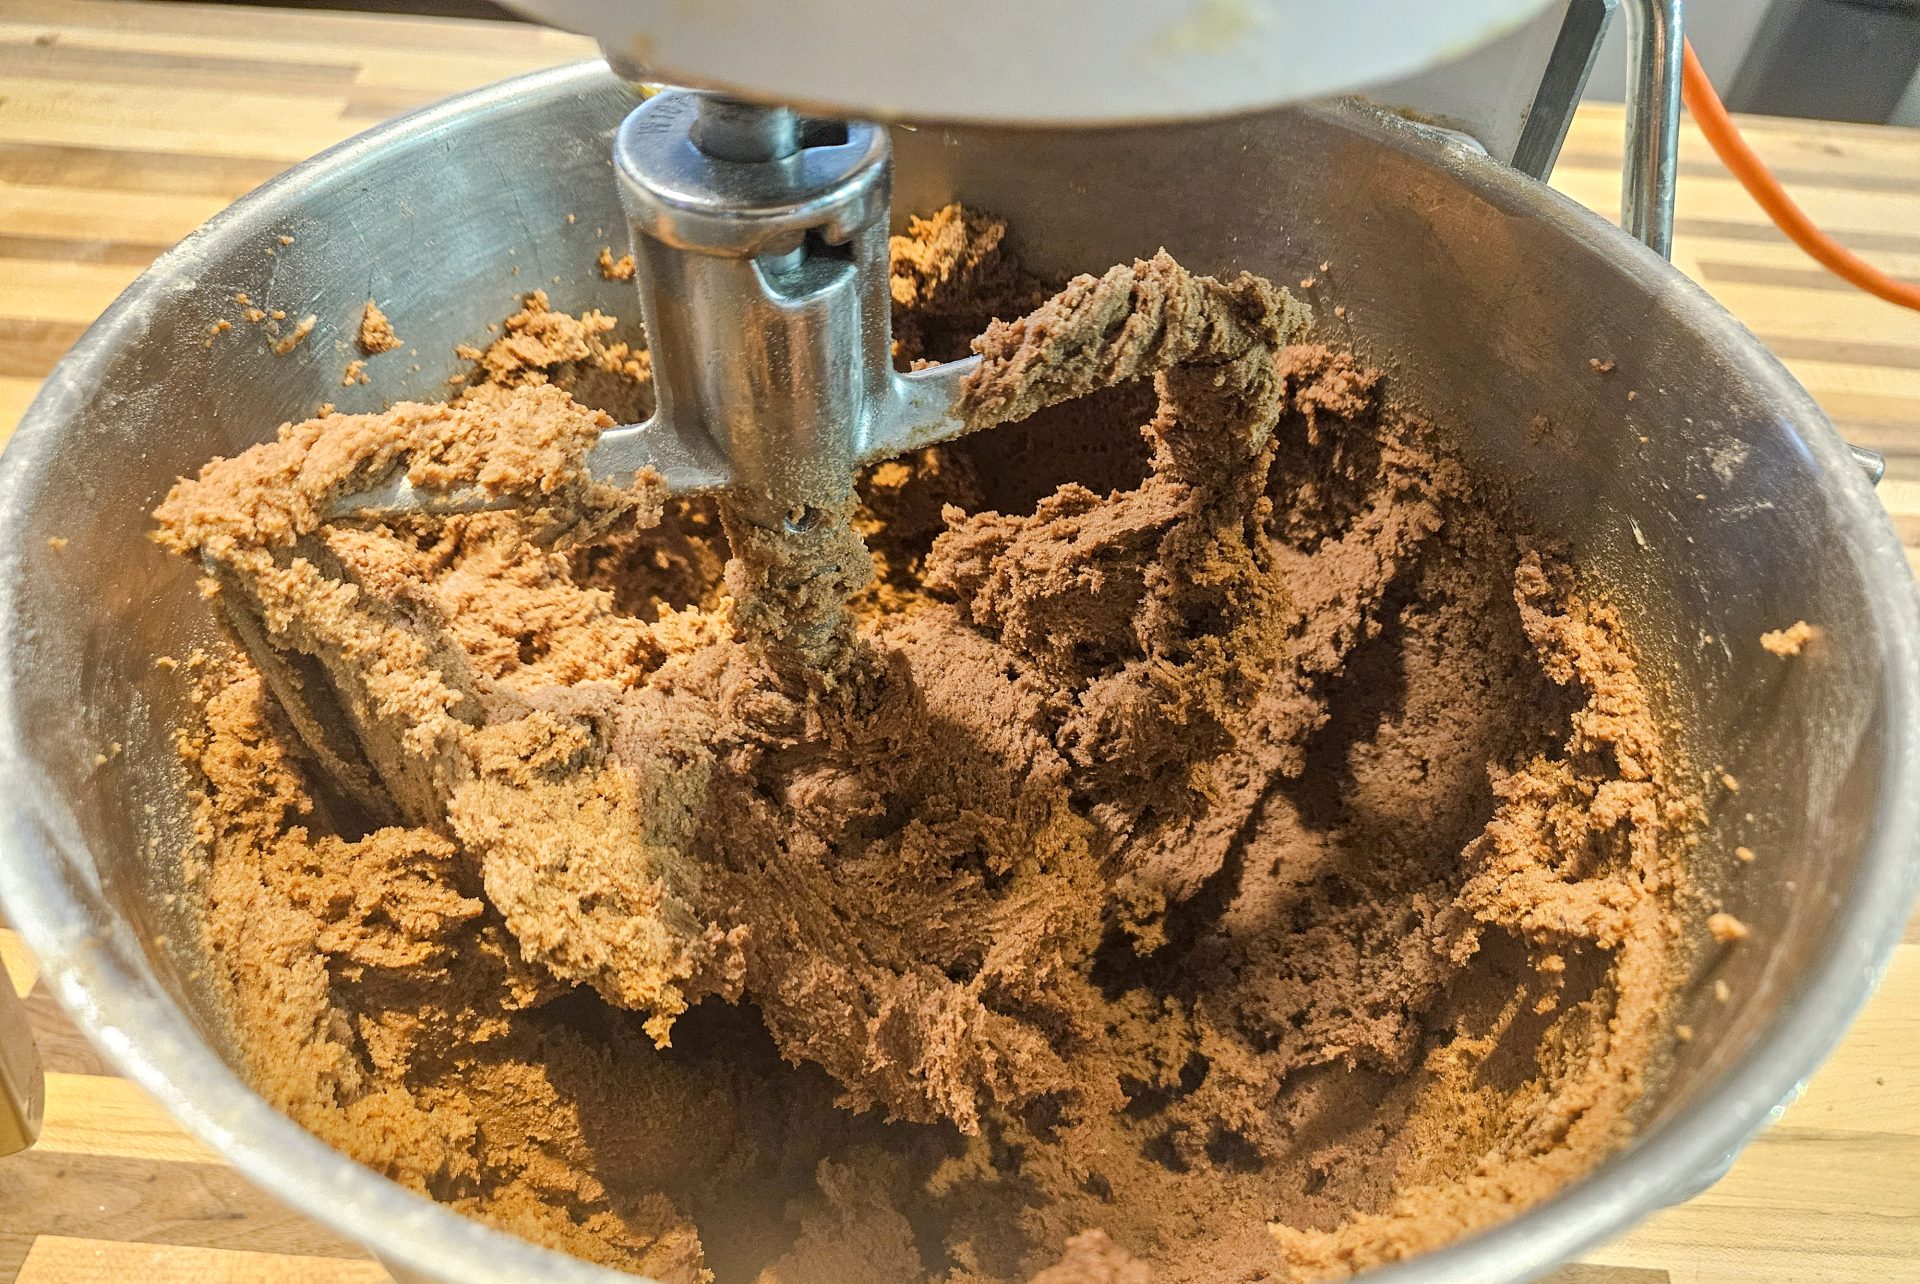
The dough for my Gingerbread Heart Cookies is a unique honey-based mixture that requires specific handling. I combine all-purpose flour, confectioners’ sugar, baking powder, and cocoa powder before adding soft butter, honey, and eggs. Initially, you will notice that the dough for these Gingerbread Heart Cookies is quite sticky. This is perfectly normal! I process it at a slow speed and then medium-high for a few minutes until it forms. The secret to managing this stickiness is the resting period in the refrigerator. By wrapping the dough in plastic wrap and chilling it, I allow the butter and honey to set, making the Gingerbread Heart Cookies dough manageable enough to roll and cut into those iconic heart shapes.
Mastering the Rolling and Cutting of Gingerbread Heart Cookies
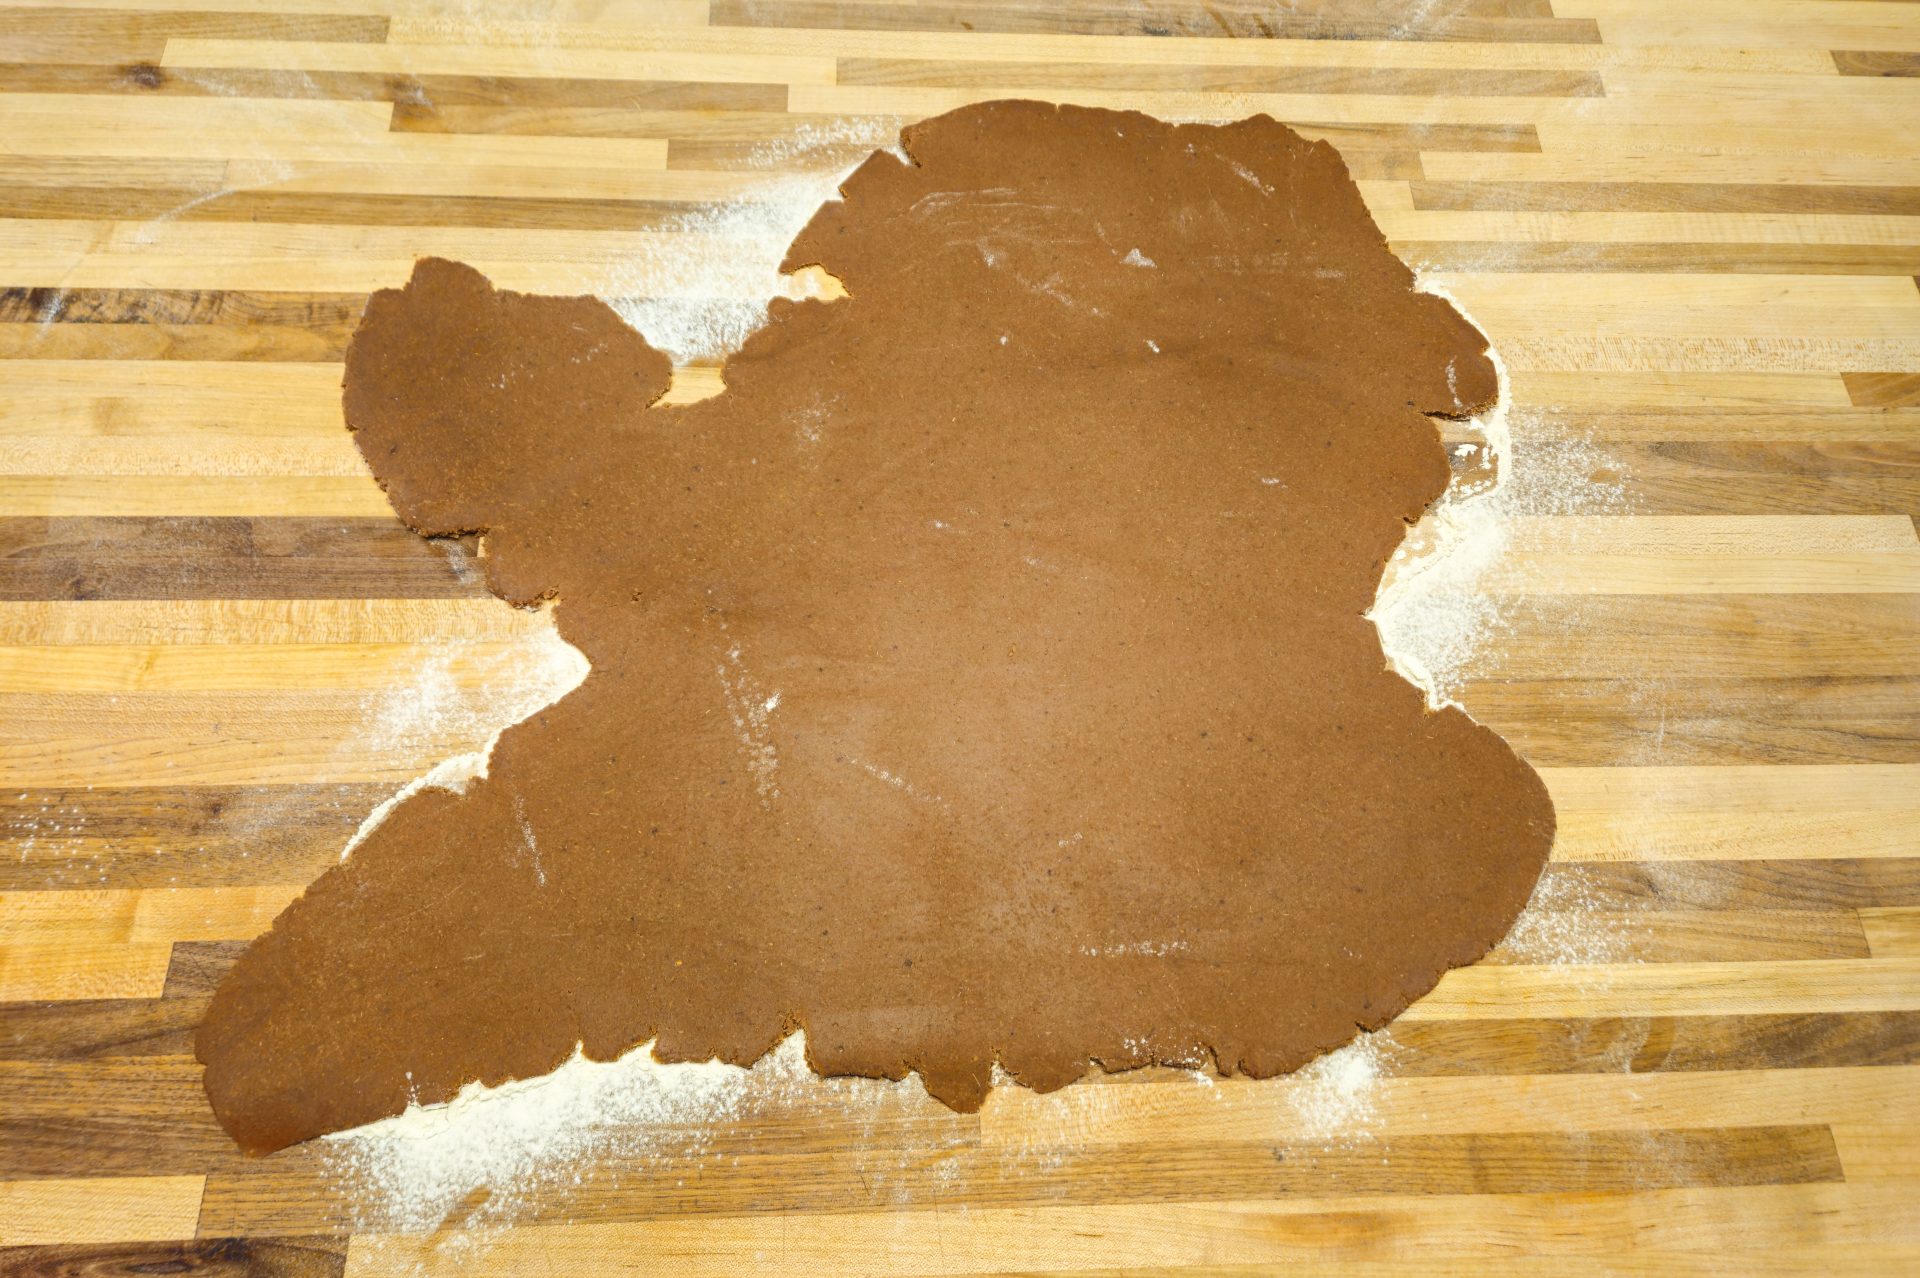
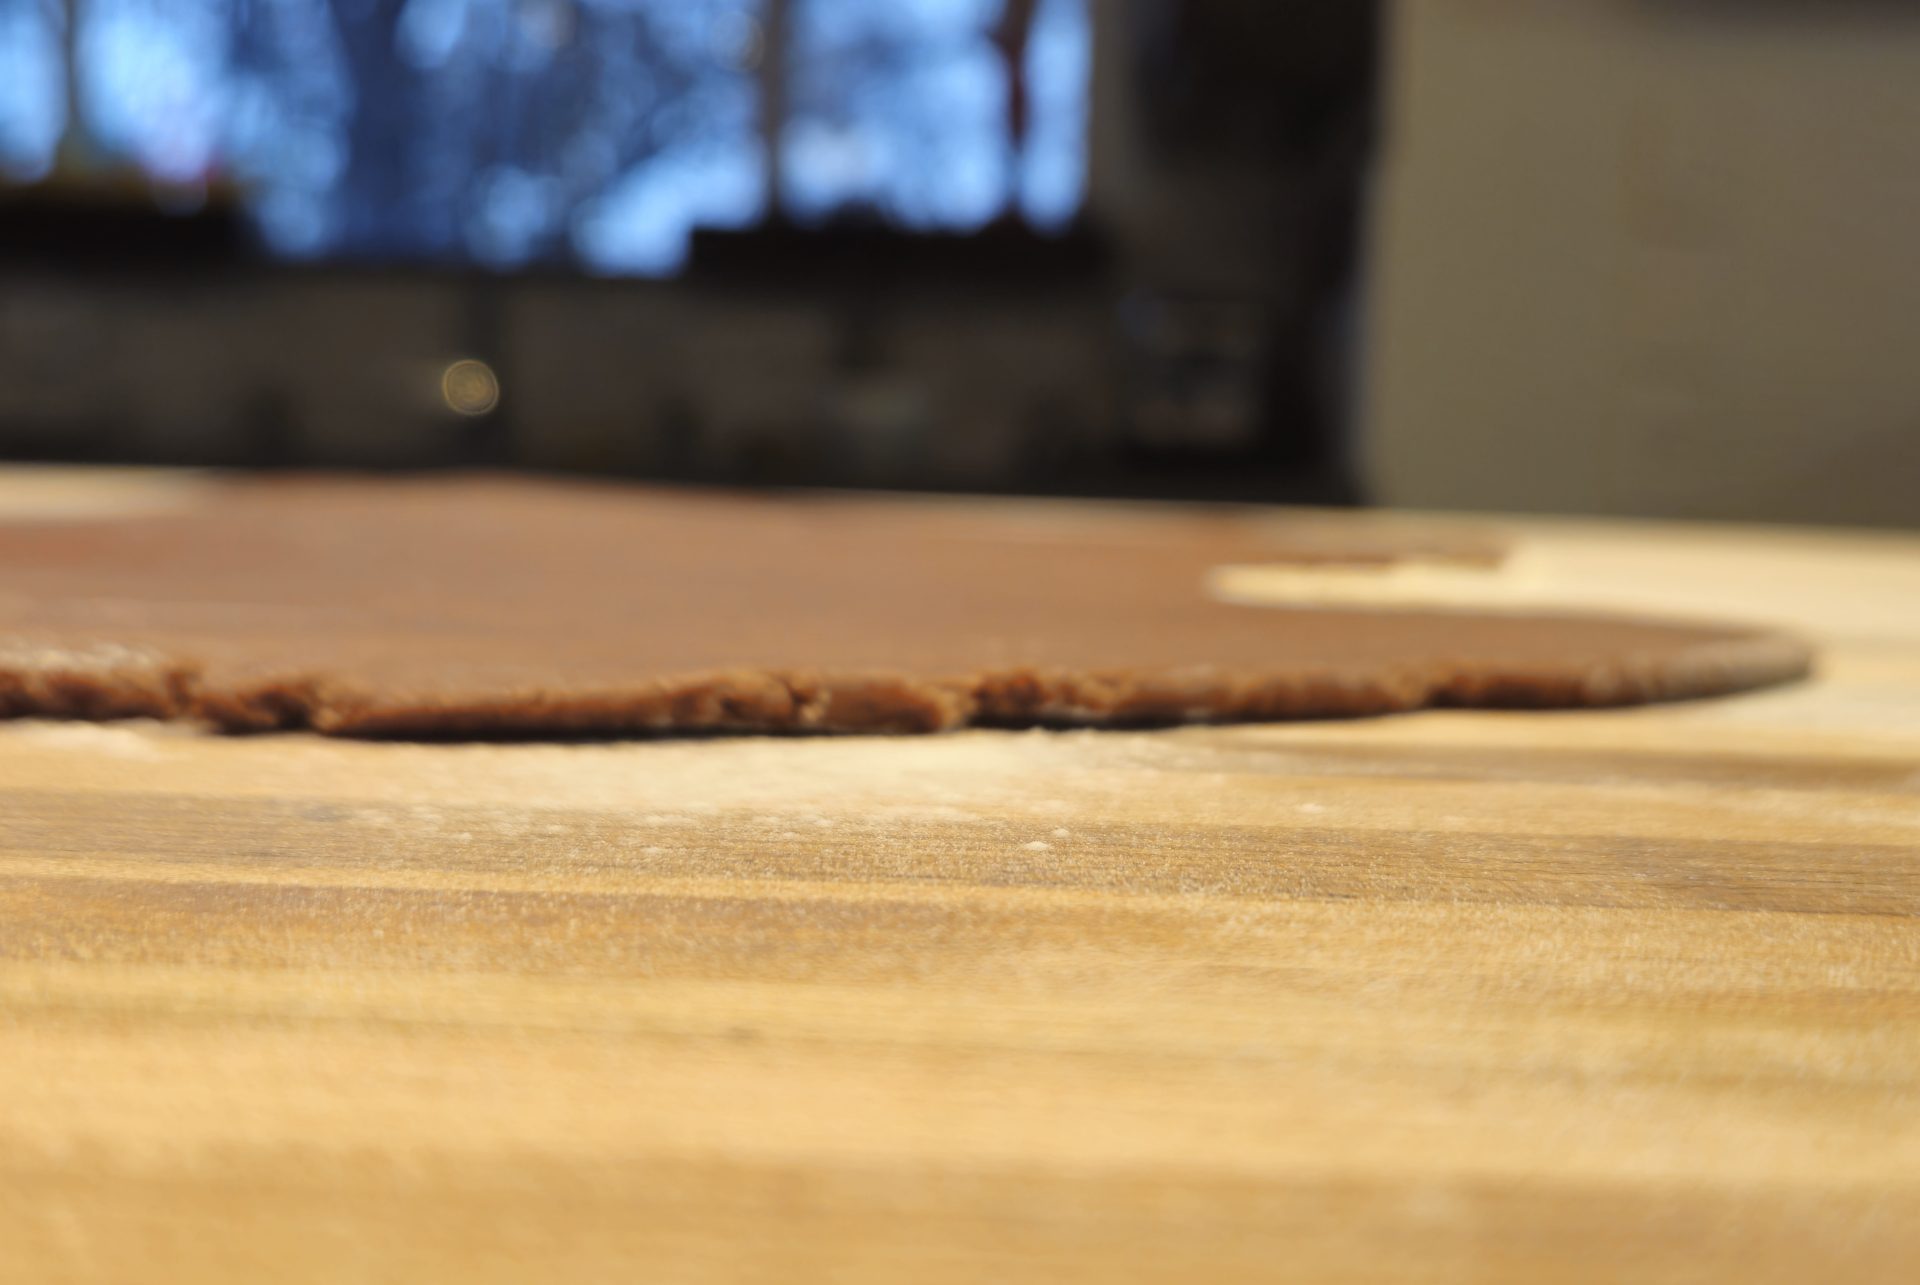
Rolling out the dough for Gingerbread Heart Cookies requires a gentle touch and a well-floured surface. I recommend flattening the dough to a thickness of about 1/4” to 3/8”. Because these Gingerbread Heart Cookies are large, they can be fragile. I always work on a floured surface to ensure the dough doesn’t stick, which allows me to use the heart shape template effectively. It is important to remember that each of these Gingerbread Heart Cookies is a substantial piece, so using an icing spatula to move the cut hearts to the baking sheet is a technique I highly recommend to maintain their perfect shape. Proper spacing on the baking sheet ensures that the Gingerbread Heart Cookies bake evenly without touching.

Baking and the Optional Shiny Finish for Gingerbread Heart Cookies
Baking the Gingerbread Heart Cookies is a precise process. I set my oven to 350°F and bake them for 15 to 20 minutes. I always rotate the baking sheets halfway through because I want an even bake across all the Gingerbread Heart Cookies. You can tell they are done when the texture shifts from doughy to solid but slightly fluffy. For those who want a professional, professional look, I suggest a modification: brushing the cookies with a mixture of egg and milk immediately after they come out of the oven. The residual heat from the Gingerbread Heart Cookies cooks the egg instantly, creating a beautiful shiny surface that makes the final decoration pop. This step is optional and not part of the base recipe, but it adds a lovely aesthetic touch.
Creating the Ideal Decorating Mixture for Gingerbread Heart Cookies
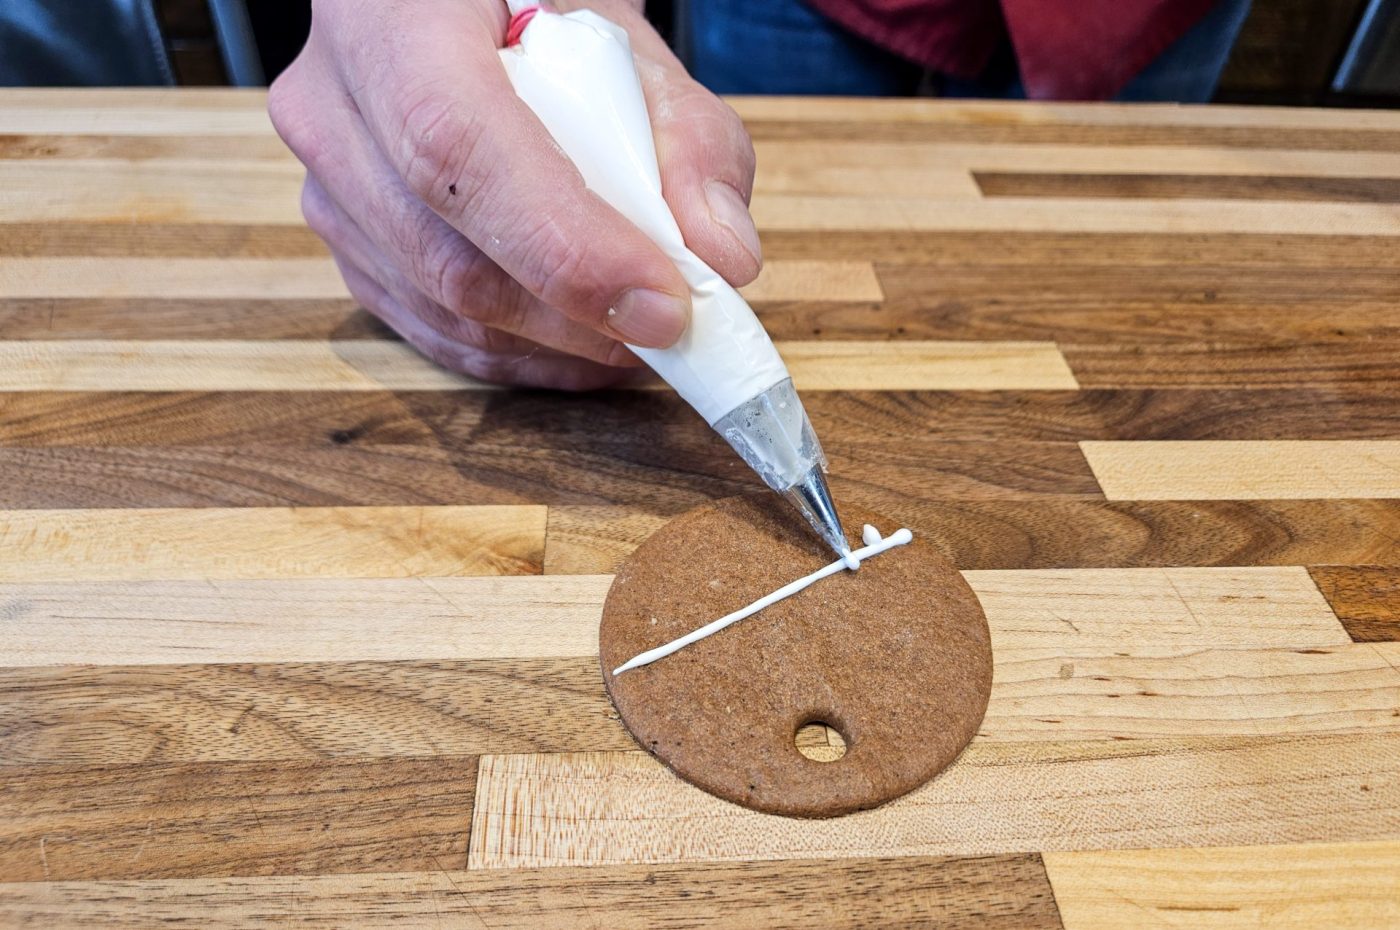
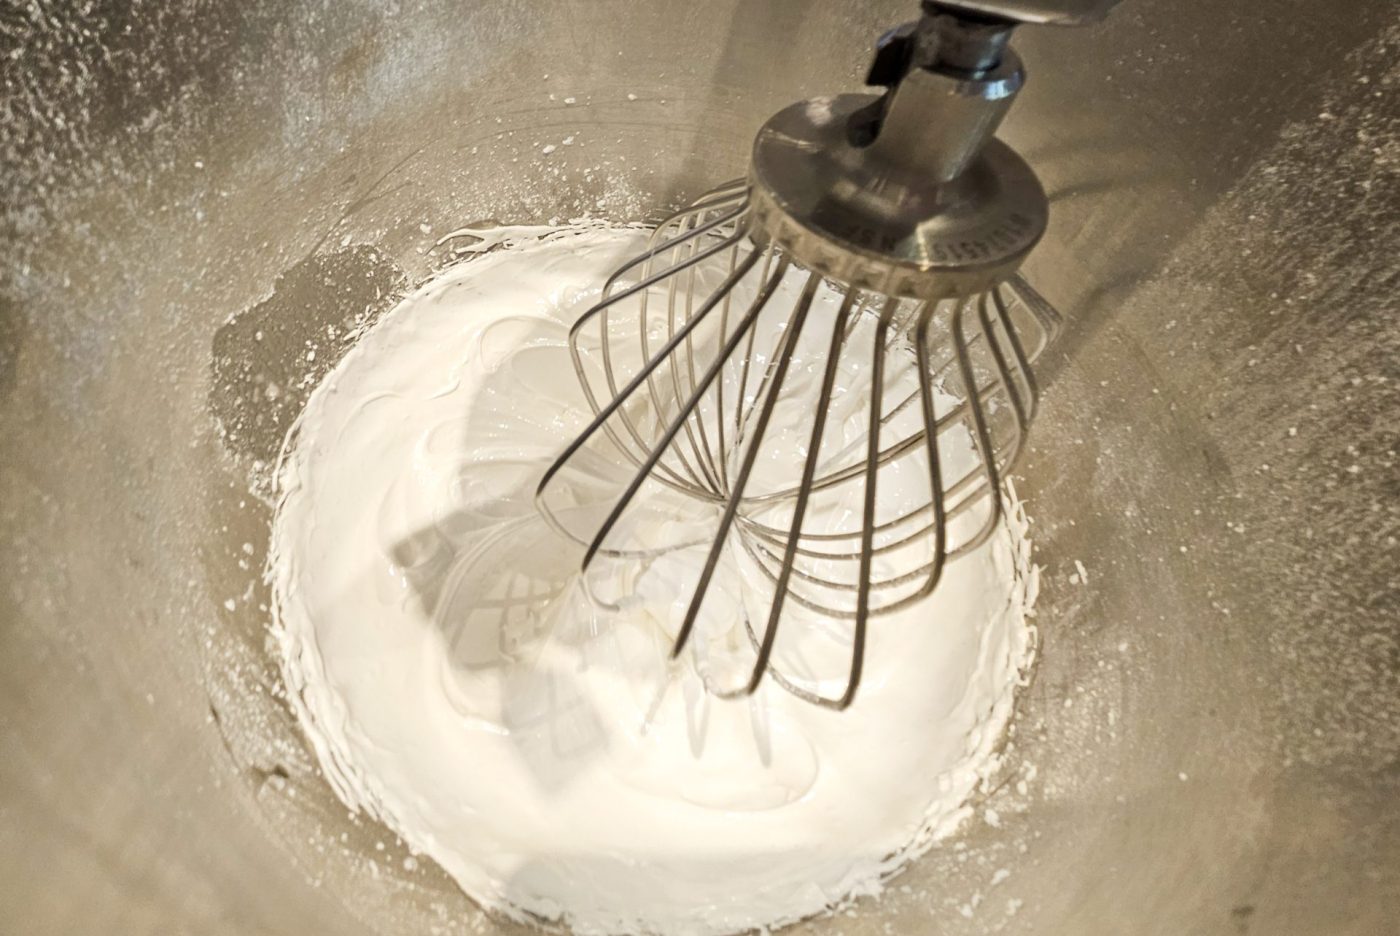
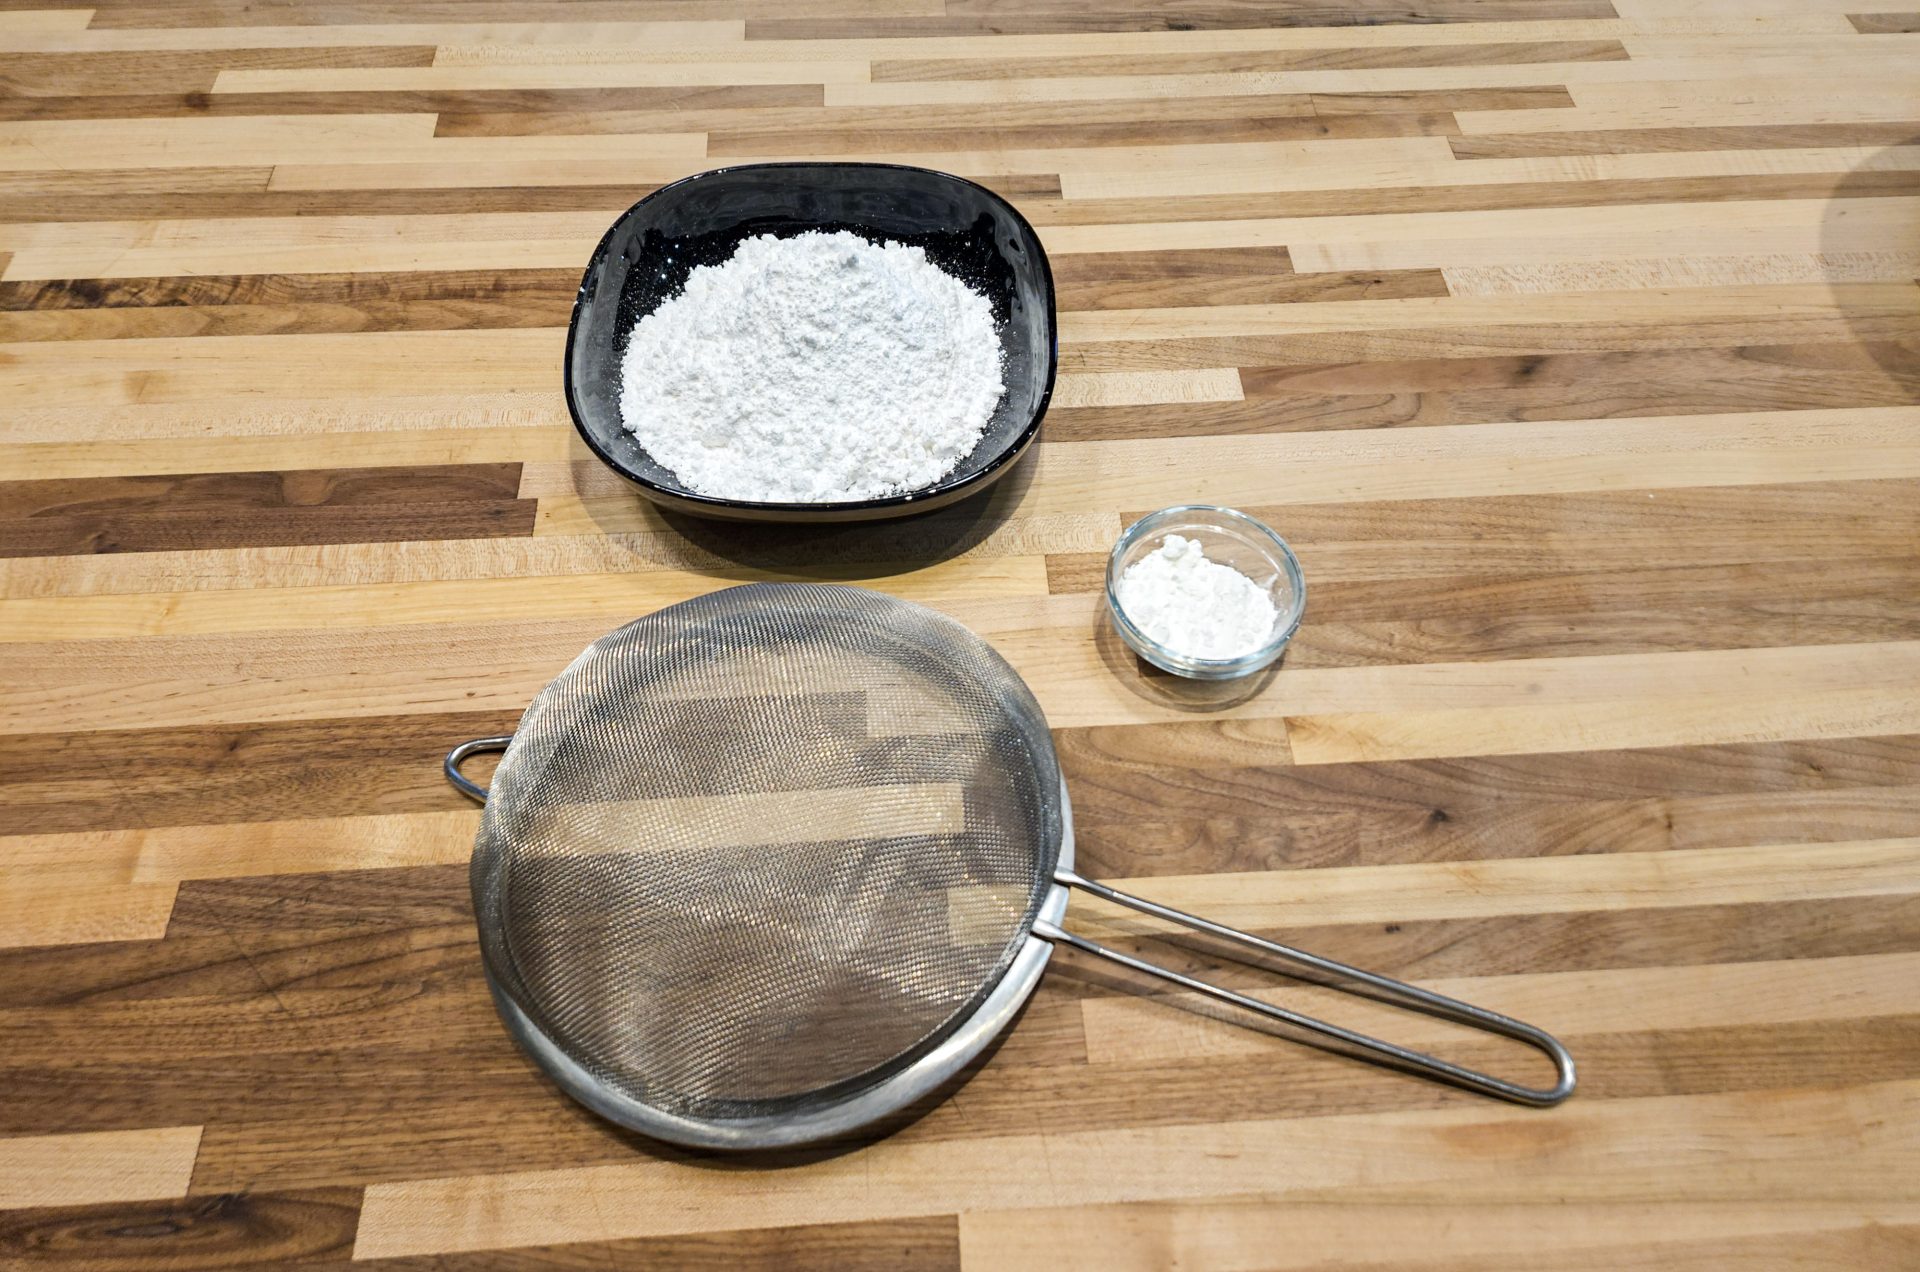
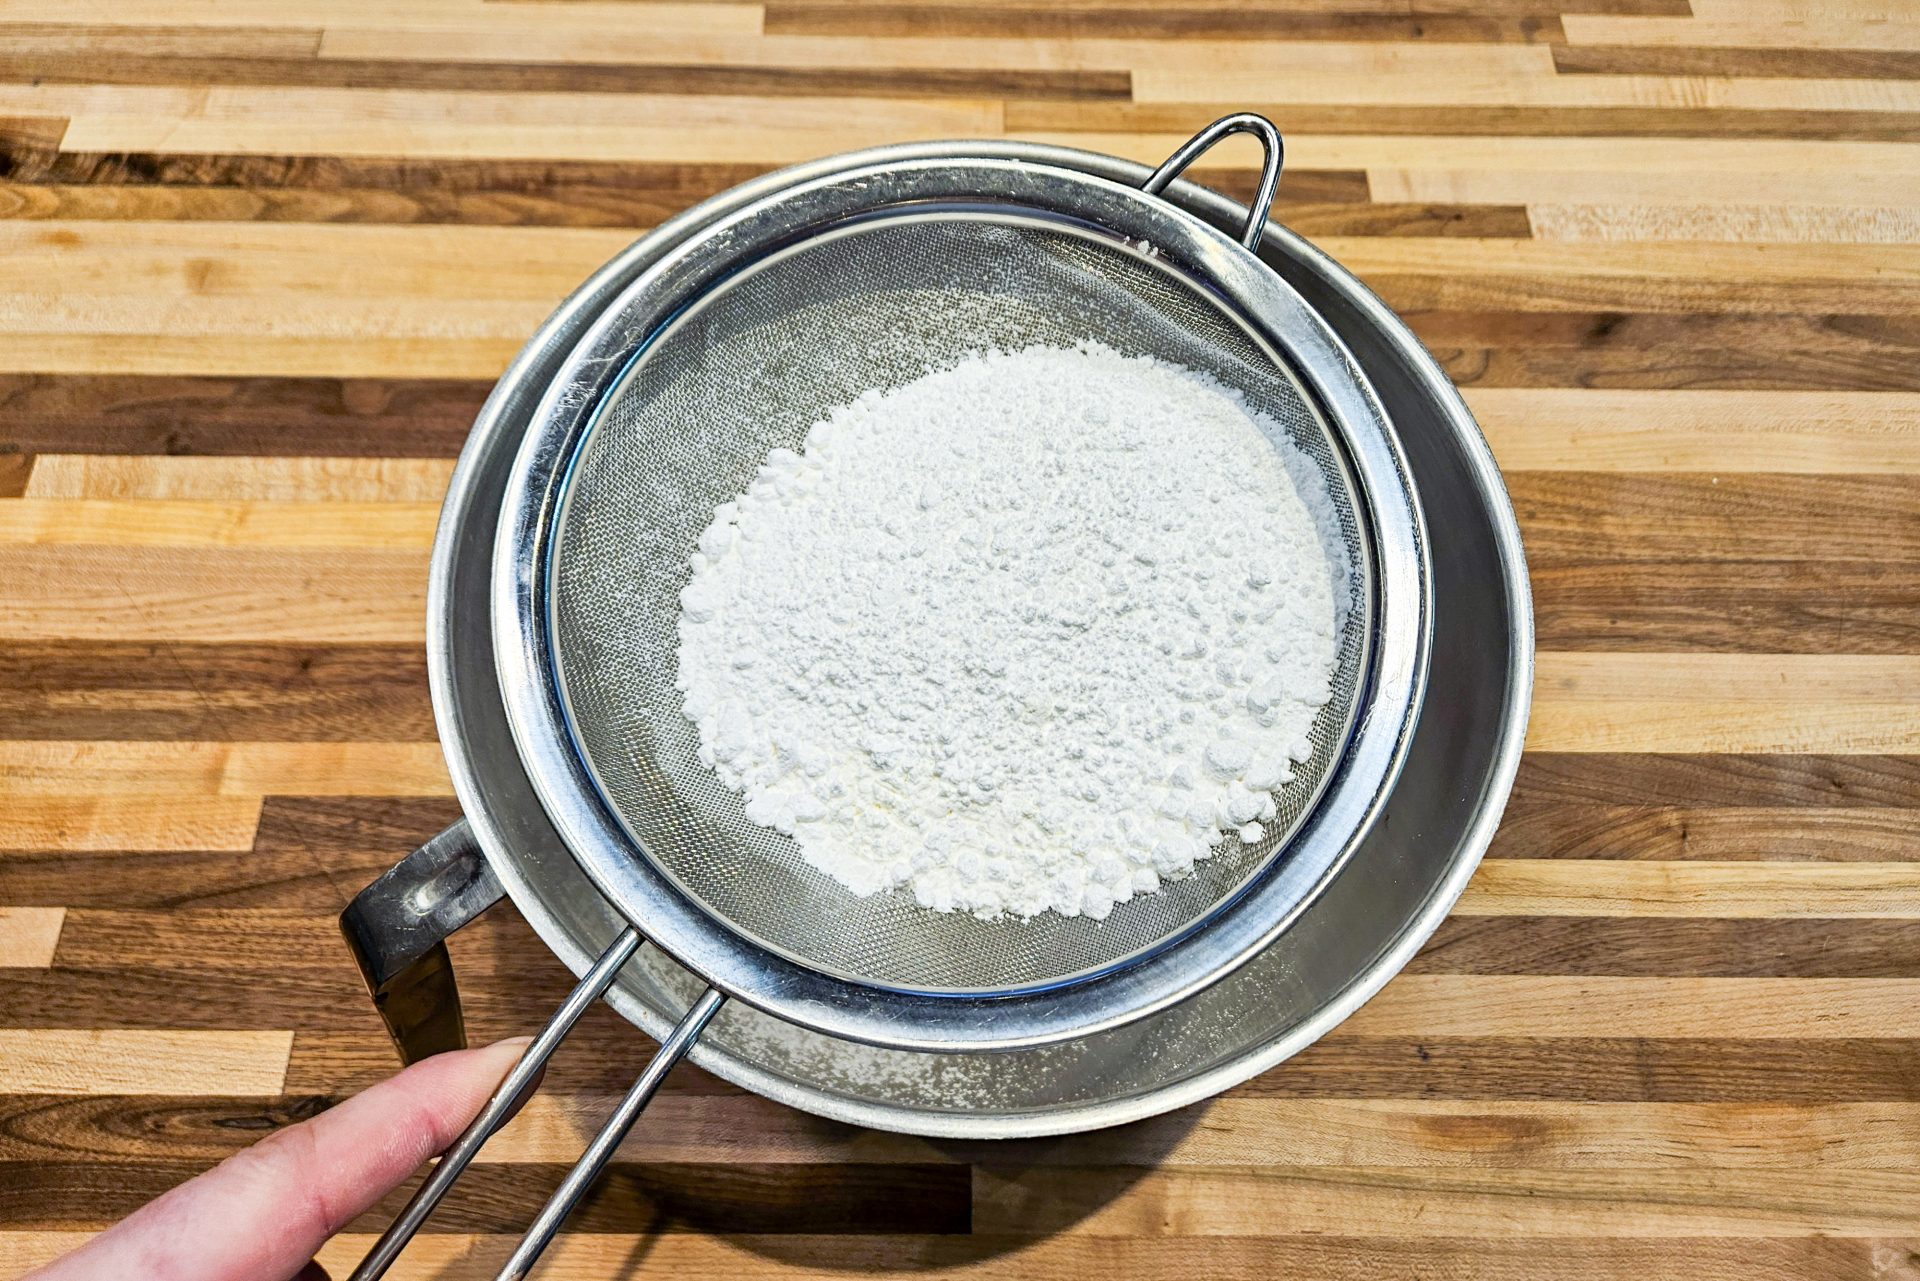
The decoration is where my Gingerbread Heart Cookies truly come to life. I create a decorating mixture using sifted confectioners’ sugar, cornstarch, egg whites, and lemon juice. Sifting is non-negotiable here; I use a fine sieve to ensure there are no lumps that could clog the pastry bag tip. I whip the mixture until it reaches soft peaks and holds its shape. If I find the mixture has become too thick, I sometimes dilute it with a few extra drops of lemon juice. It is crucial to use this mixture only during the decorating cycle and not to prepare it too far in advance, as it hardens quickly. This mixture allows me to pipe intricate designs and meaningful text onto the Gingerbread Heart Cookies.
Decorating and Drying Your Gingerbread Heart Cookies
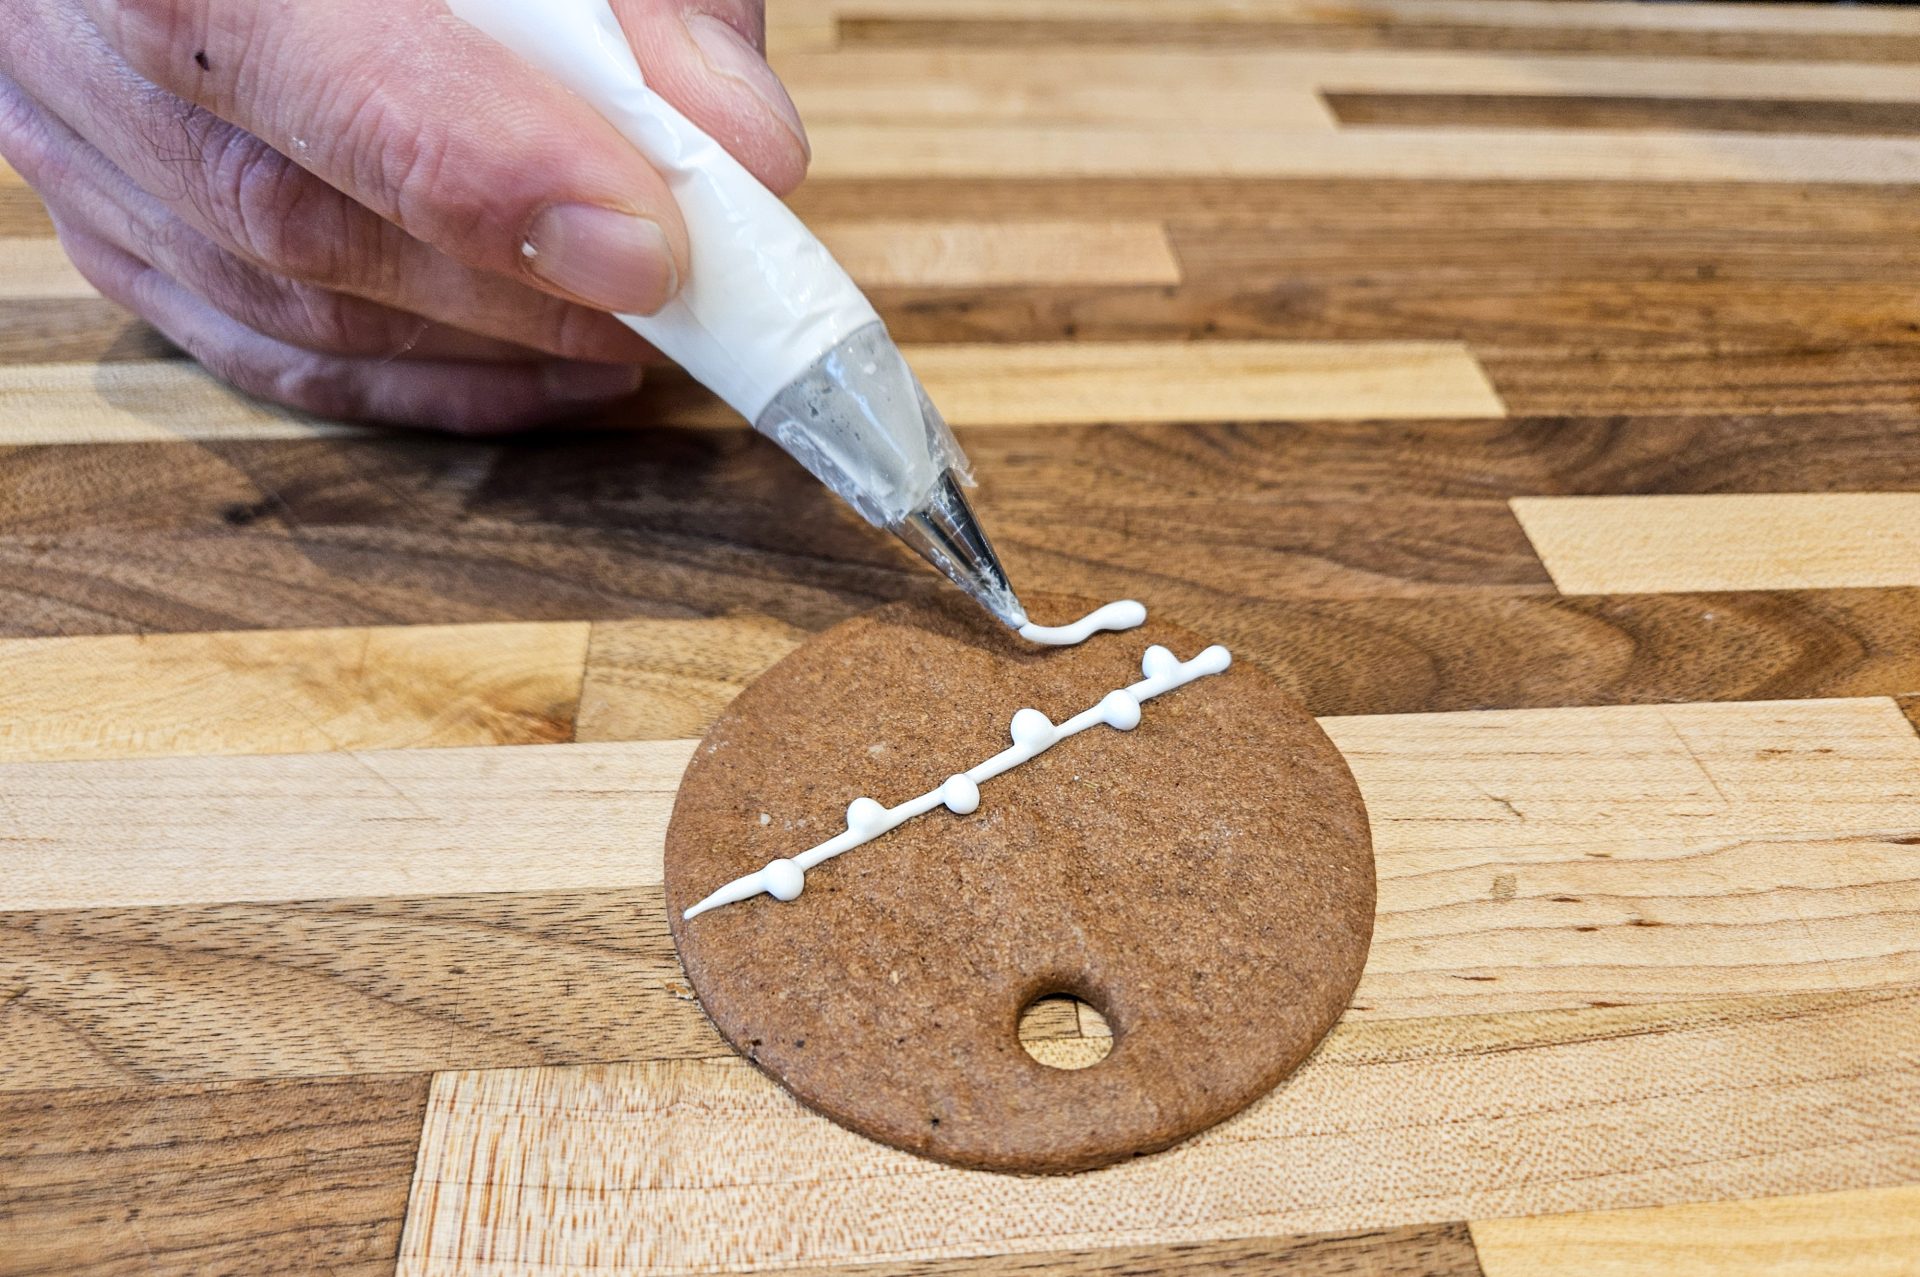
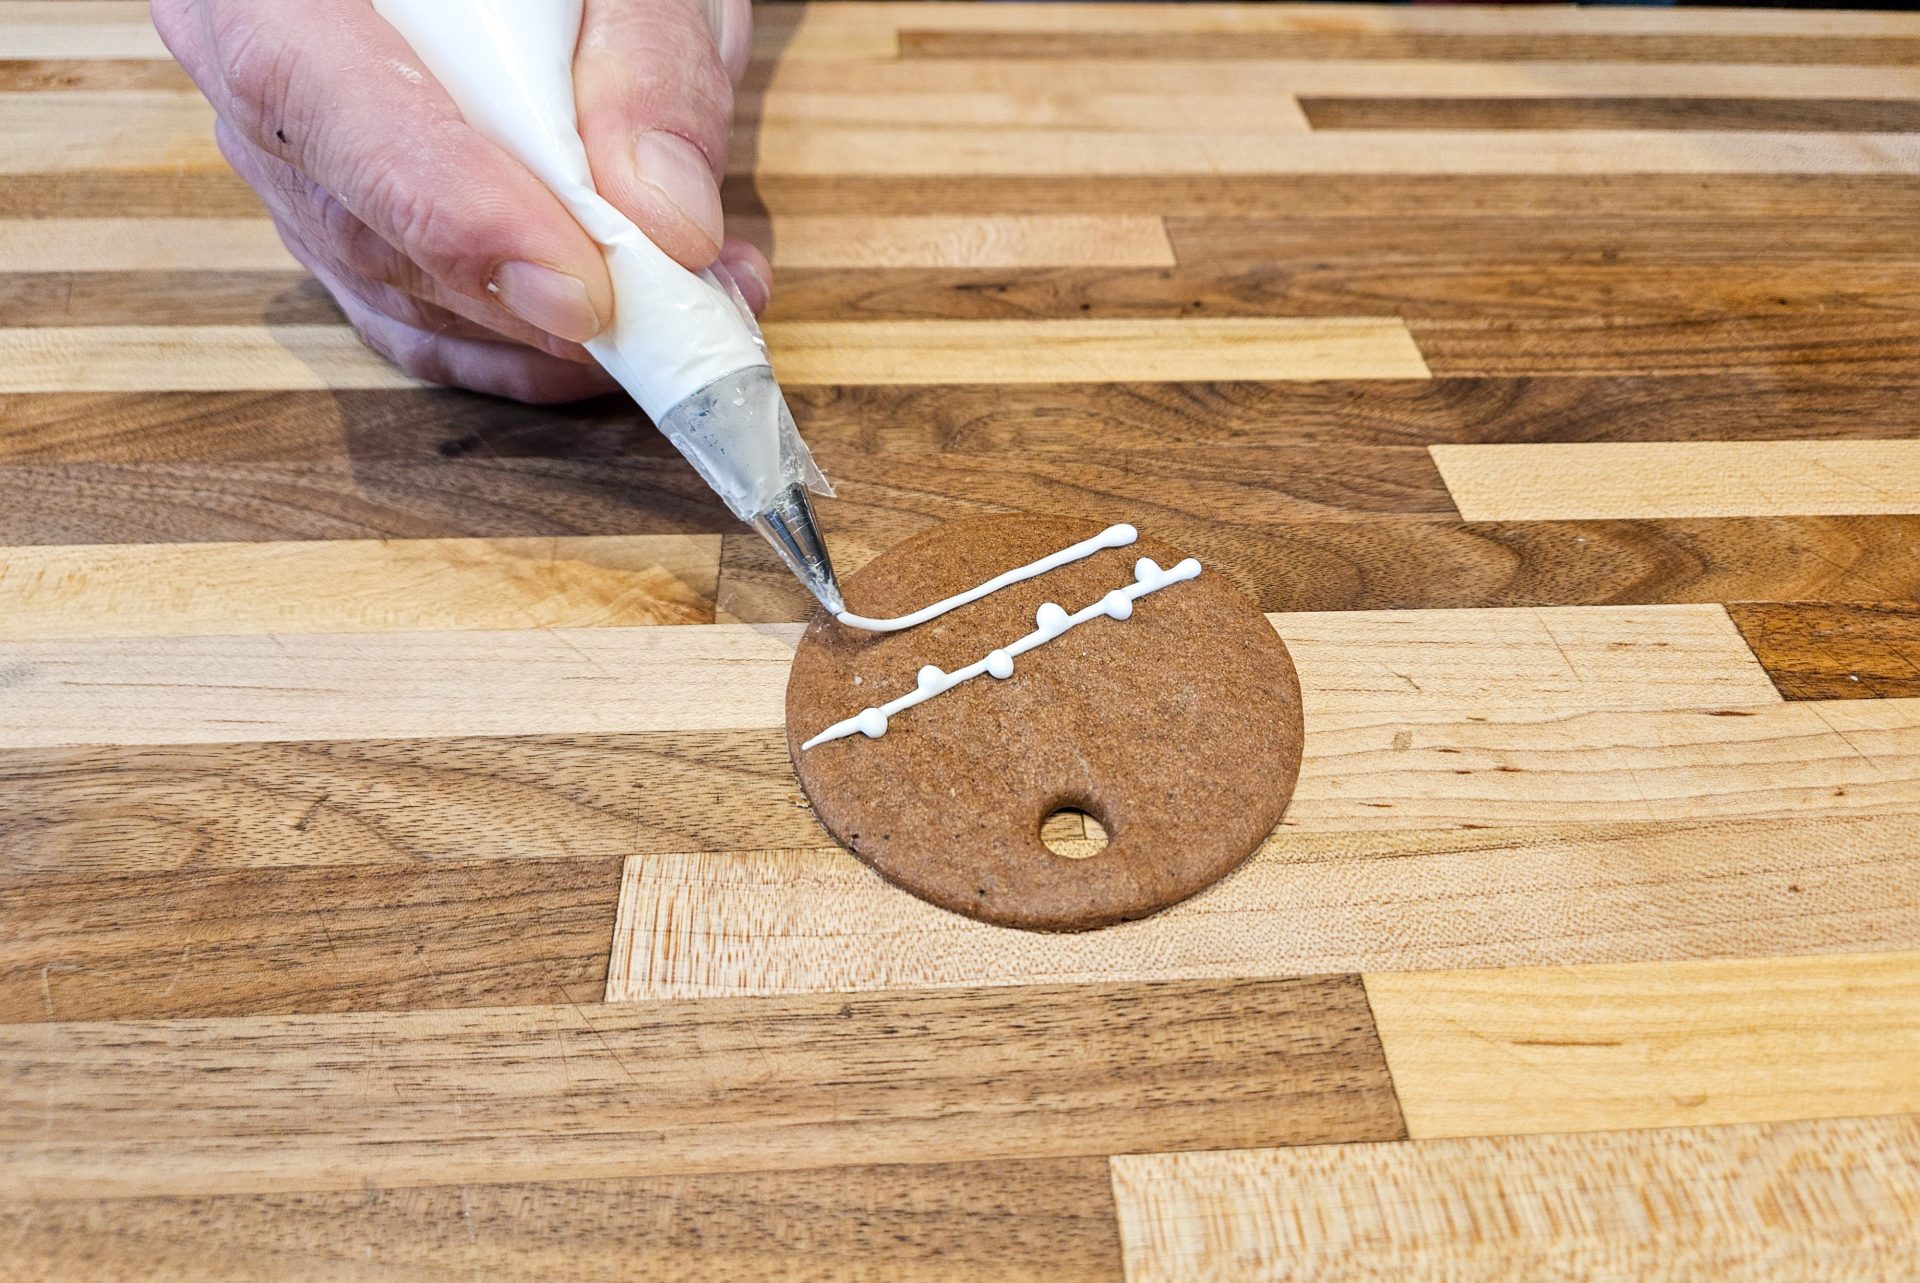
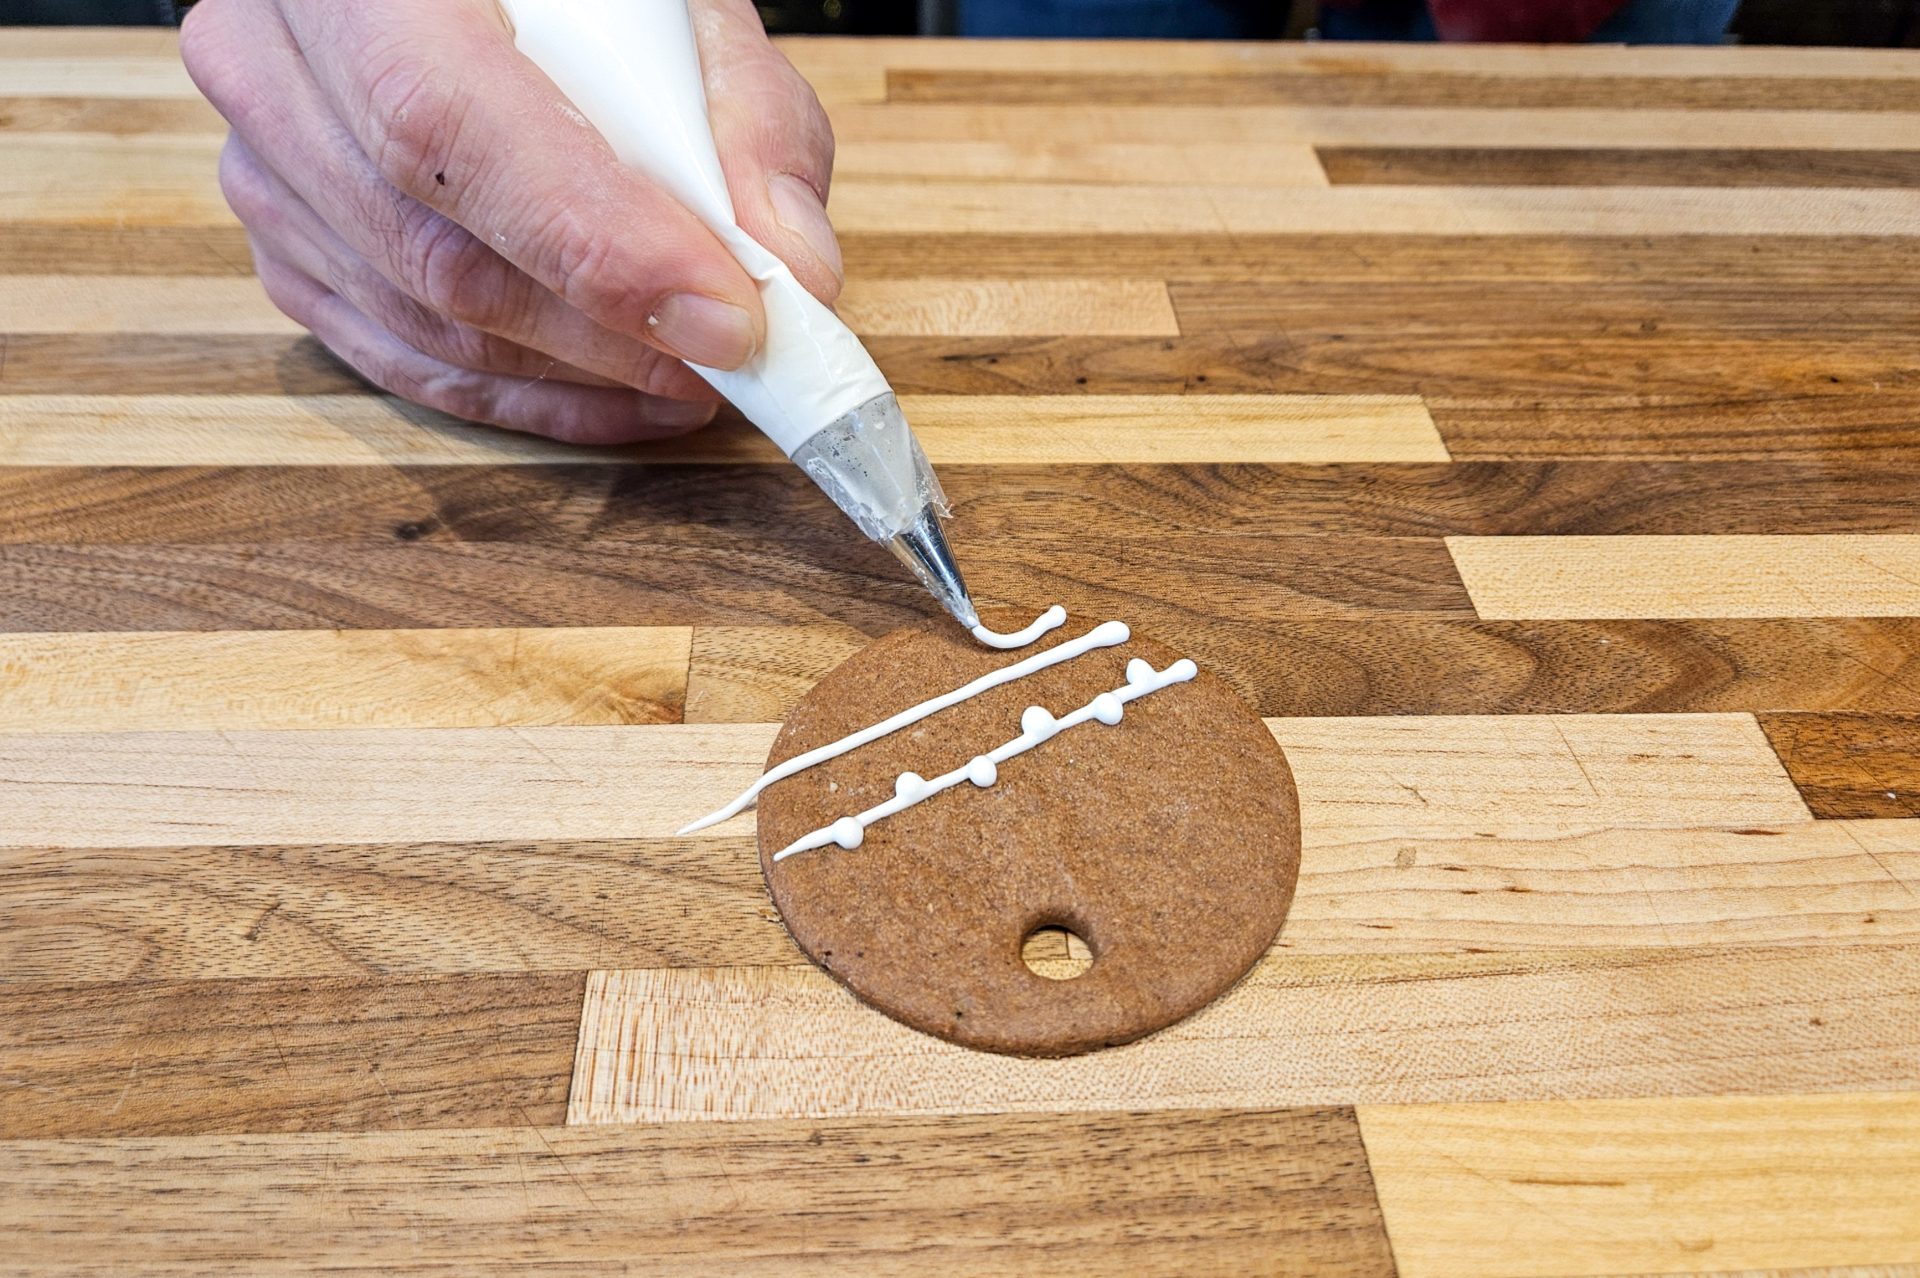
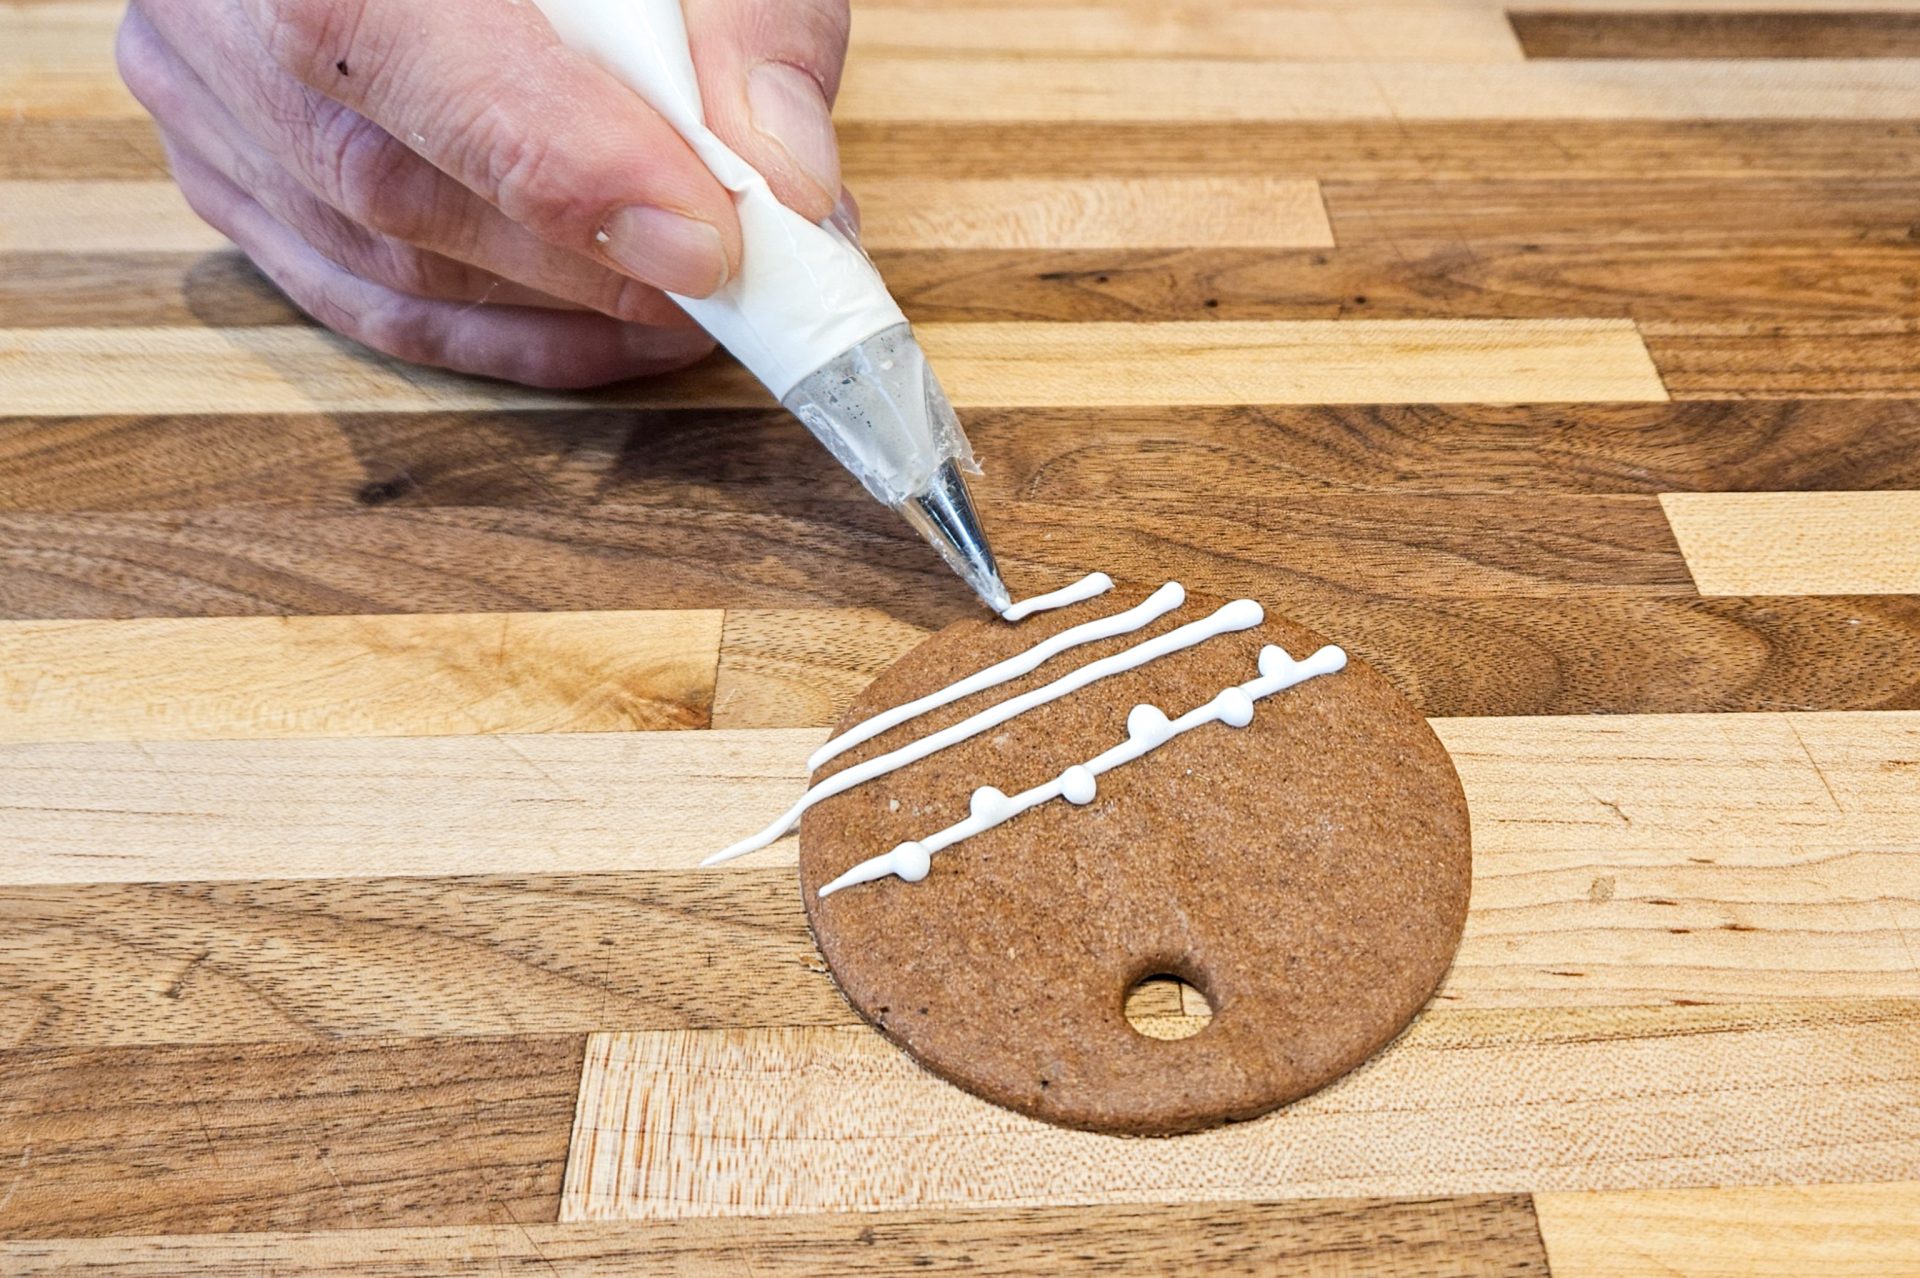
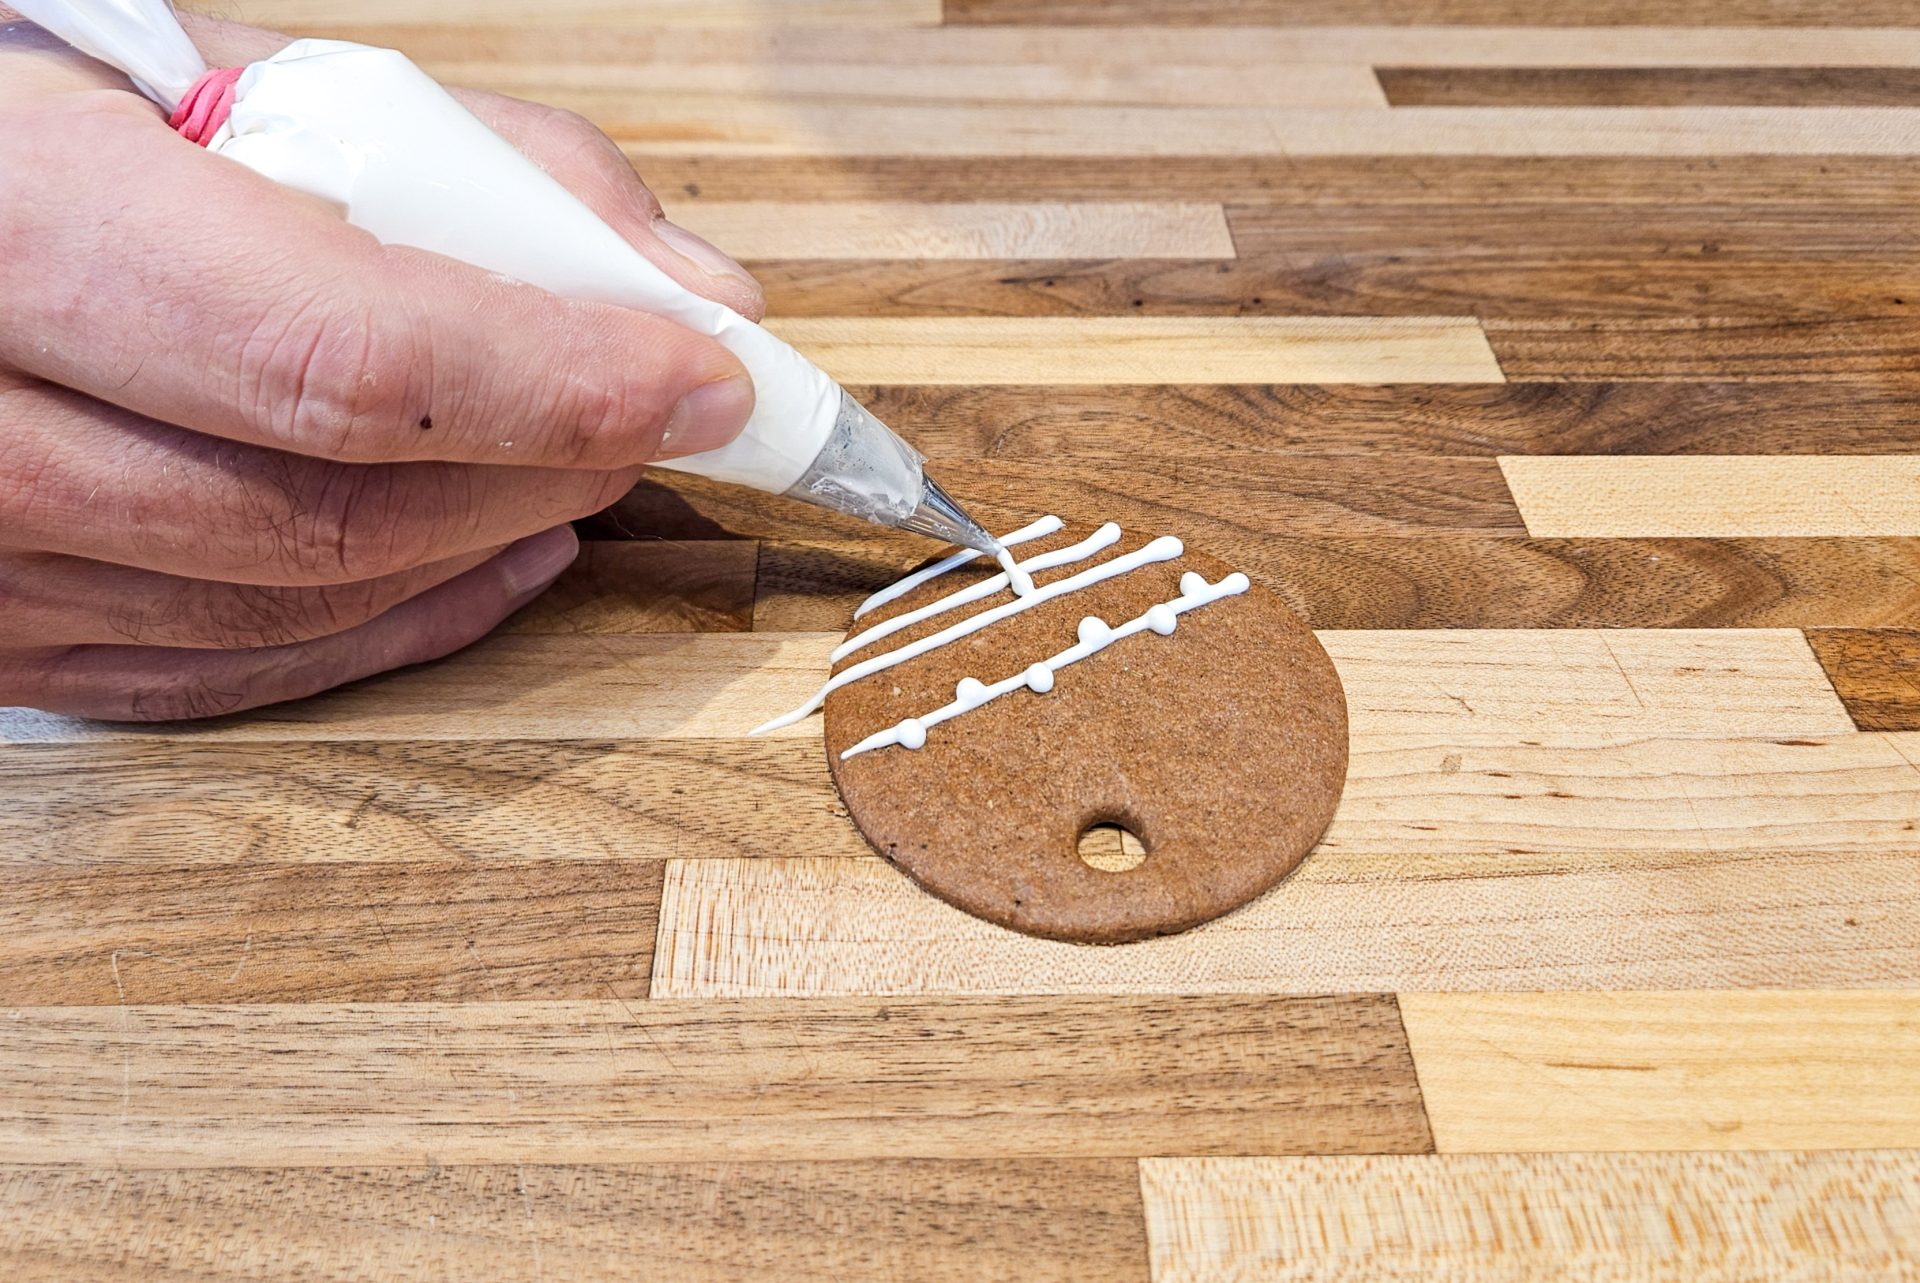
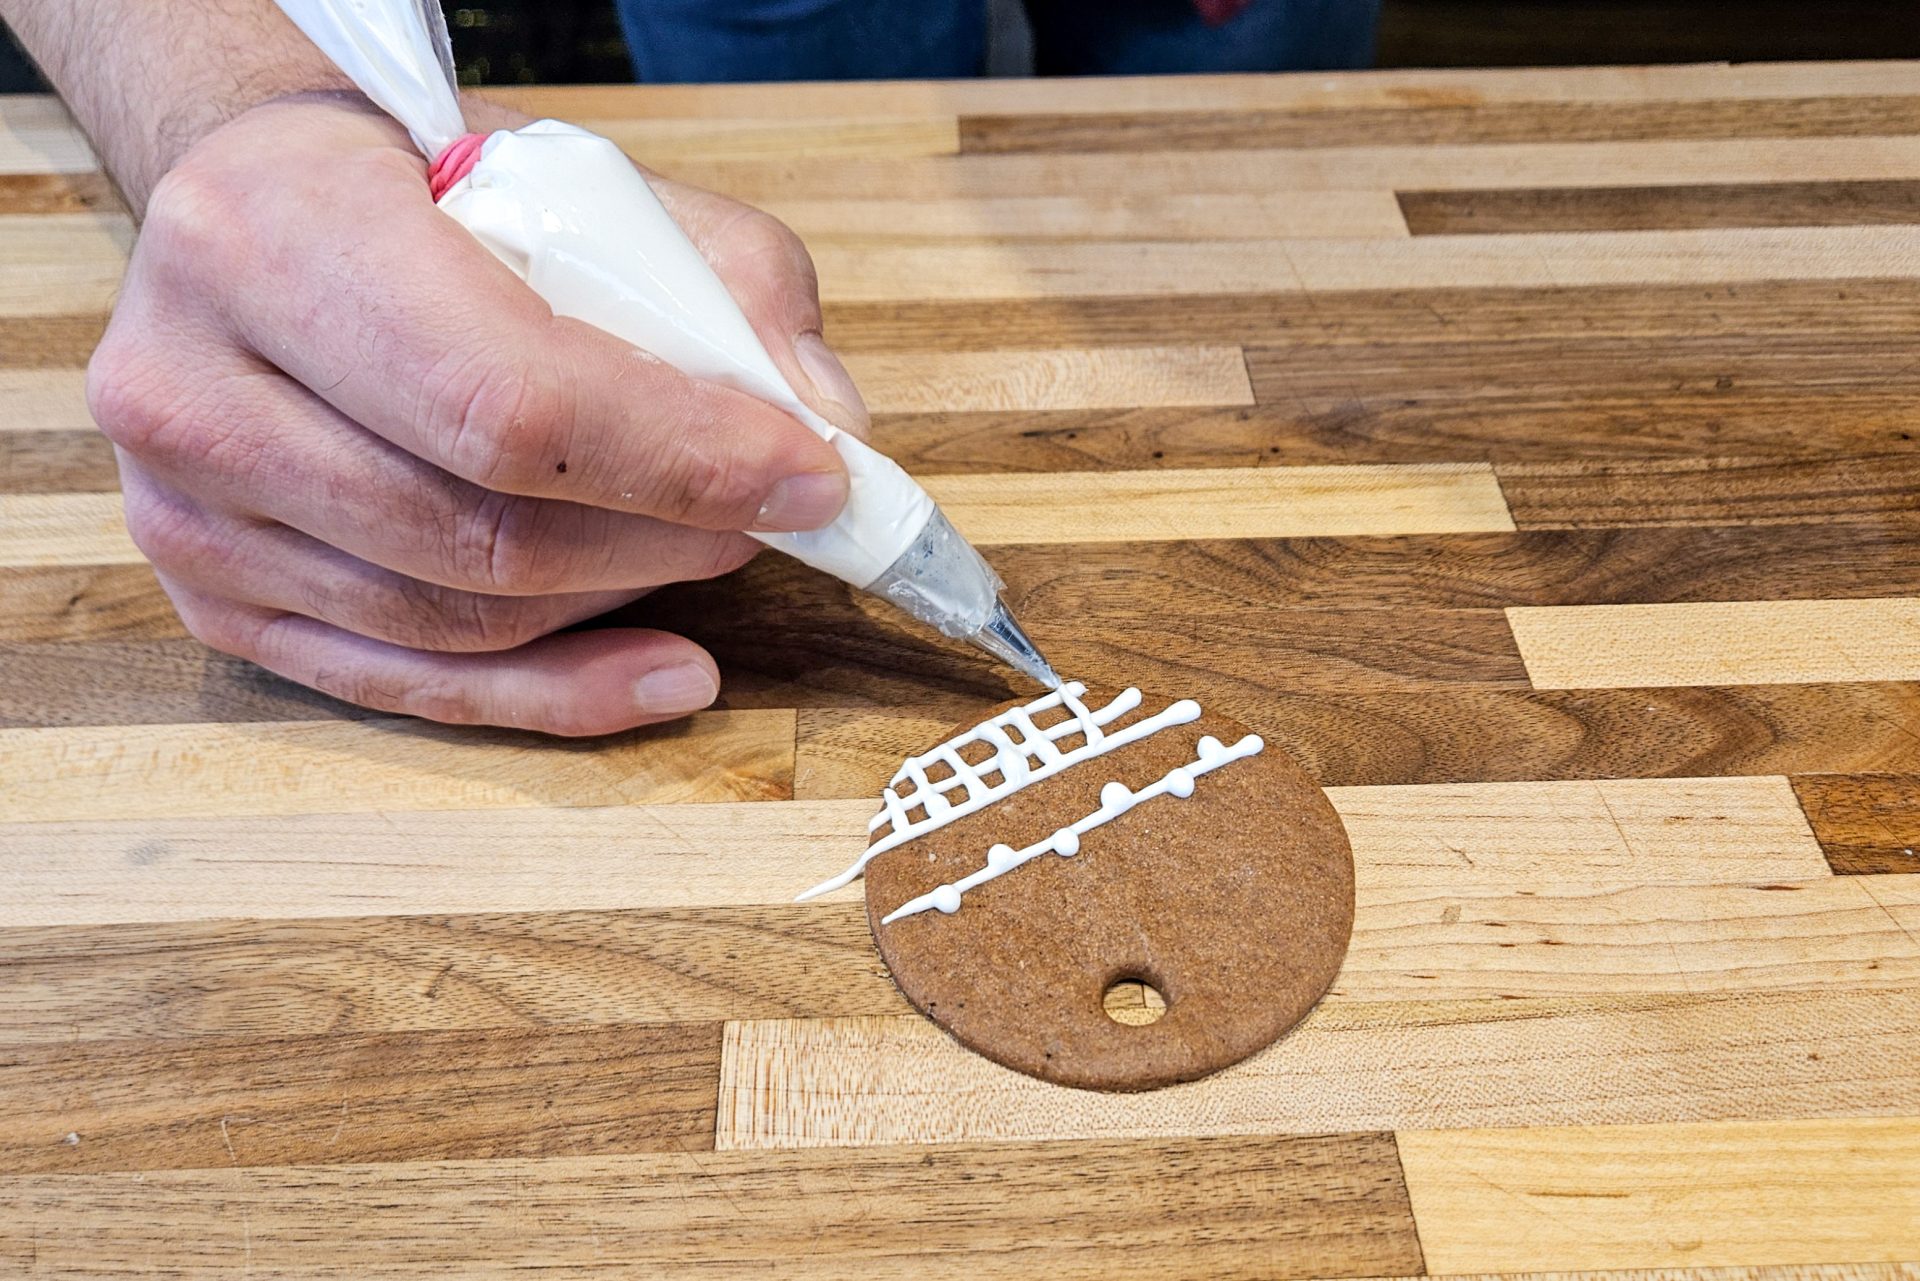
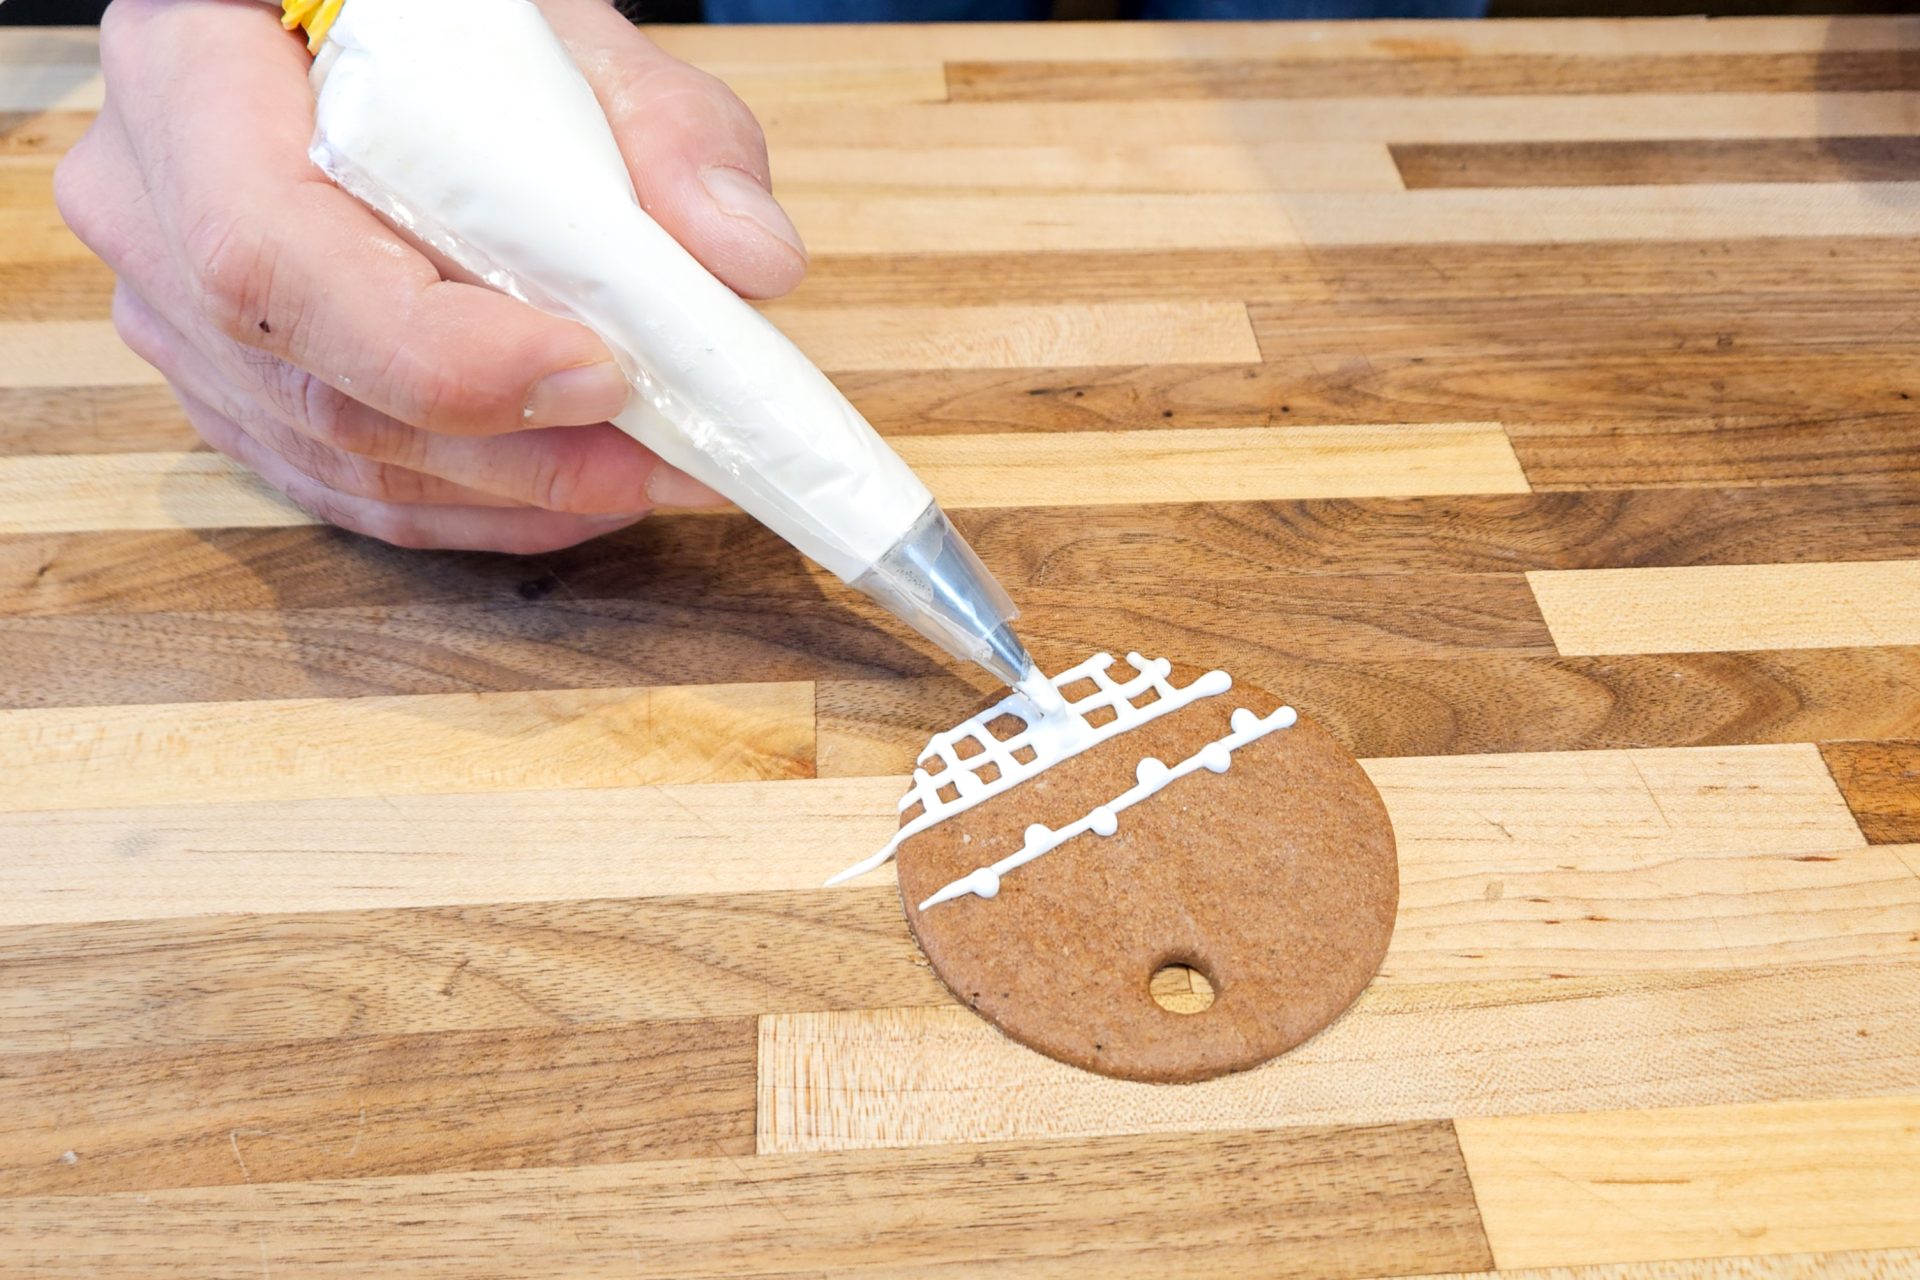
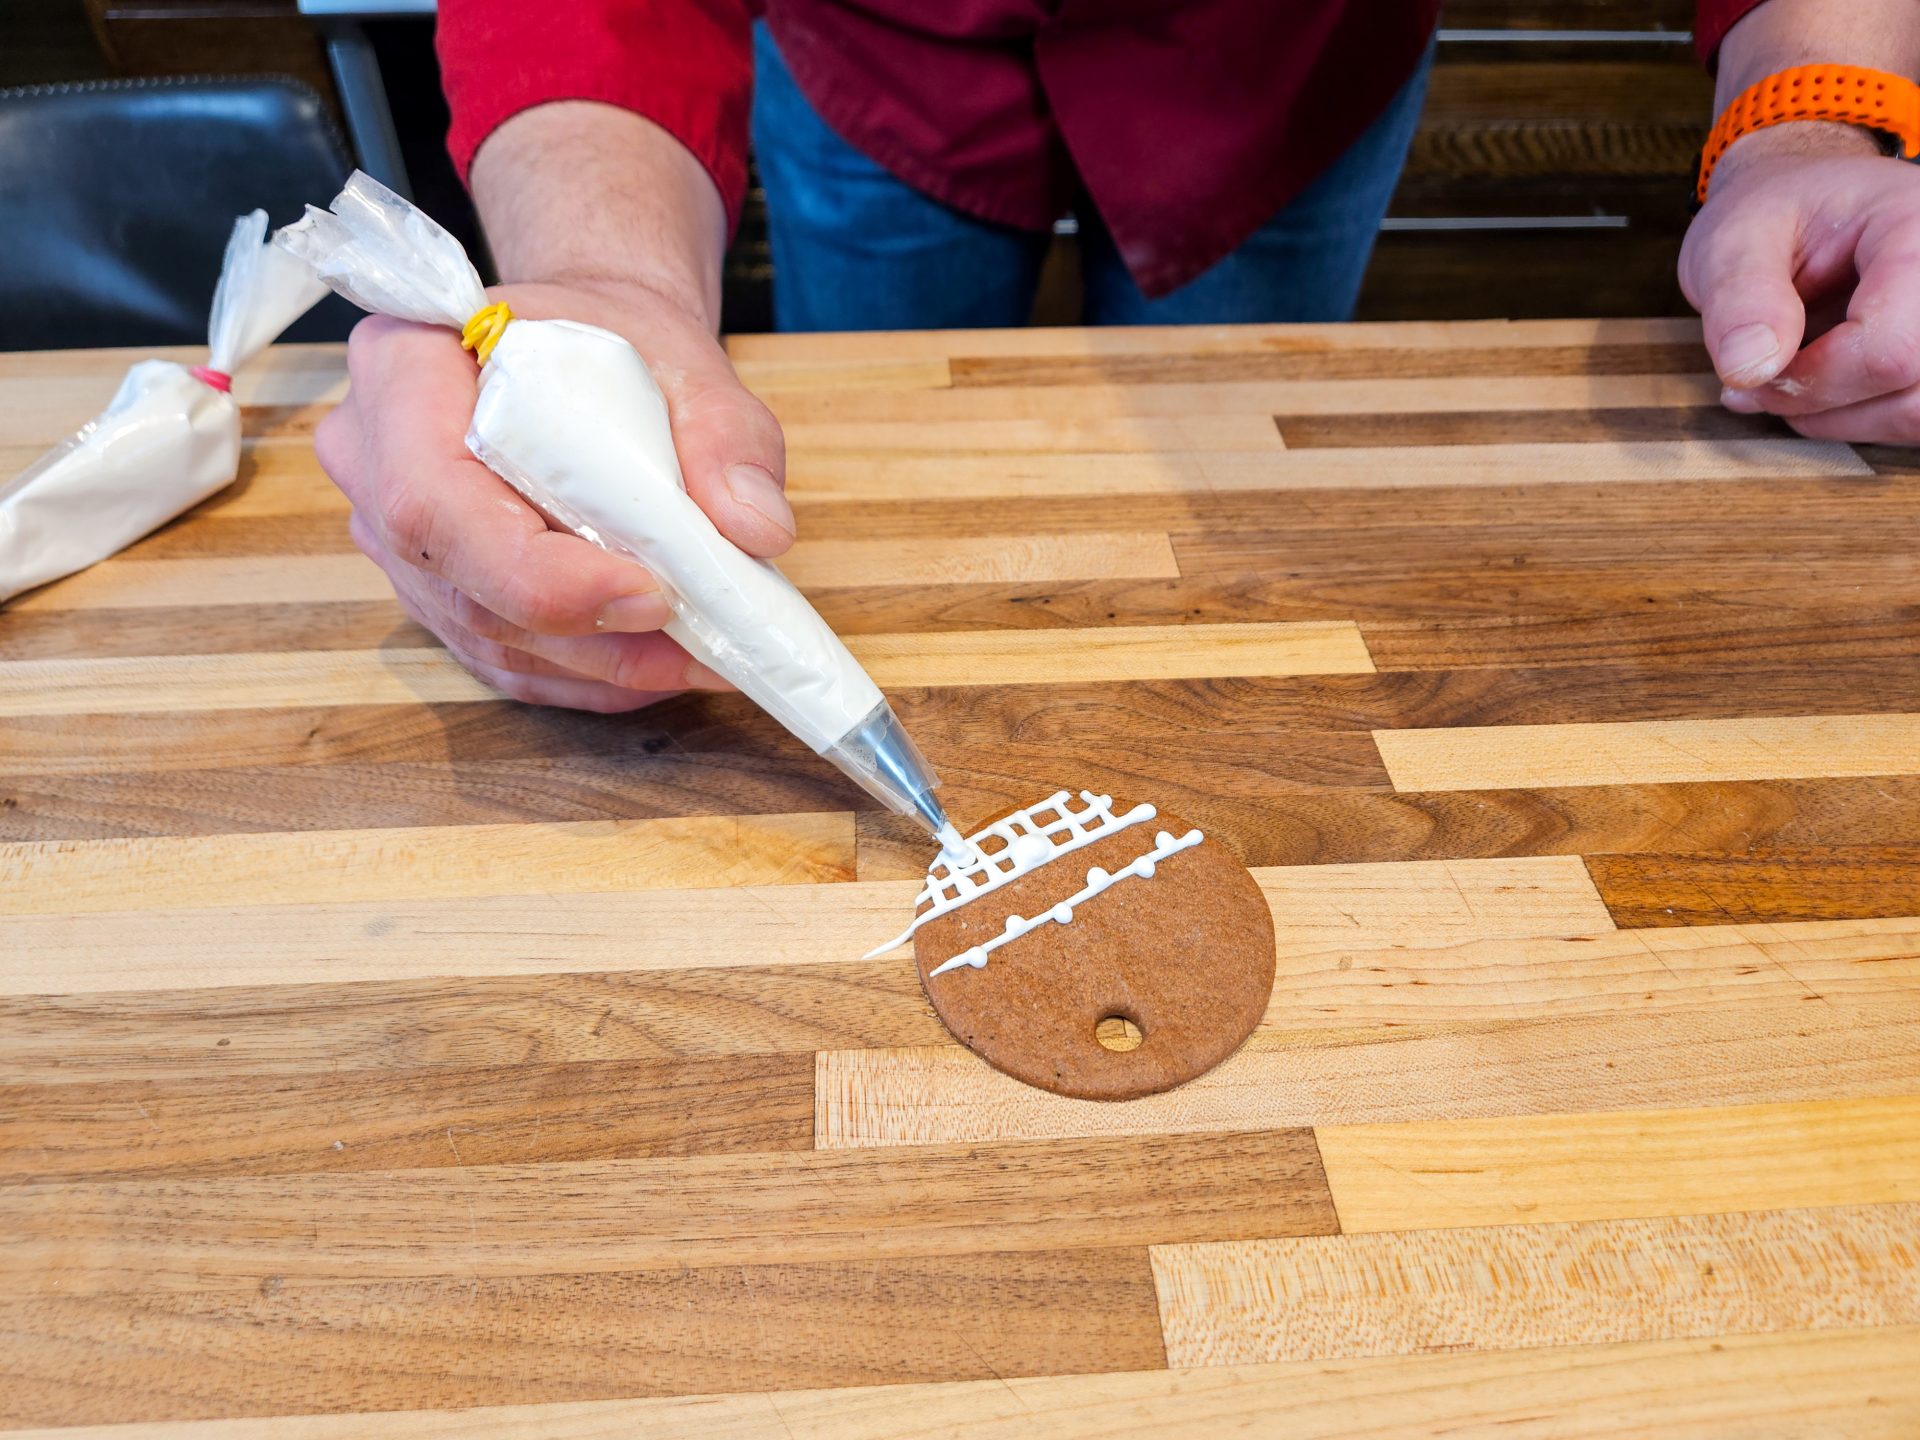
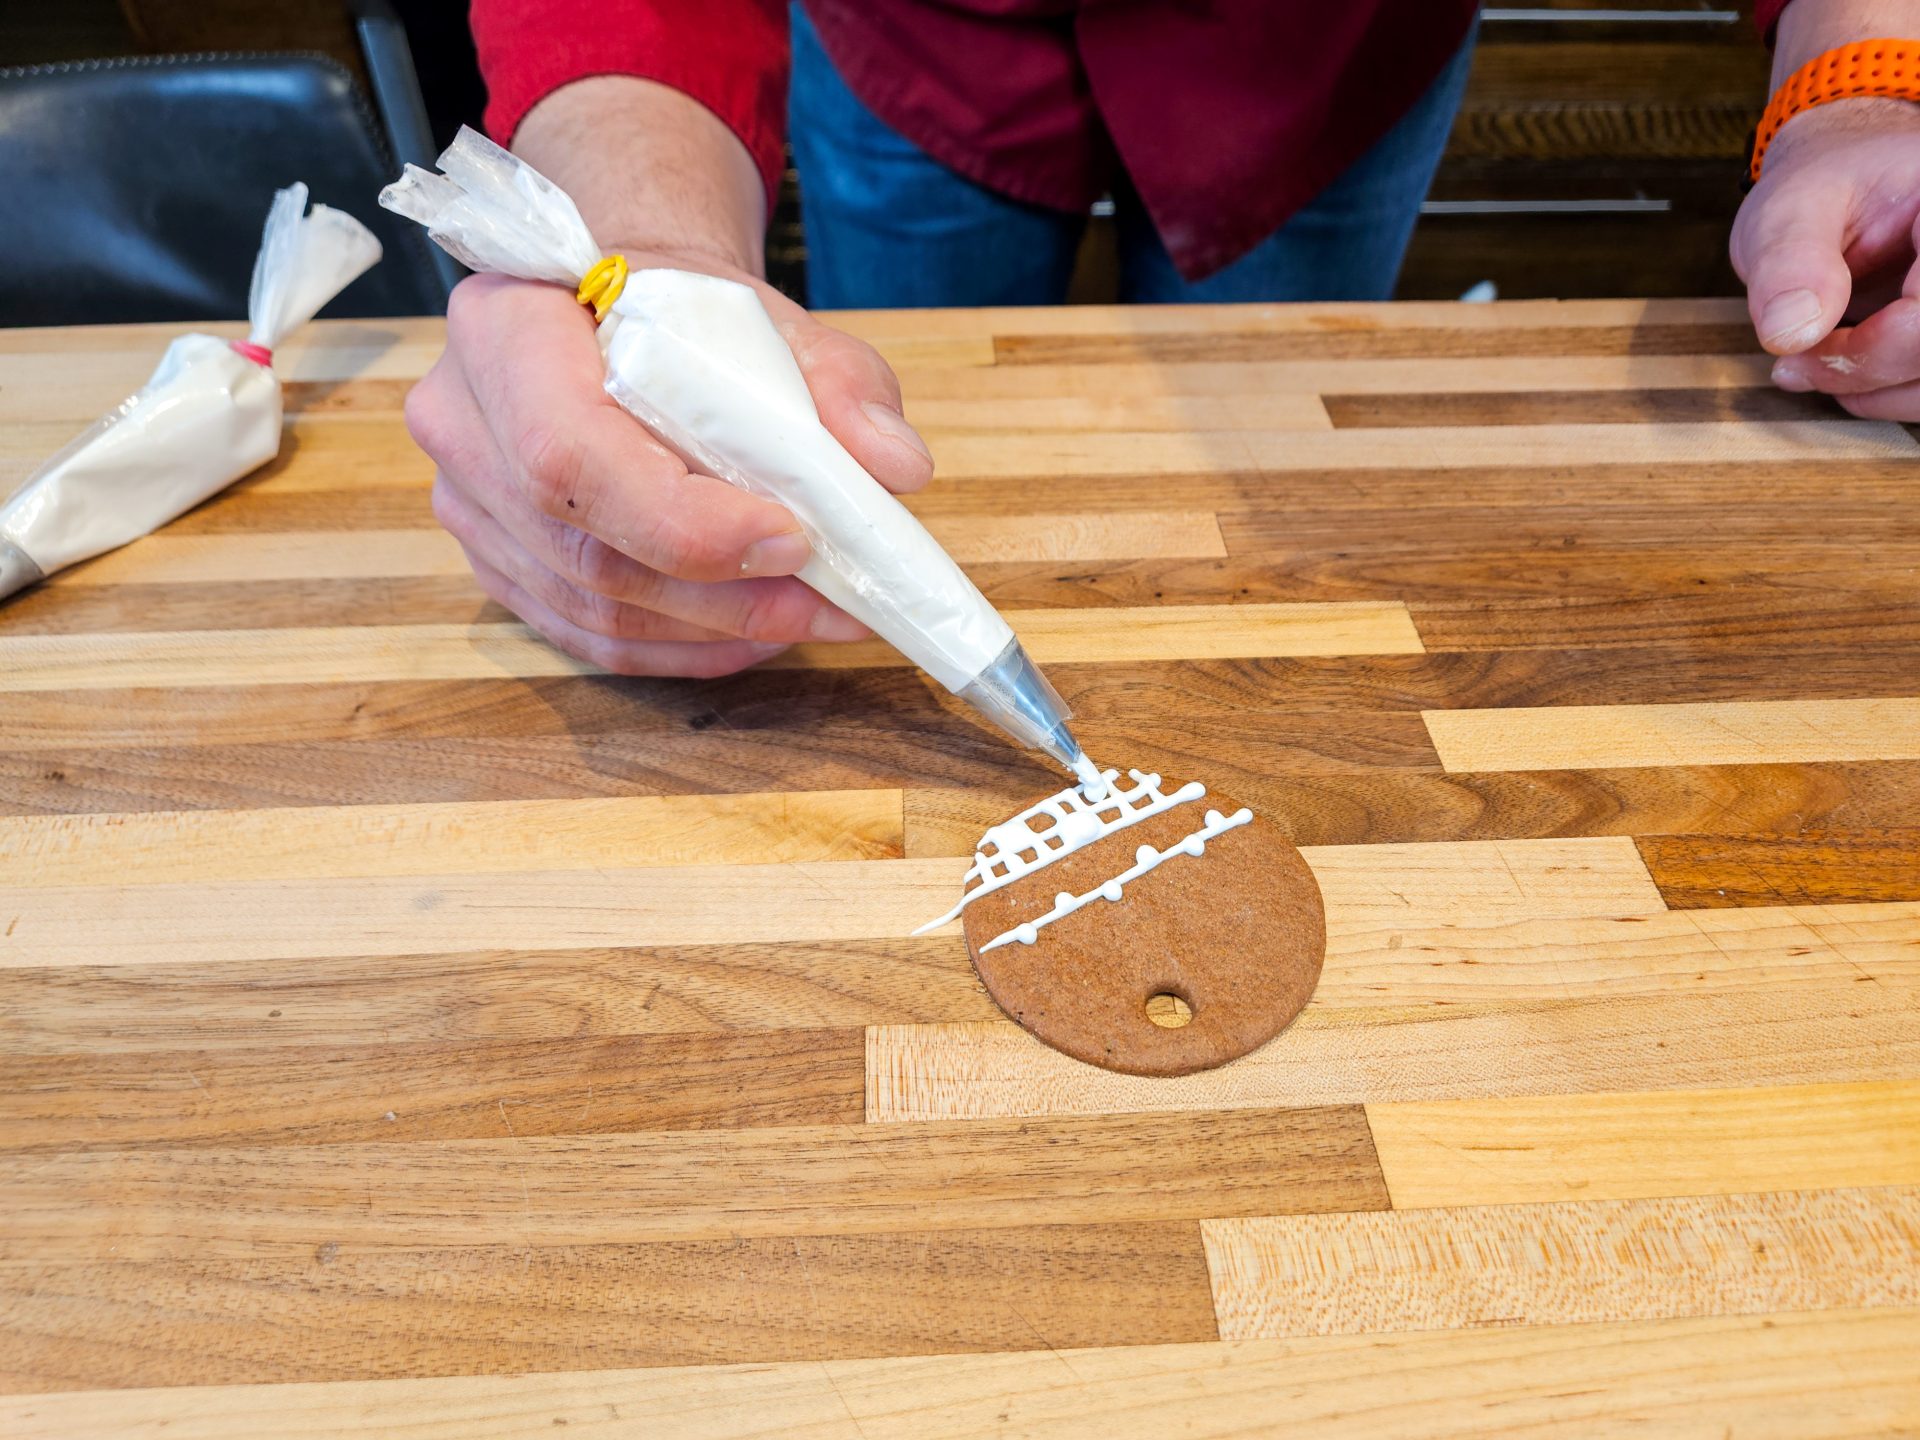
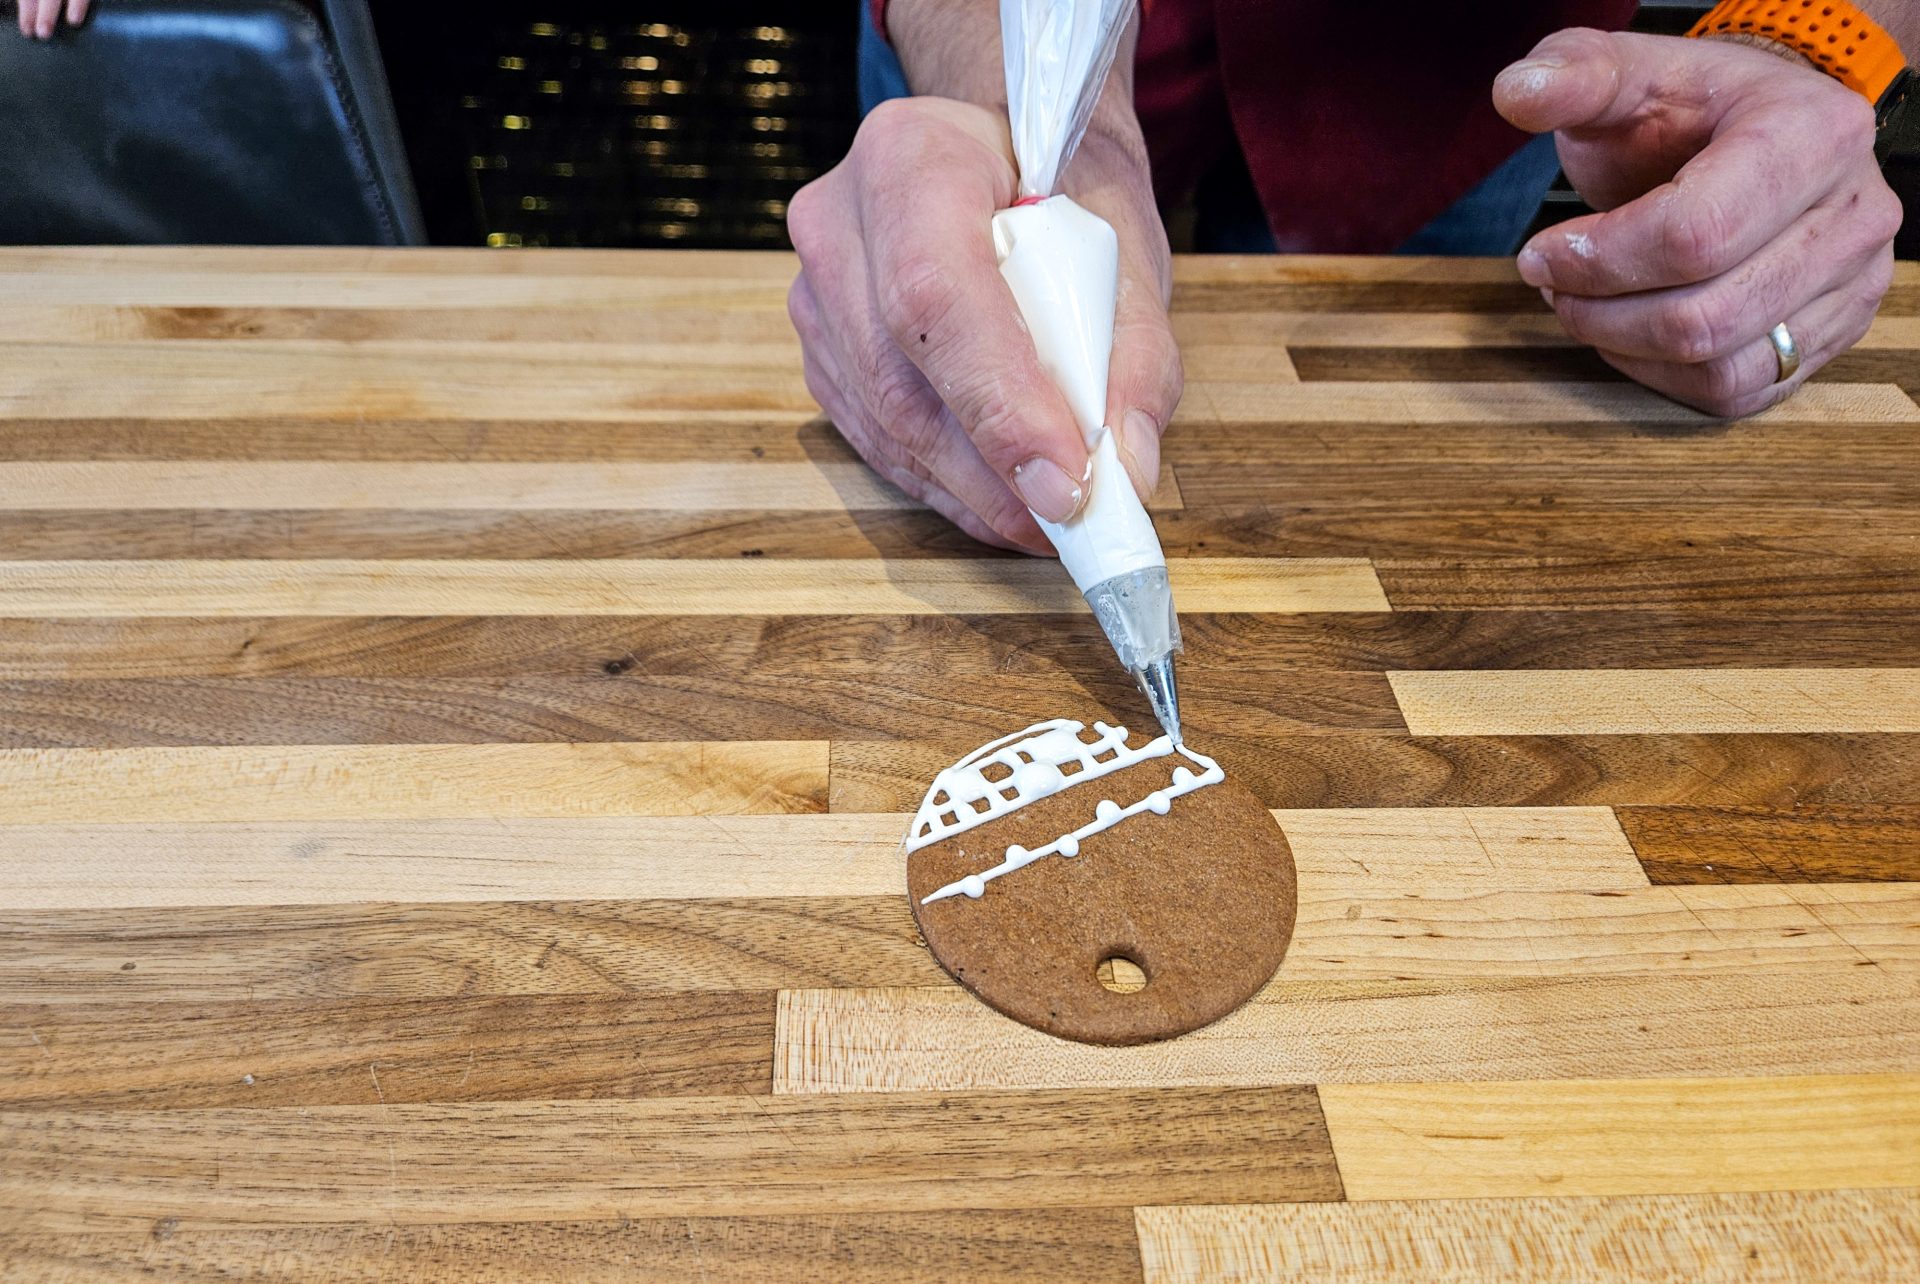
Decorating these Gingerbread Heart Cookies is a chance to express your creativity. I like to start with text—perhaps “Z lásky” or “Miluji Tě”—and then move on to patterns. A tip I always share is to keep the pastry tip slightly in the air while piping; this lets the mixture “sit” onto the Gingerbread Heart Cookies, resulting in much straighter lines. Once decorated, the Gingerbread Heart Cookies need to air dry. This can take anywhere from an hour to a full 24 hours. I never refrigerate my Gingerbread Heart Cookies, as it can ruin the texture and the icing. Instead, I let them dry completely on the counter before I even think about packaging them in see-through film for gifting.
Gingerbread Heart Cookies
Ingredients:
Click any ingredient to learn moreGingerbread spice:
2 TSP of whole anise seeds (or ½ TSP of ground )
1 TSP of fennel seeds (or ½ TSP of ground )
1 TSP of whole cloves (or ½ TSP of ground )
2 TSP of ground cinnamon
1 TSP of ground allspice
1 TSP of ground ginger
Gingerbread dough:
Gingerbread spice (prepared above)
2 ½ cups of all-purpose flour
¾ cup of confectioners’ sugar
1 TSP of baking powder
2 TBSP of cocoa powder
2 sticks of unsalted butter (8 OZ)
¼ cup of honey
Optional for shiny surface:
1 egg
3 TBSP of milk
Decorating mixture:
1 ½ cups of confectioners’ sugar
2 TBSP of cornstarch
1 TBSP of lemon juice - with no pulp (+ some extra, fresh lemon juice needs to be filtered over a sieve)
Tools:
Click any tool to learn more1x Mortar and Pestle Set (or small food processor)
1x Kitchen Mixer with Flat Beater Attachment (or Hand Mixer )
1x French Whisk
1x Plastic Wrap
1x Bowl Scraper (or silicone psatula)
1x Rolling Pin
1x Heart Shapes Template (below)
1x Paring Knife
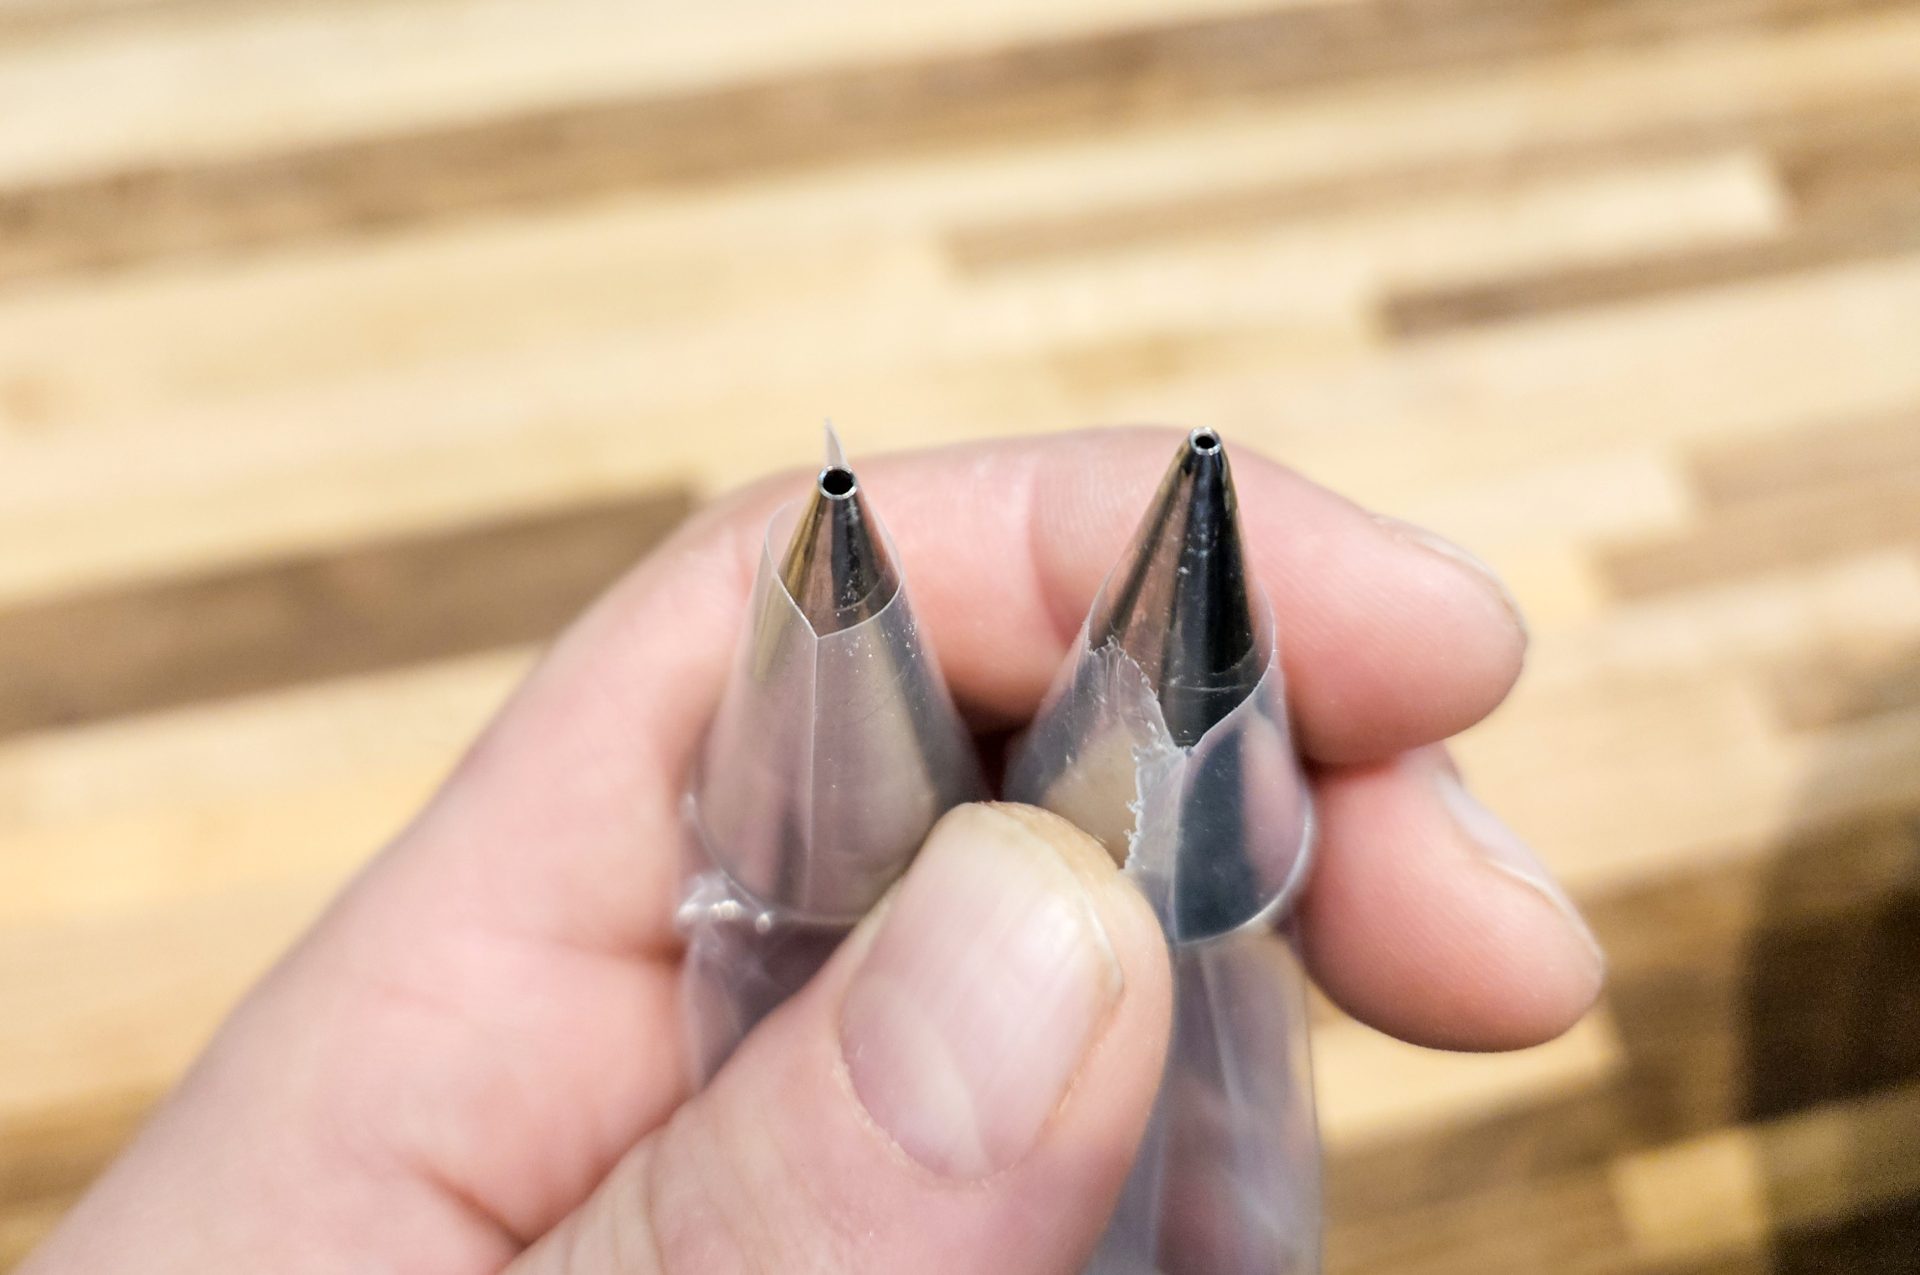
1x Pastry Bag with Pastry tips (I use a round tip, 01 (opening about 1.5 mm) or 02. You can avoid using a tip, but it will make it a little harder to decorate. )
Nutrition:(recipe split into 3 servings)
Vegetarian
Nutrition is not available for this recipe — the figures its ingredients give did not pass our accuracy checks, so we would rather show nothing than a number we cannot stand behind.
Directions:
1.Gingerbread Spice:
Let’s start the preparation of gingerbread heart cookies by preparing the gingerbread spice.
1.1.
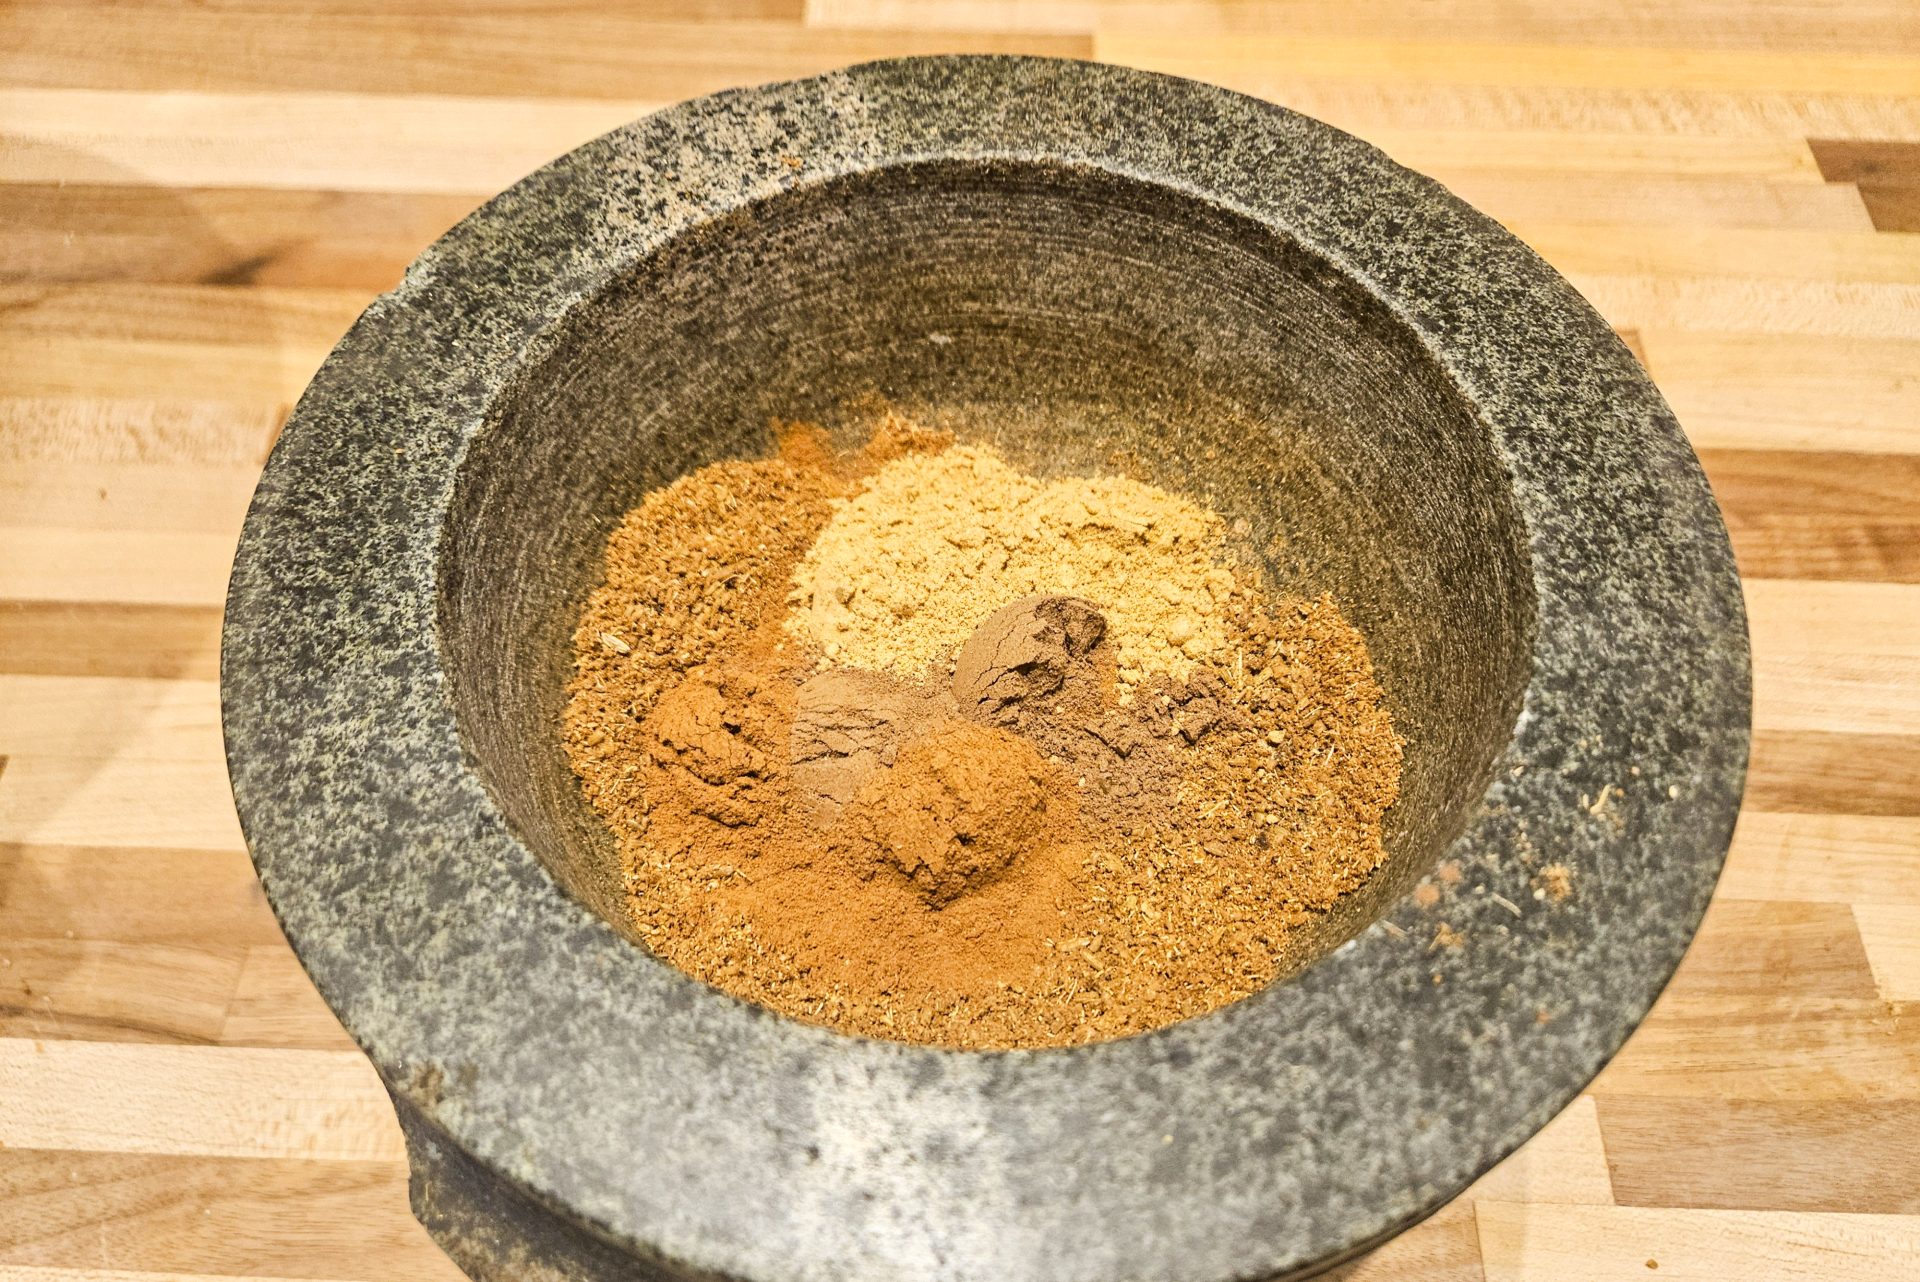
Place into a mortar:
2 TSP of whole anise seeds
1 TSP of whole fennel seeds
1 TSP of whole cloves
2 TSP of ground cinnamon
1 TSP of ground Allspice
1 TSP of ground ginger
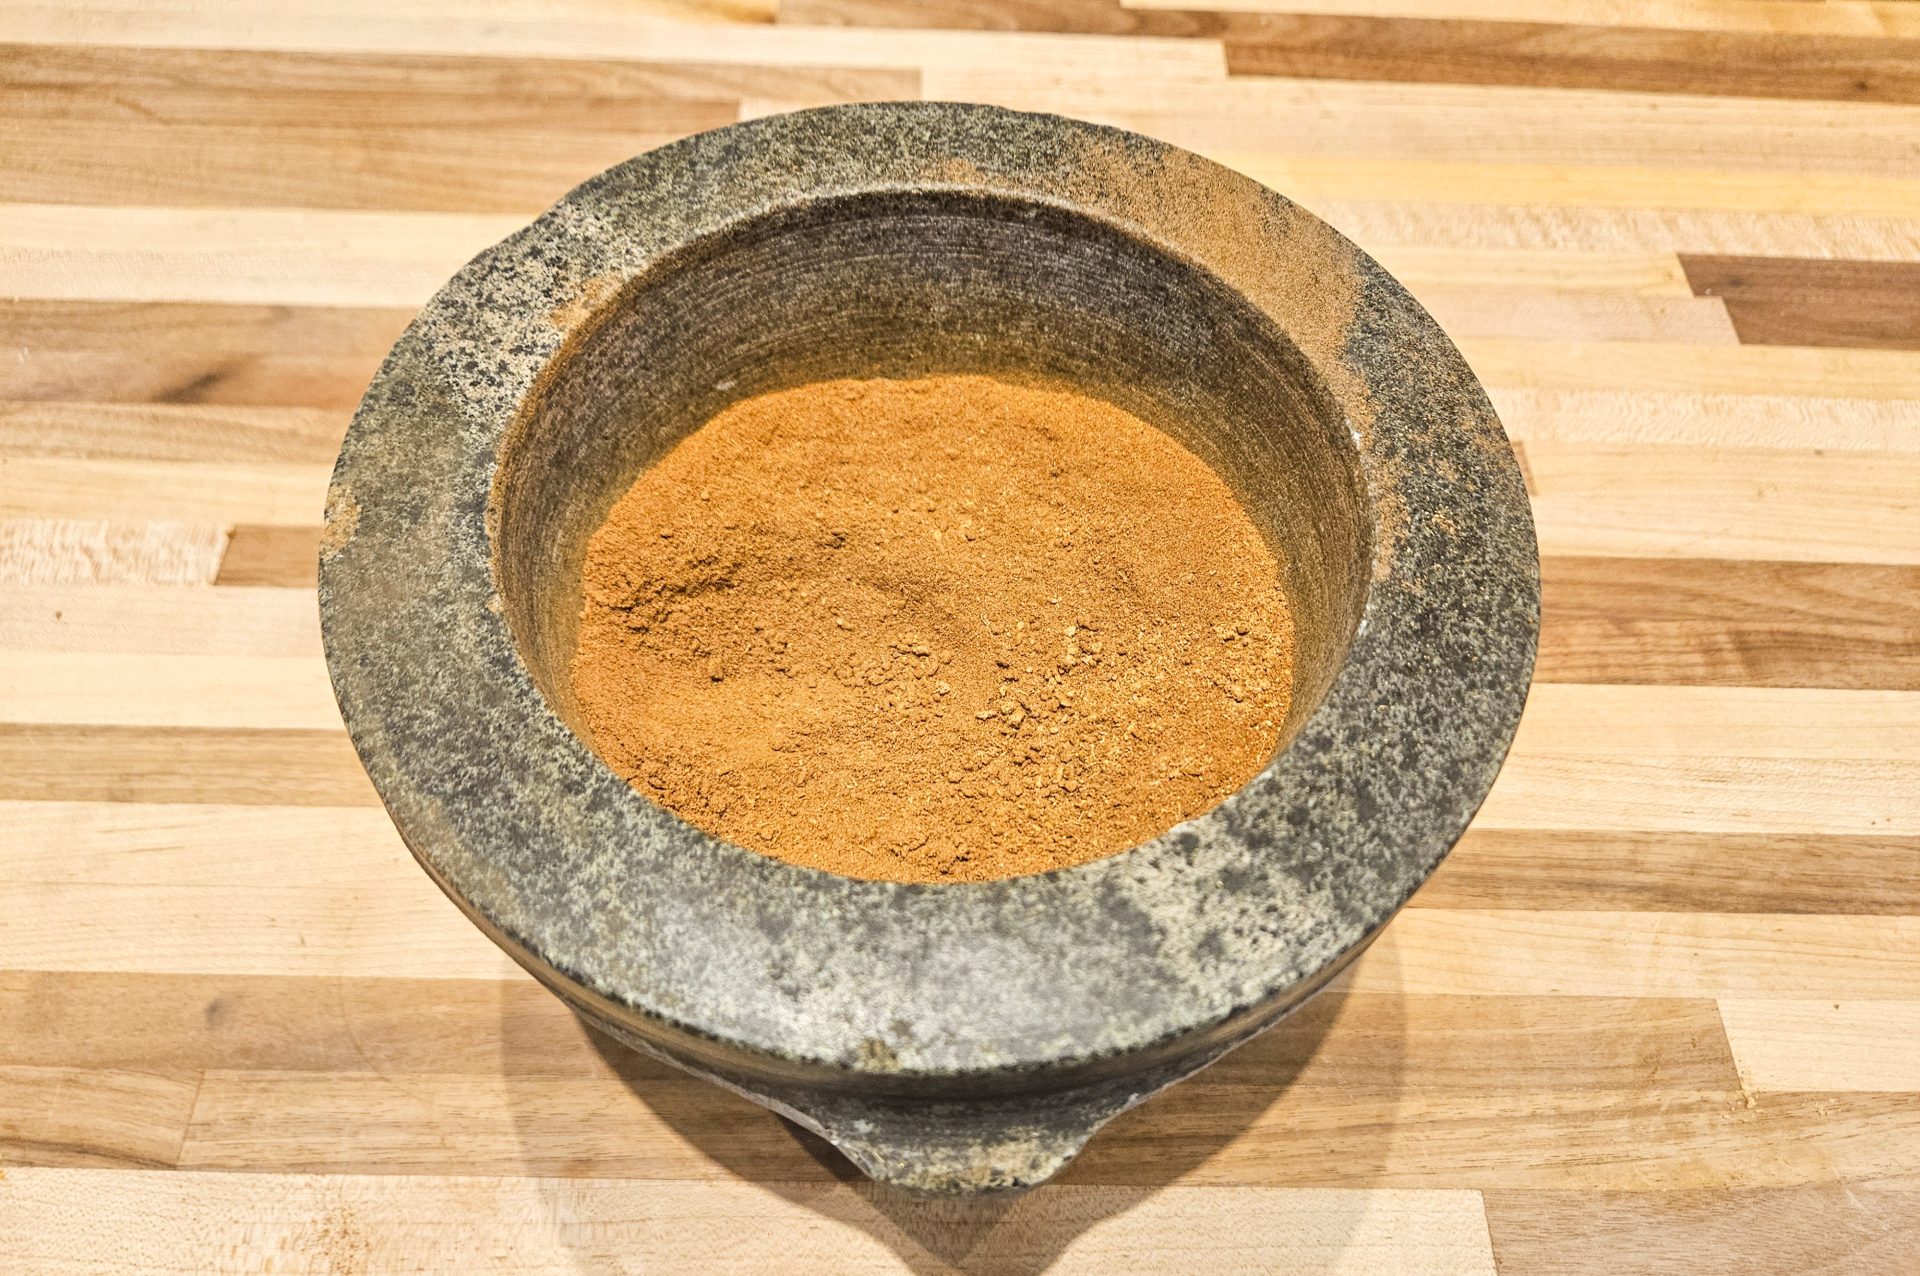
And process using a pestle until a fine texture is reached.
Note: If you don’t have a mortar and pestle, you can use a small food processor.
2.Gingerbread Dough:
2.1.
2.2.
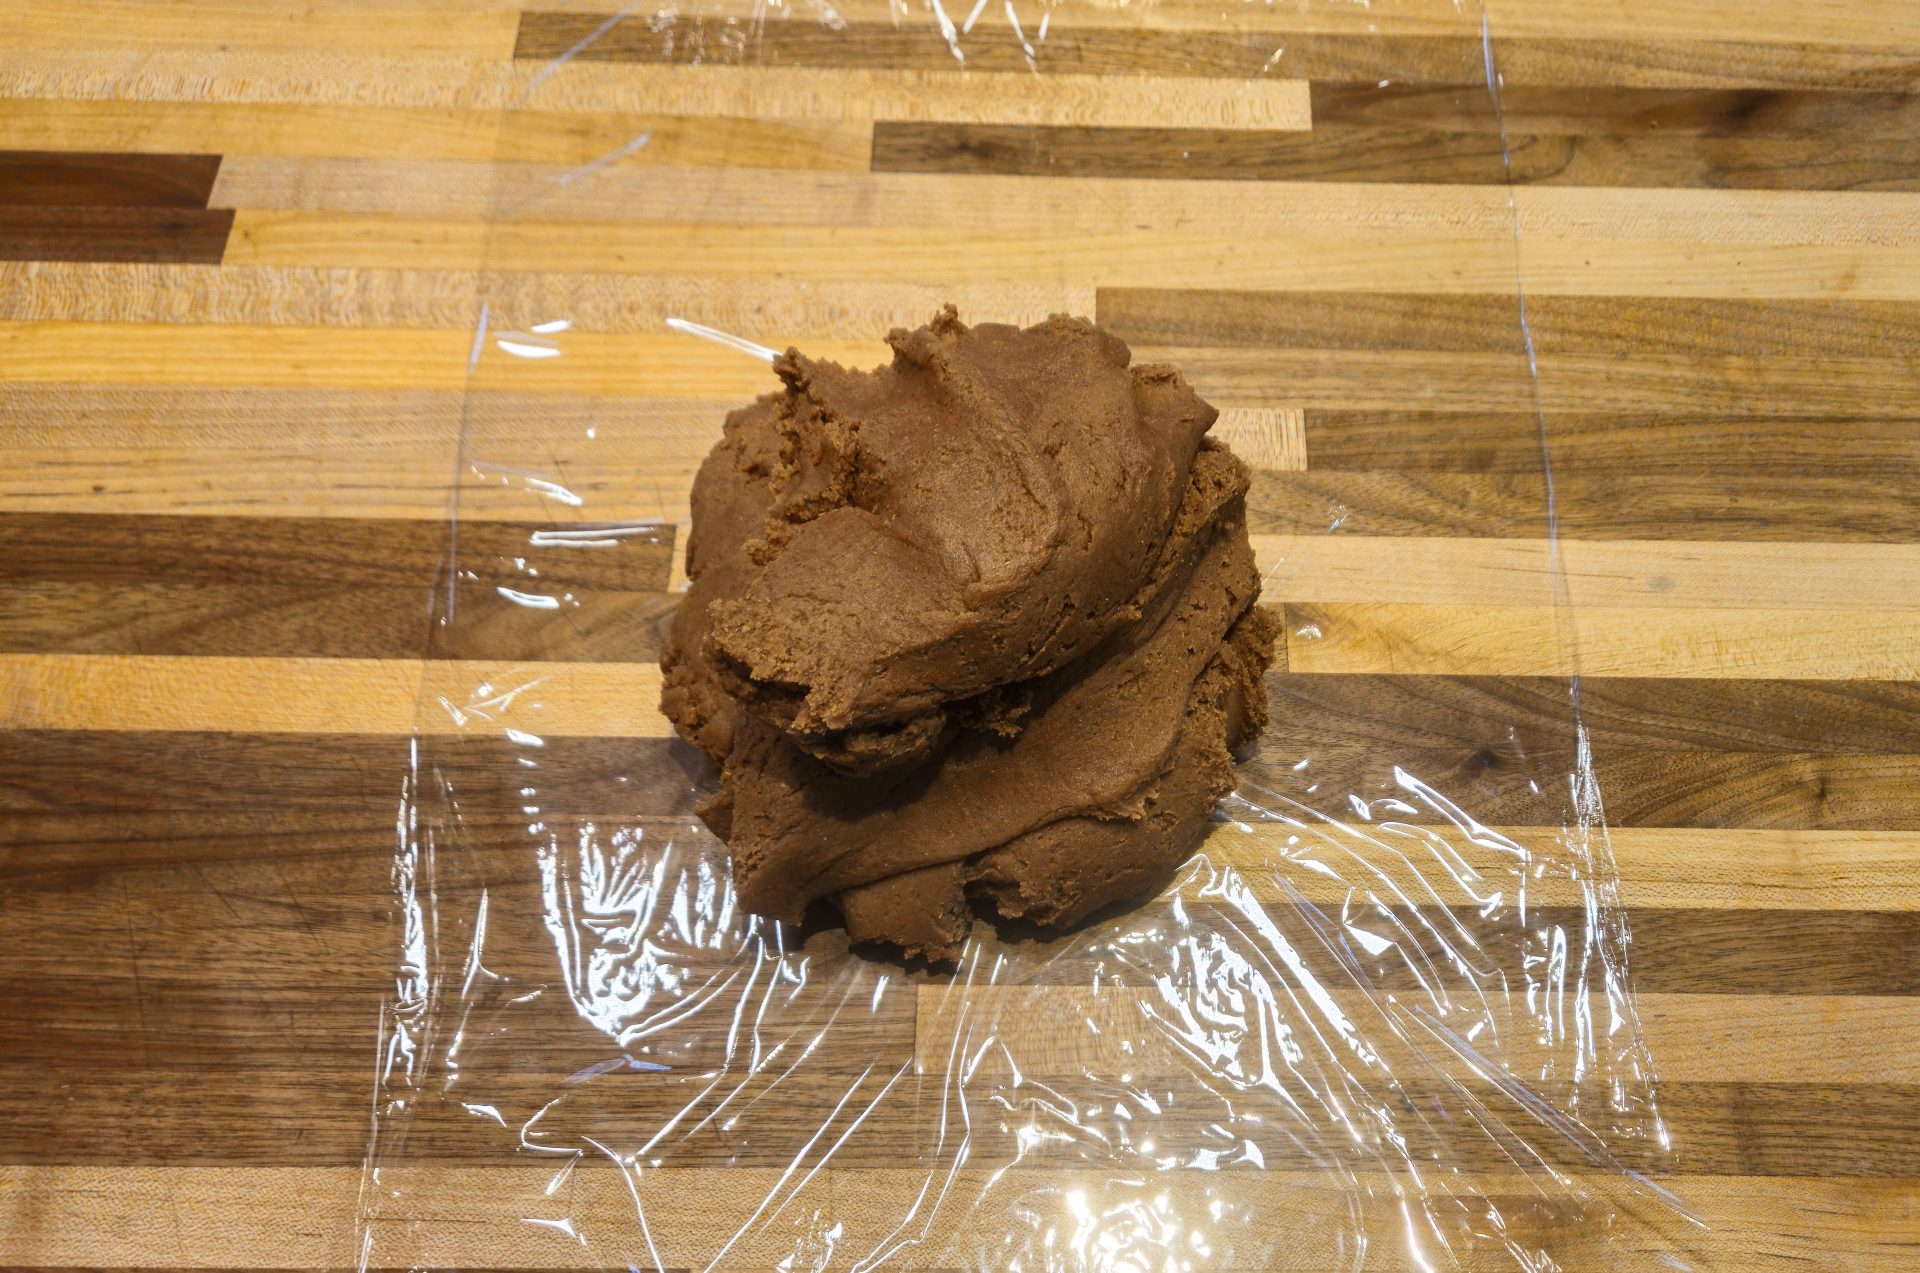
3.Dough Resting:
3.1.
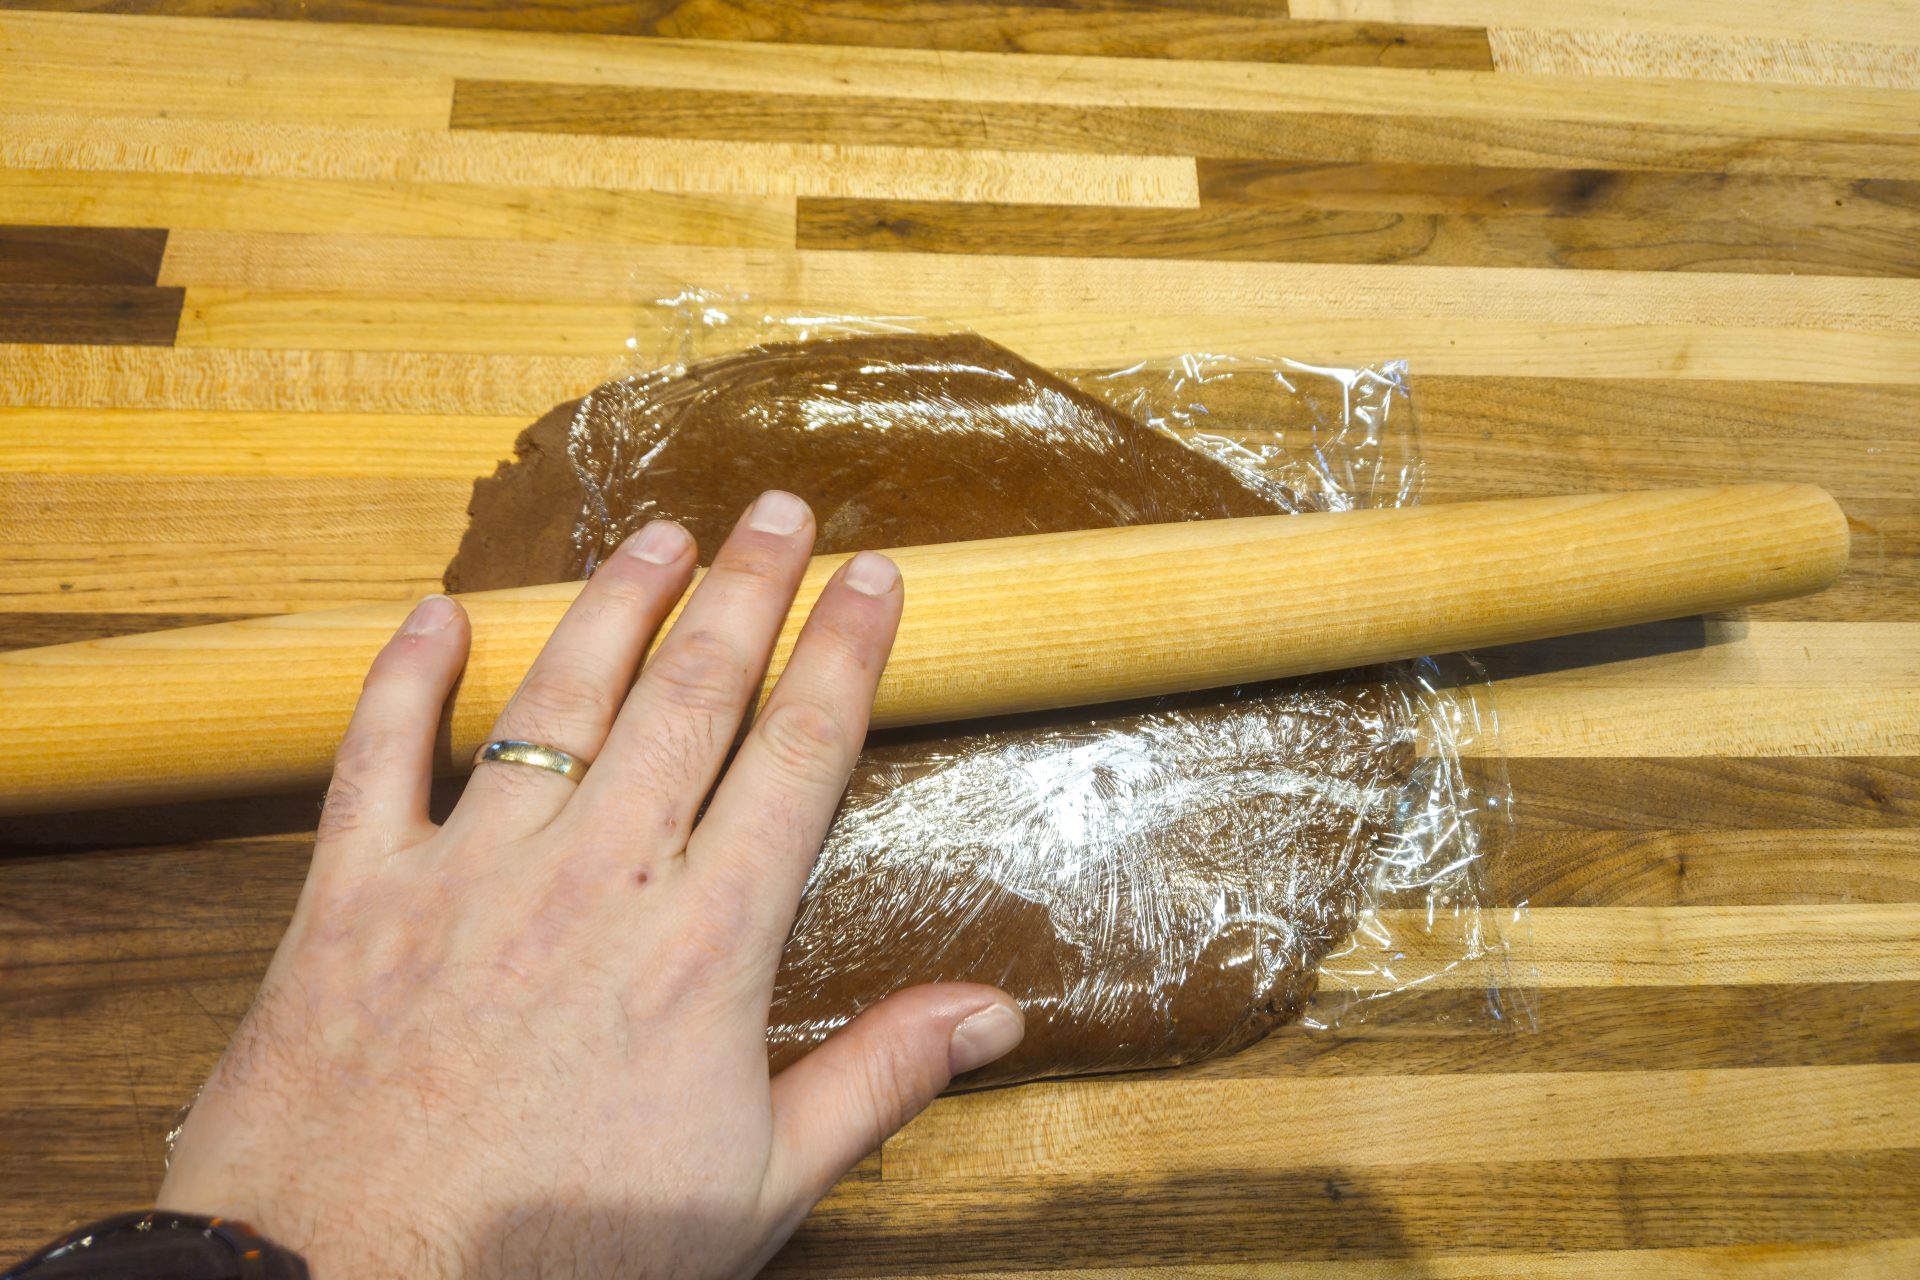
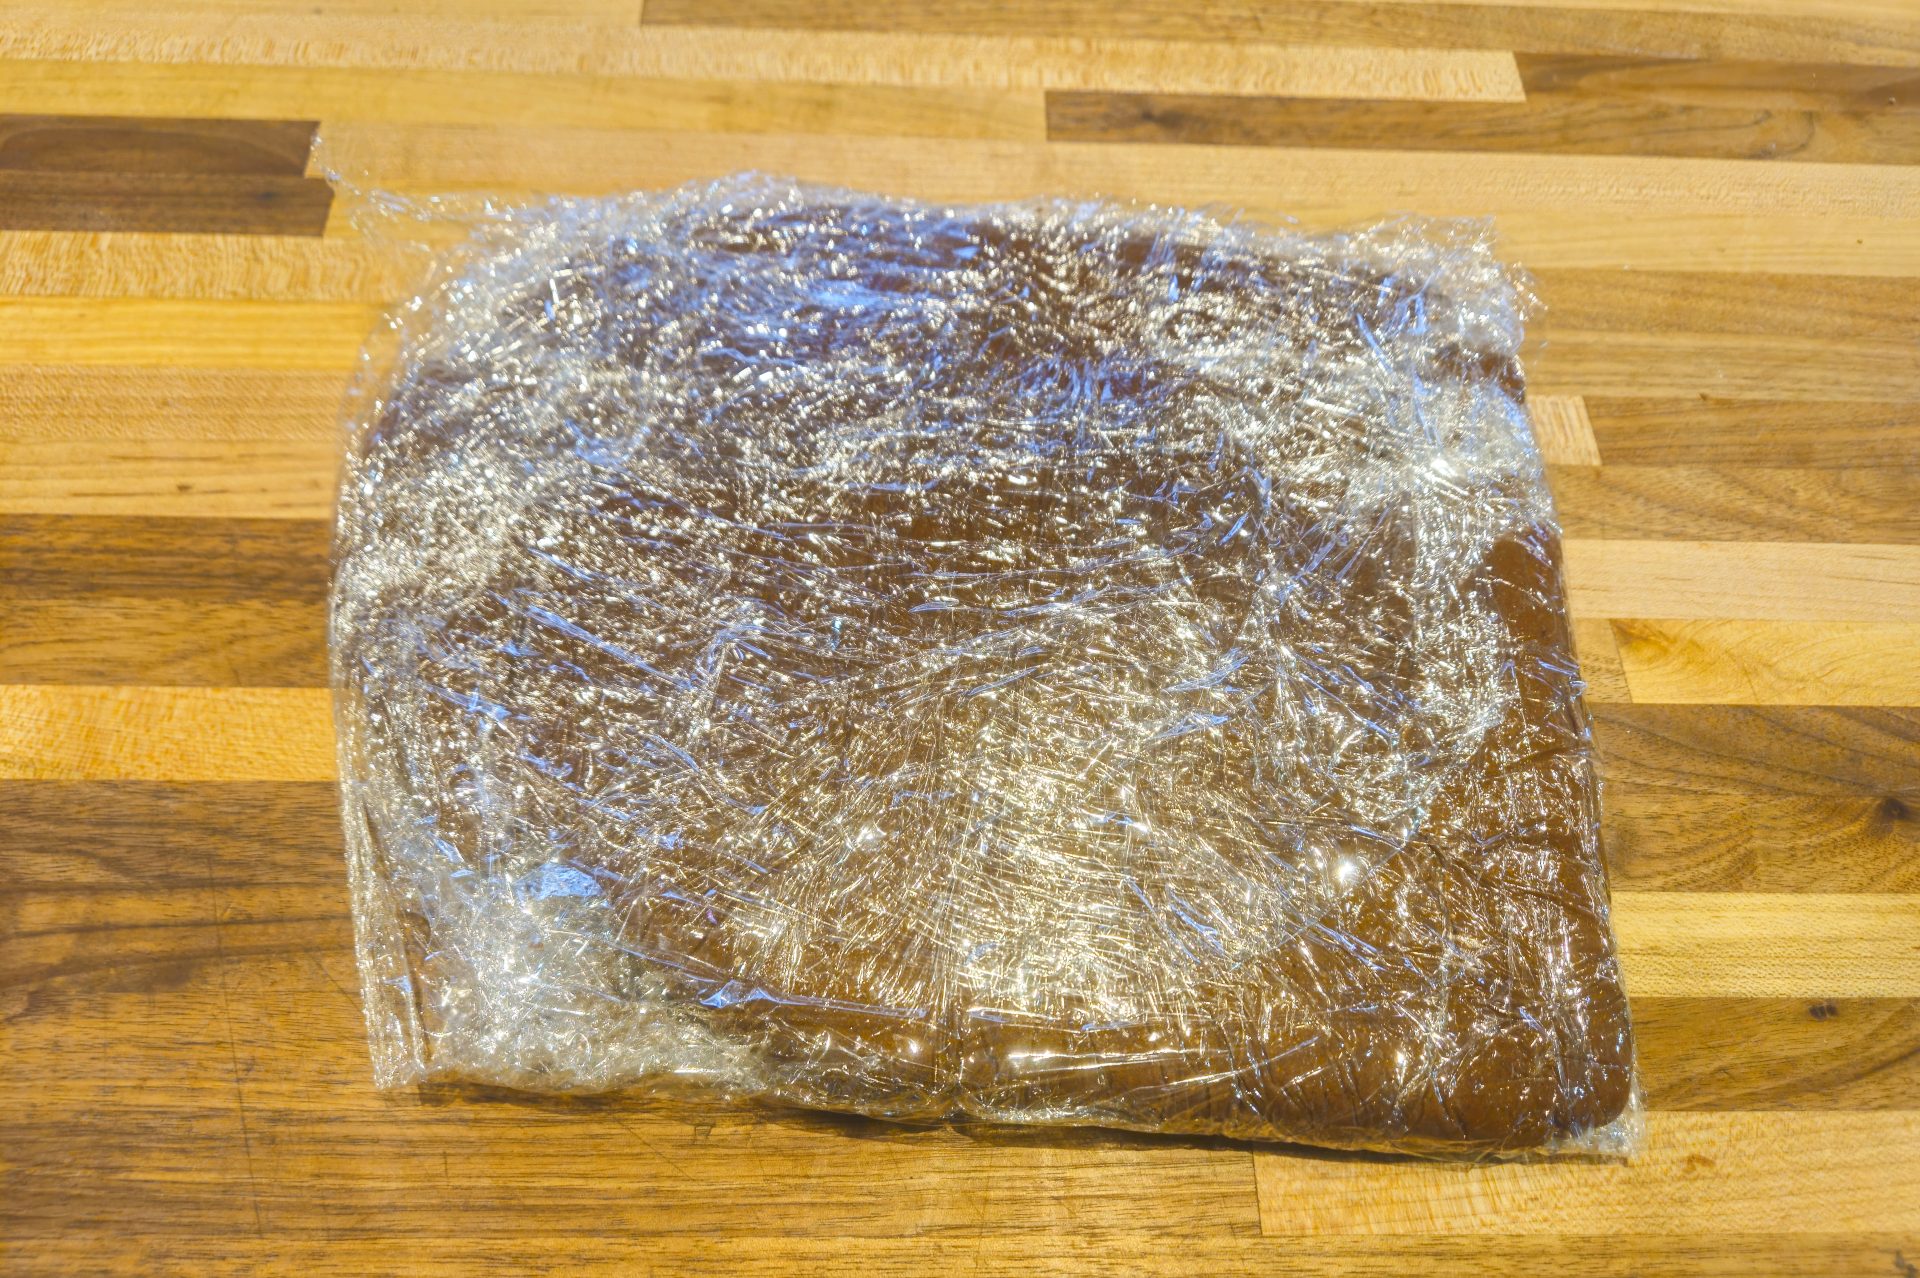
3.2.
Let cool in the refrigerator until partially, but not totally, hardened (about 1 hour).
Important: If the dough in the refrigerator fully hardens (if left for a longer time, for example, overnight), remove from the refrigerator about half an hour before cutting to hearts.
5.Cut the Gingerbread Heart Cookies:
Notes:
- Work one by one on a floured surface.
- The dough needs to always sit on a floured surface during flattening to be able to separate the cut cookies that are ready to bake.
- Each large heart cookie consists of two cookies (one top and one bottom, like a sandwich). Make sure that you cut an even number of cookies.
5.1.
Place the dough on a floured surface and lightly flour the top of the dough.
5.2.


5.4.
Gently place cut hearts on a baking sheet with parchment paper using an icing spatula.
Important:
Make sure they are not touching each other.
Tip:
From the dough leftovers, cut a few bonus cookies for the baker 😊. Or, to make it even easier, place the leftover dough on the baking sheet and bake it along with the hearts (they will not look as pretty, but they will taste just the same).
6.Bake Gingerbread Heart Cookies:
6.1.
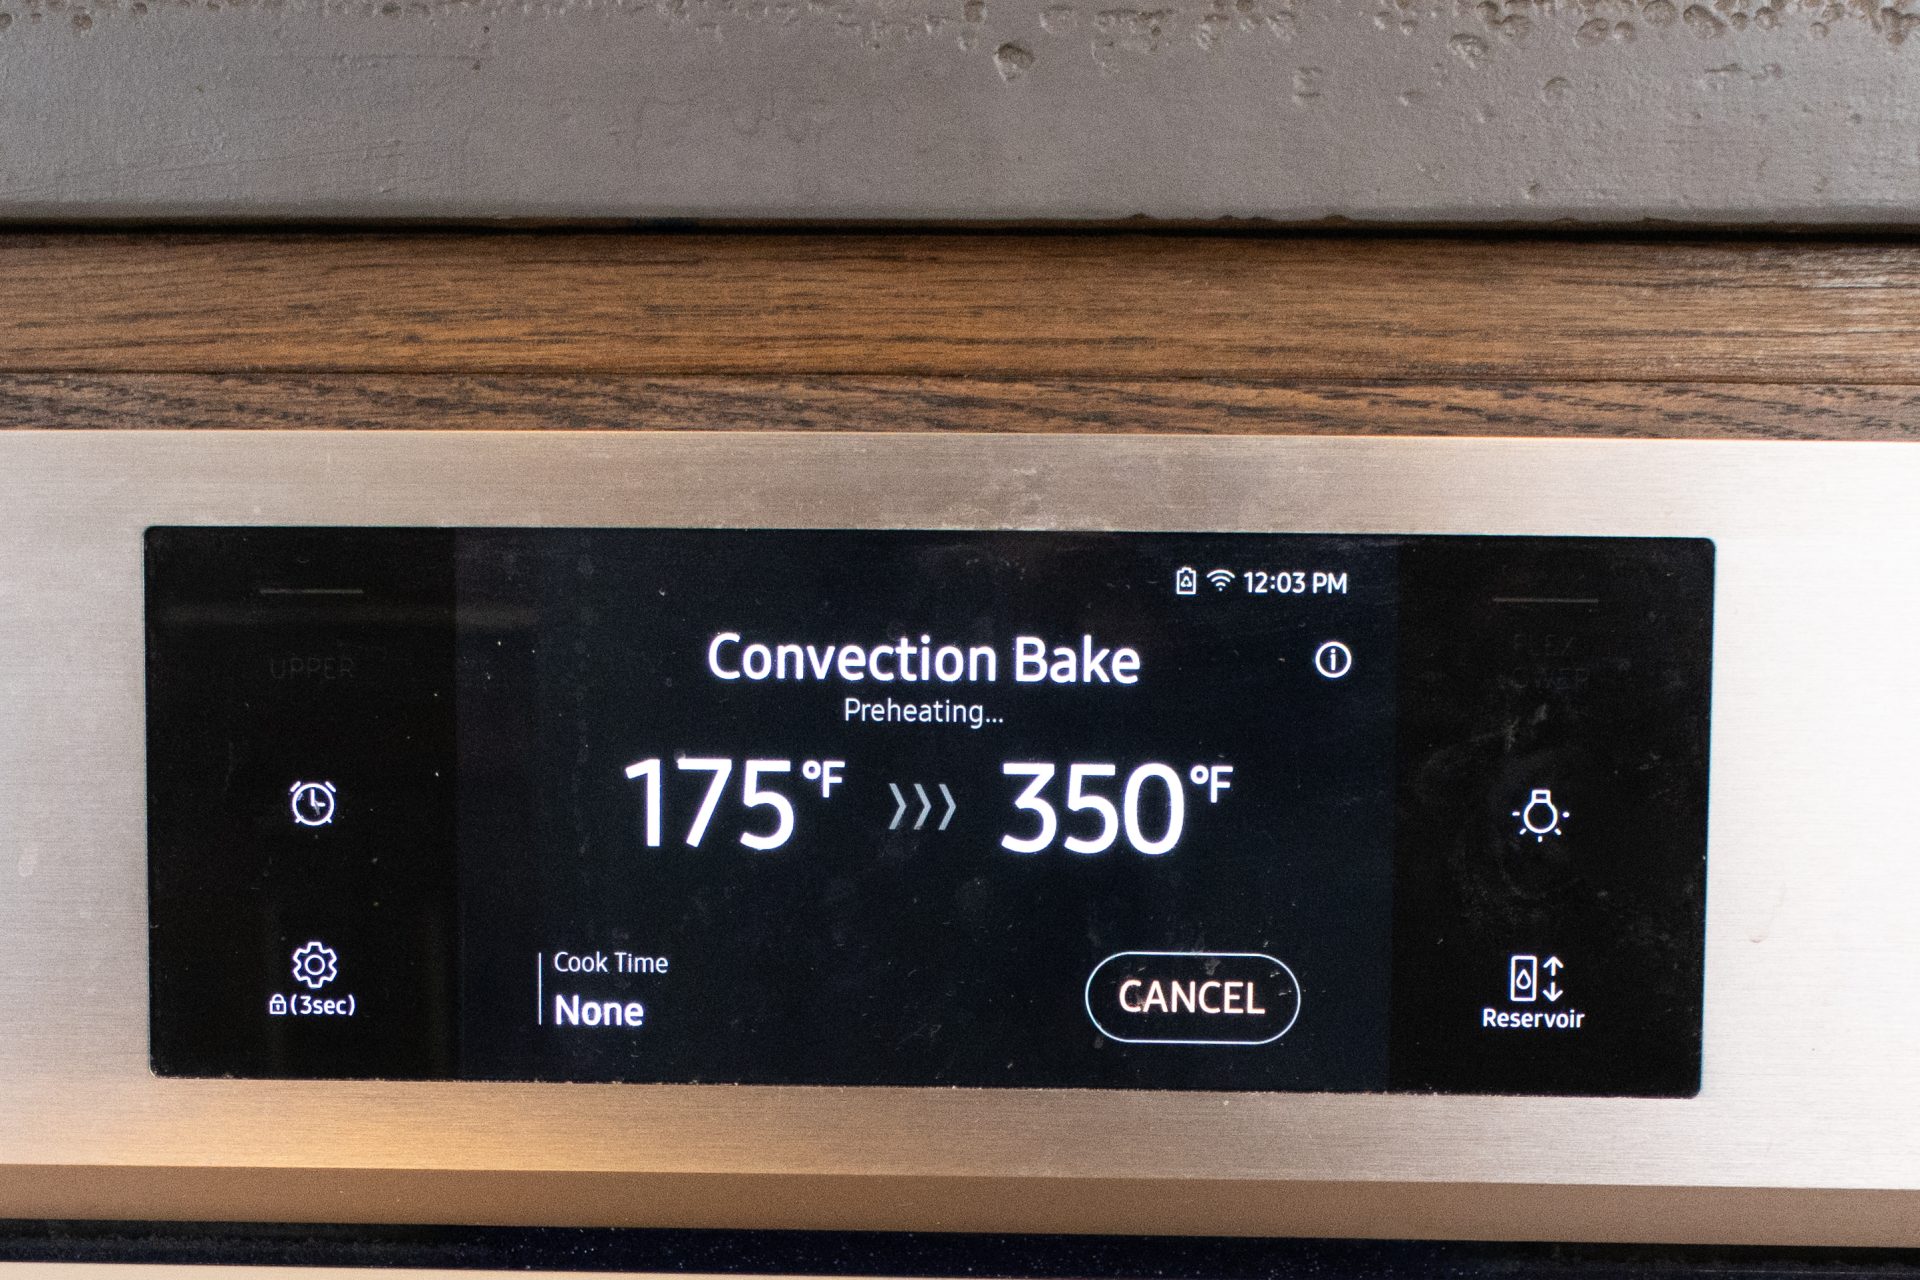
Bake in a preheated oven until fully baked. The surface turns from a doughy texture to a solid but slightly fluffy (about 15 – 20 minutes) texture.
6.2.
Rotate the baking sheets in the middle of baking.
Important:
If the dough is flattened unevenly (even just slightly), each cookie can have a slightly different baking time, so closely watch when you get close to the end of baking and remove each, one by one, if necessary.
6.3.
For optional shiny surface, prepare into a small mixing bowl:
1 egg
3 TSBP of milk
And thoroughly whisk.
6.4.
Immediately after you finish baking the cookies, brush them with the optional mixture prepared in the previous step.
Note:
The oven’s heat will cook the egg and give each cookie a shiny surface.
6.5.
Let it cool totally on the baking sheet before decorating.
Note:
The heart shapes are very large, which makes them more fragile than smaller cookies. Not moving them before they are fully cooled will prevent cracking.
7.Decorating Mixture:
7.1.
7.2.
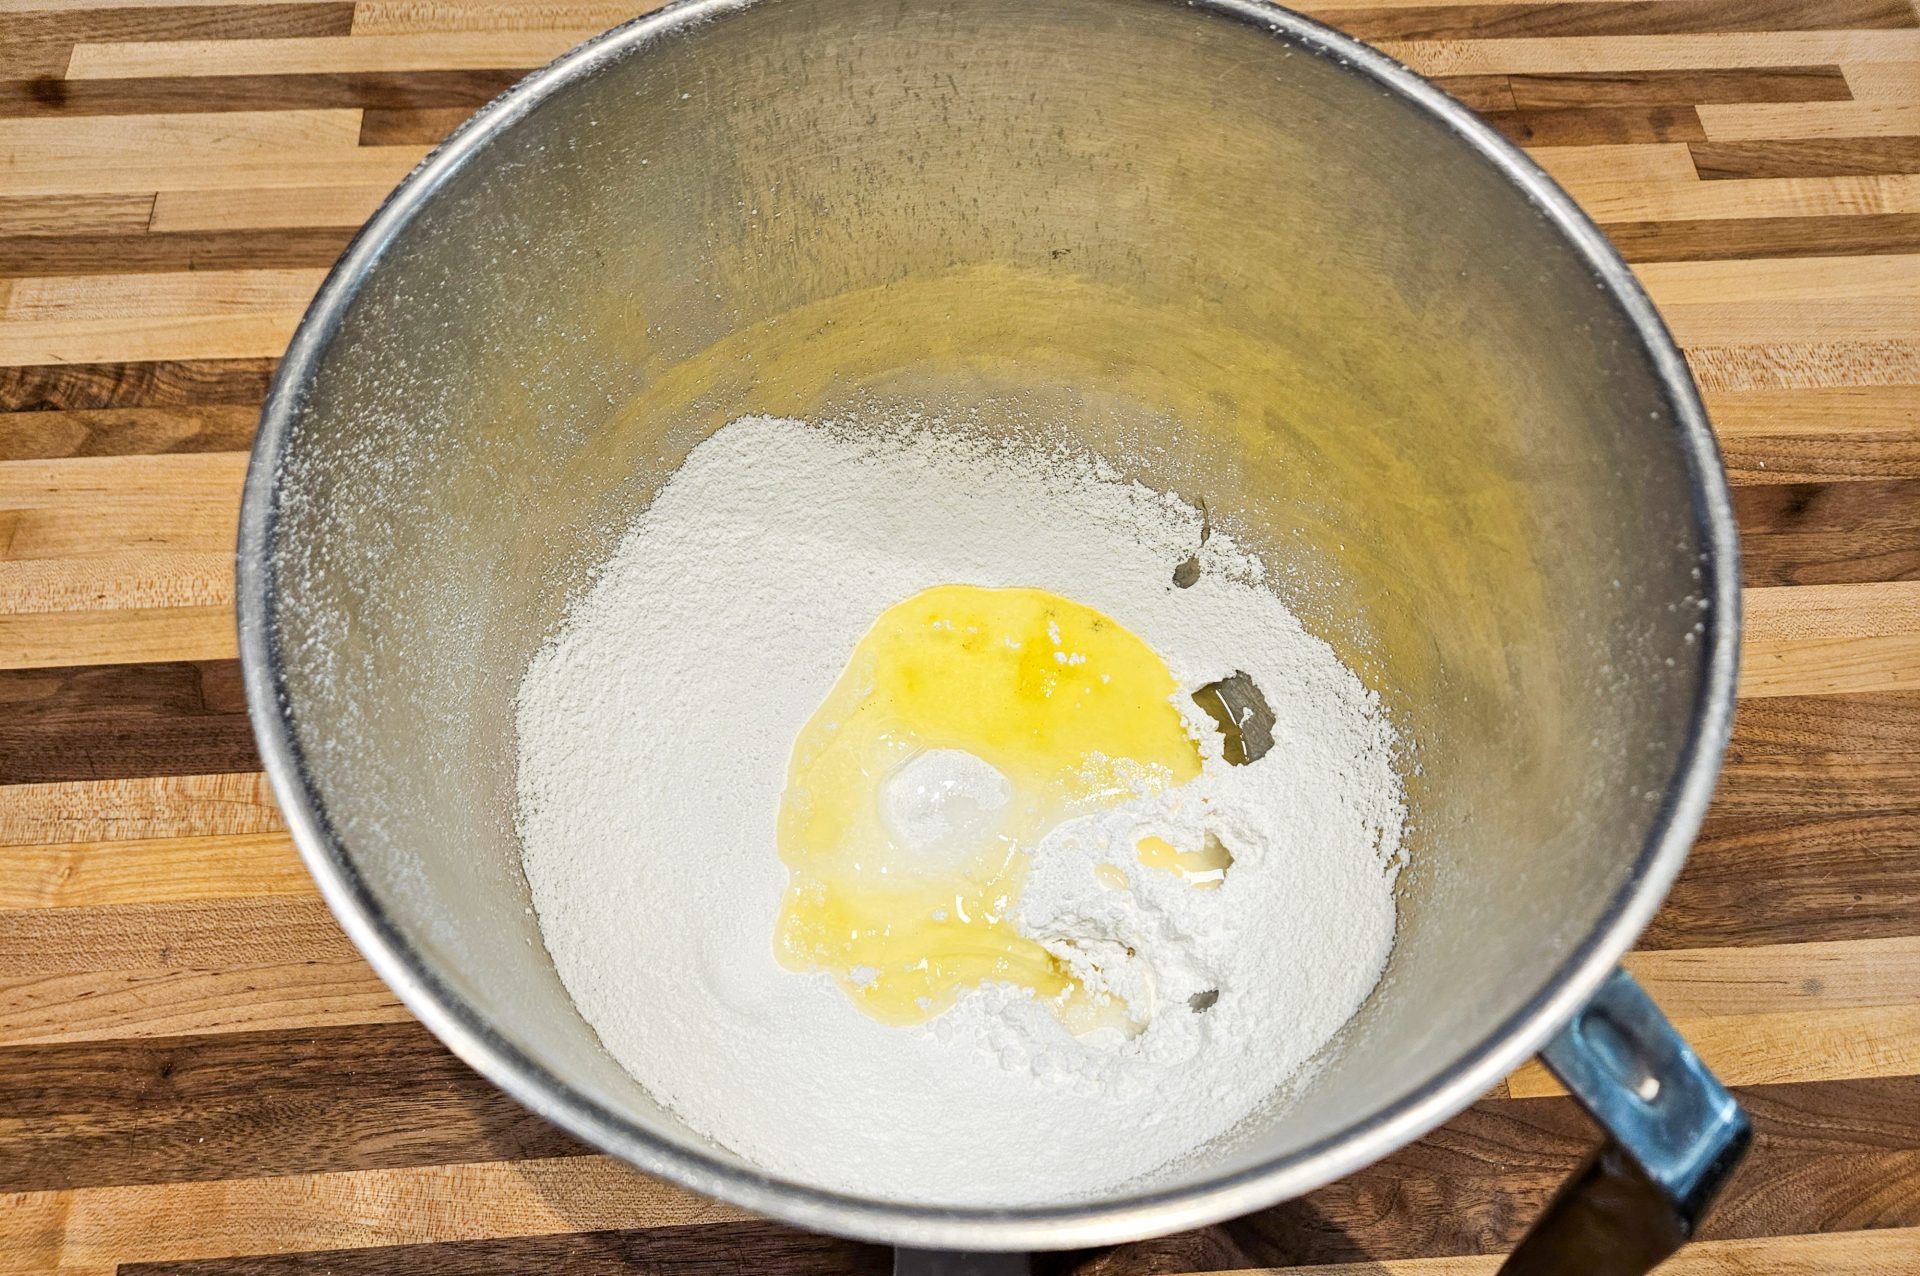
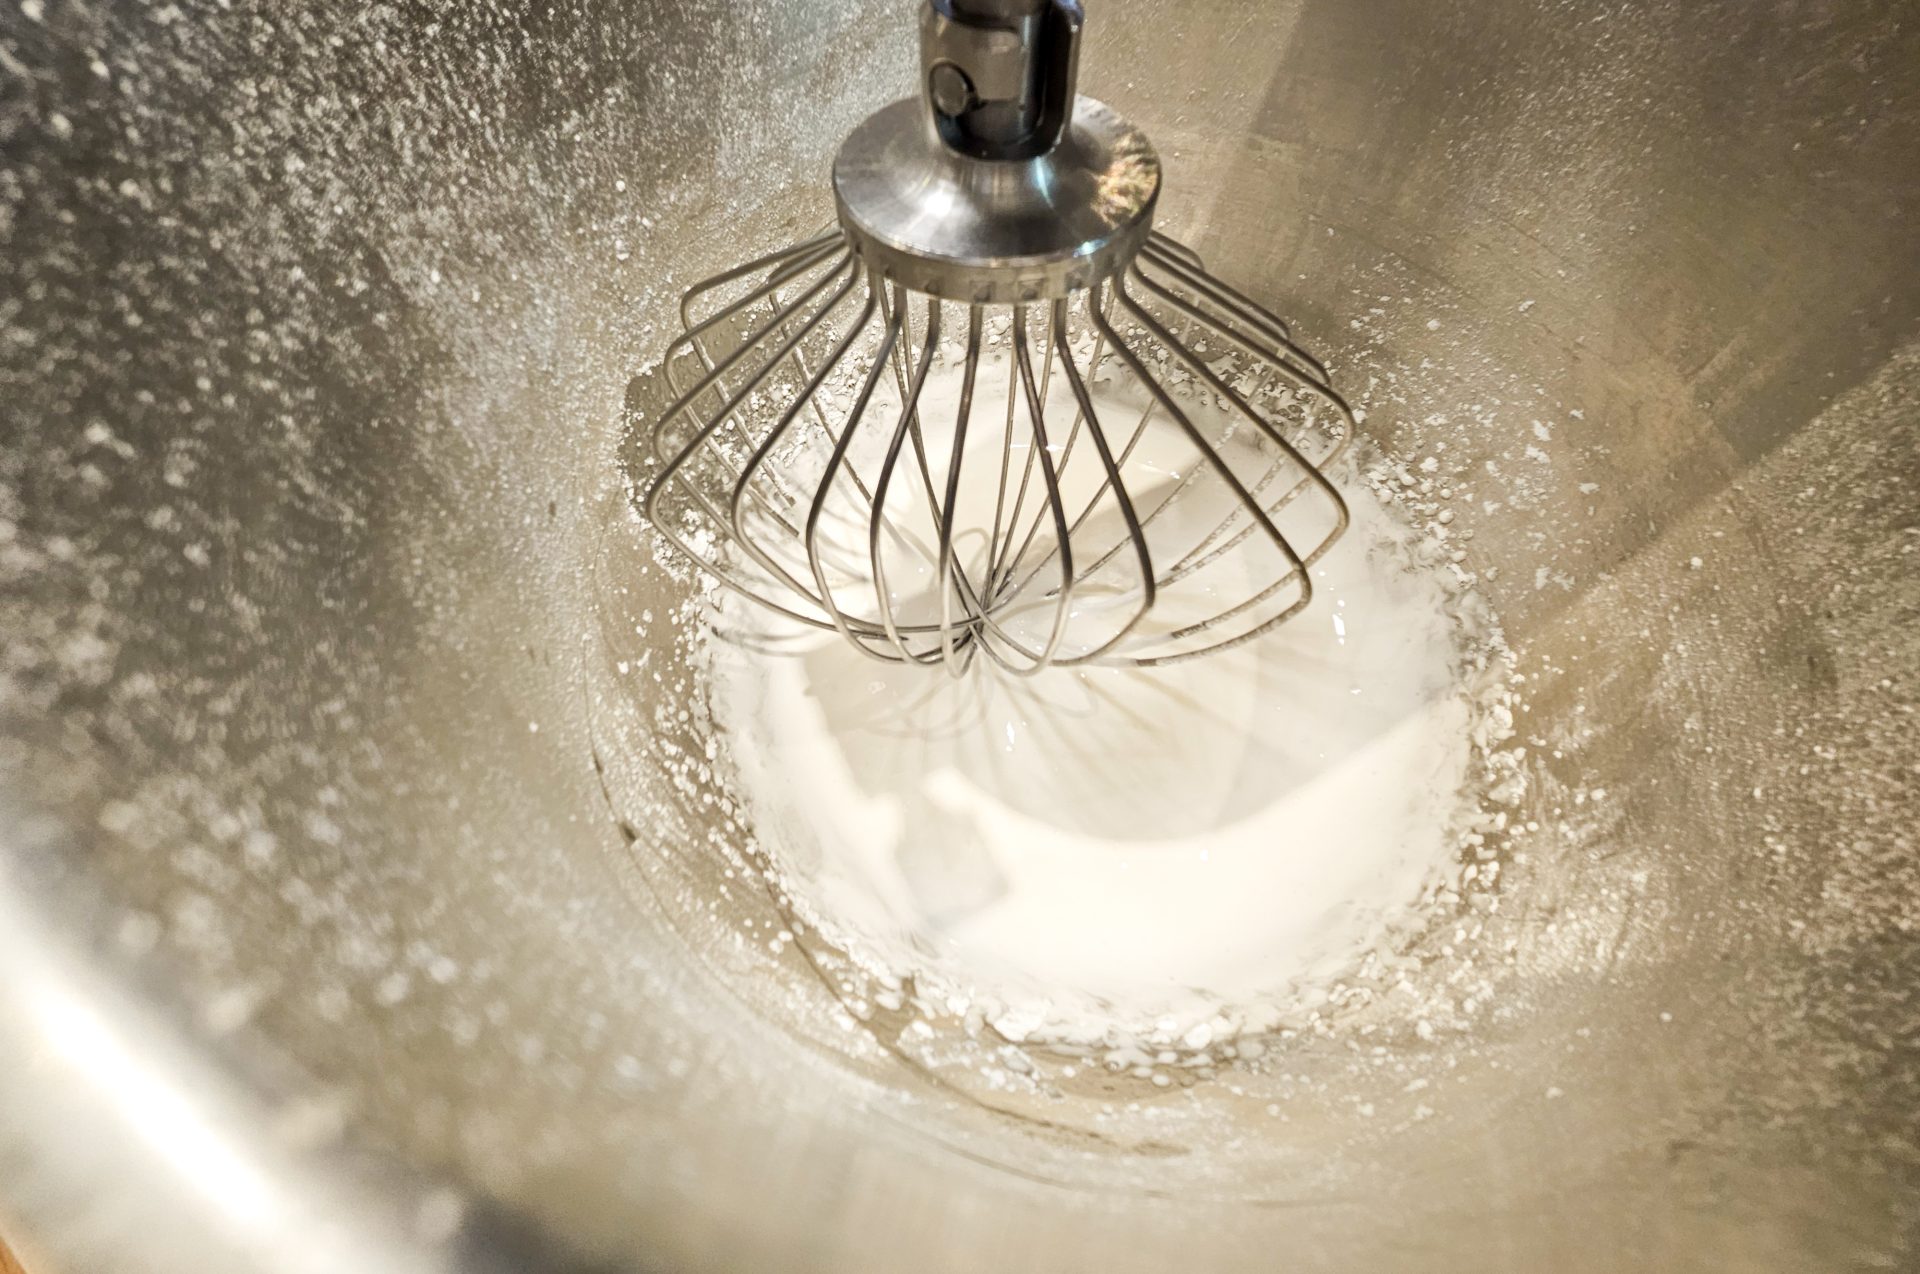
7.3.
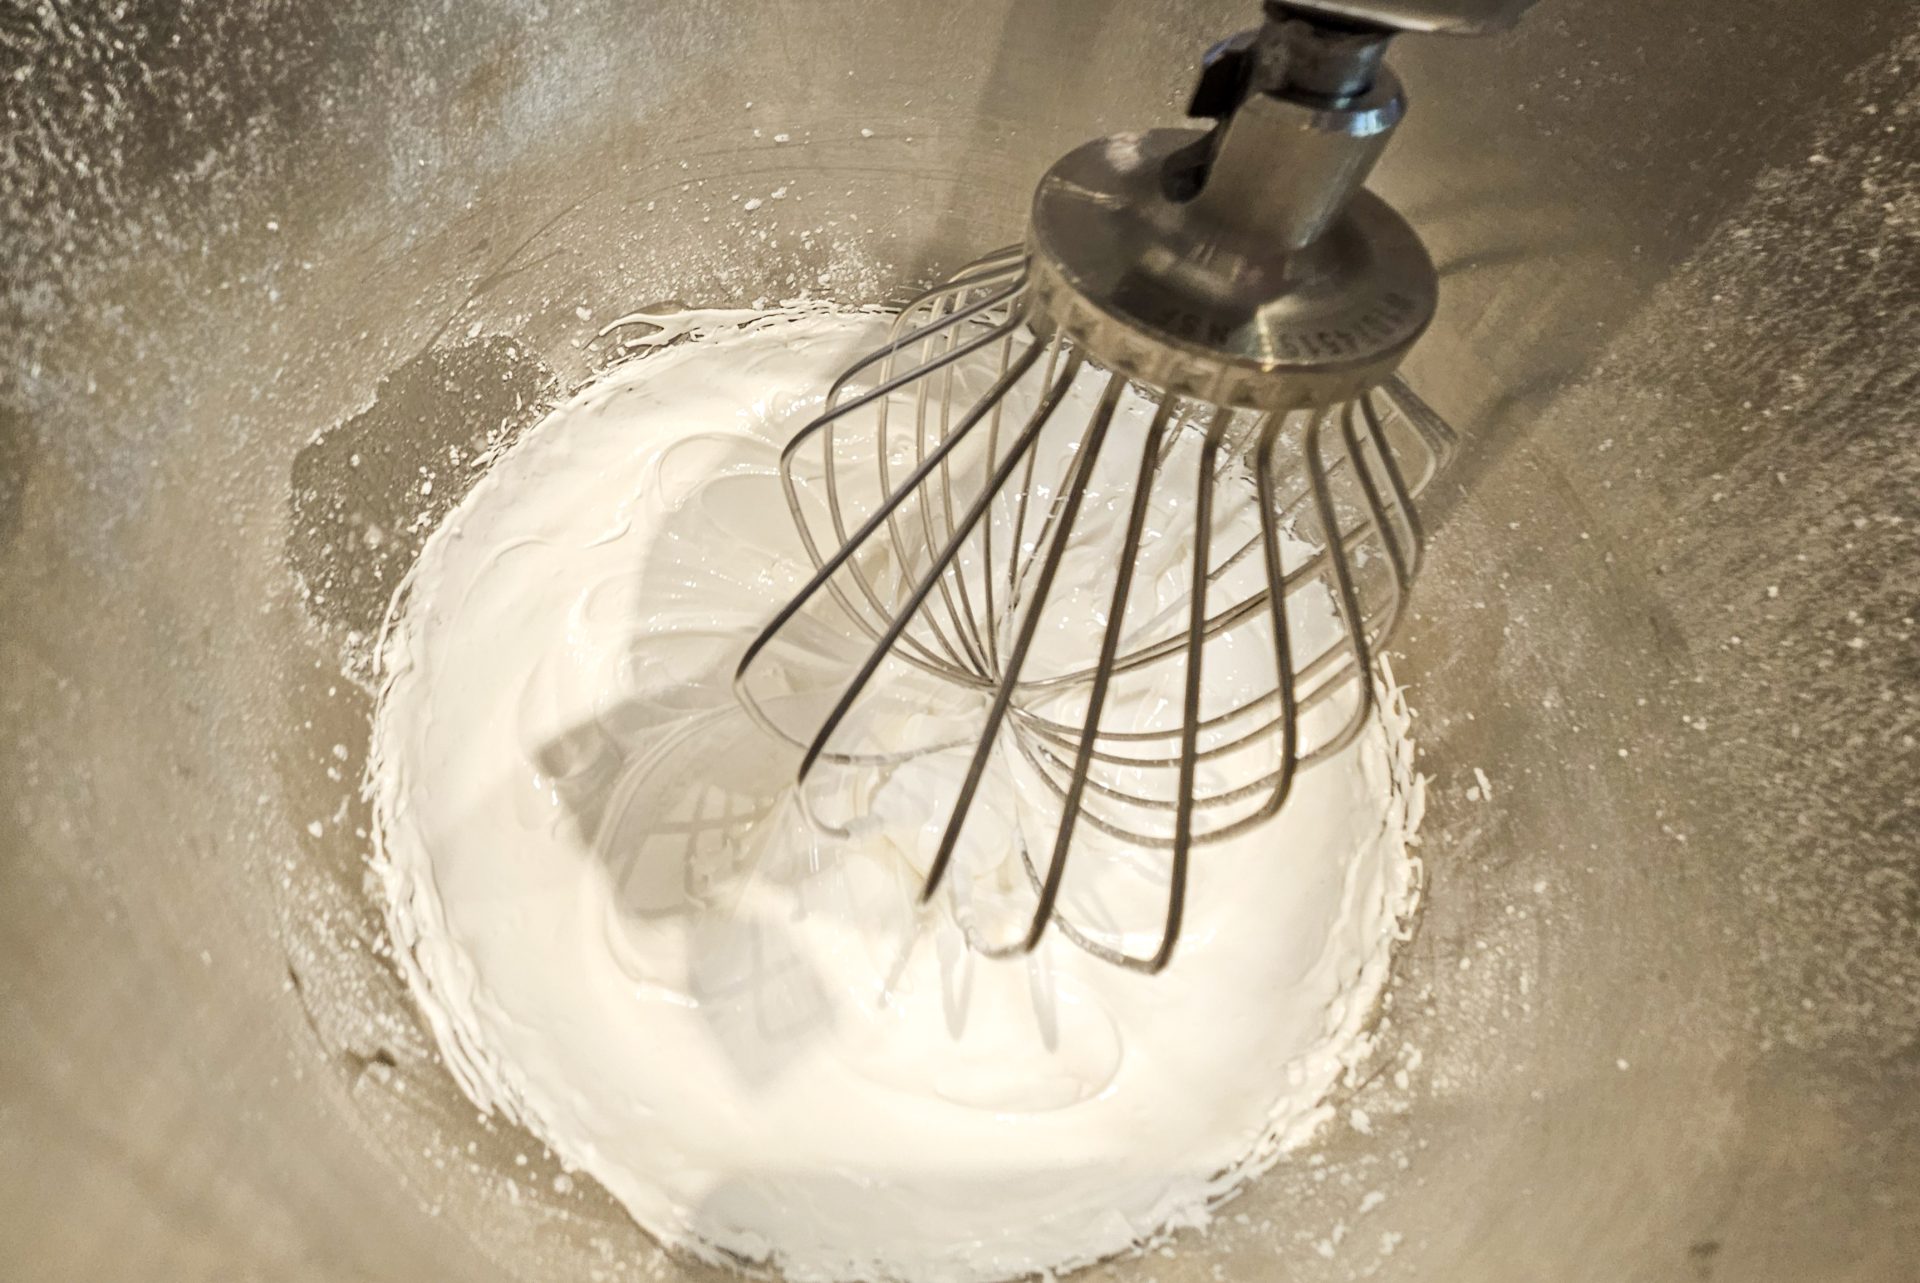
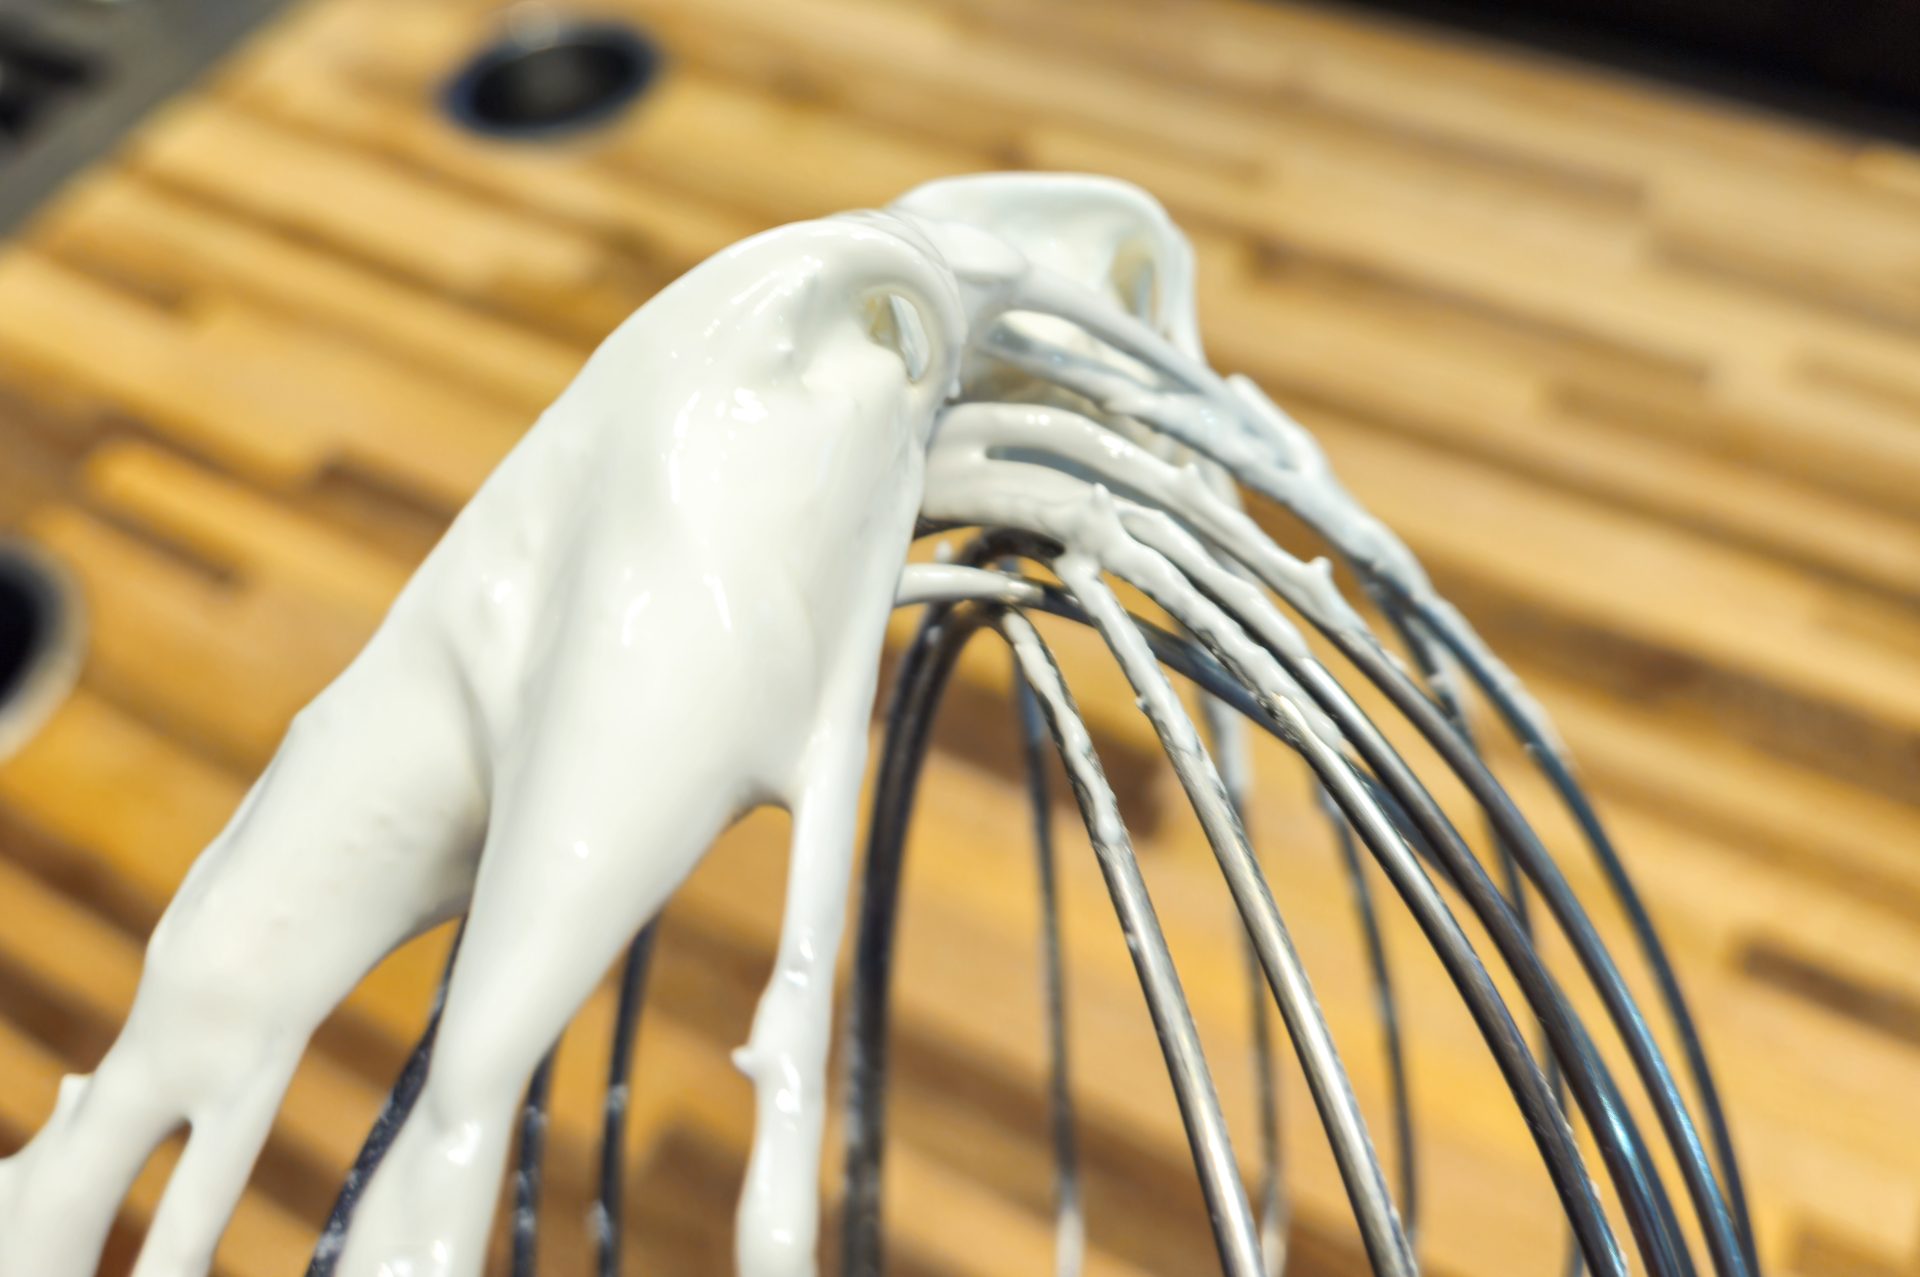
7.4.
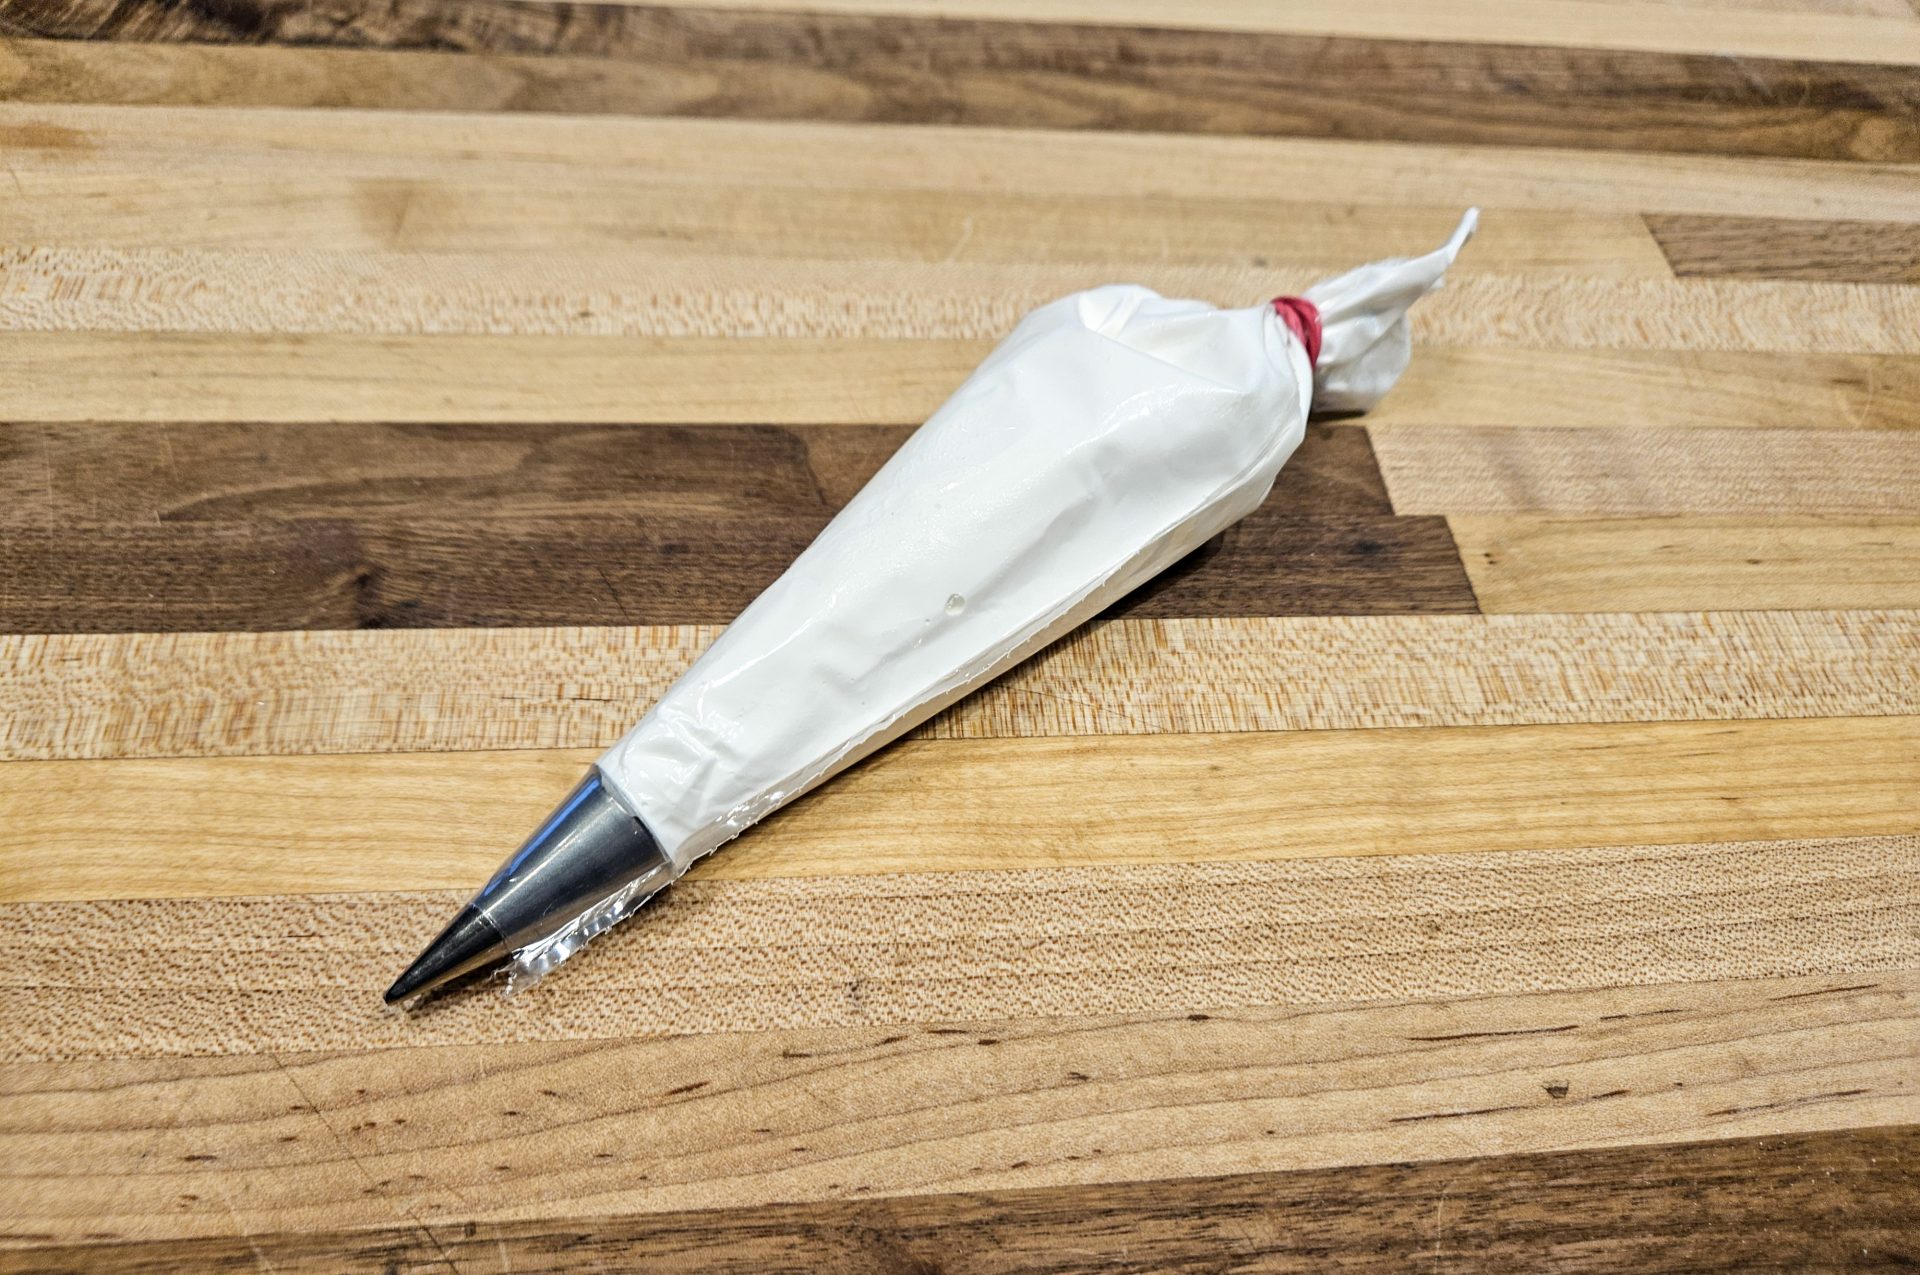
7.5.
Place the remainder of the mixture into a box with a lid for later steps (leave on the countertop during decorating).
Important: Use the mixture only during the decorating cycle; do not prepare it ahead. The mixture will harden even in a sealed container, making it harder to work with.
8.Decorating Gingerbread Heart Cookies:
8.1.
Start decorating the cookies When hearts are fully cooled and the decorating mixture is prepared.
Important: Manipulate hearts very gently because even after they cooled, they still didn’t fully harden. They will harden more after fully decorated and the decoration mixture is fully dry.
8.2.
The best is to start with a text. Write anything in your own language or use one of the Czech ideas:
Z lásky = From love.
Pro Tebe = For you
Pro (name) = For (name)
Všechno nejlepší! = All the best! (more suitable for birthdays)
Miluji Tě! = I love you.
Mám Tě rád! / Mám Tě ráda! = I like you! (First option for gentleman expressing feeling, second option for lady expressing feelings.


8.3.
Then decorate the gingerbread hearts based on your fantasy and creativity.
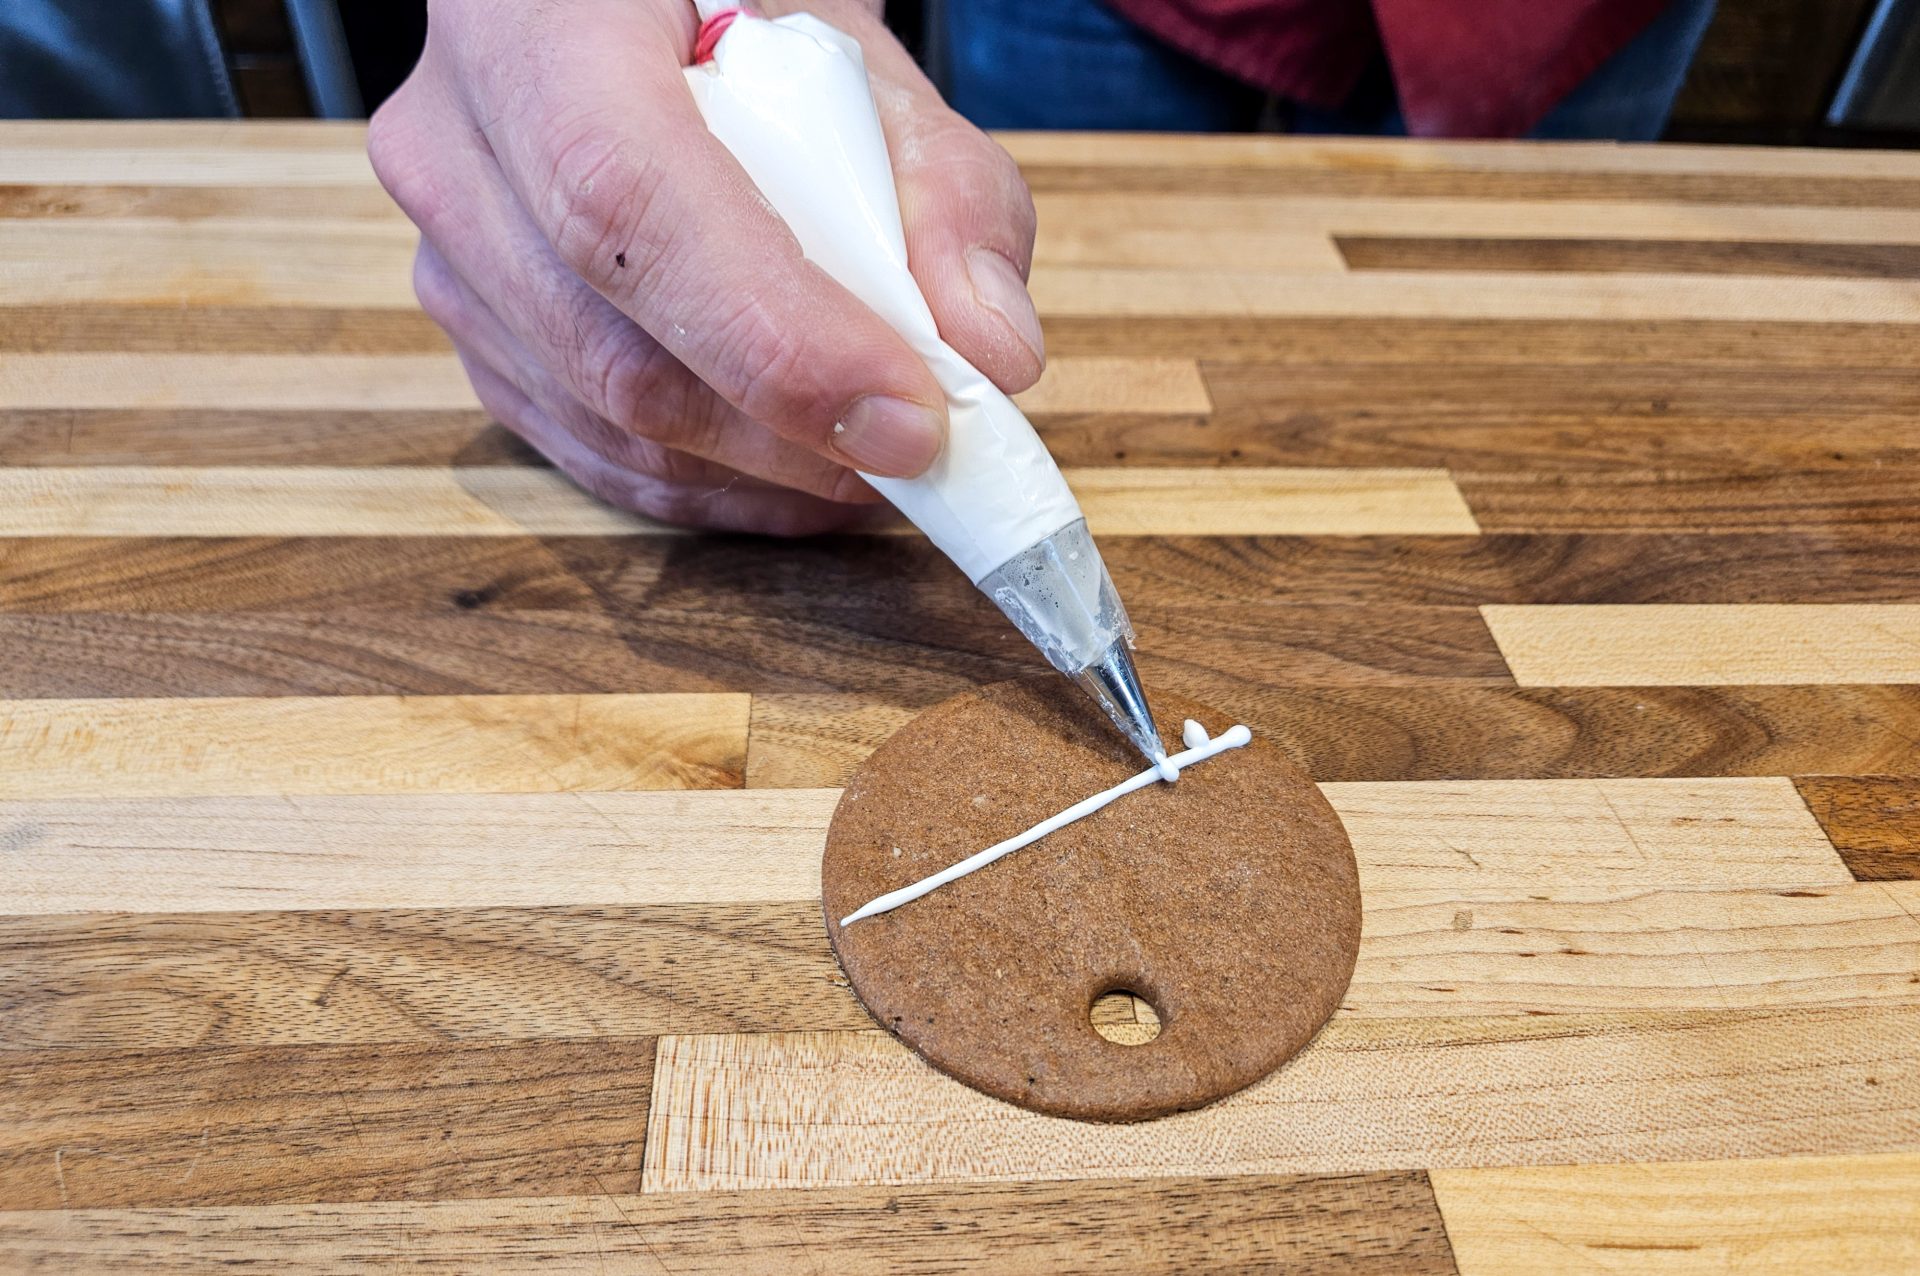
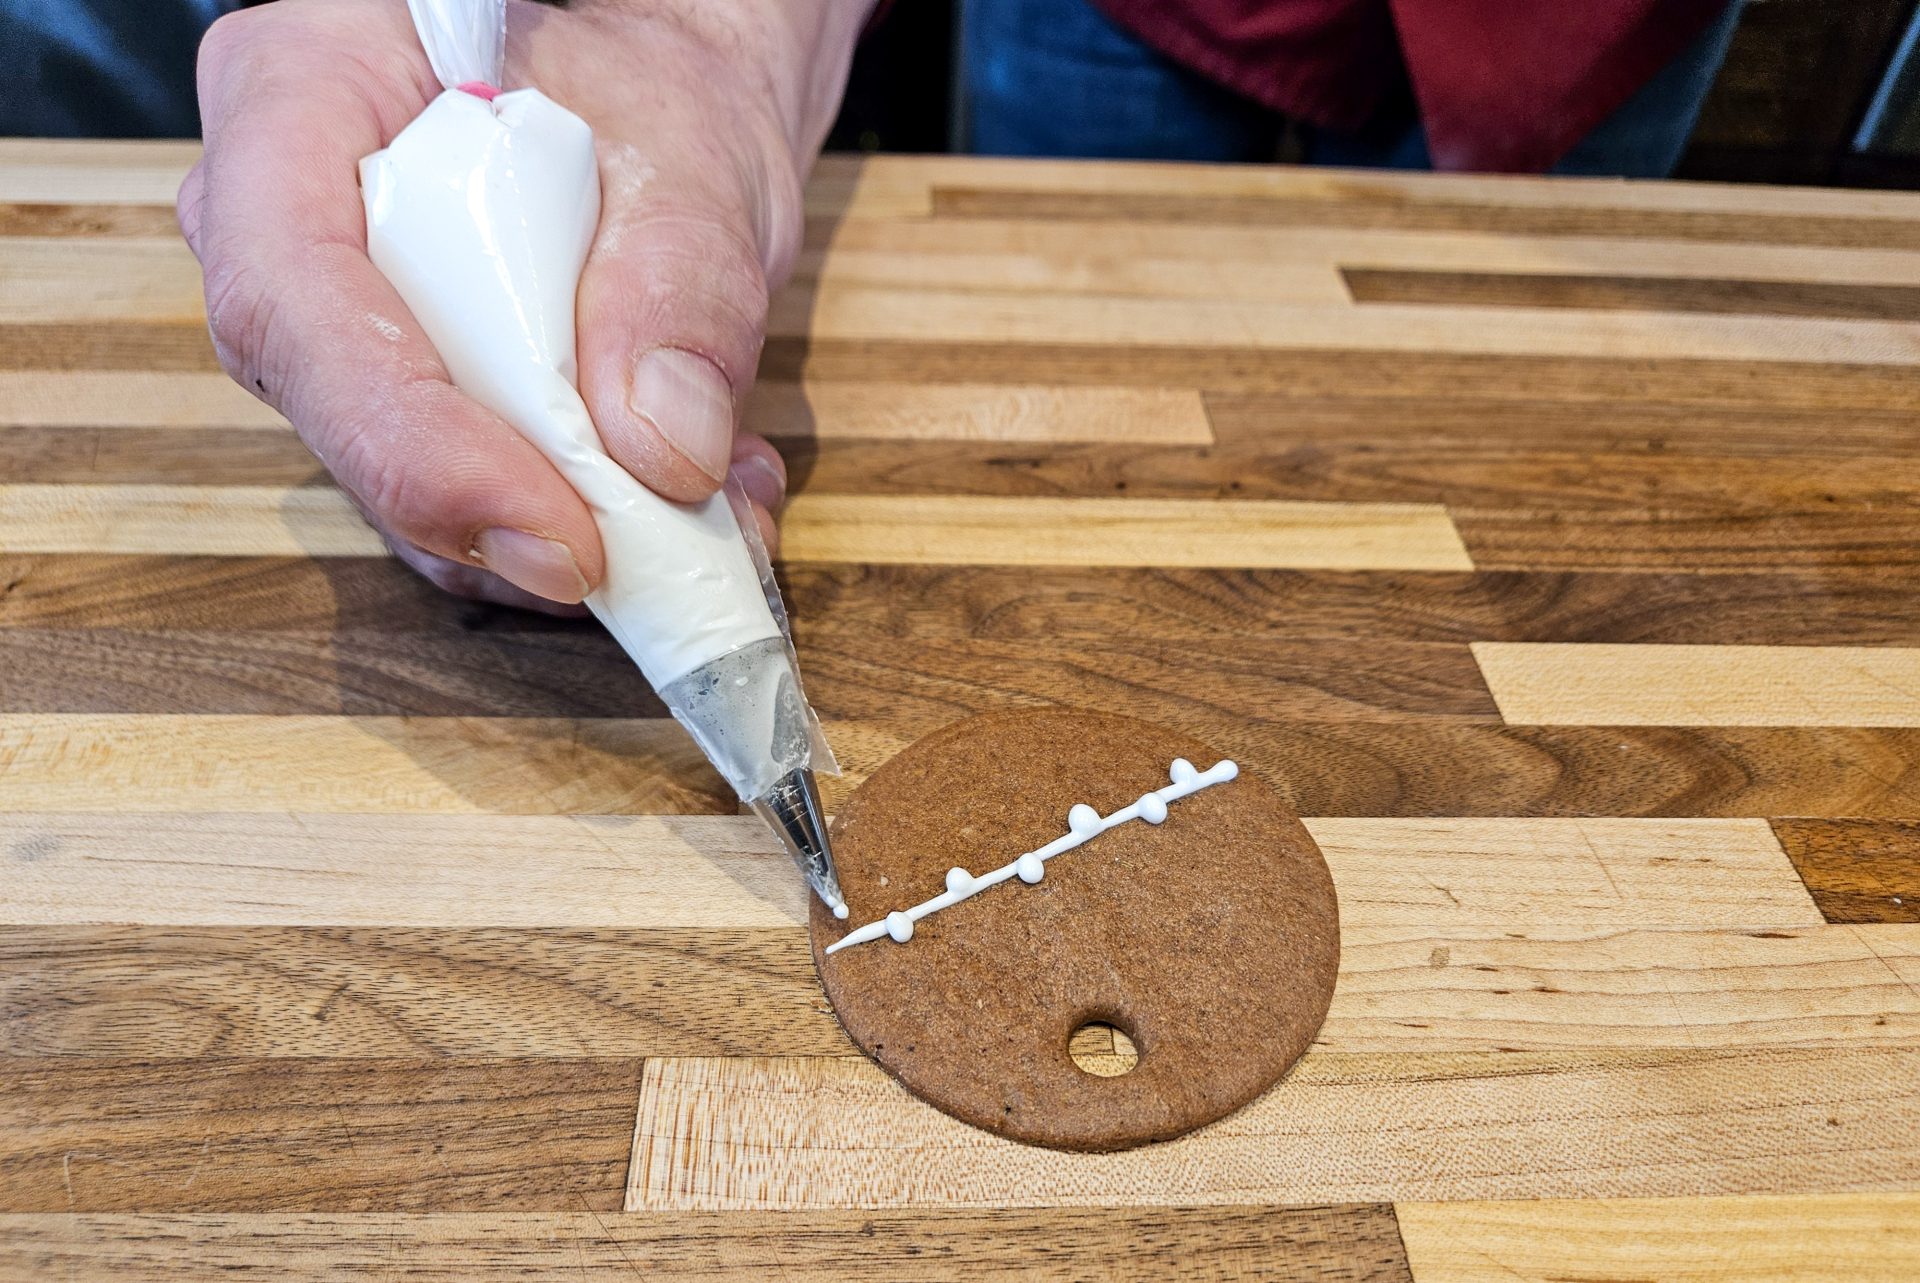
Tip: If creating lines, it is best to keep part of the decorating mixture in the air while piping out (let the decorating mixture gradually sit on the top of the cookie). This will give you straight lines with less effort.
9.Air Drying and Storing:
9.1.
Let the decorating mixture air dry until fully dried (sometimes just an hour, but usually overnight or up to 24 hours) before serving or packaging.
9.2.
Optionally wrap up with a see-through plastic film to give these heads as a gift.
9.3.
Do not refrigerate.





Popular questions
Why is my dough for the Gingerbread Heart Cookies so sticky after mixing, and how can I fix it?
In my experience, the dough for Gingerbread Heart Cookies is naturally sticky immediately after processing due to the honey and softened butter. You should not add more flour at this stage, as it can make the cookies tough. Instead, I recommend wrapping the dough in plastic wrap and letting it rest in the refrigerator for at least one hour. This cooling period allows the ingredients to firm up, making it much easier to roll out and cut your Gingerbread Heart Cookies without the mess.
Share
Click on the icons below to share "Title of the item to share"